Well hello there folks…remember me?!
Since finishing my coveralls I promised myself I wouldn’t sew anything else until my top block was finished, but the weather has been amazing so instead of working on that I’ve been outside a lot and preoccupied with my newest love – knitting!
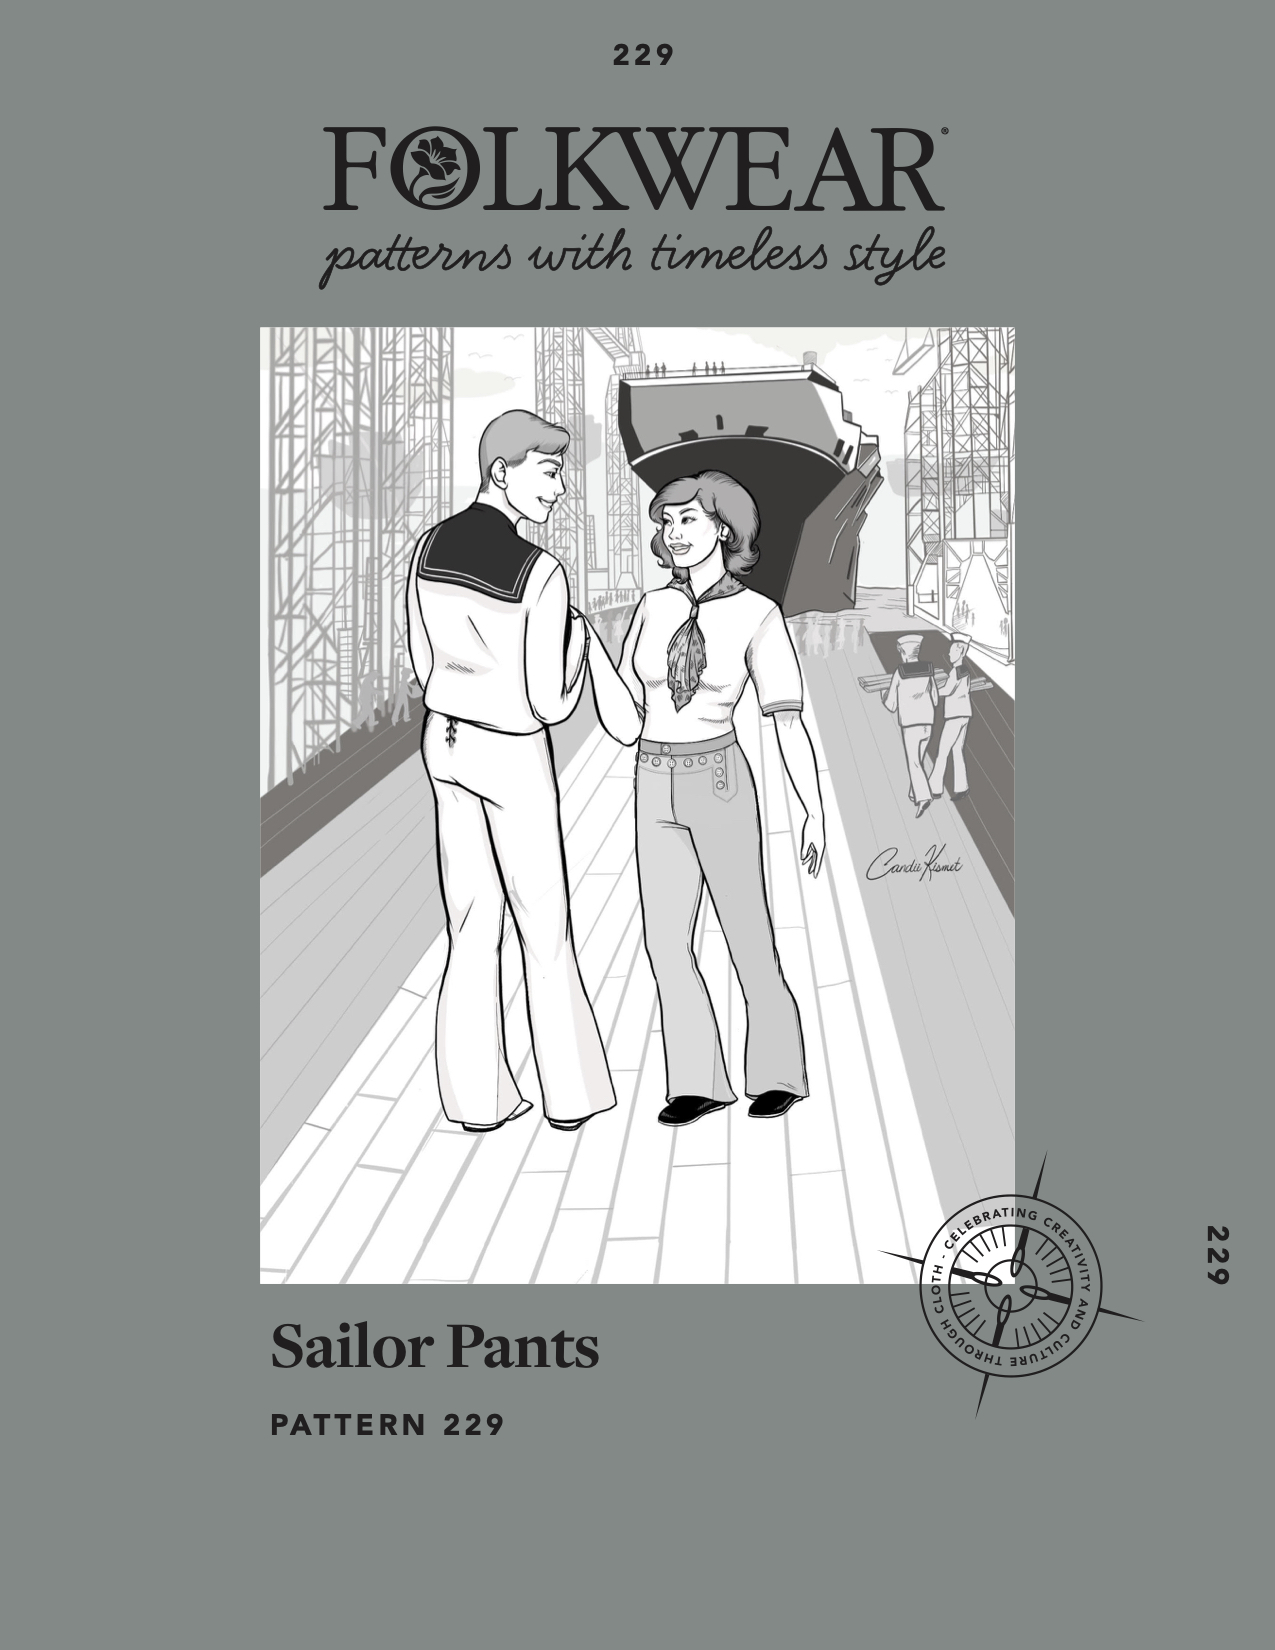
All that changed however when Molly of Folkwear patterns reached out and asked if I’d like to make and blog about their latest pattern – 229 Sailor Pants. Folkwear is based in Fairview, just a few miles down the road from me, Molly is part of the Oh Sew Asheville group and the pattern is SO CUTE so how could I refuse?
So before we get into the knitty gritty, this post is sponsored by Folkwear, but all opinions are my own.
Folkwear specialise in historic patterns. Sometimes, perhaps at first glance they be mistaken for costumes or for historical sewing but upon my very first visit to the Folkwear shop, seeing their patterns plus their samples, some of which are modern takes on the pattern, I knew they could be used to create some great, everyday-wearable (that’s a word right?!) garments and was super excited by the prospect. The newest pattern was no exception. The history of this pattern is lovely; a gentleman who used to serve in the navy still had his original trousers and when it was time to attend a reunion he wanted to wear them but they no longer fitted. That’s where Folkwear came in – a new pair was made for him and the pattern just sat in their archives, until now!
You should’ve seen the rabbit hole I feel down on Pinterest..I mean…come on!


I didn’t have any suitable bottom weights in my stash so I ordered some dark midnight blue (definitely looks black to me) stretch twill from Mood.
After looking at the size chart, my waist put me at a 30 but my hips and thigh (I love that that they included a finished thigh measurement!) put me in a 32 so I went with the 32. I decided to turn my pair into shorts as I don’t often wear trousers but I love wearing shorts- even in the winter with tights. Rather that just cutting the pattern off at the leg, you have to add an angle to the inside leg so when you fold up the hem it sits flat, like this:
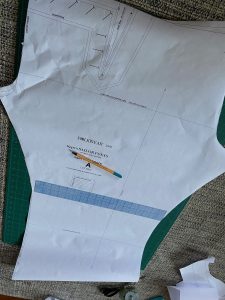
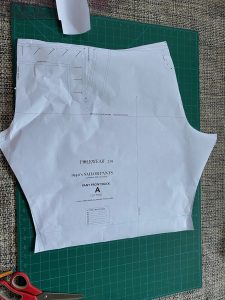
I did this, held them up to me and realised they were still too long so I cut them shorter and just did the same thing (but forgot to take a picture -oops)
I usually always muslin but for some reason decided not to with these. Instead, after cutting out my fabric I quickly basted them together (just the major parts) and realised they would be too big for me so cut them down to the 30. If it helps, I have a 29 inch waist.
I REALLY enjoyed constructing these trousers, like reallllly enjoyed it. I feel like a lot of patterns that are being released right now are super simple with no engaging details and honestly, for me, are a bit boring to make. Great if you want a quick sew but not so fun if you like to use your brain and learn new techniques. These trousers definitely delivered on that challenge. I’ve never made anything constructed like this before but don’t let that intimidate you. The instructions are well written and the illustrations make them easy to follow. There’s also a sew along now if you are worried.
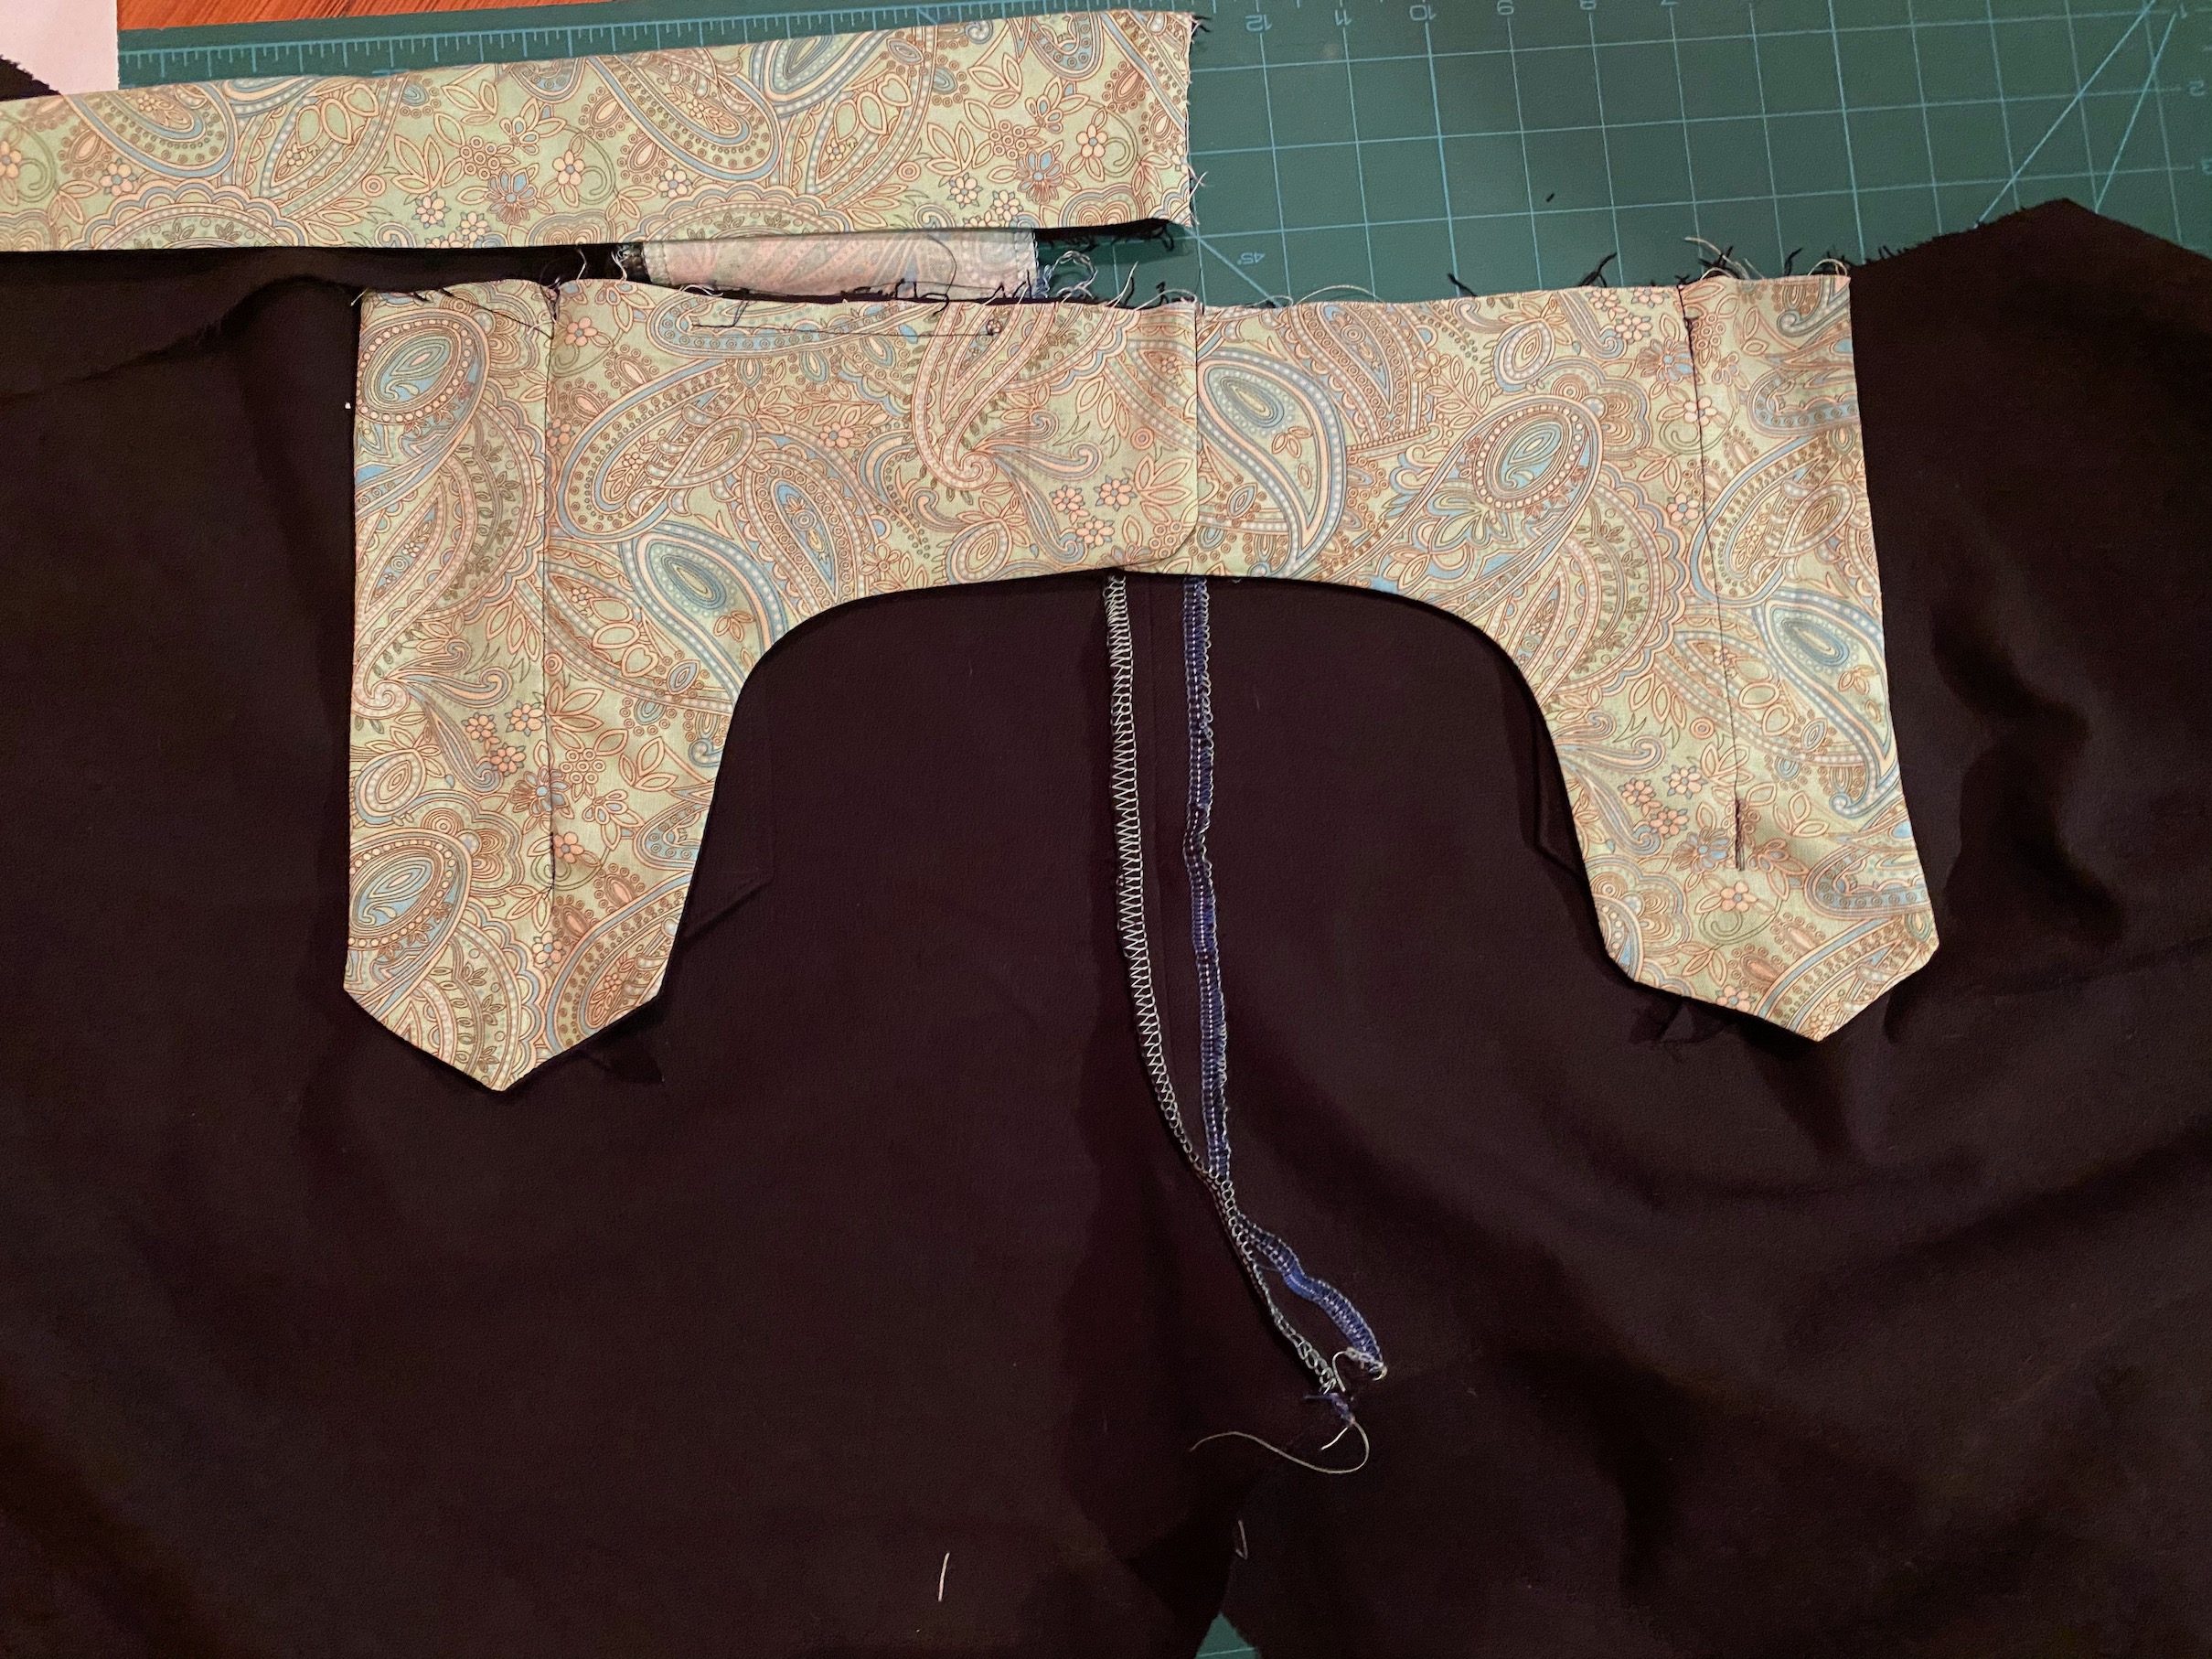
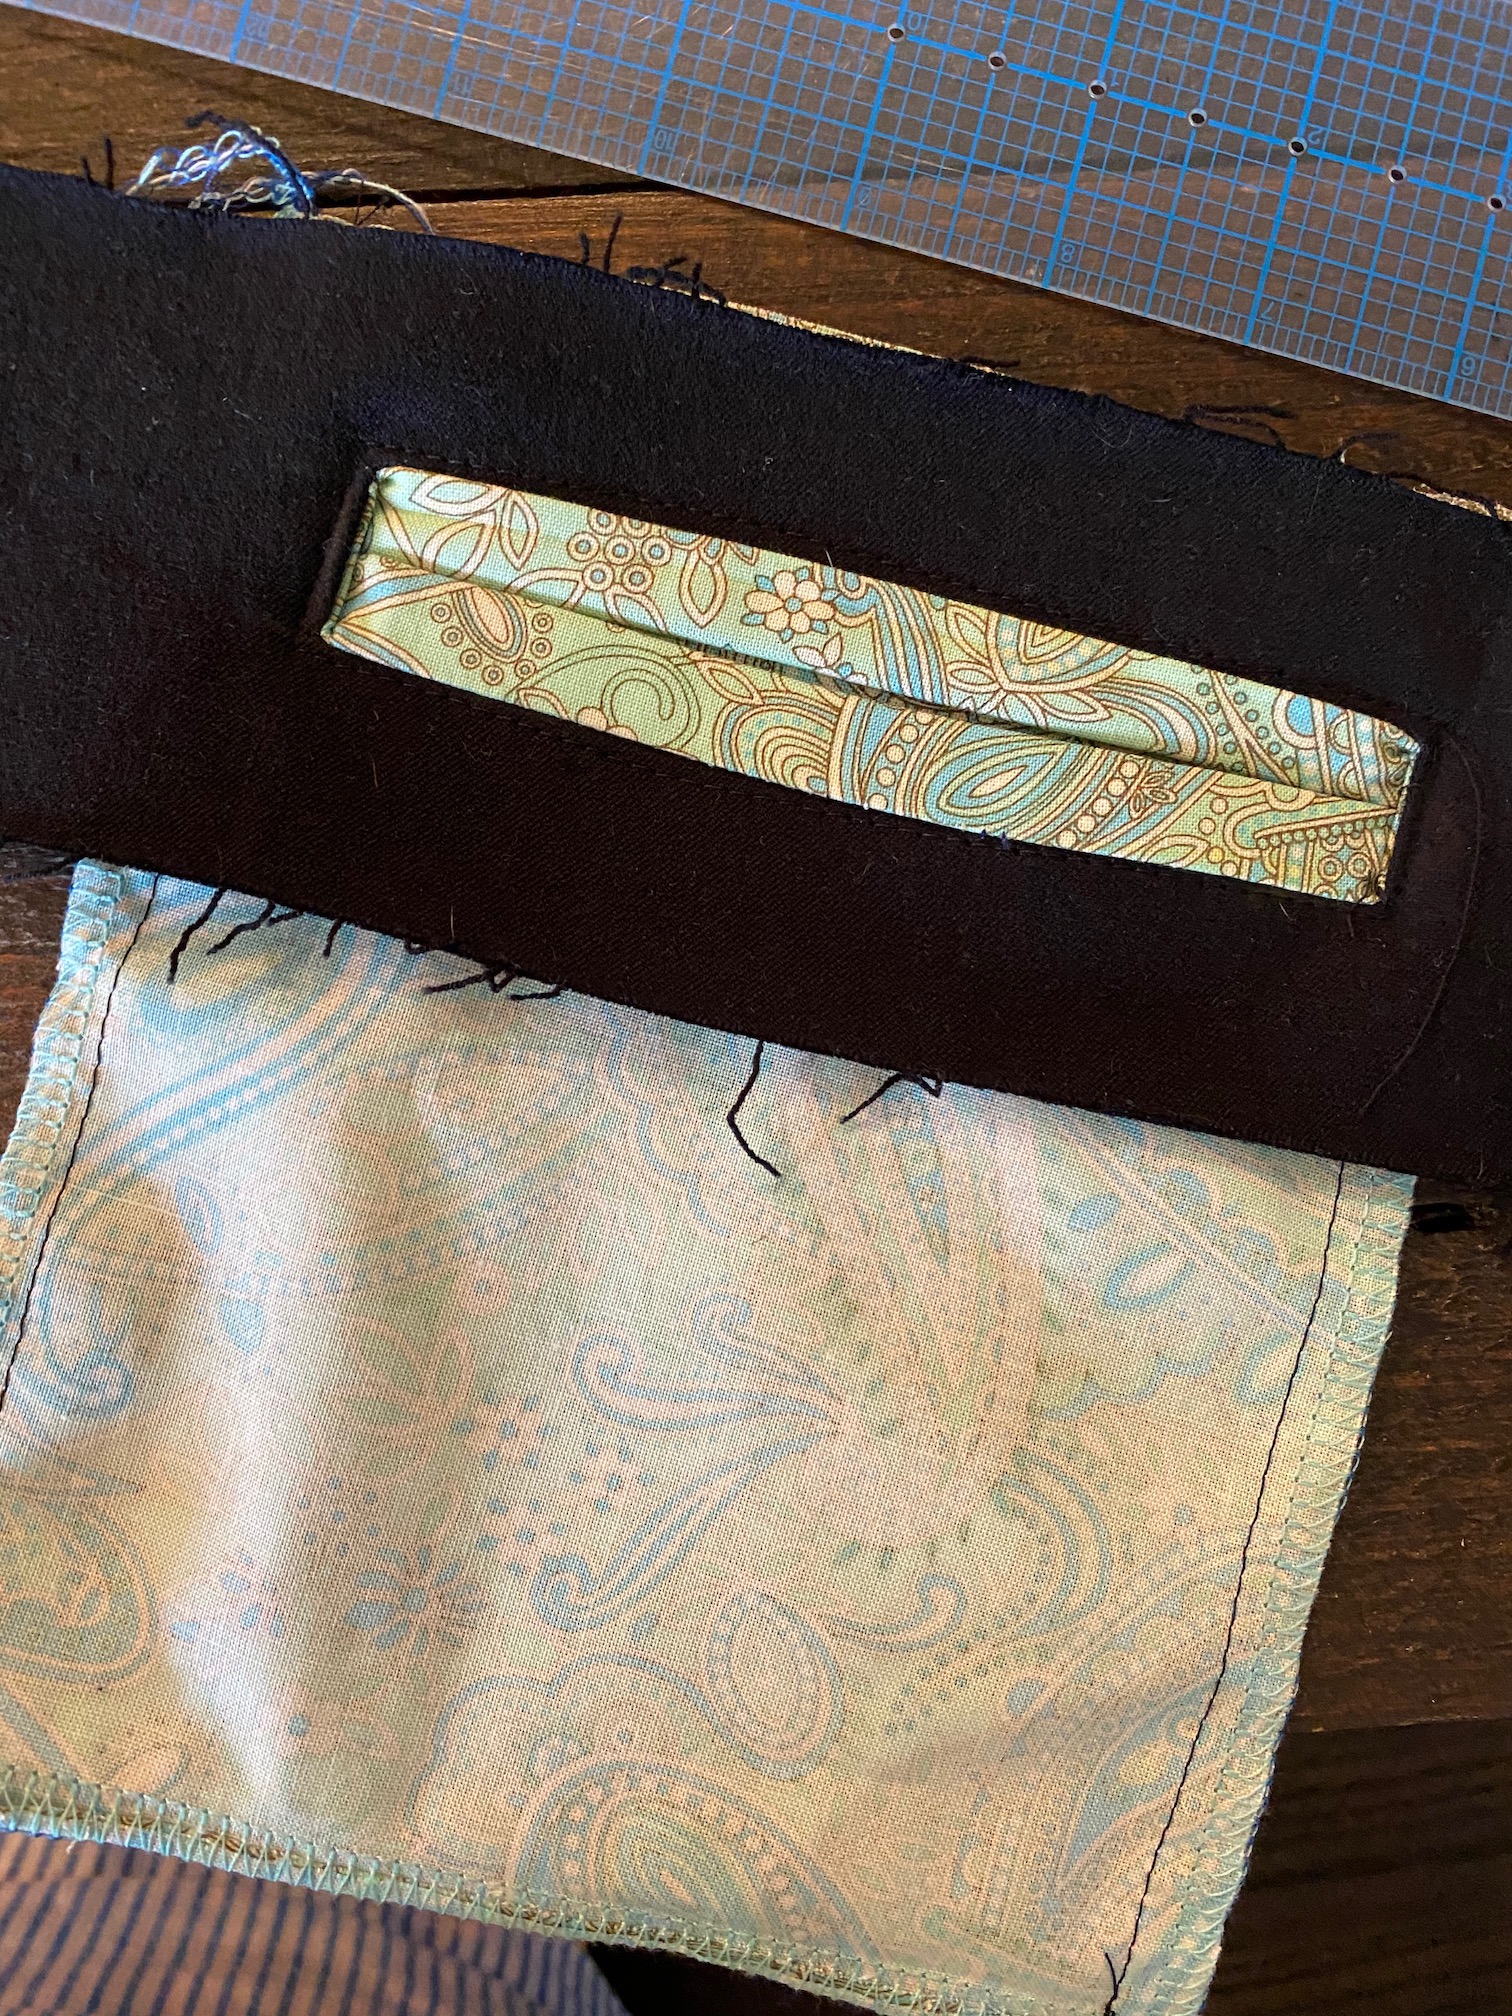
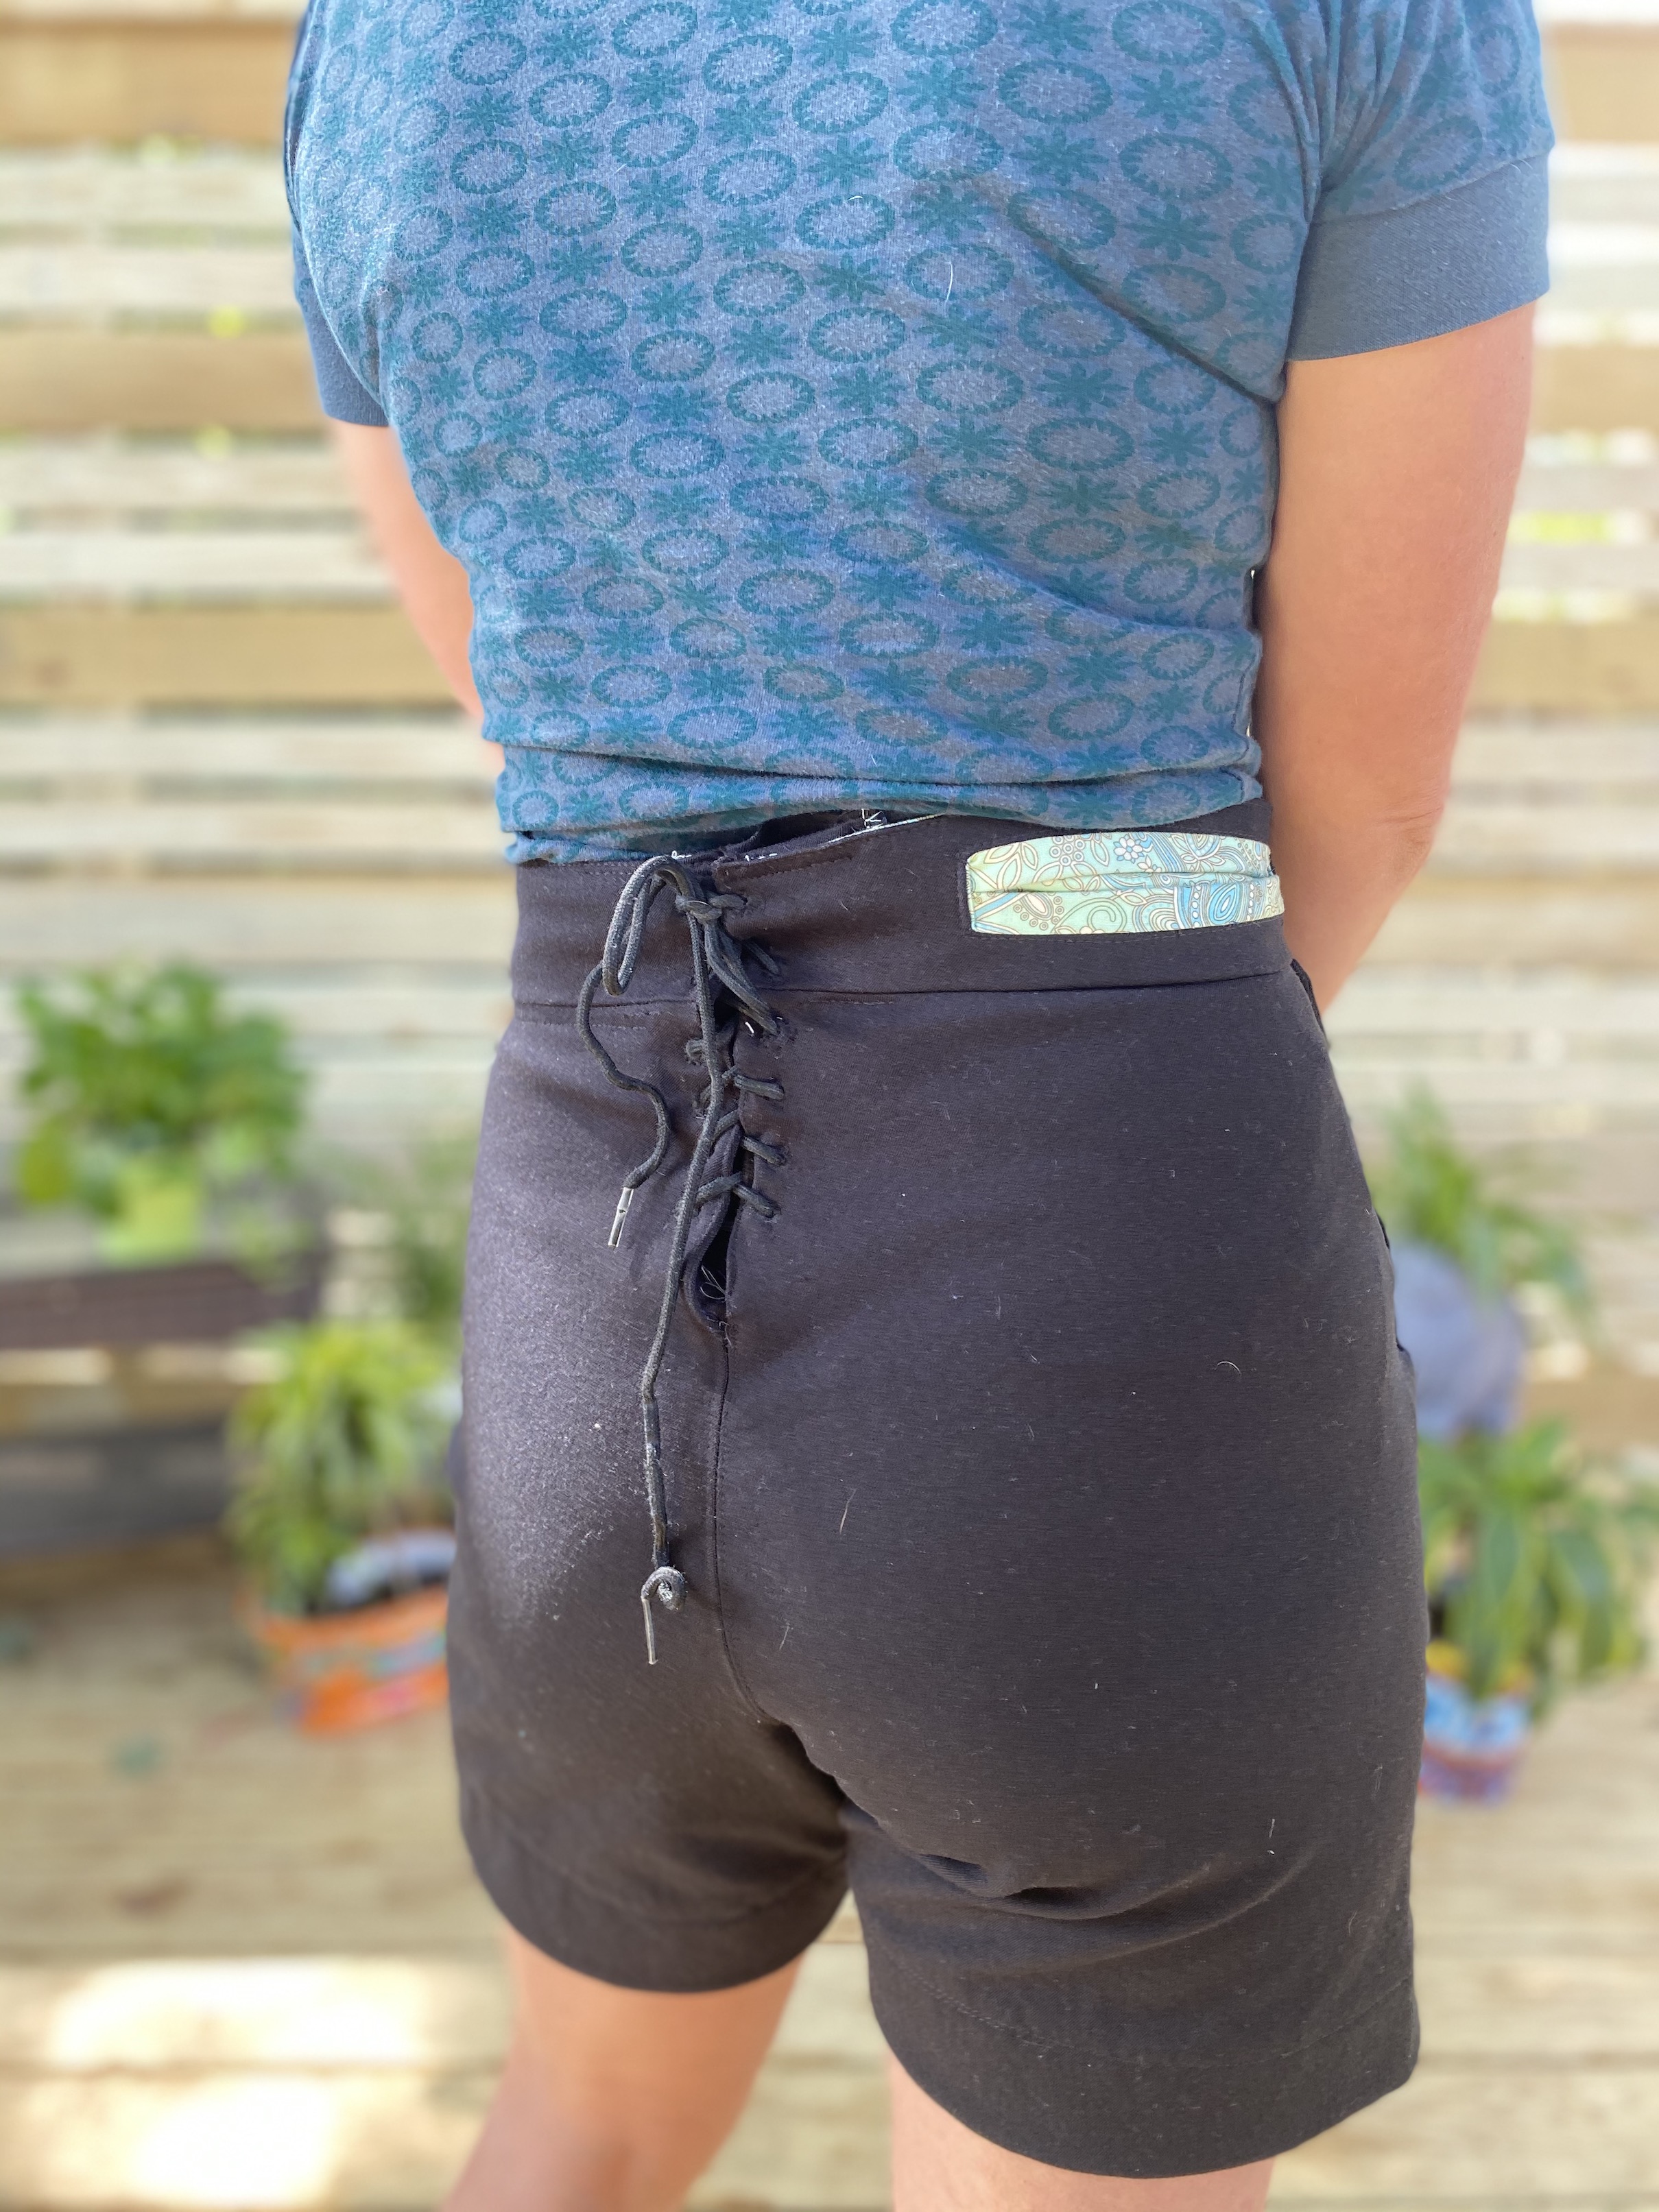
I did make a rooky mistake on my welt pocket – I cut the welt itself from lining fabric when it should’ve been main, meaning my lining shows on my waistband but it ended up a happy accident as I like how it looks.
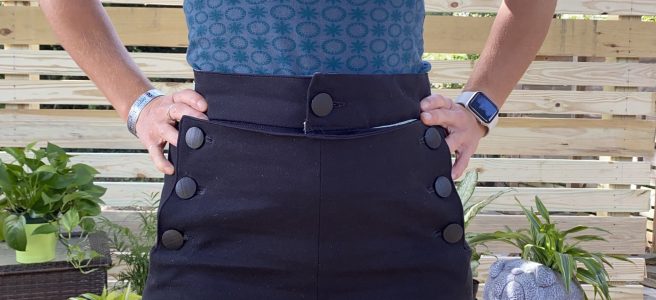
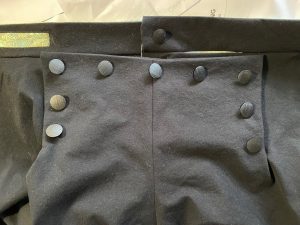
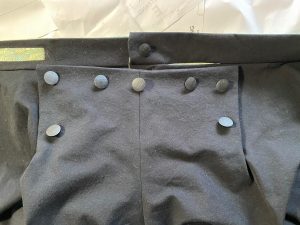
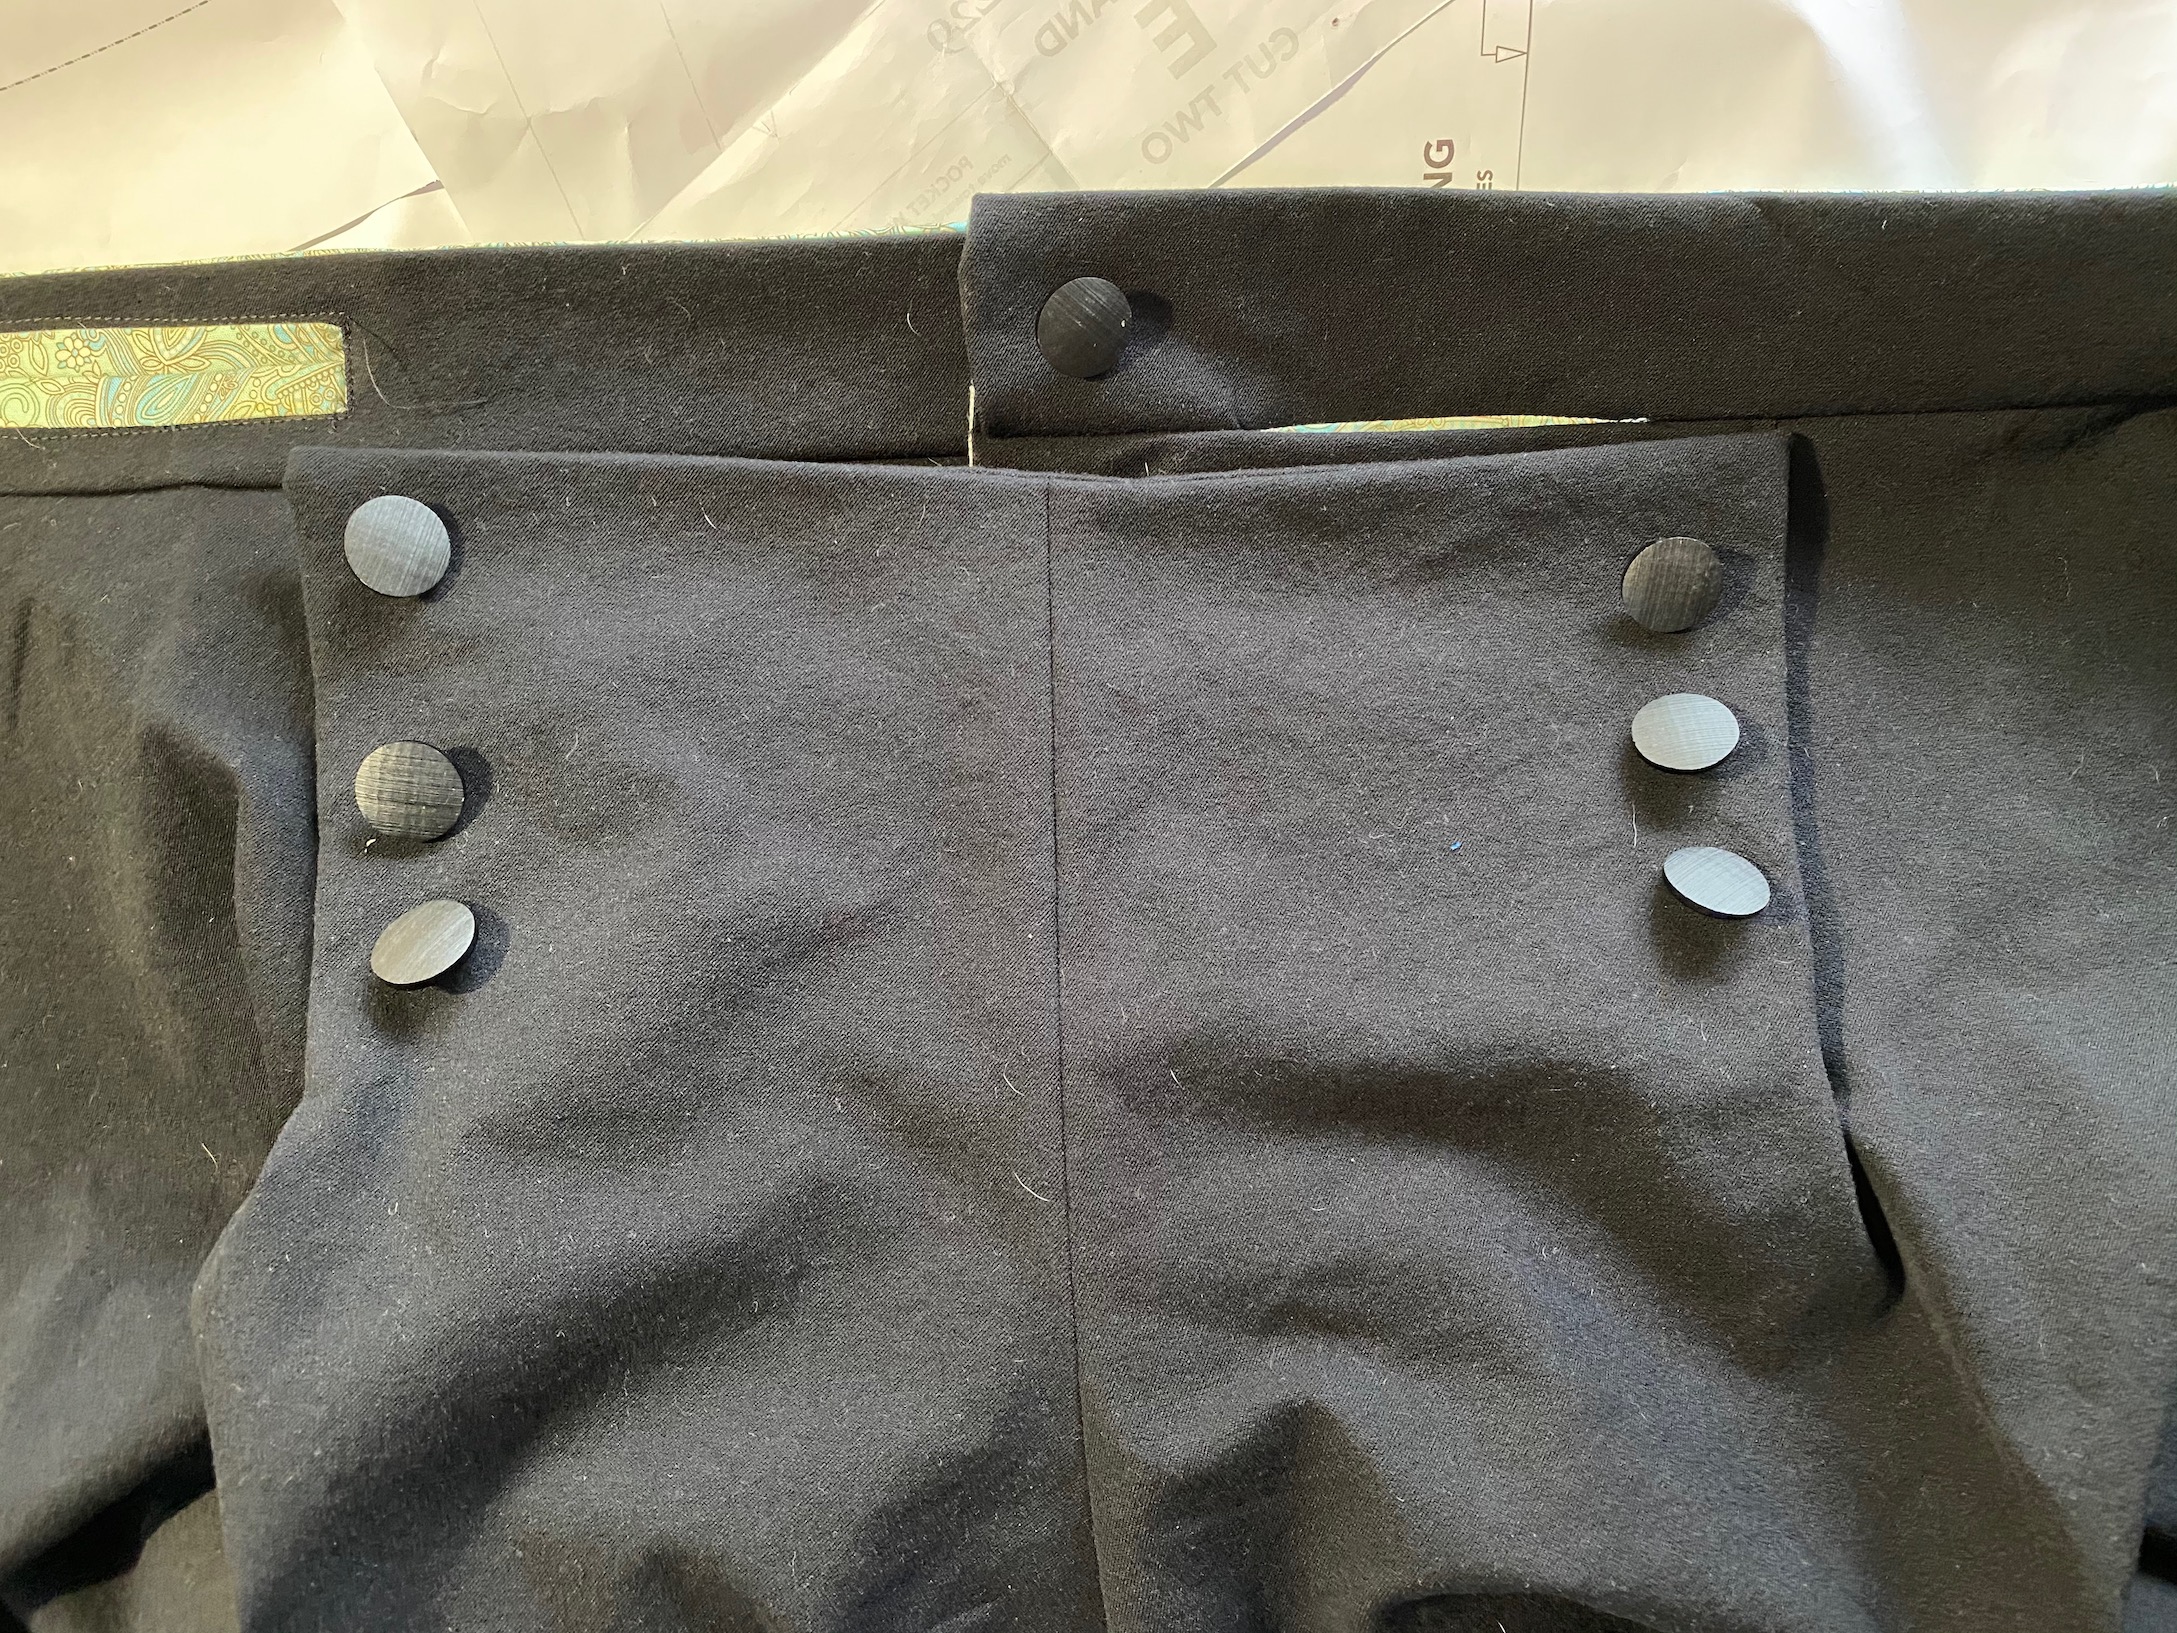
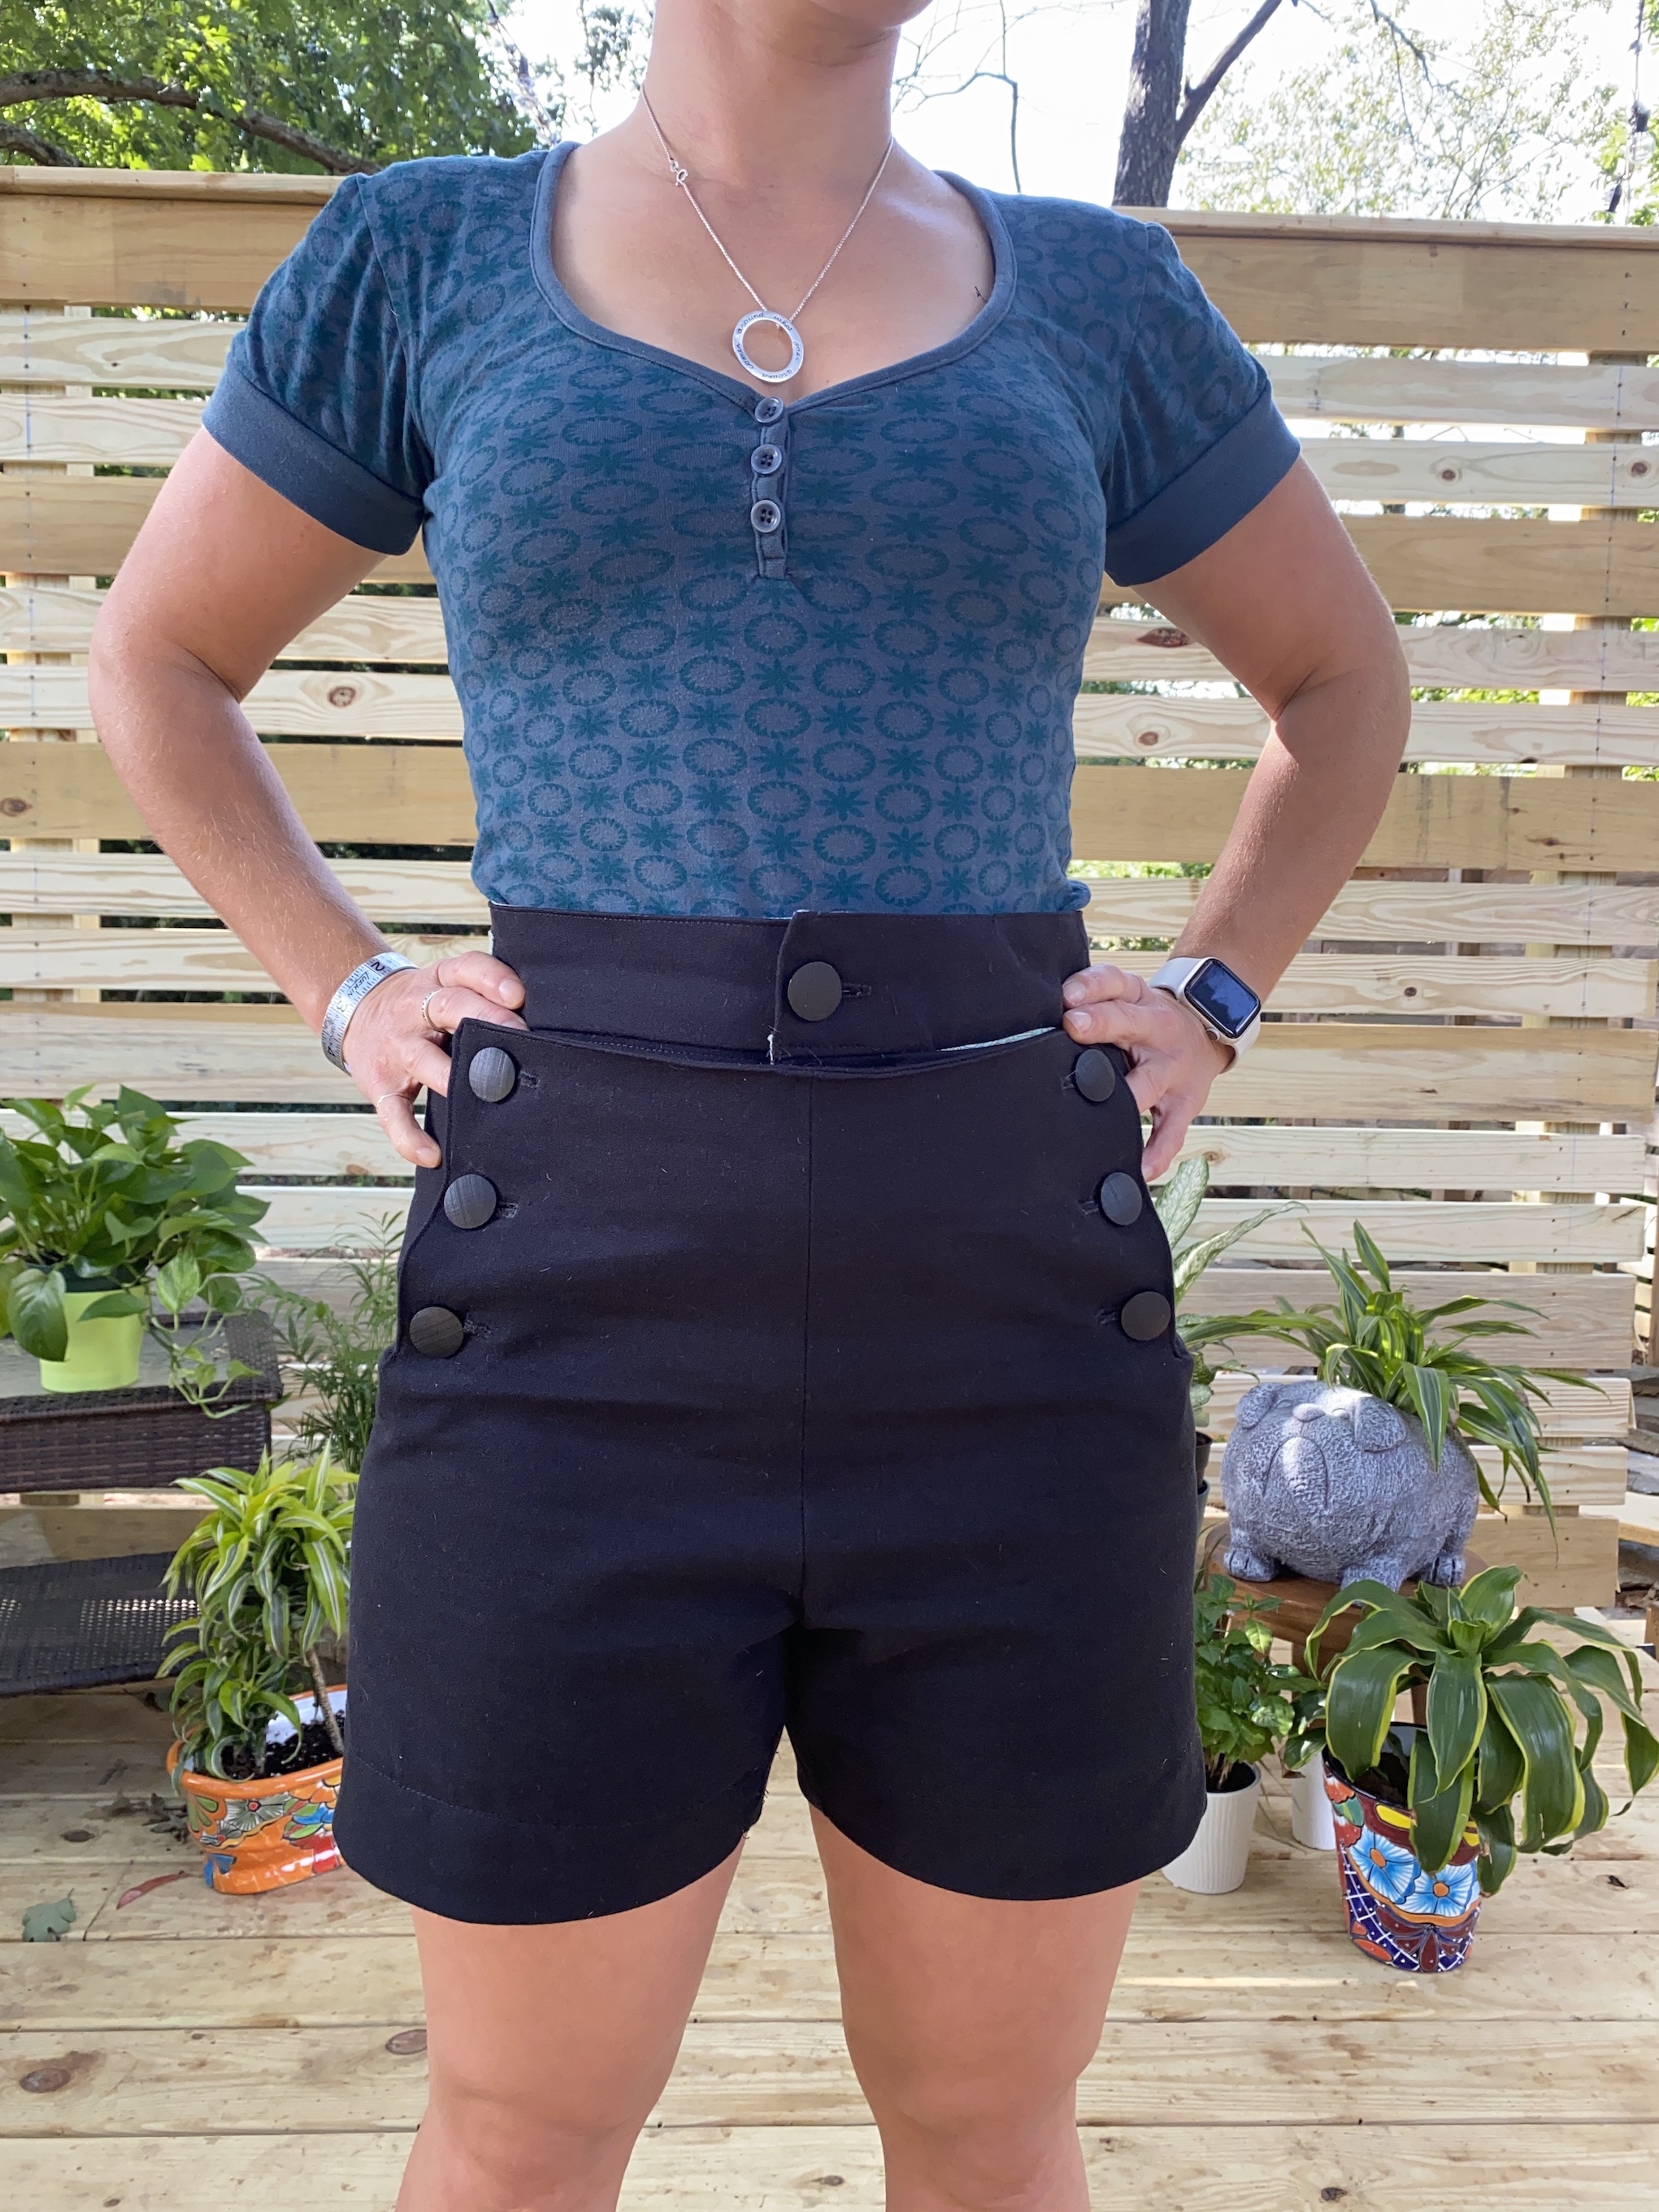
I went thrifting for buttons as I felt a vintage style pattern deserved vintage buttons and found the perfect ones.
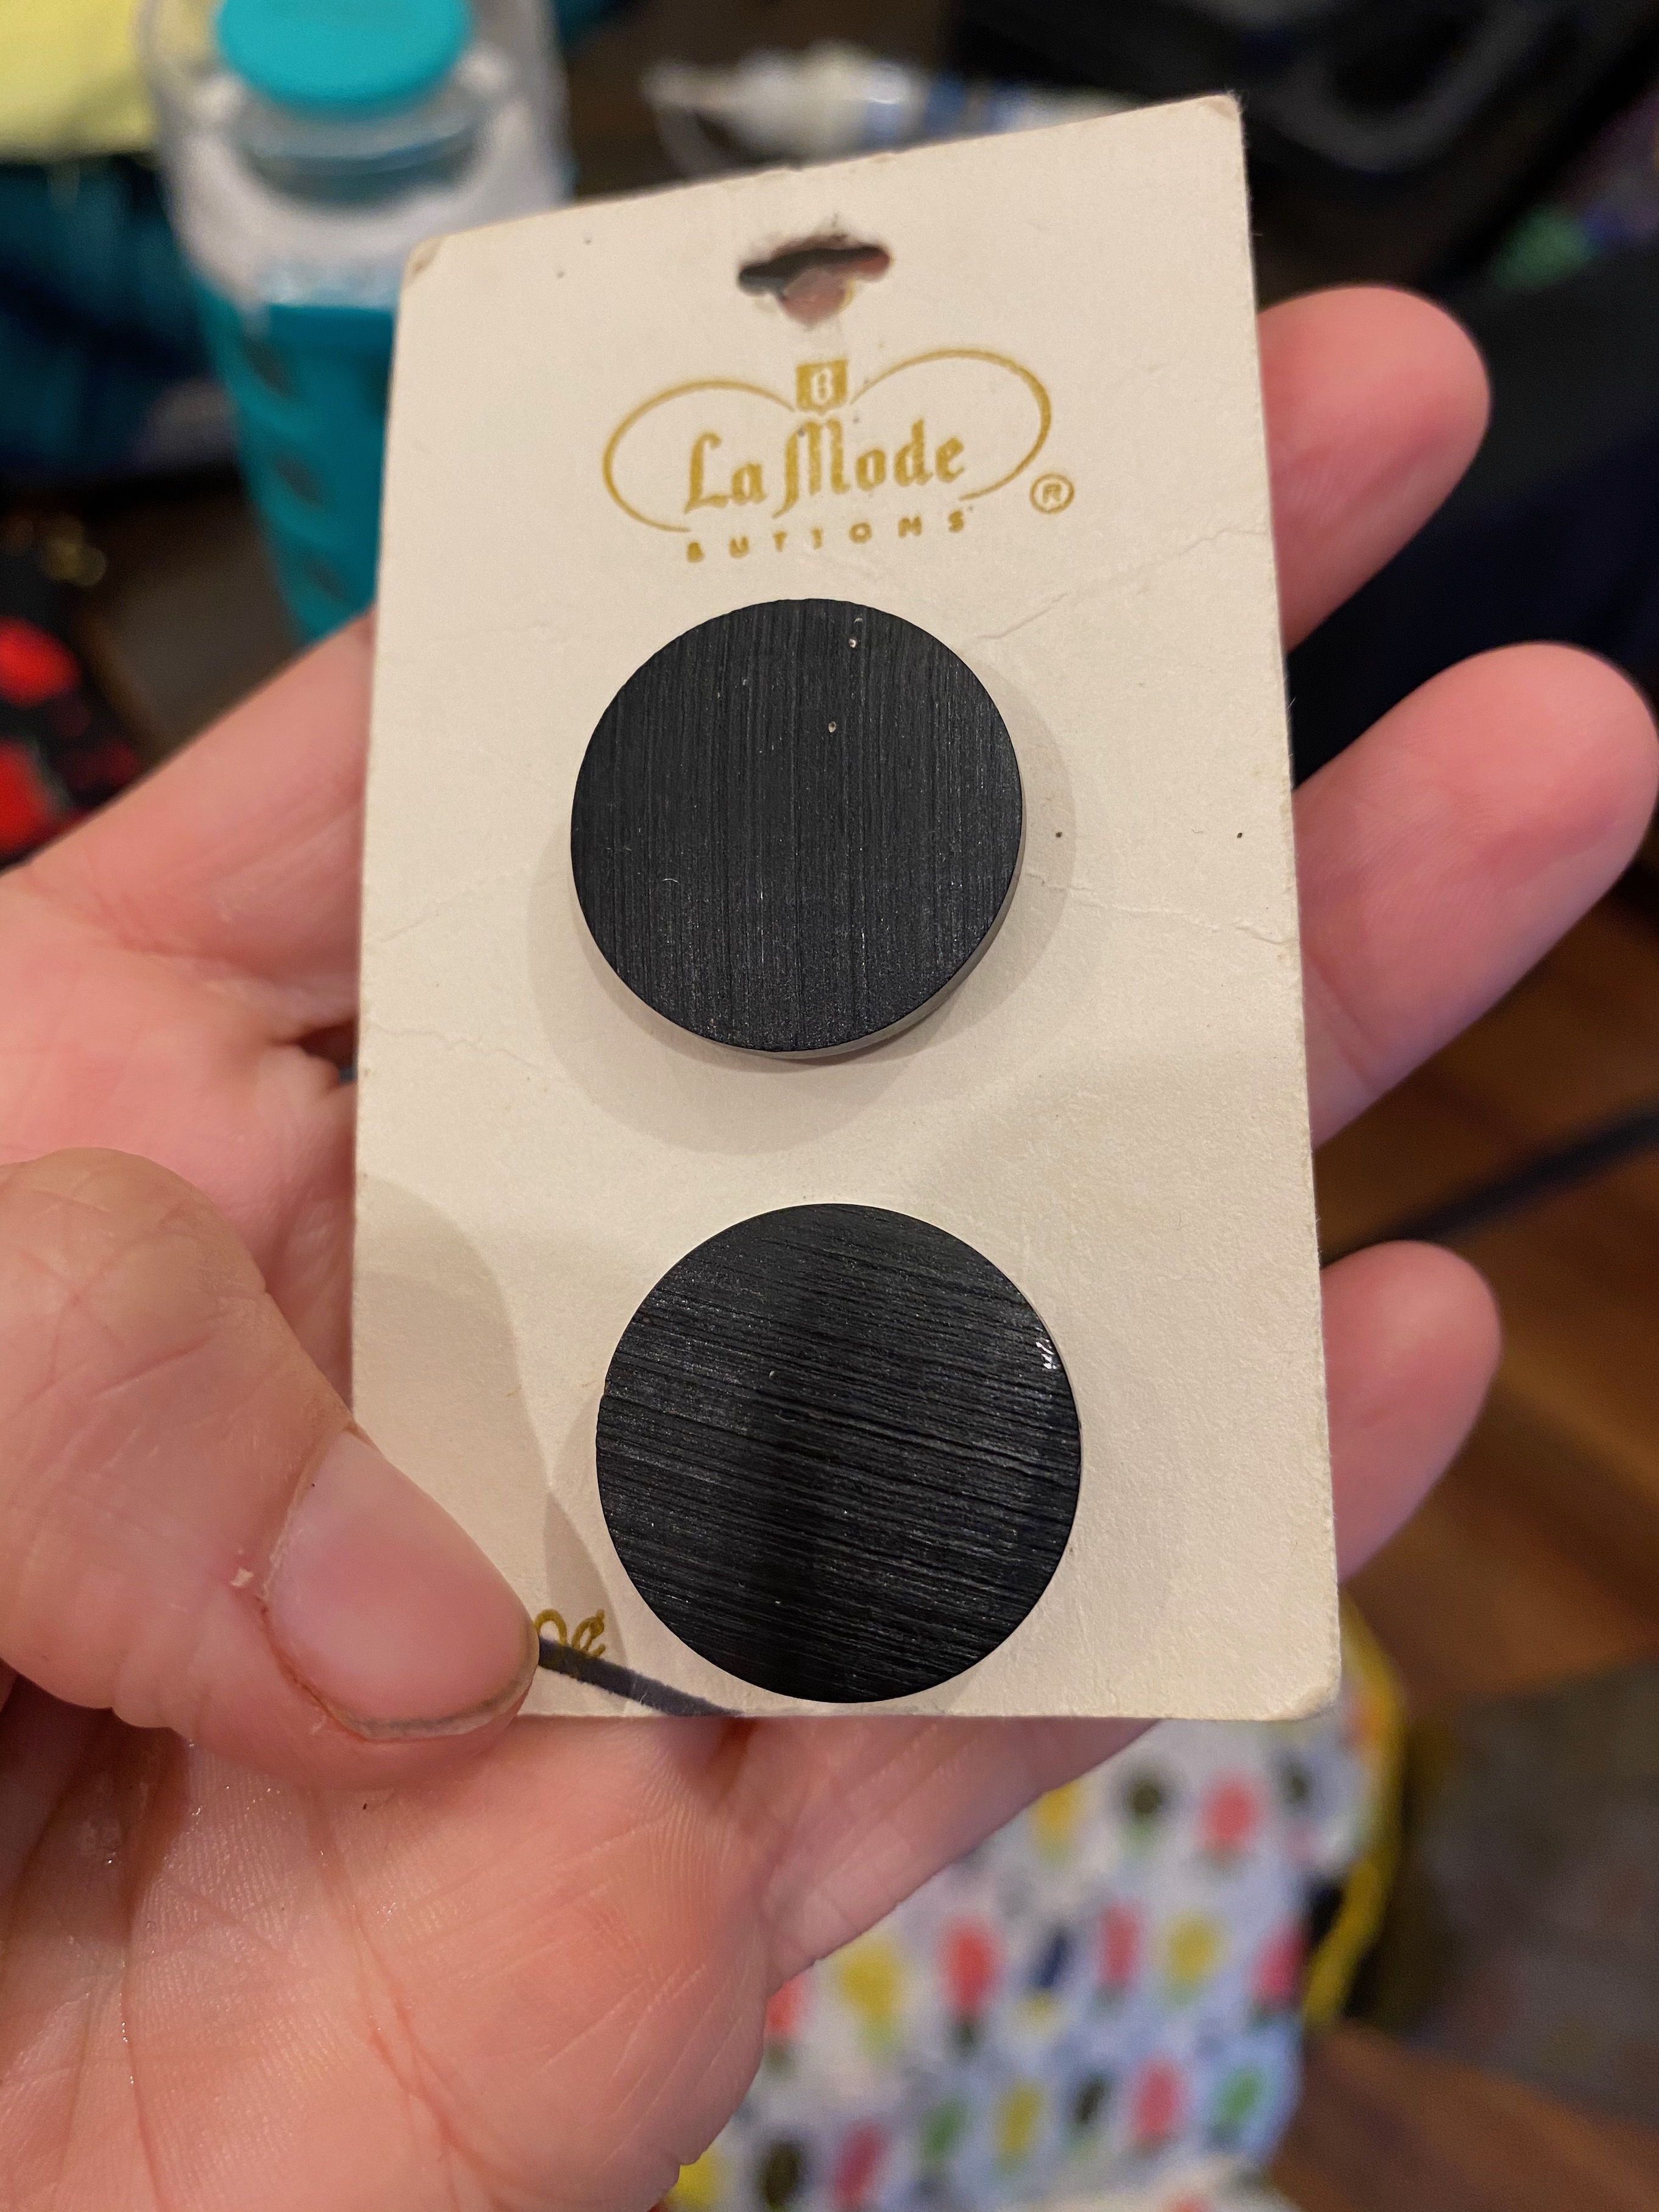
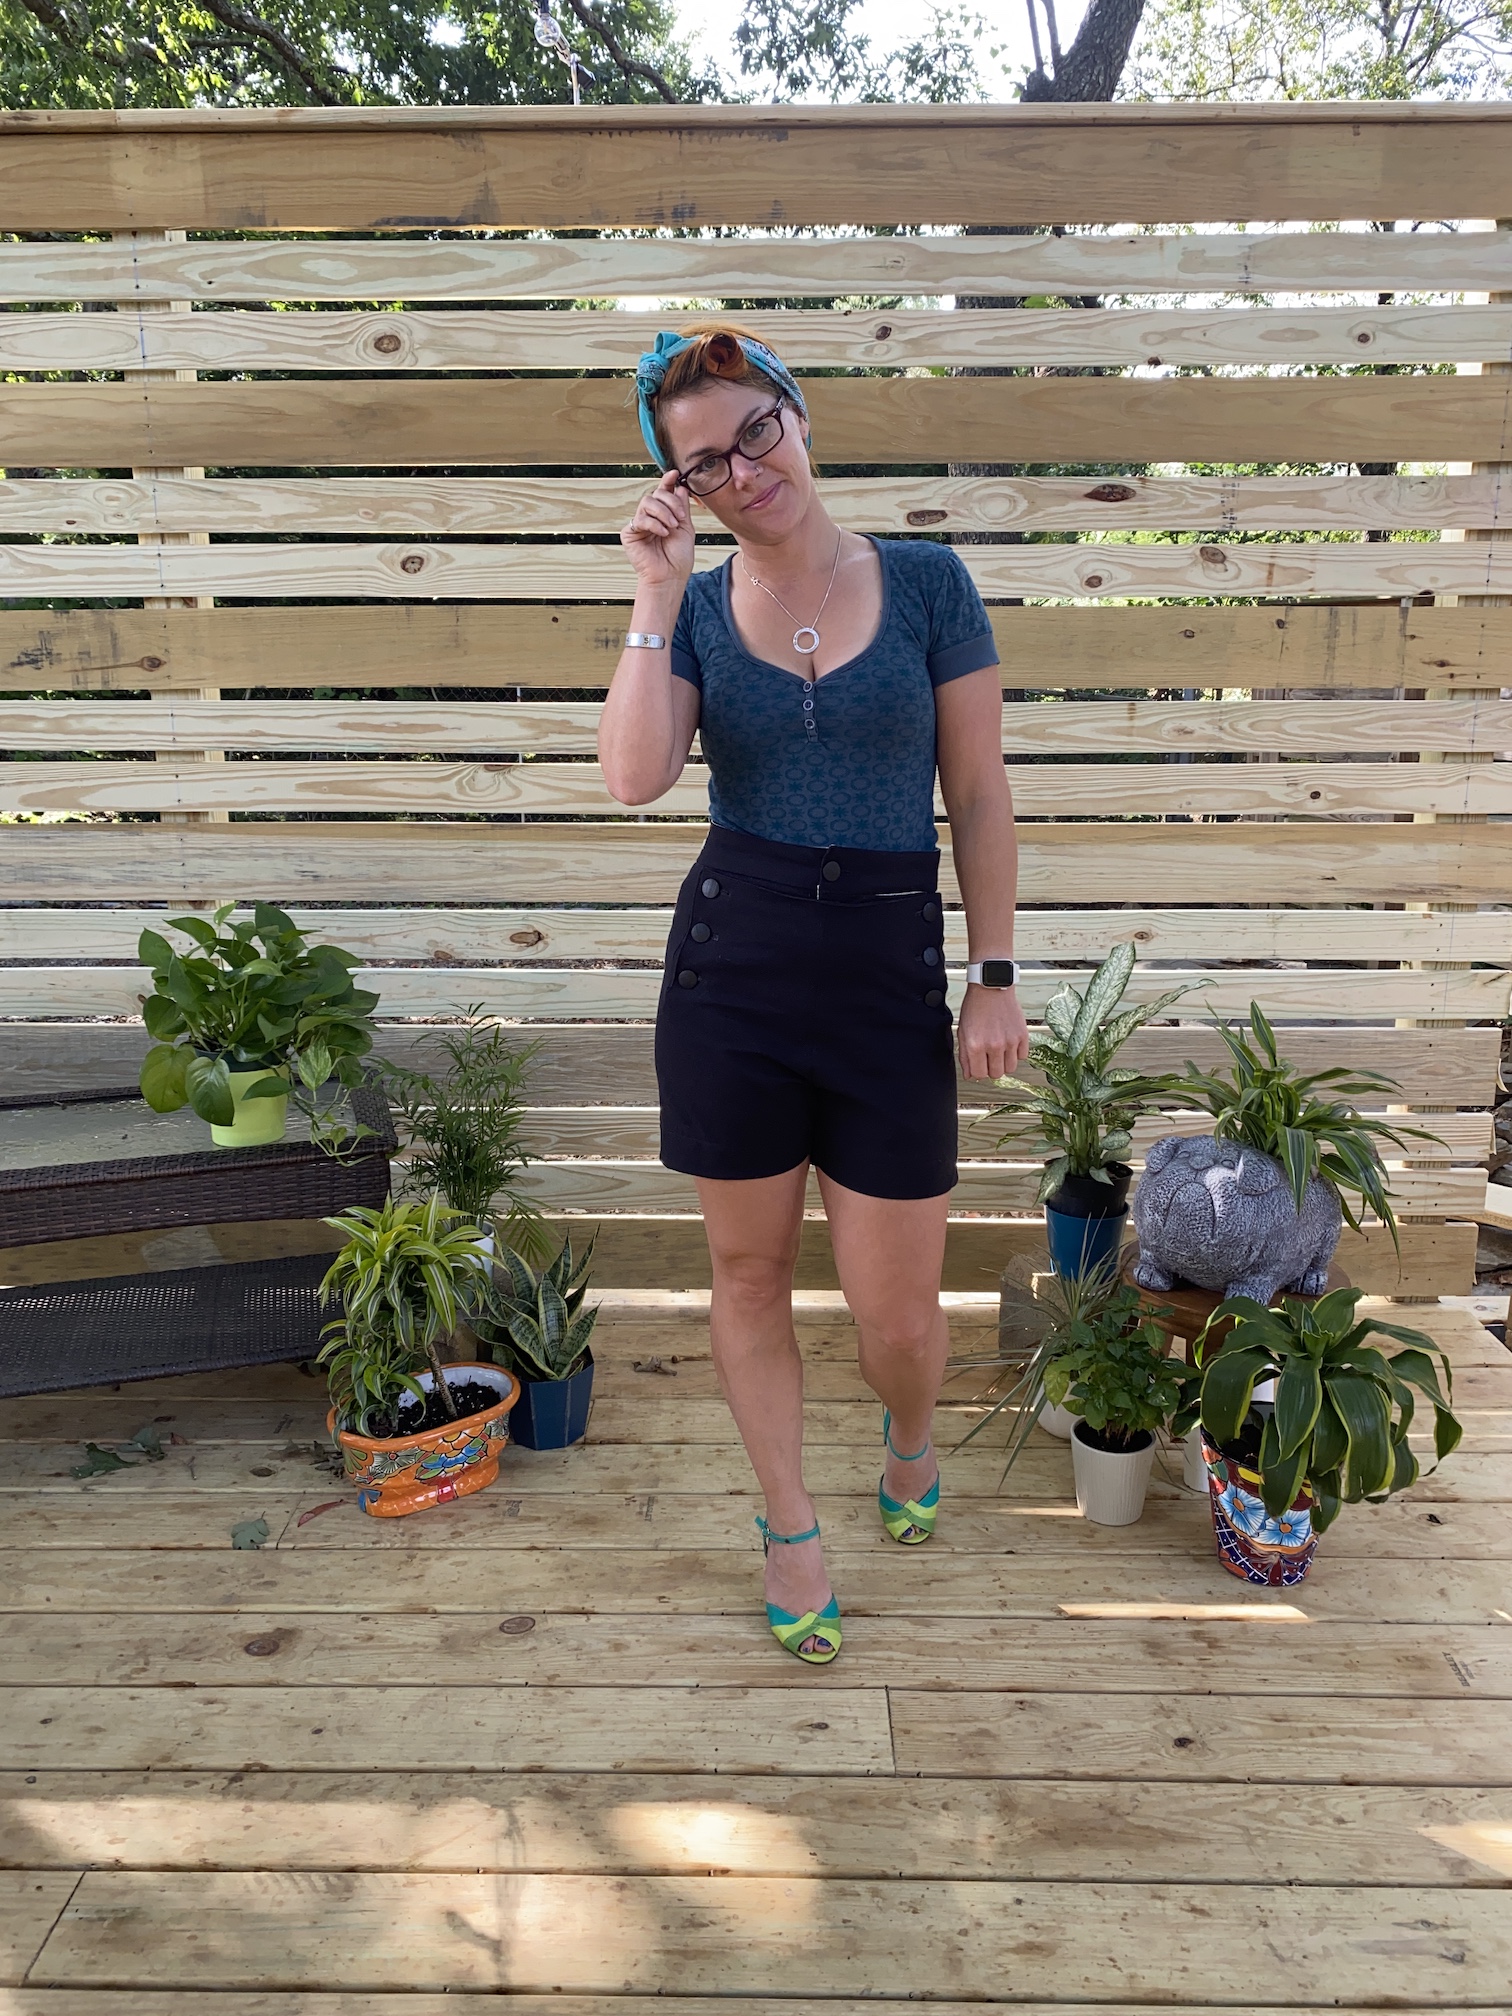
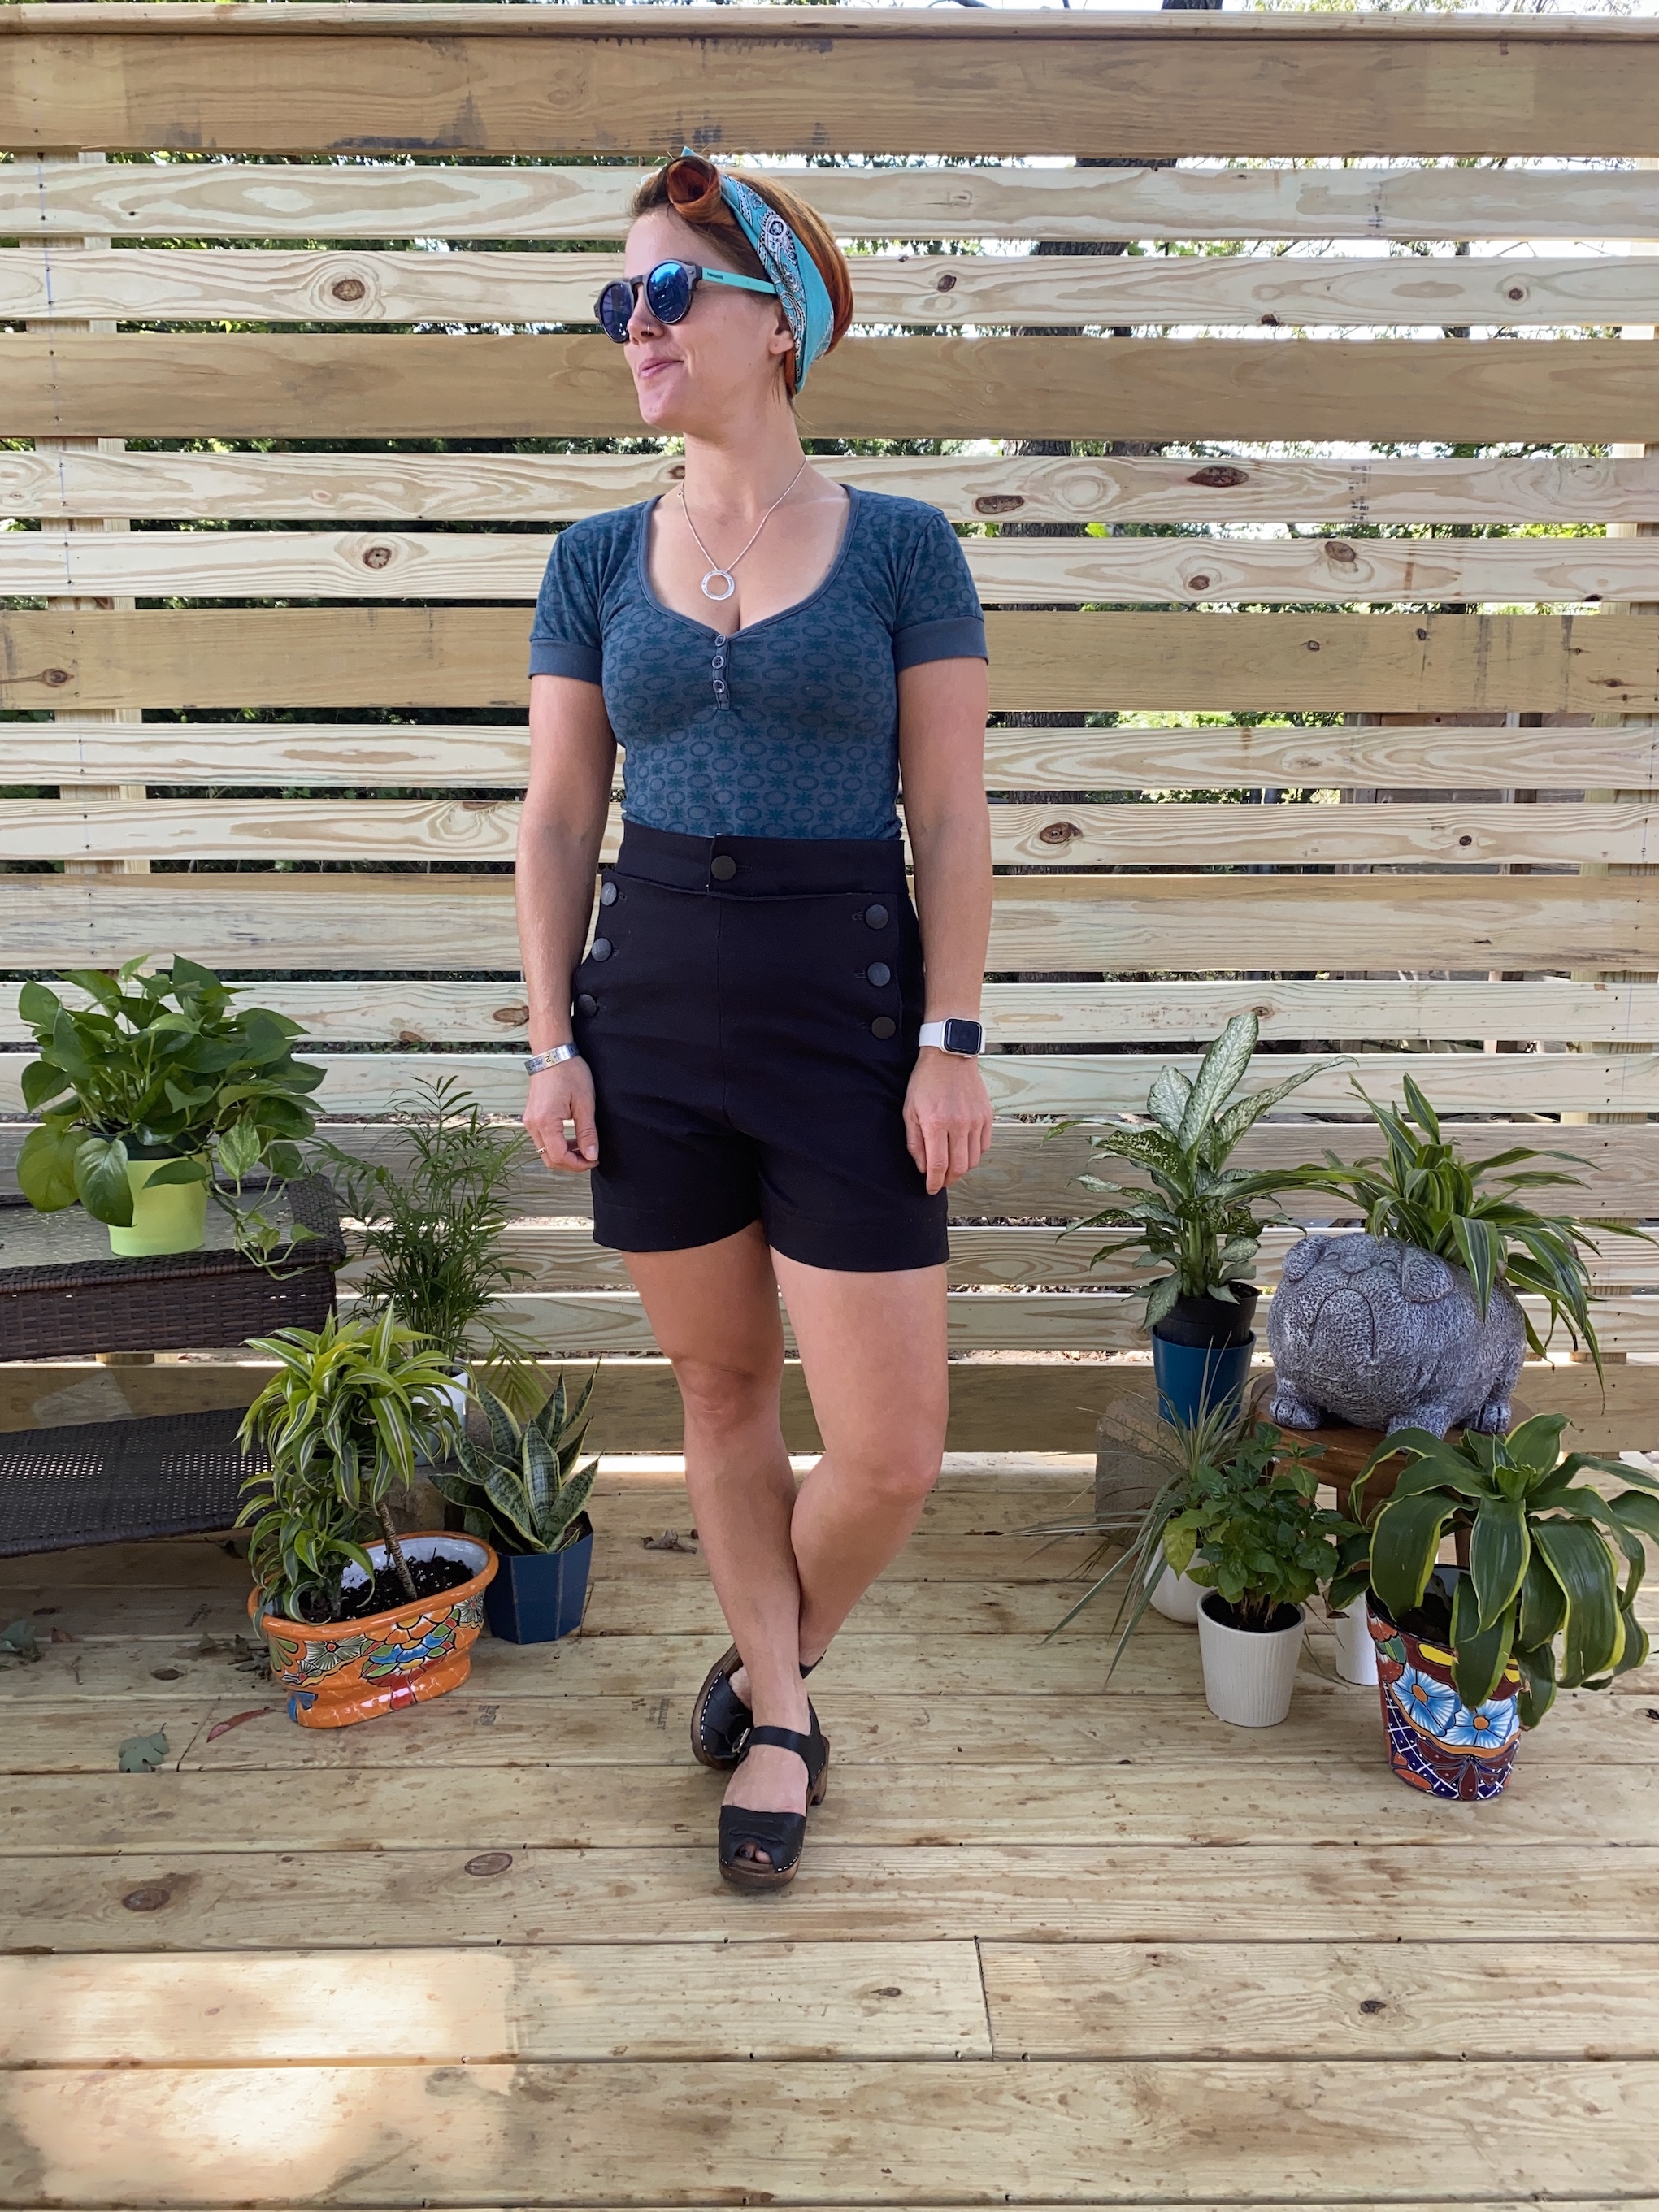
I bought enough to use the recommended 12 but when I laid them out in a few different ways, I wasn’t sure I liked it – it felt too busy – so I decided to just use 1 at the waist and then three on each side. I secured the flap using snaps on the inside. I think this was my favourite part!
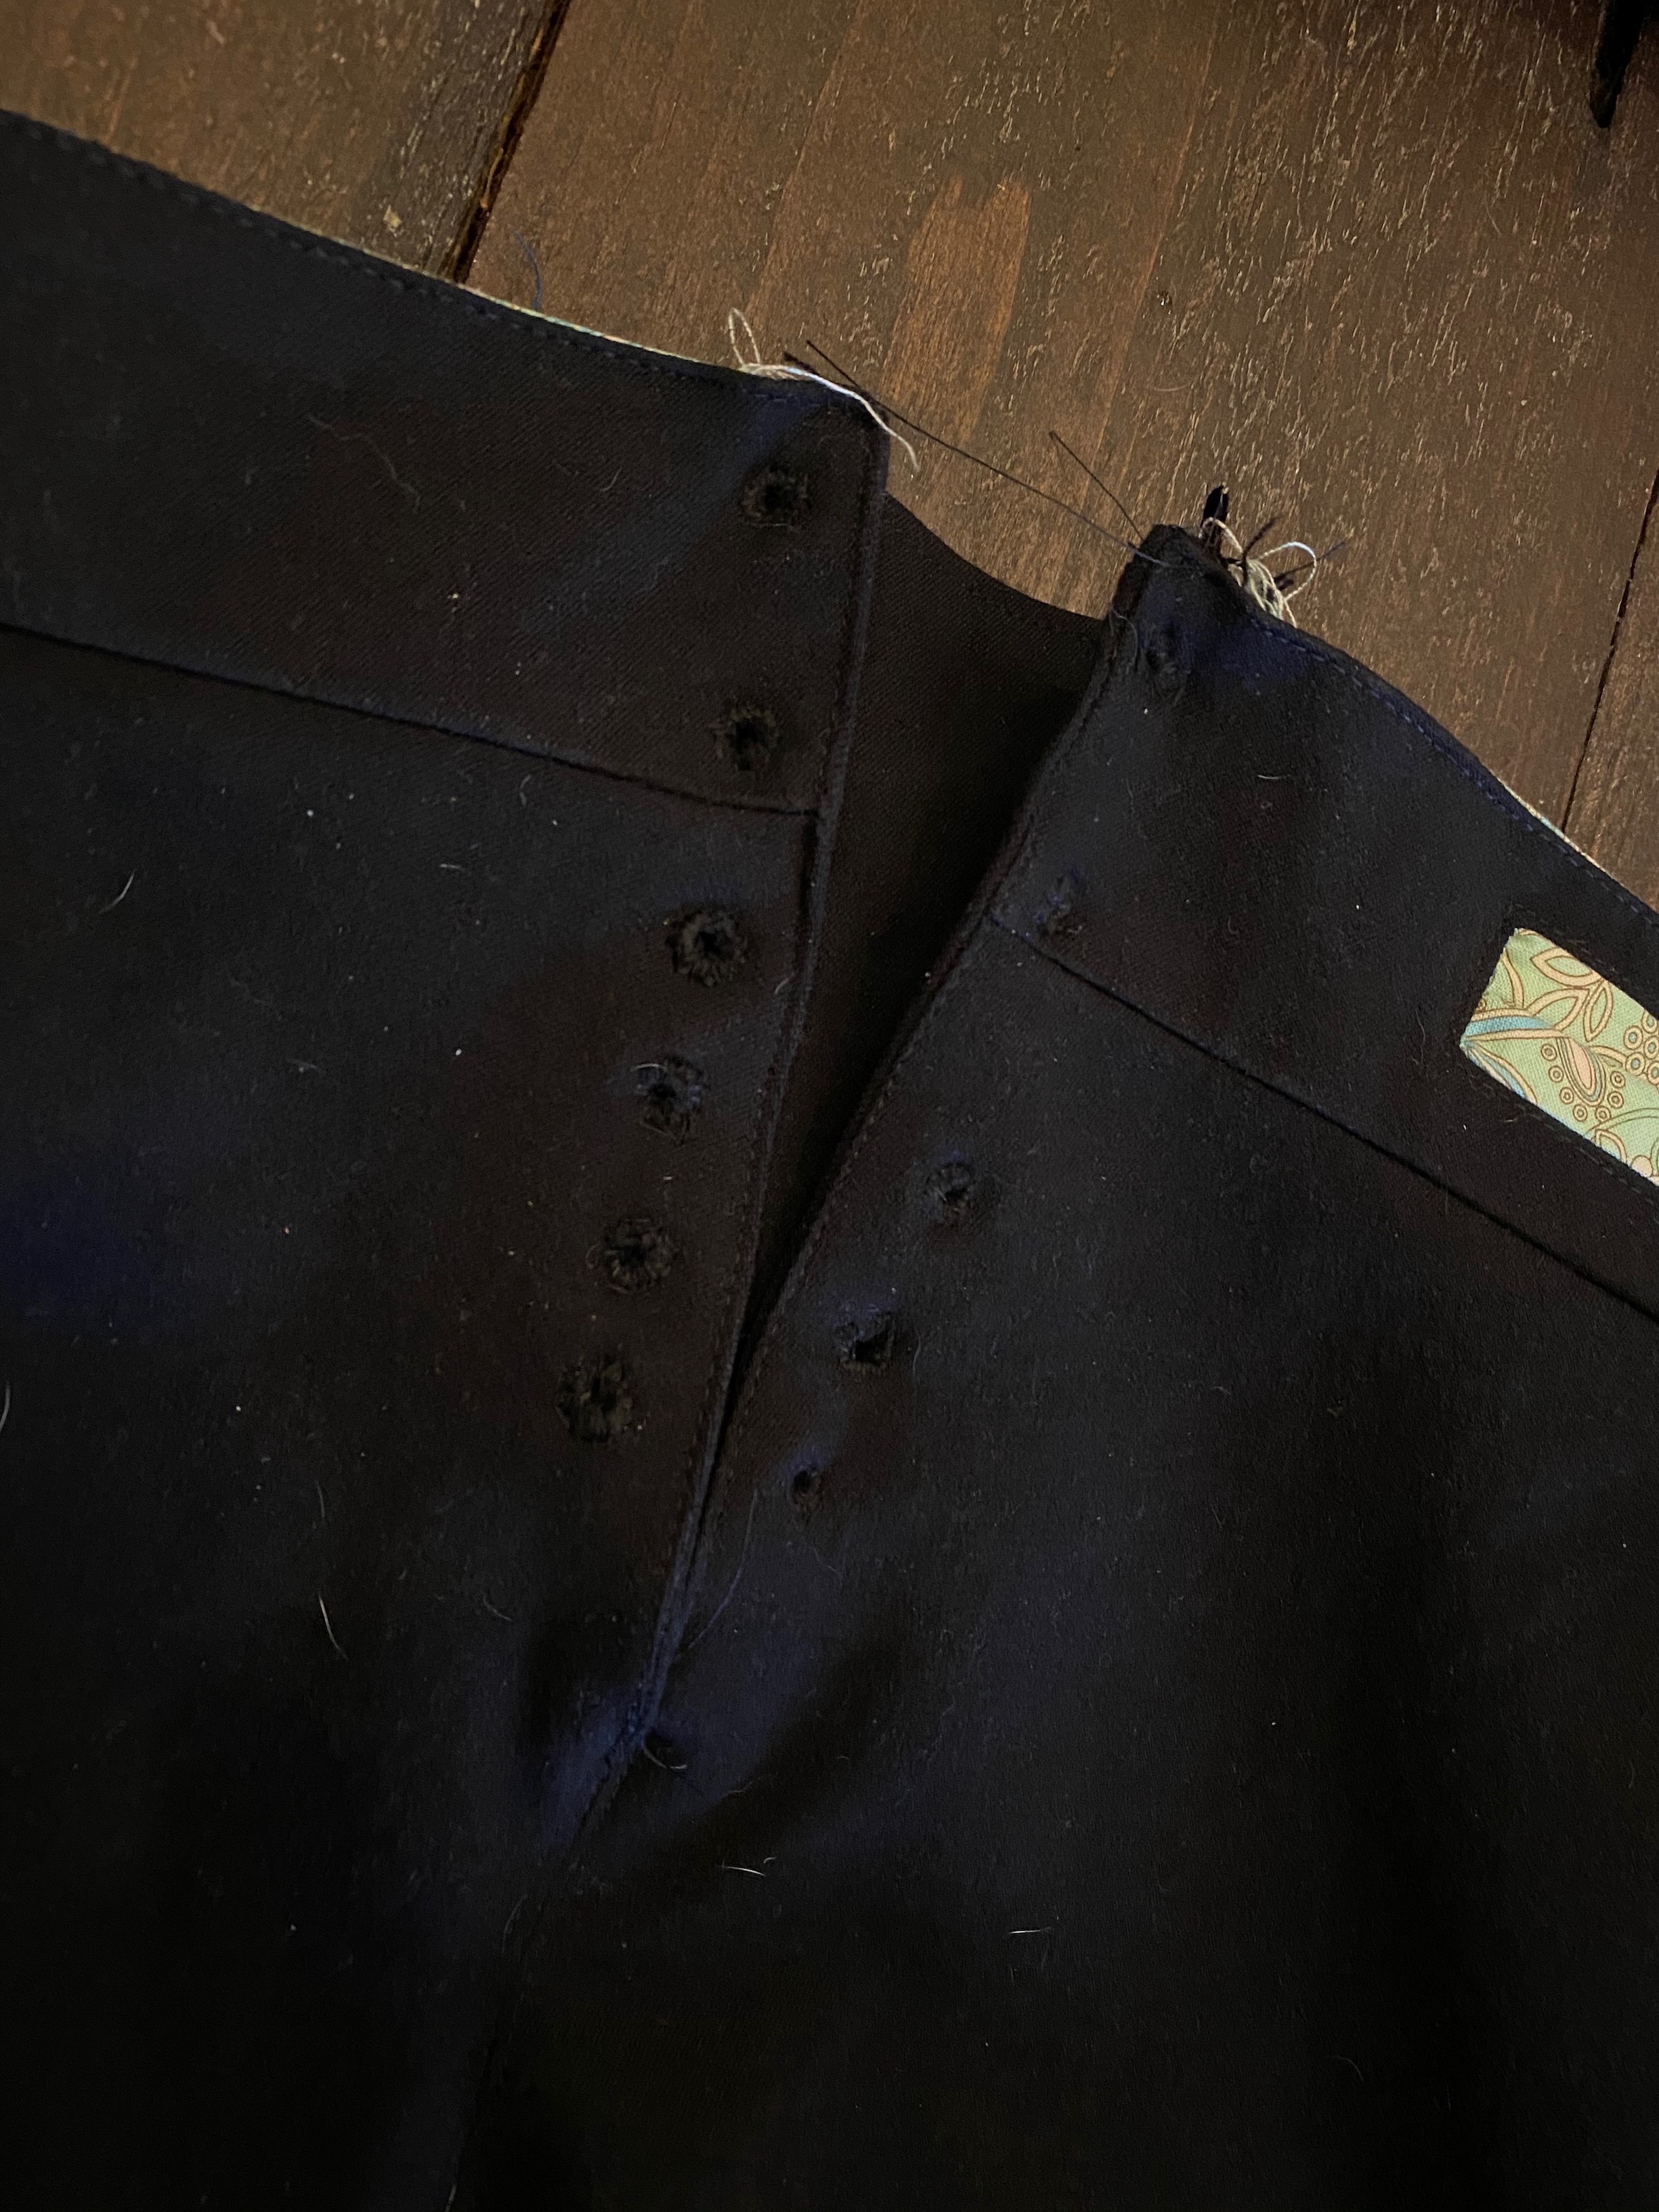
Creating eyelets was new for me, but again, the instructions are nice and clear and I tend to like a bit of hand sewing so I enjoyed that part too.
The only trouble I had was because I sized down the legs ended up being a little tight so I had to use 1/4 seam allowance on the inseam but it worked out fine.
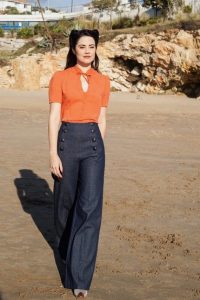
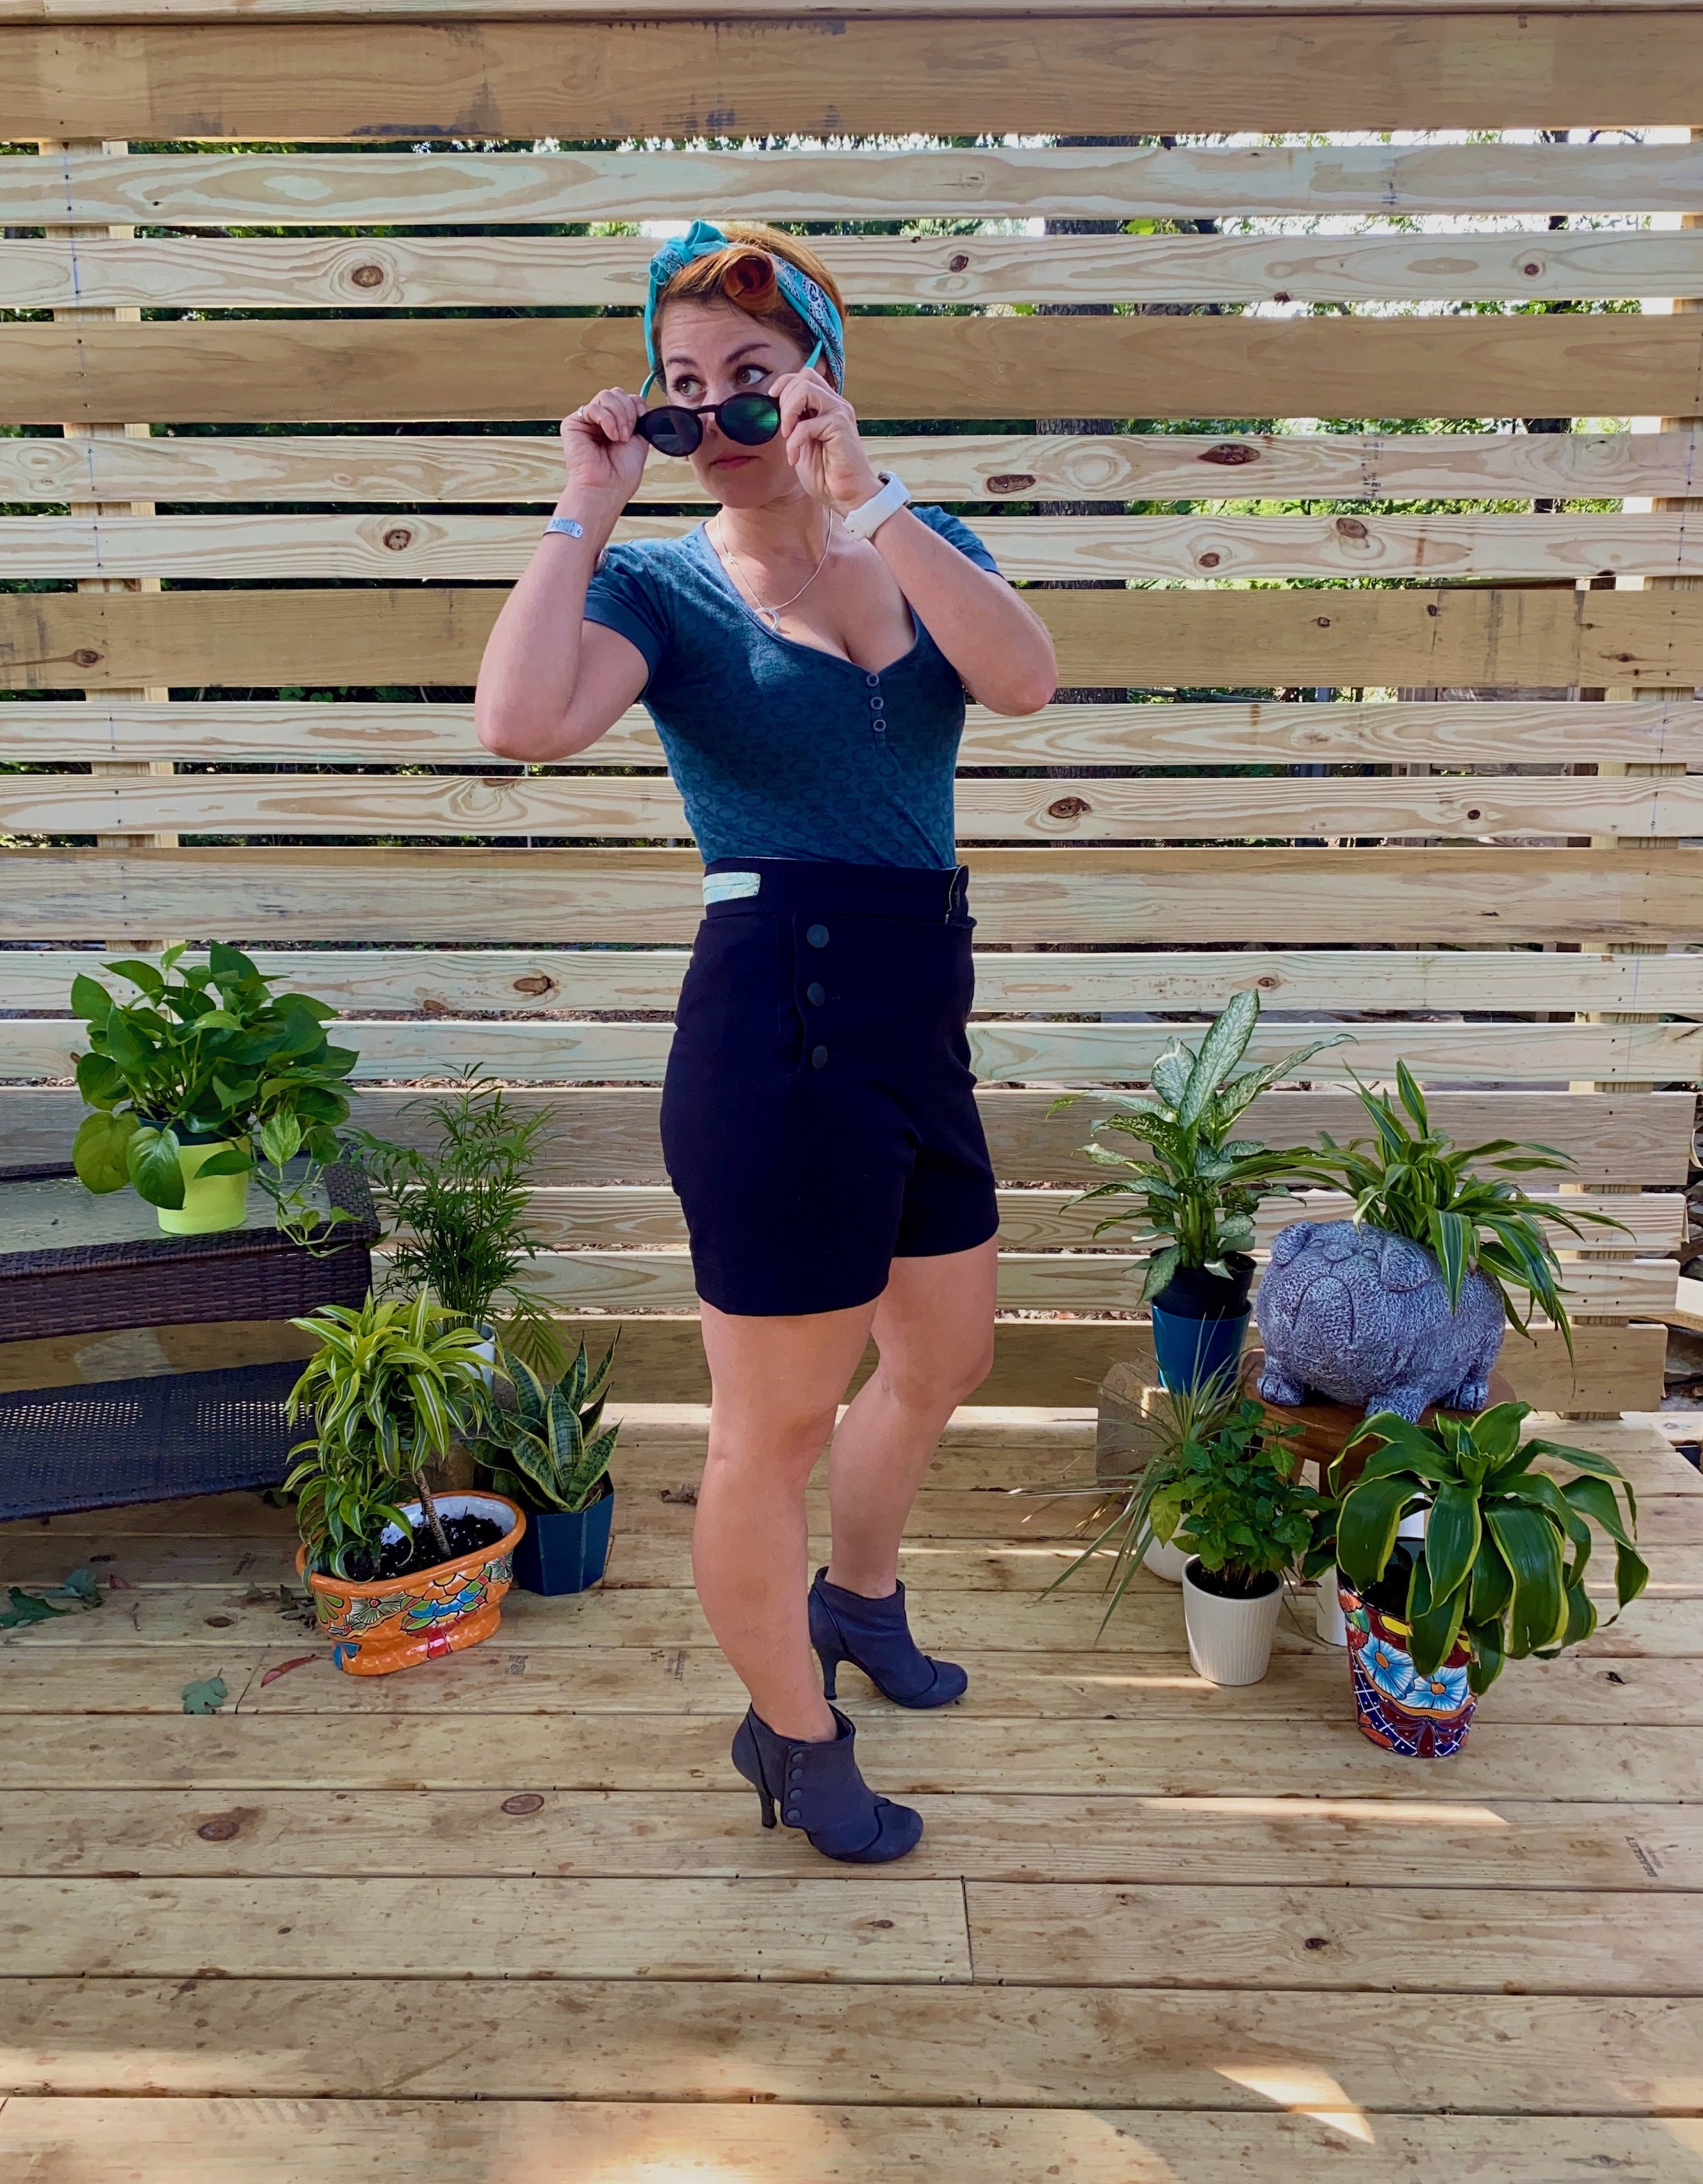
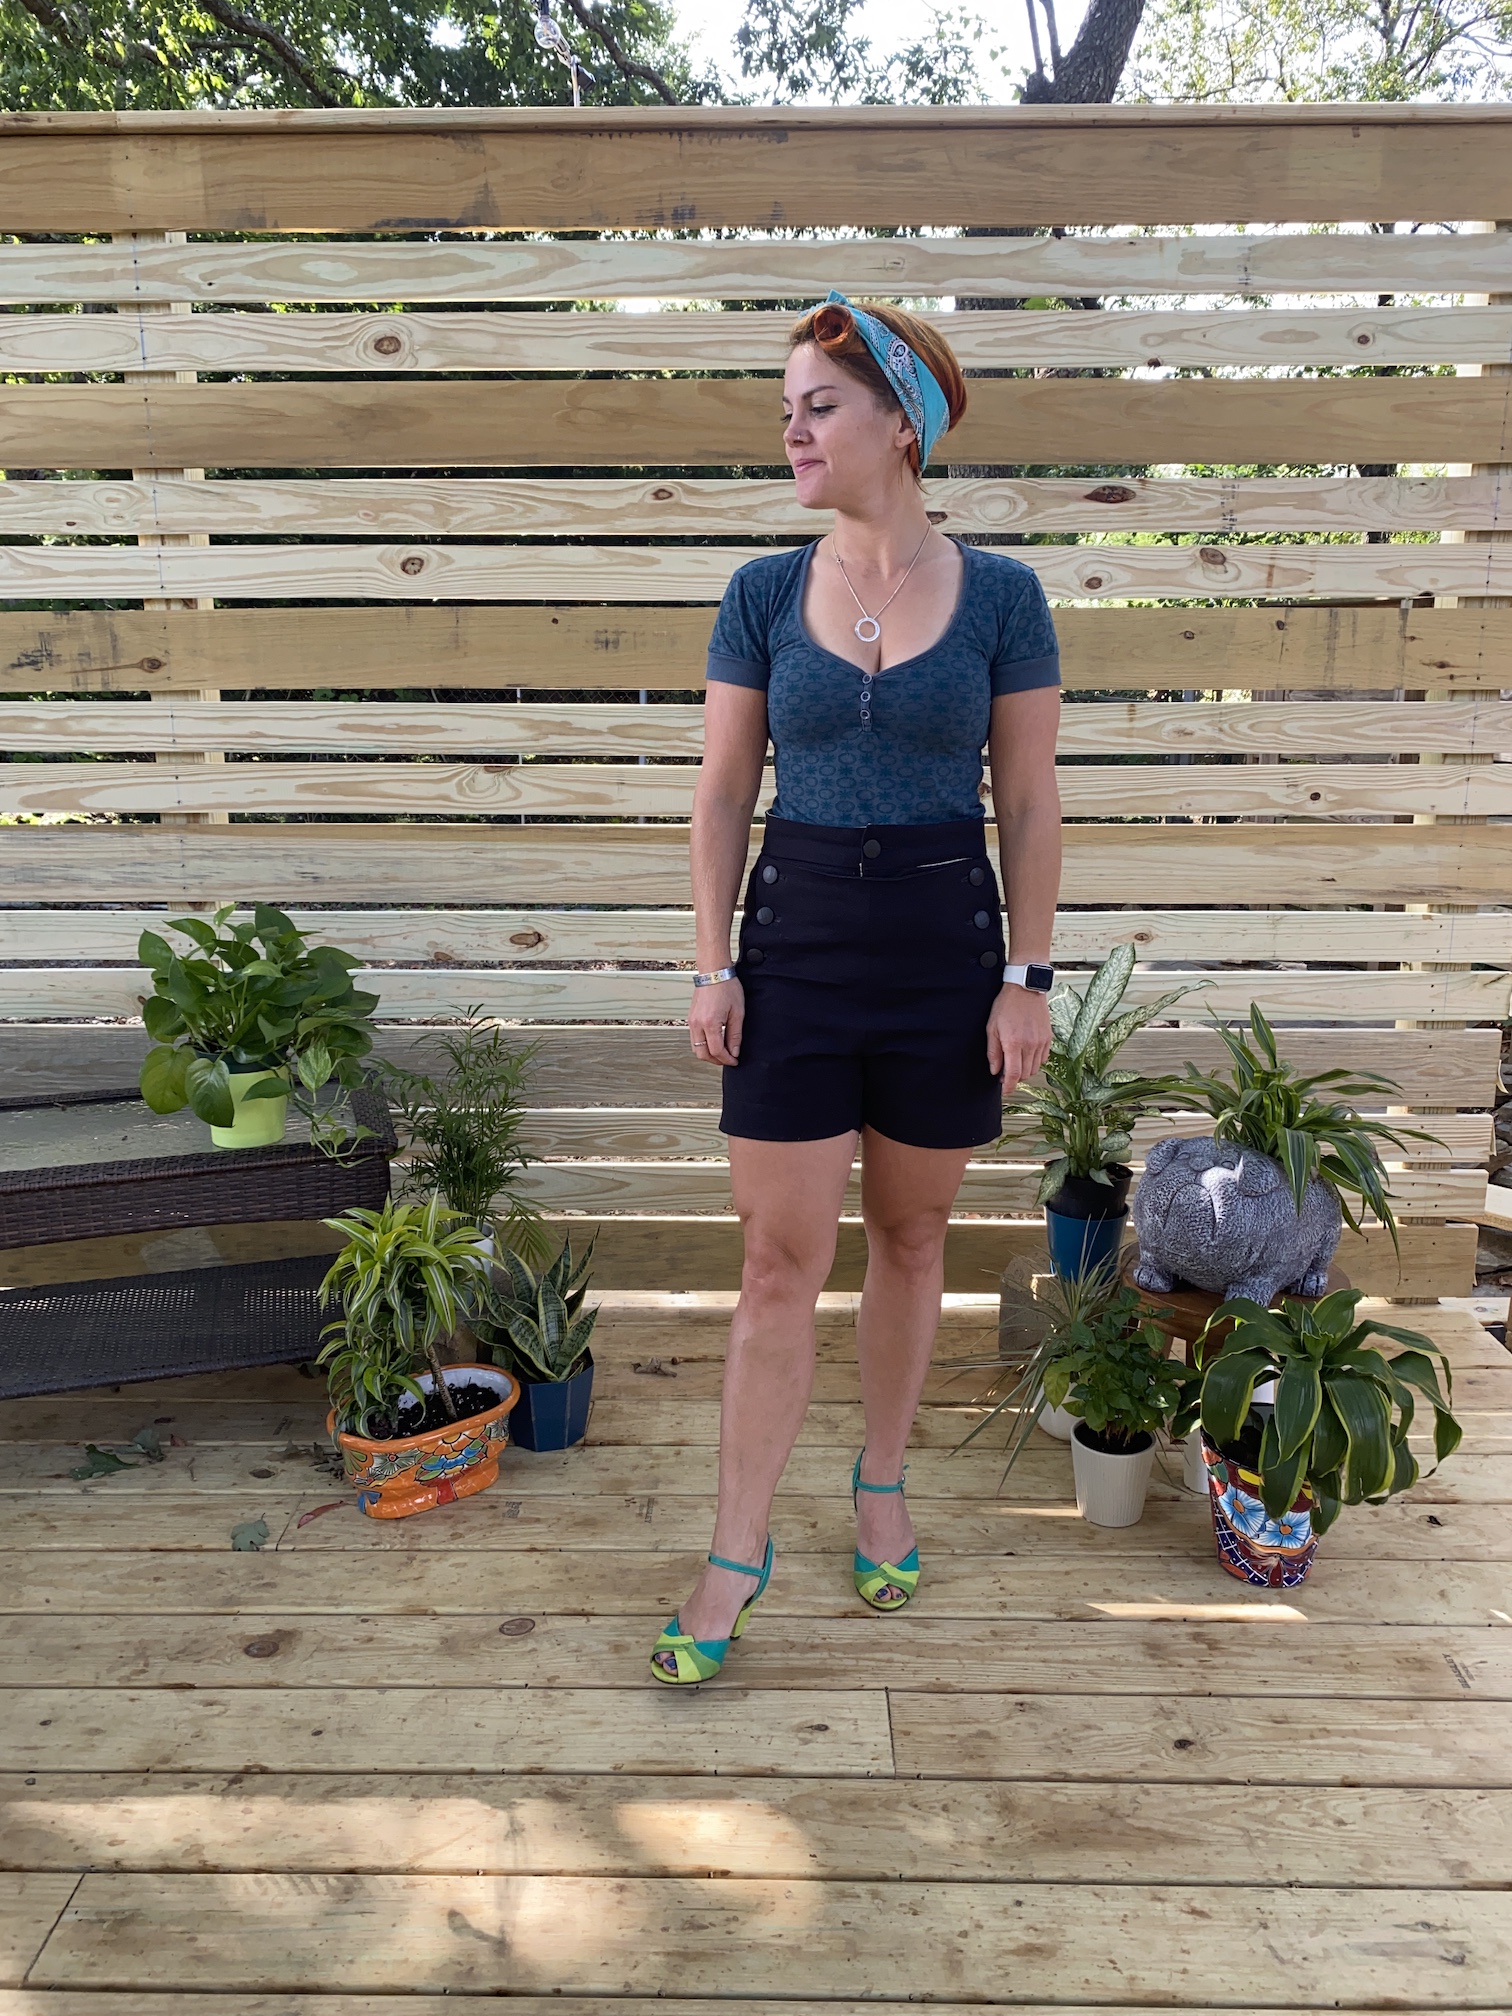
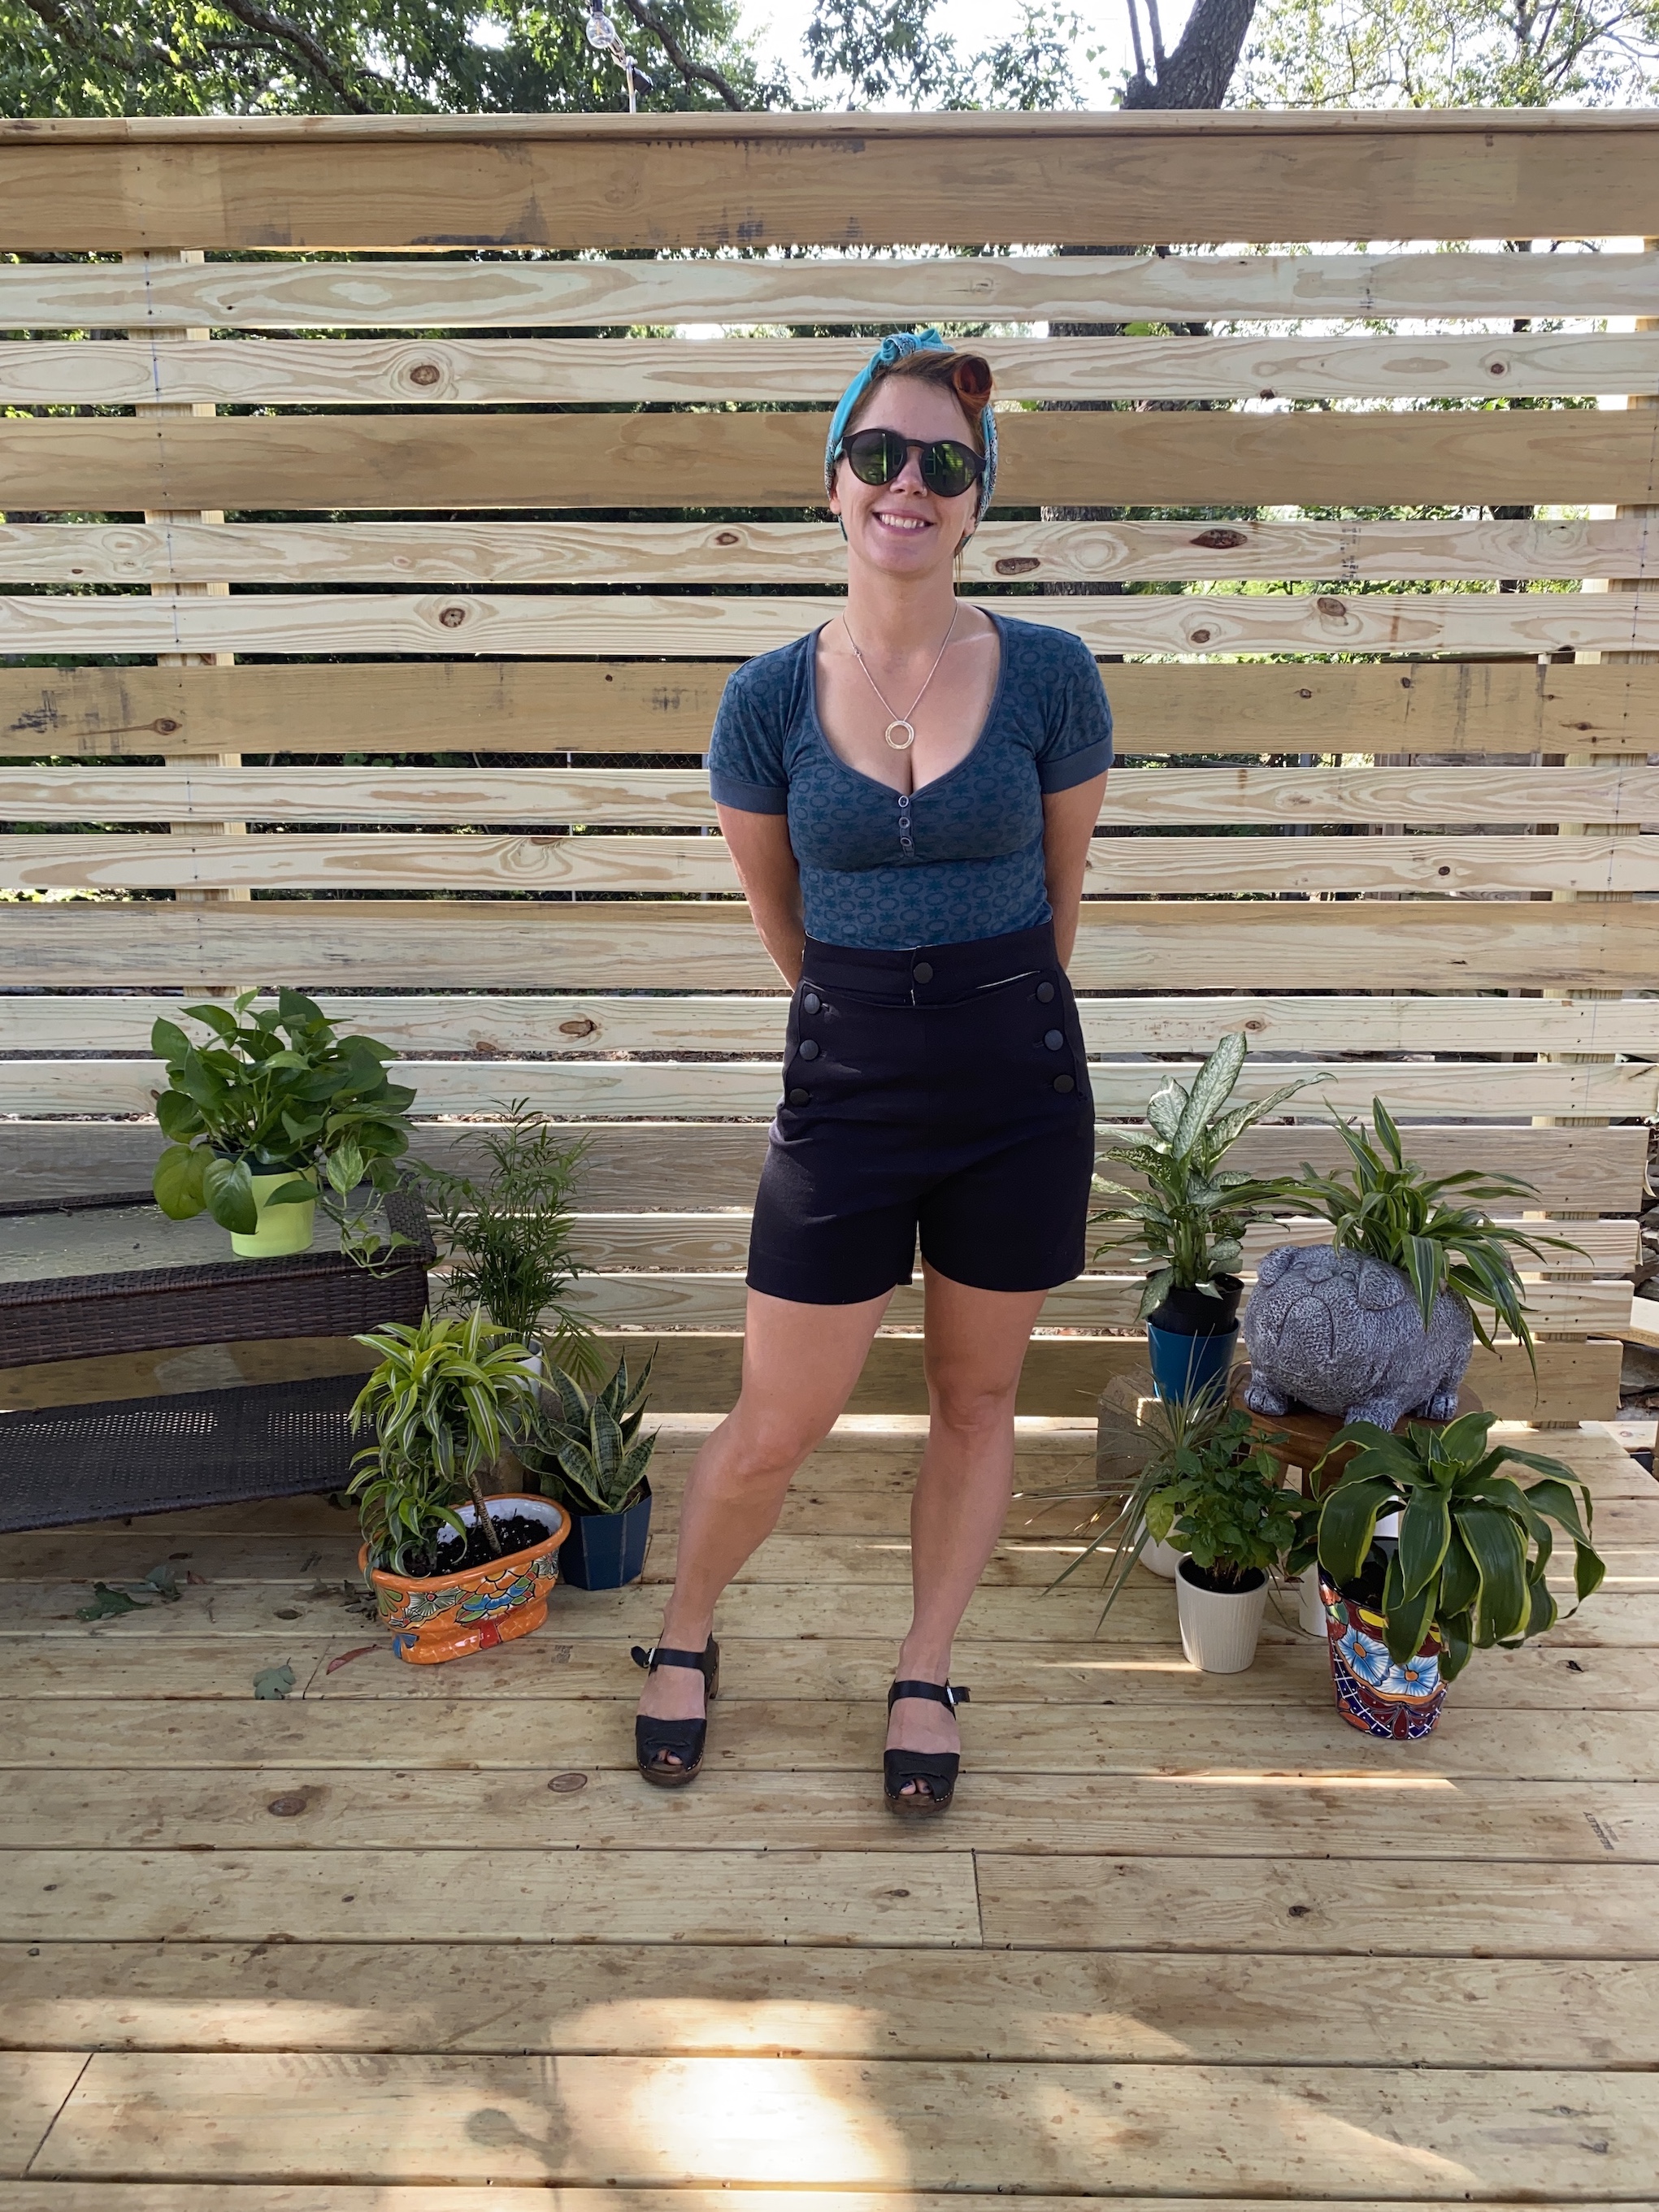
I decided to have a little fun with the photos for these and styled them in a few different ways.
So here they are:

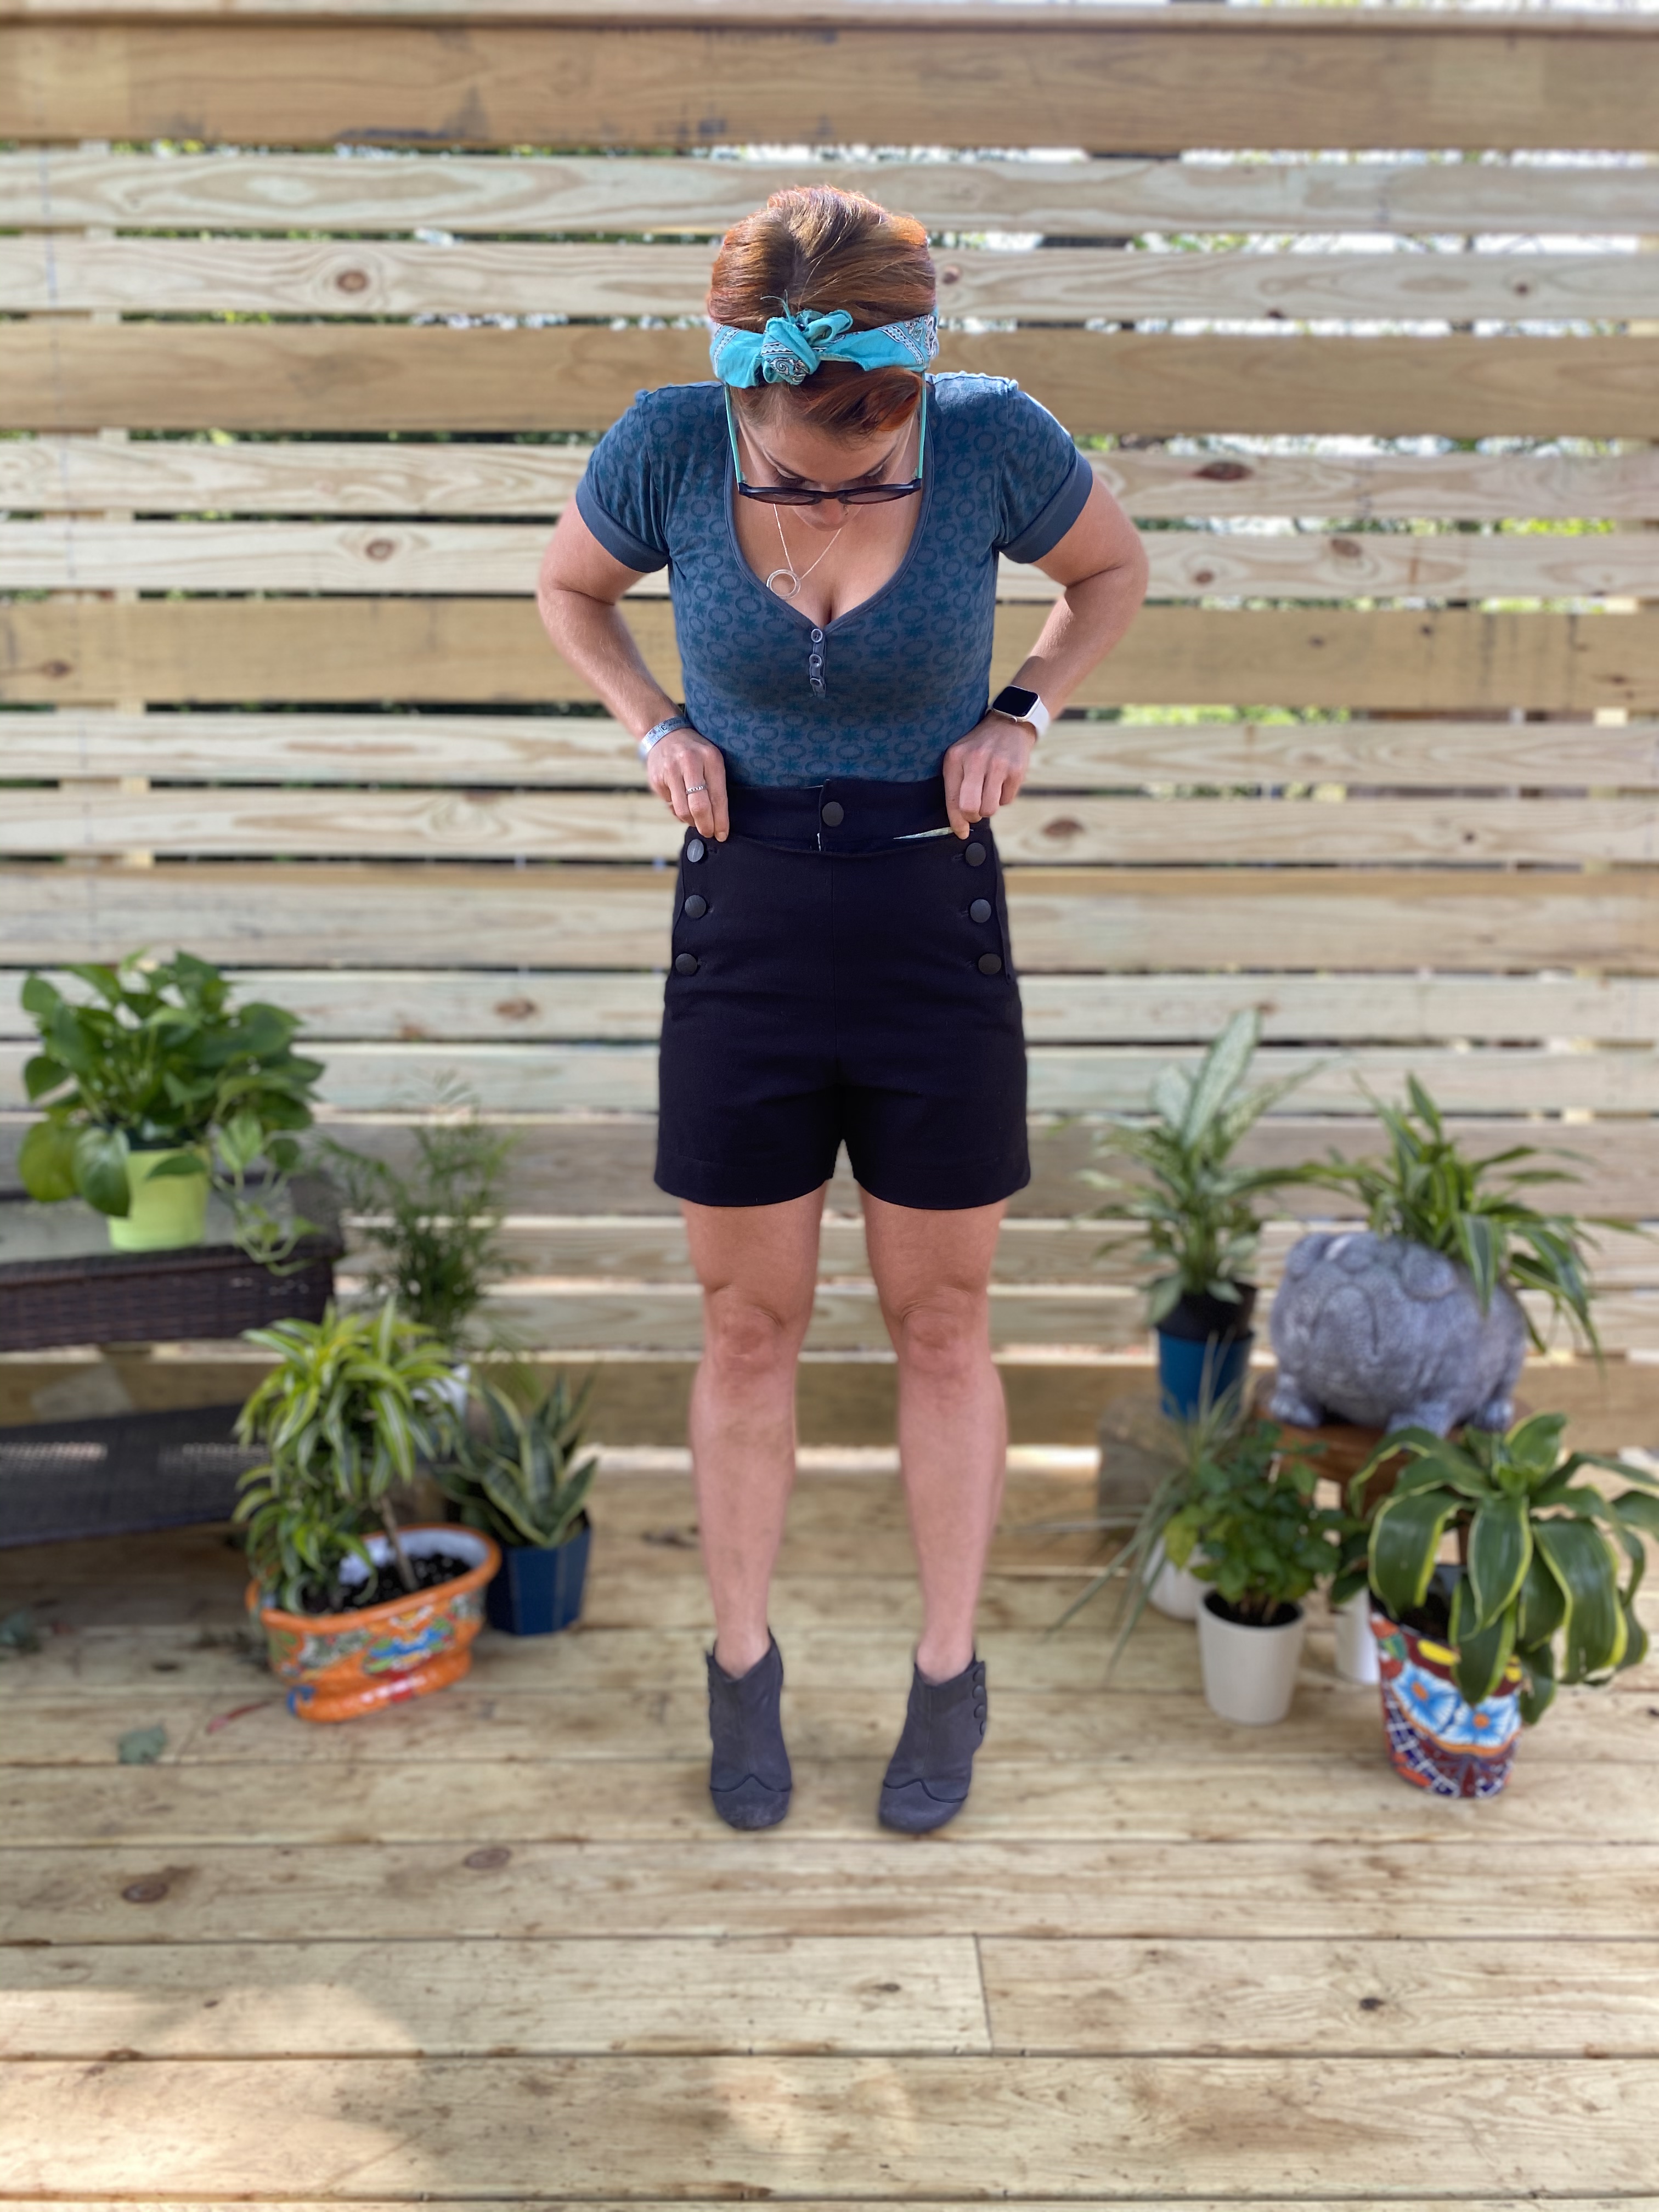
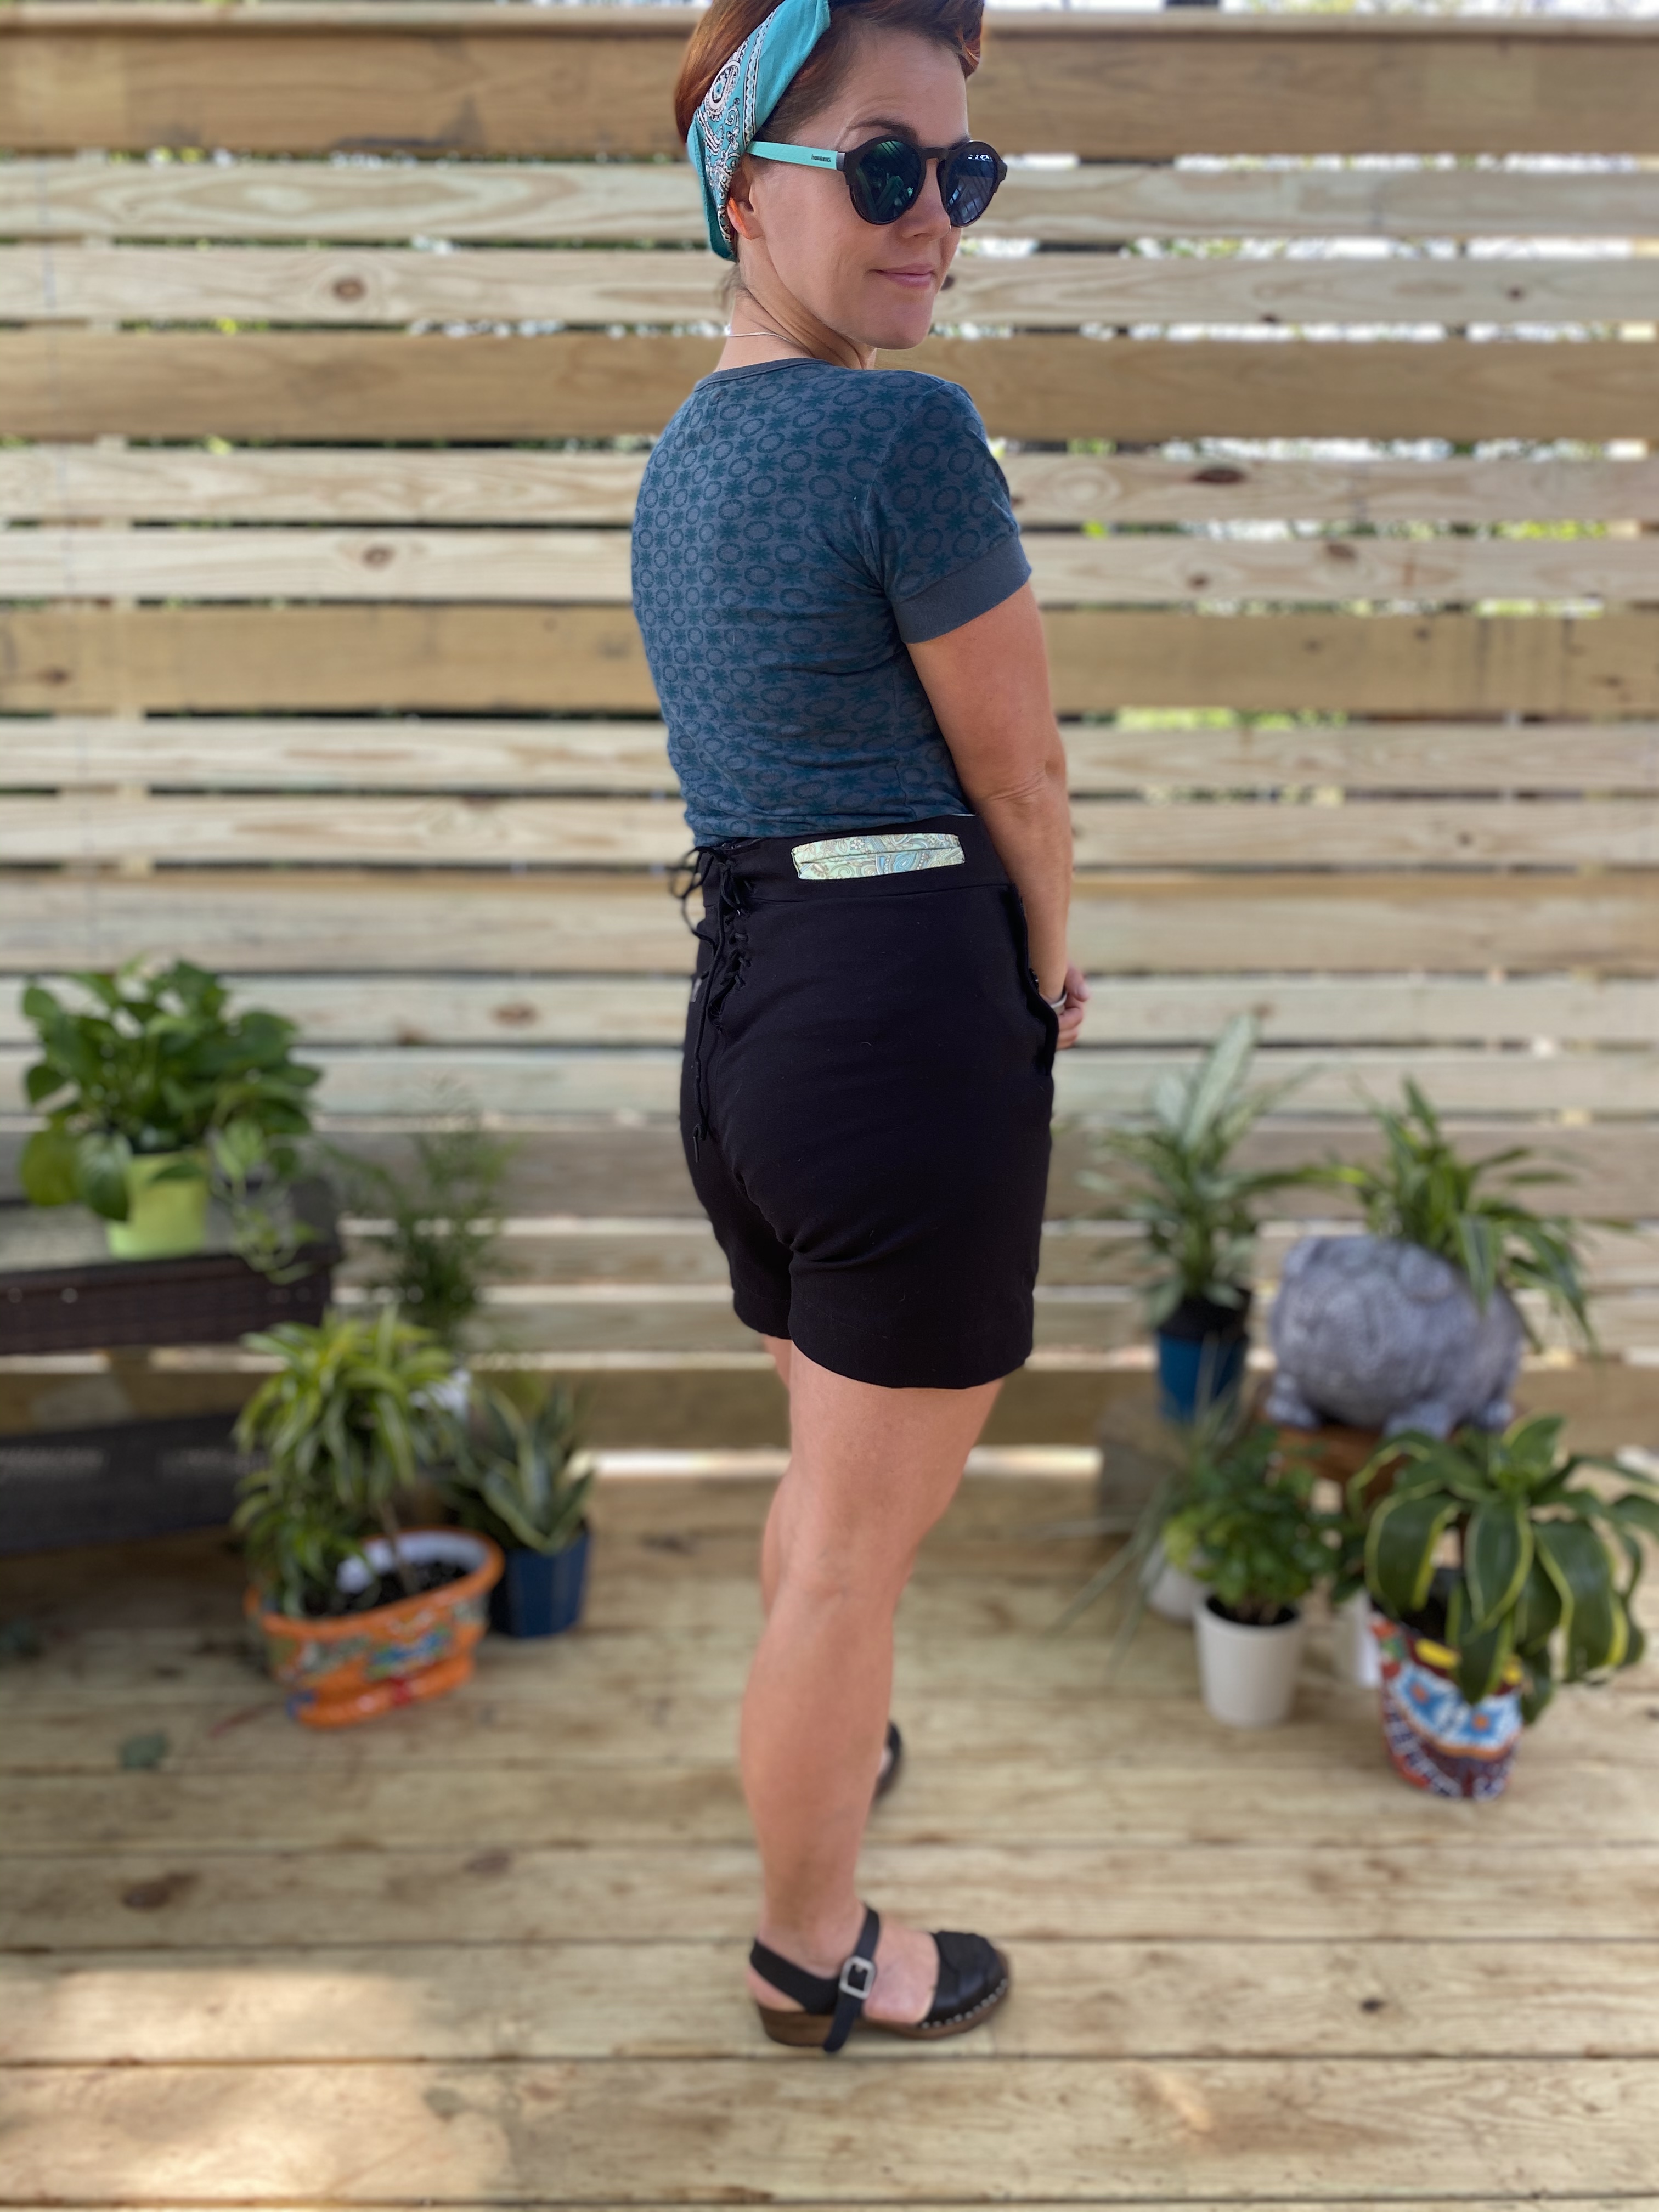
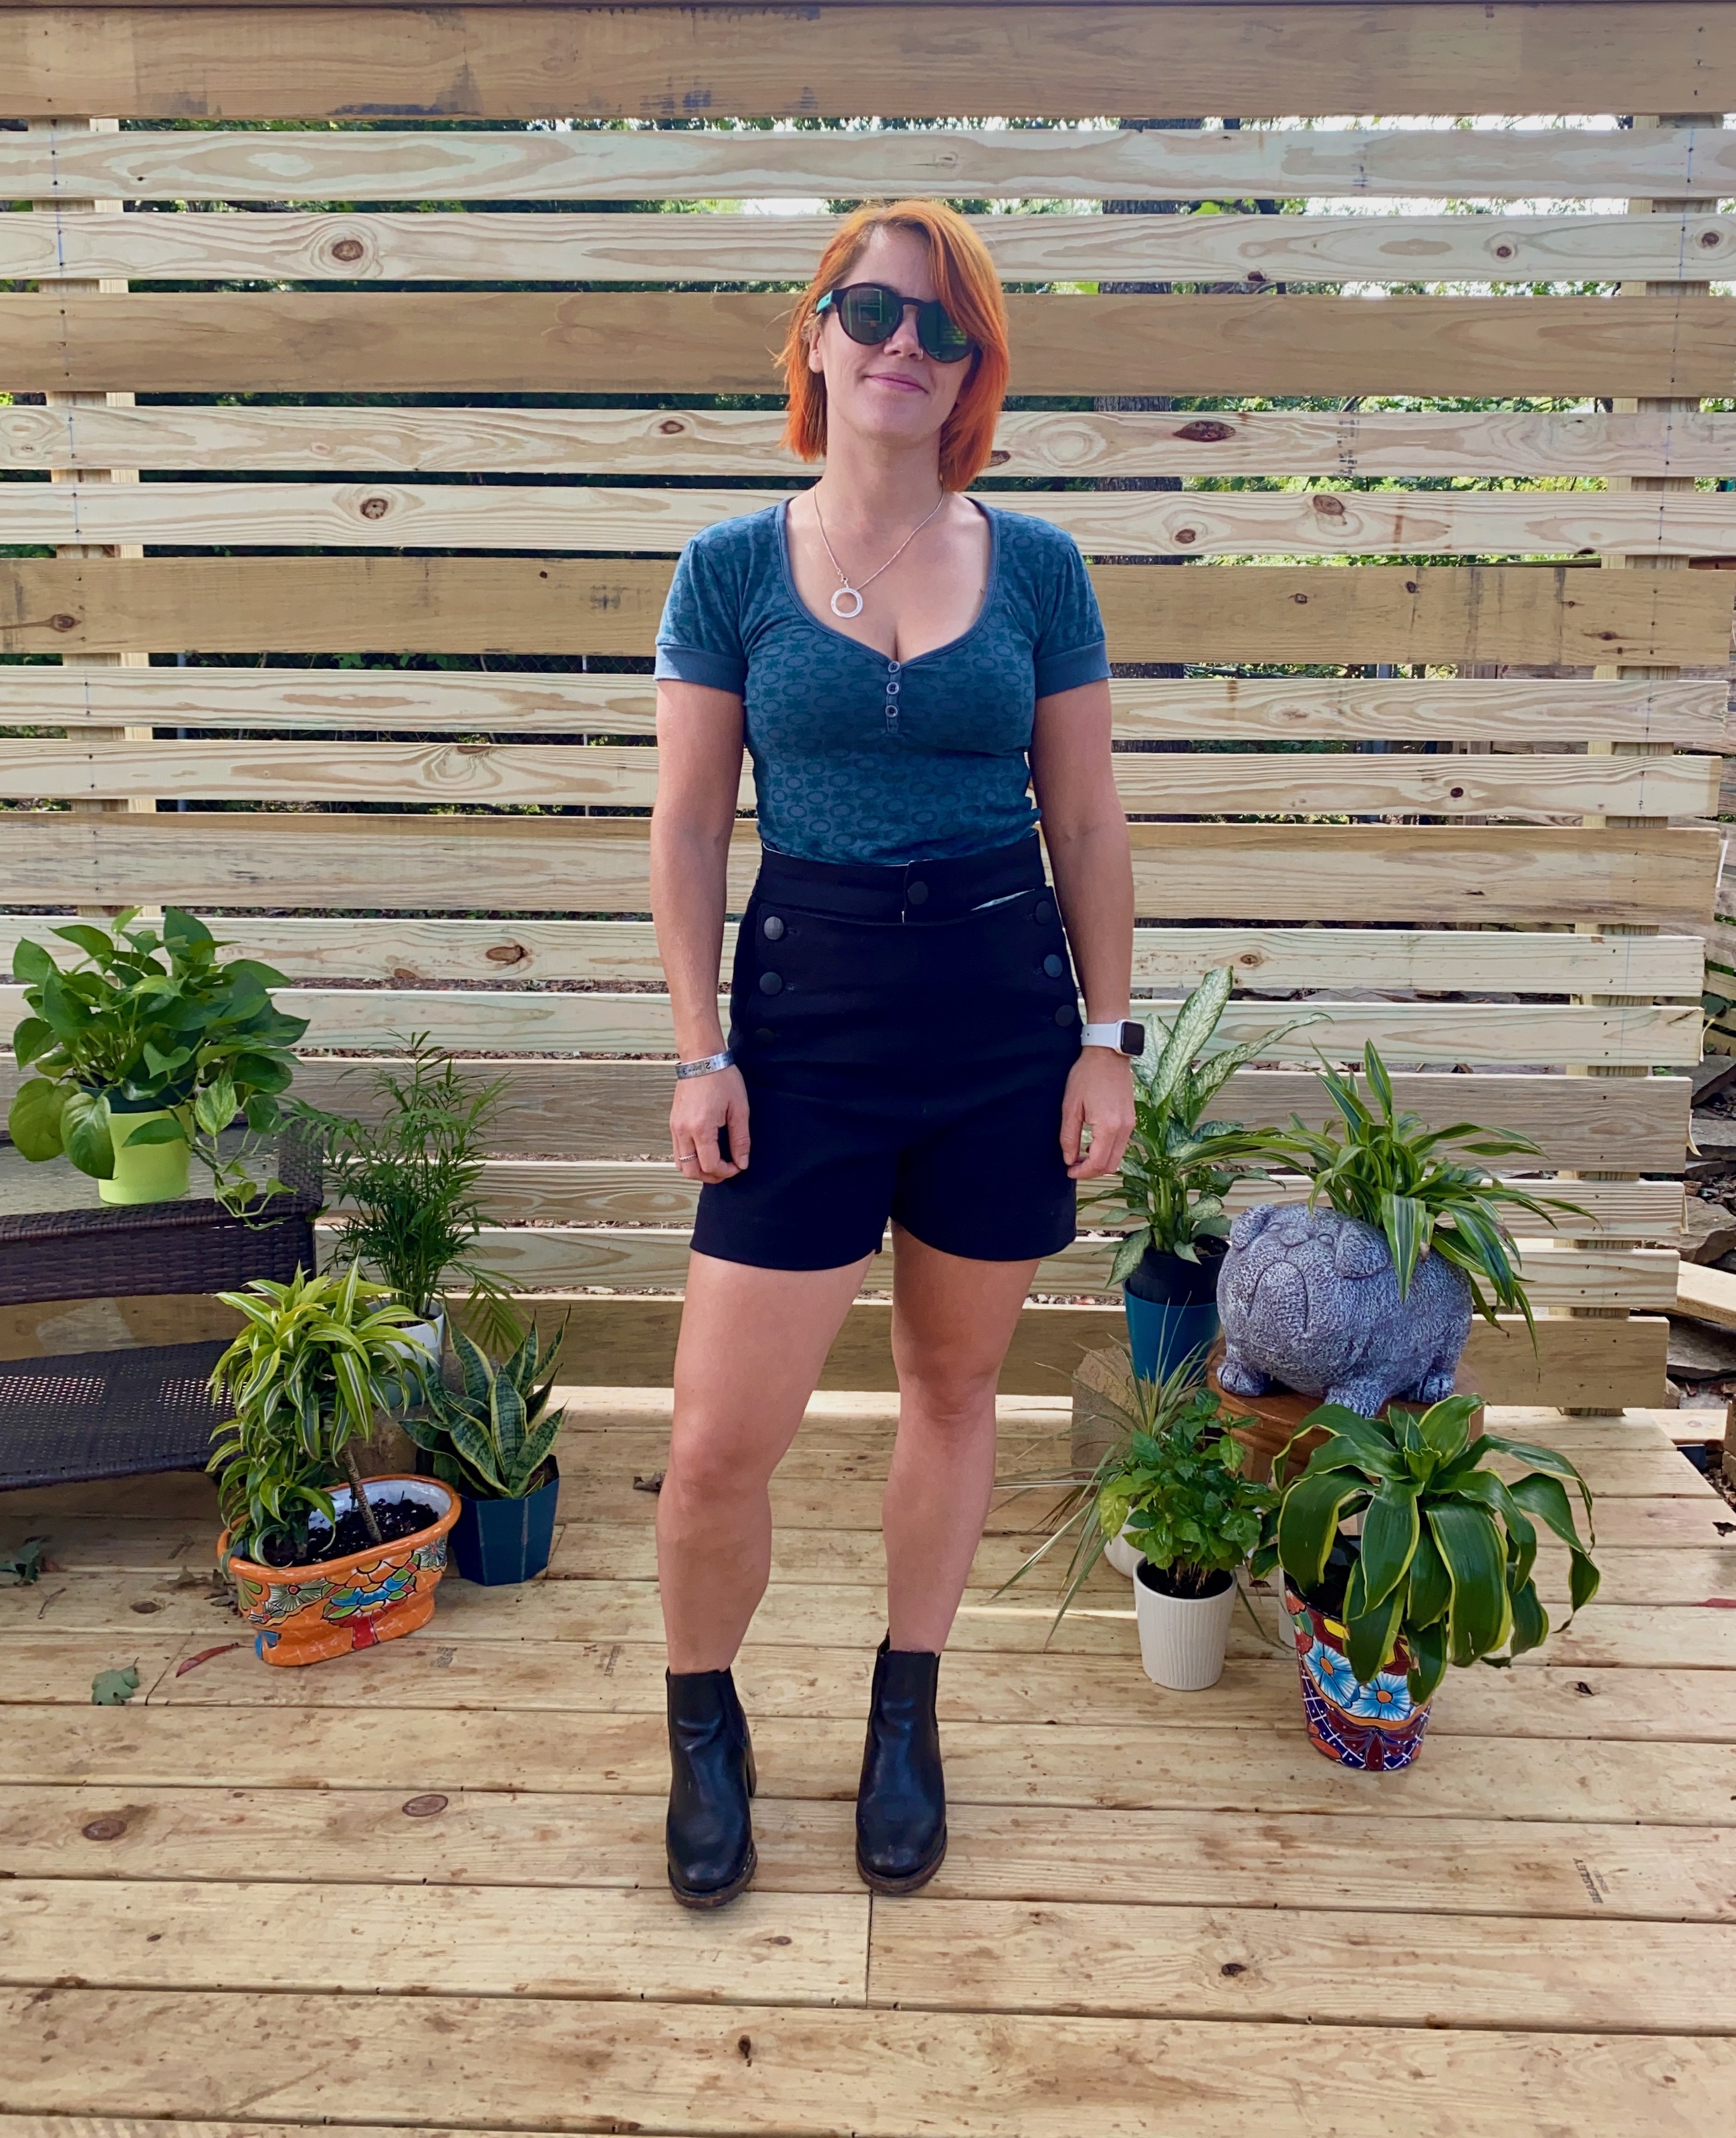
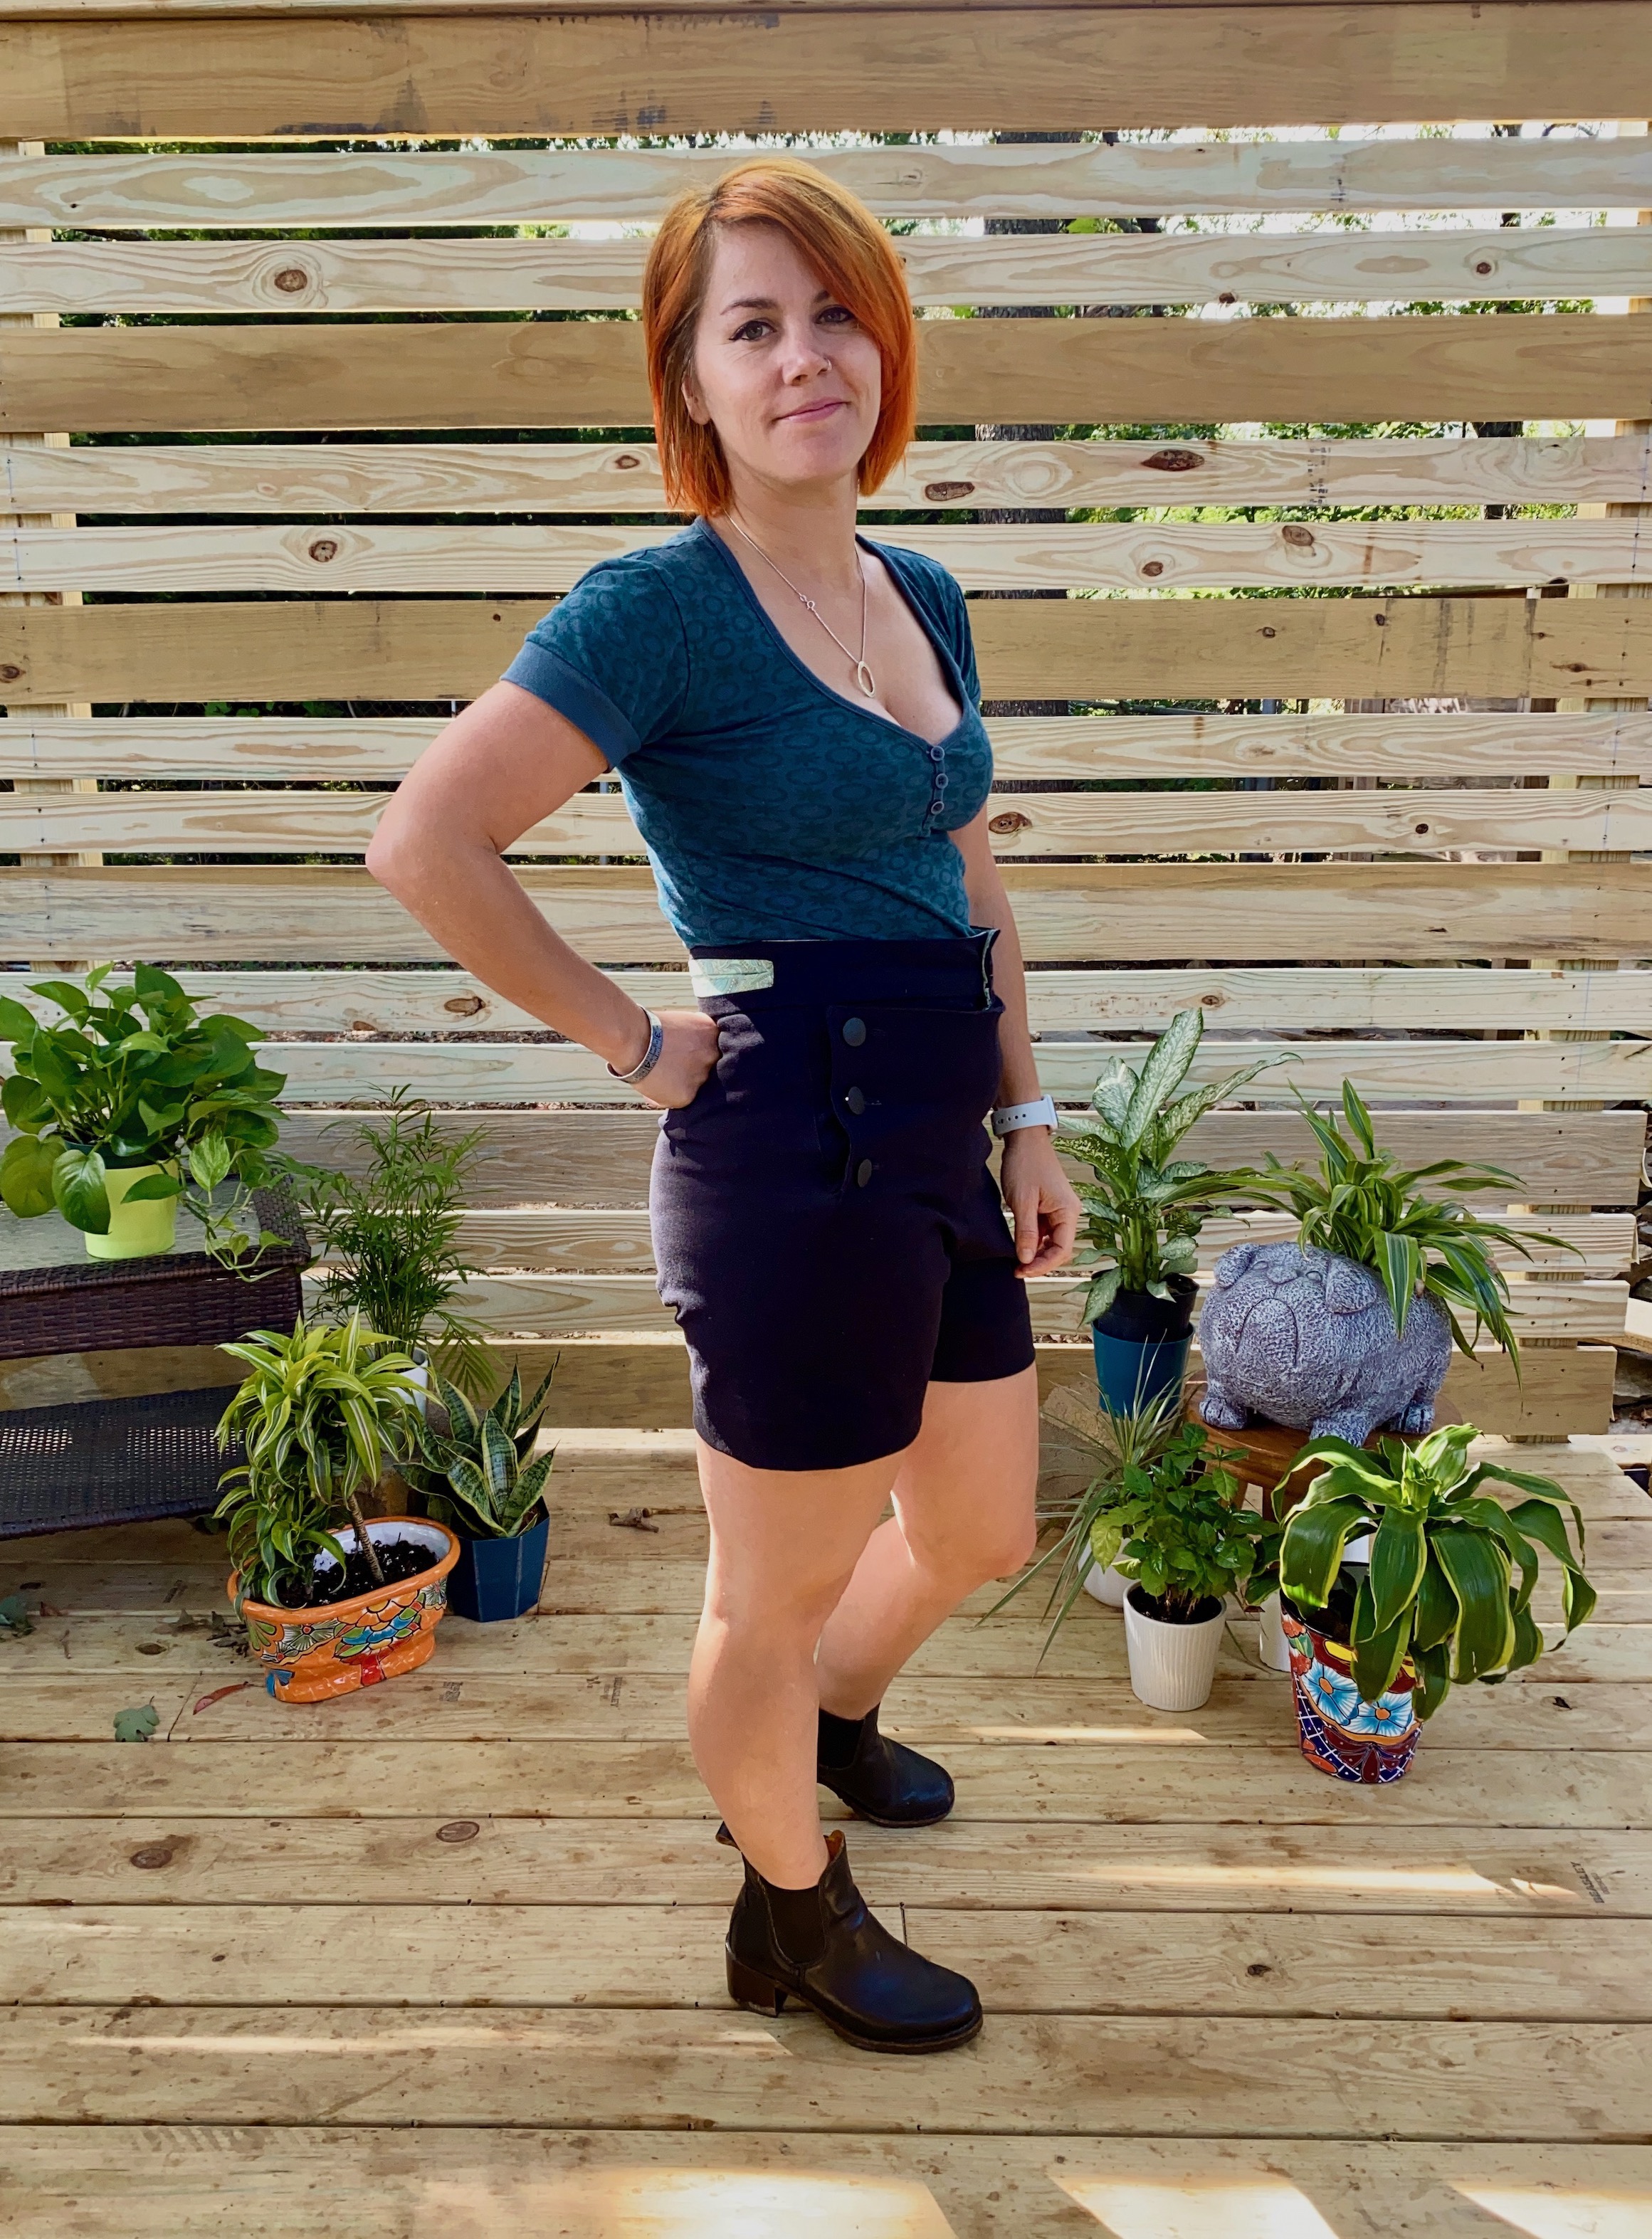
So real talk – I should have muslined these (perhaps the most said sewist phrase ever?!) – or I should at least have checked the rise on the pattern. I mean, I know I’m in the petite sewist camp, I’ve made two pairs of jeans, both of which I had to shorten the rise of, so I really have no idea why I didn’t check that on these! Too excited to make them I guess.
Surprise surprise, they’re too tall for me and because they sit a bit higher than they should, despite having the ties pulled tight, the waistband gapes a little (the smallest part of my body is the bottom of my torso rather than the top of my lower body if that makes any sense!)
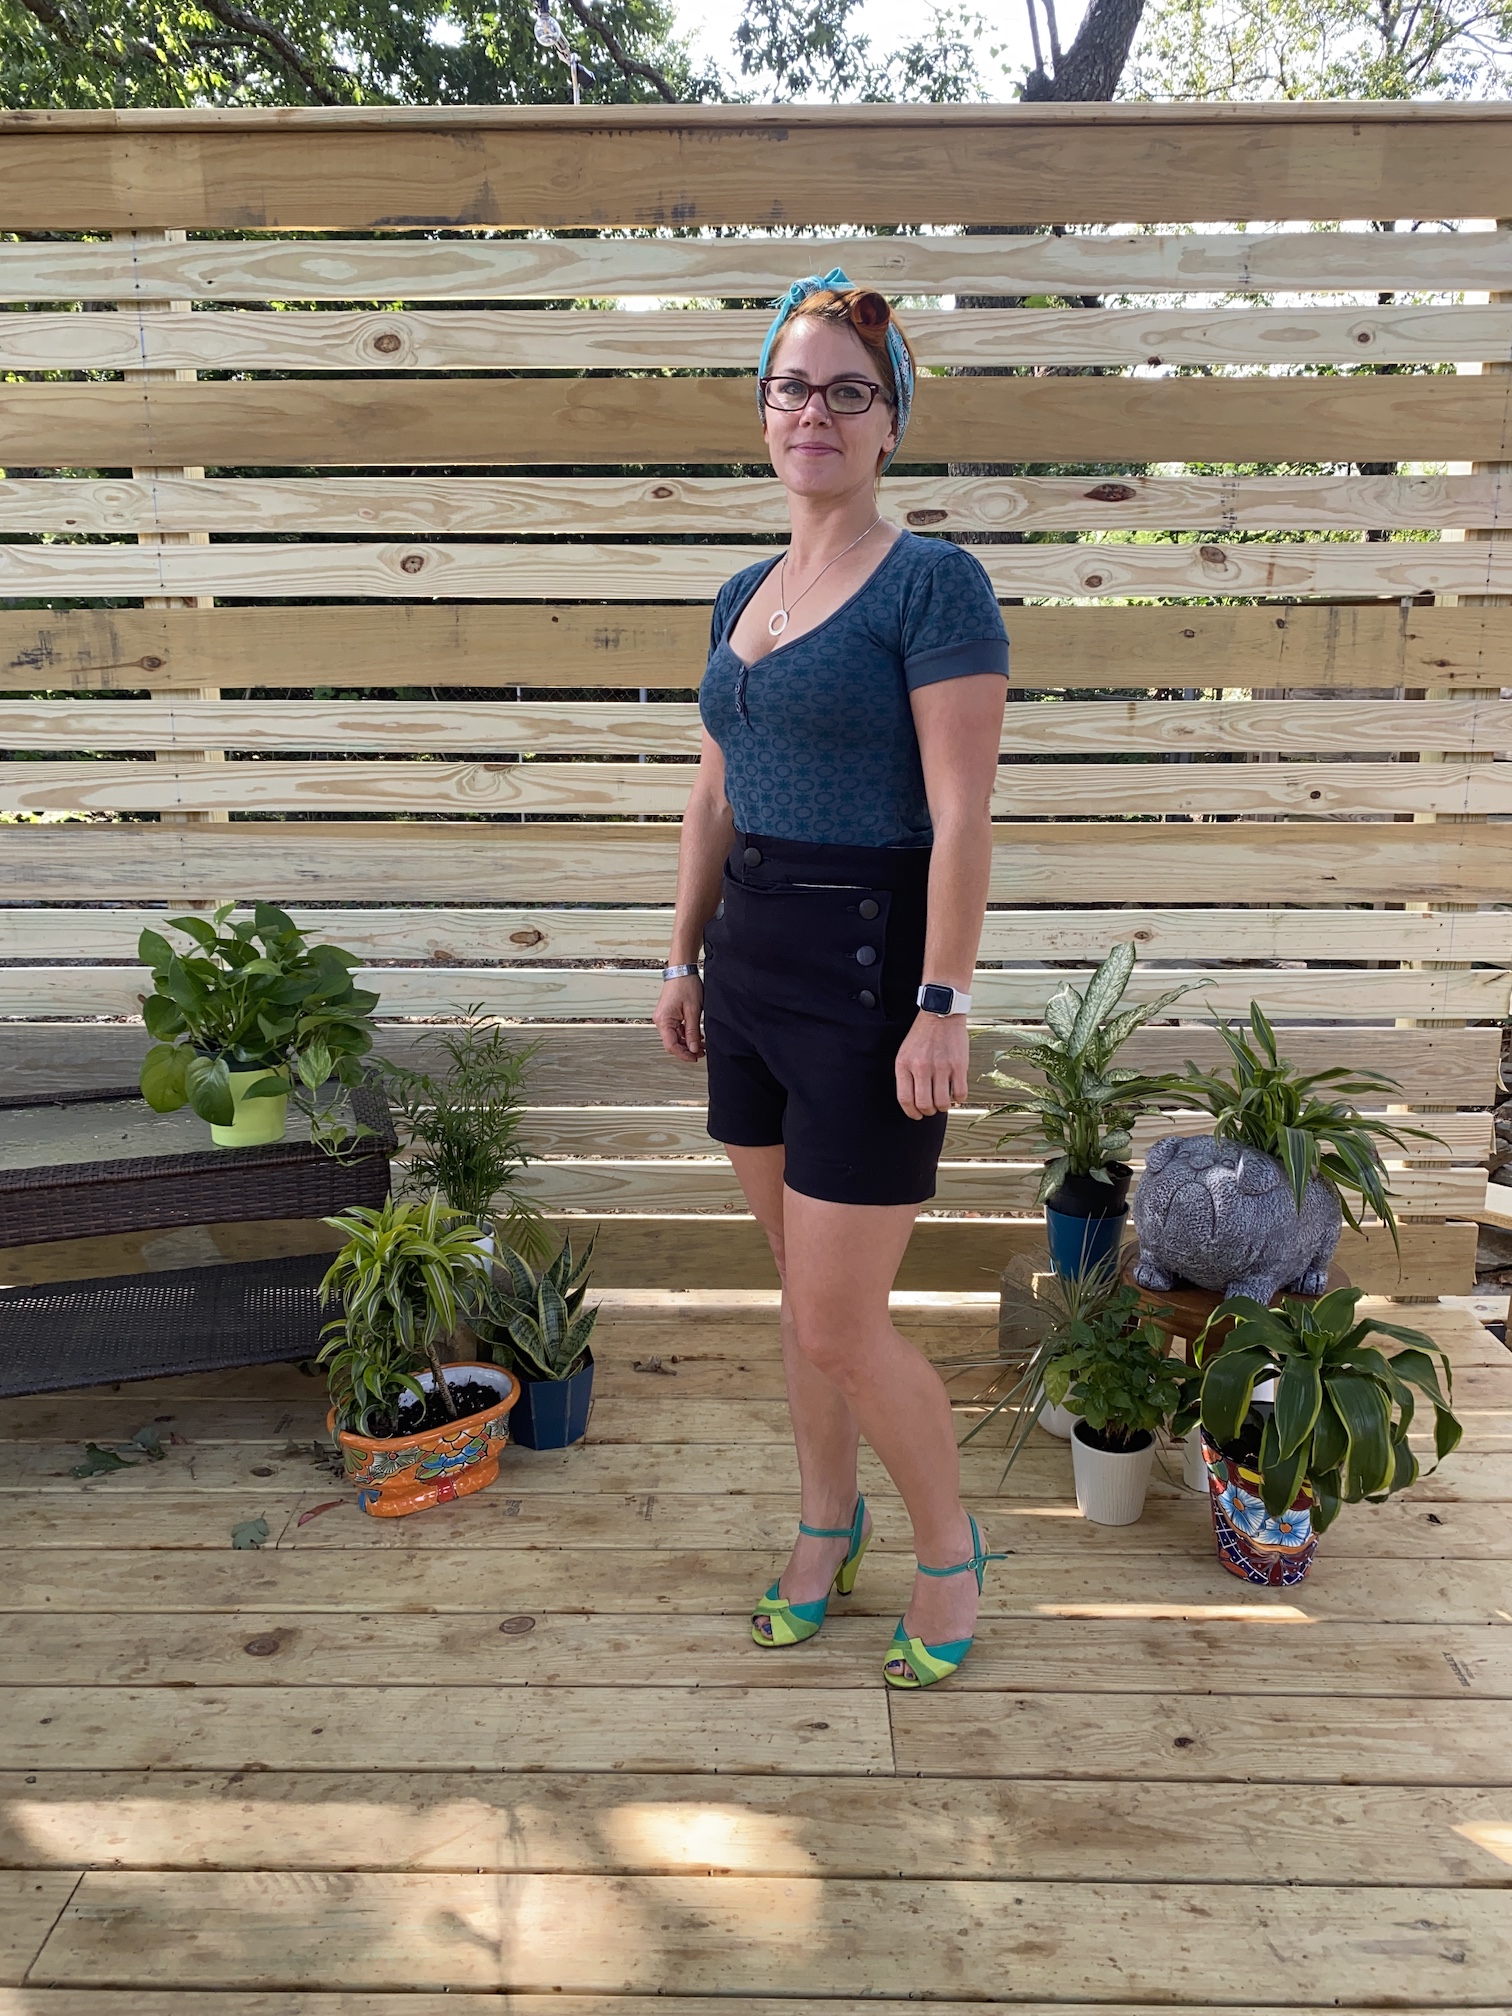
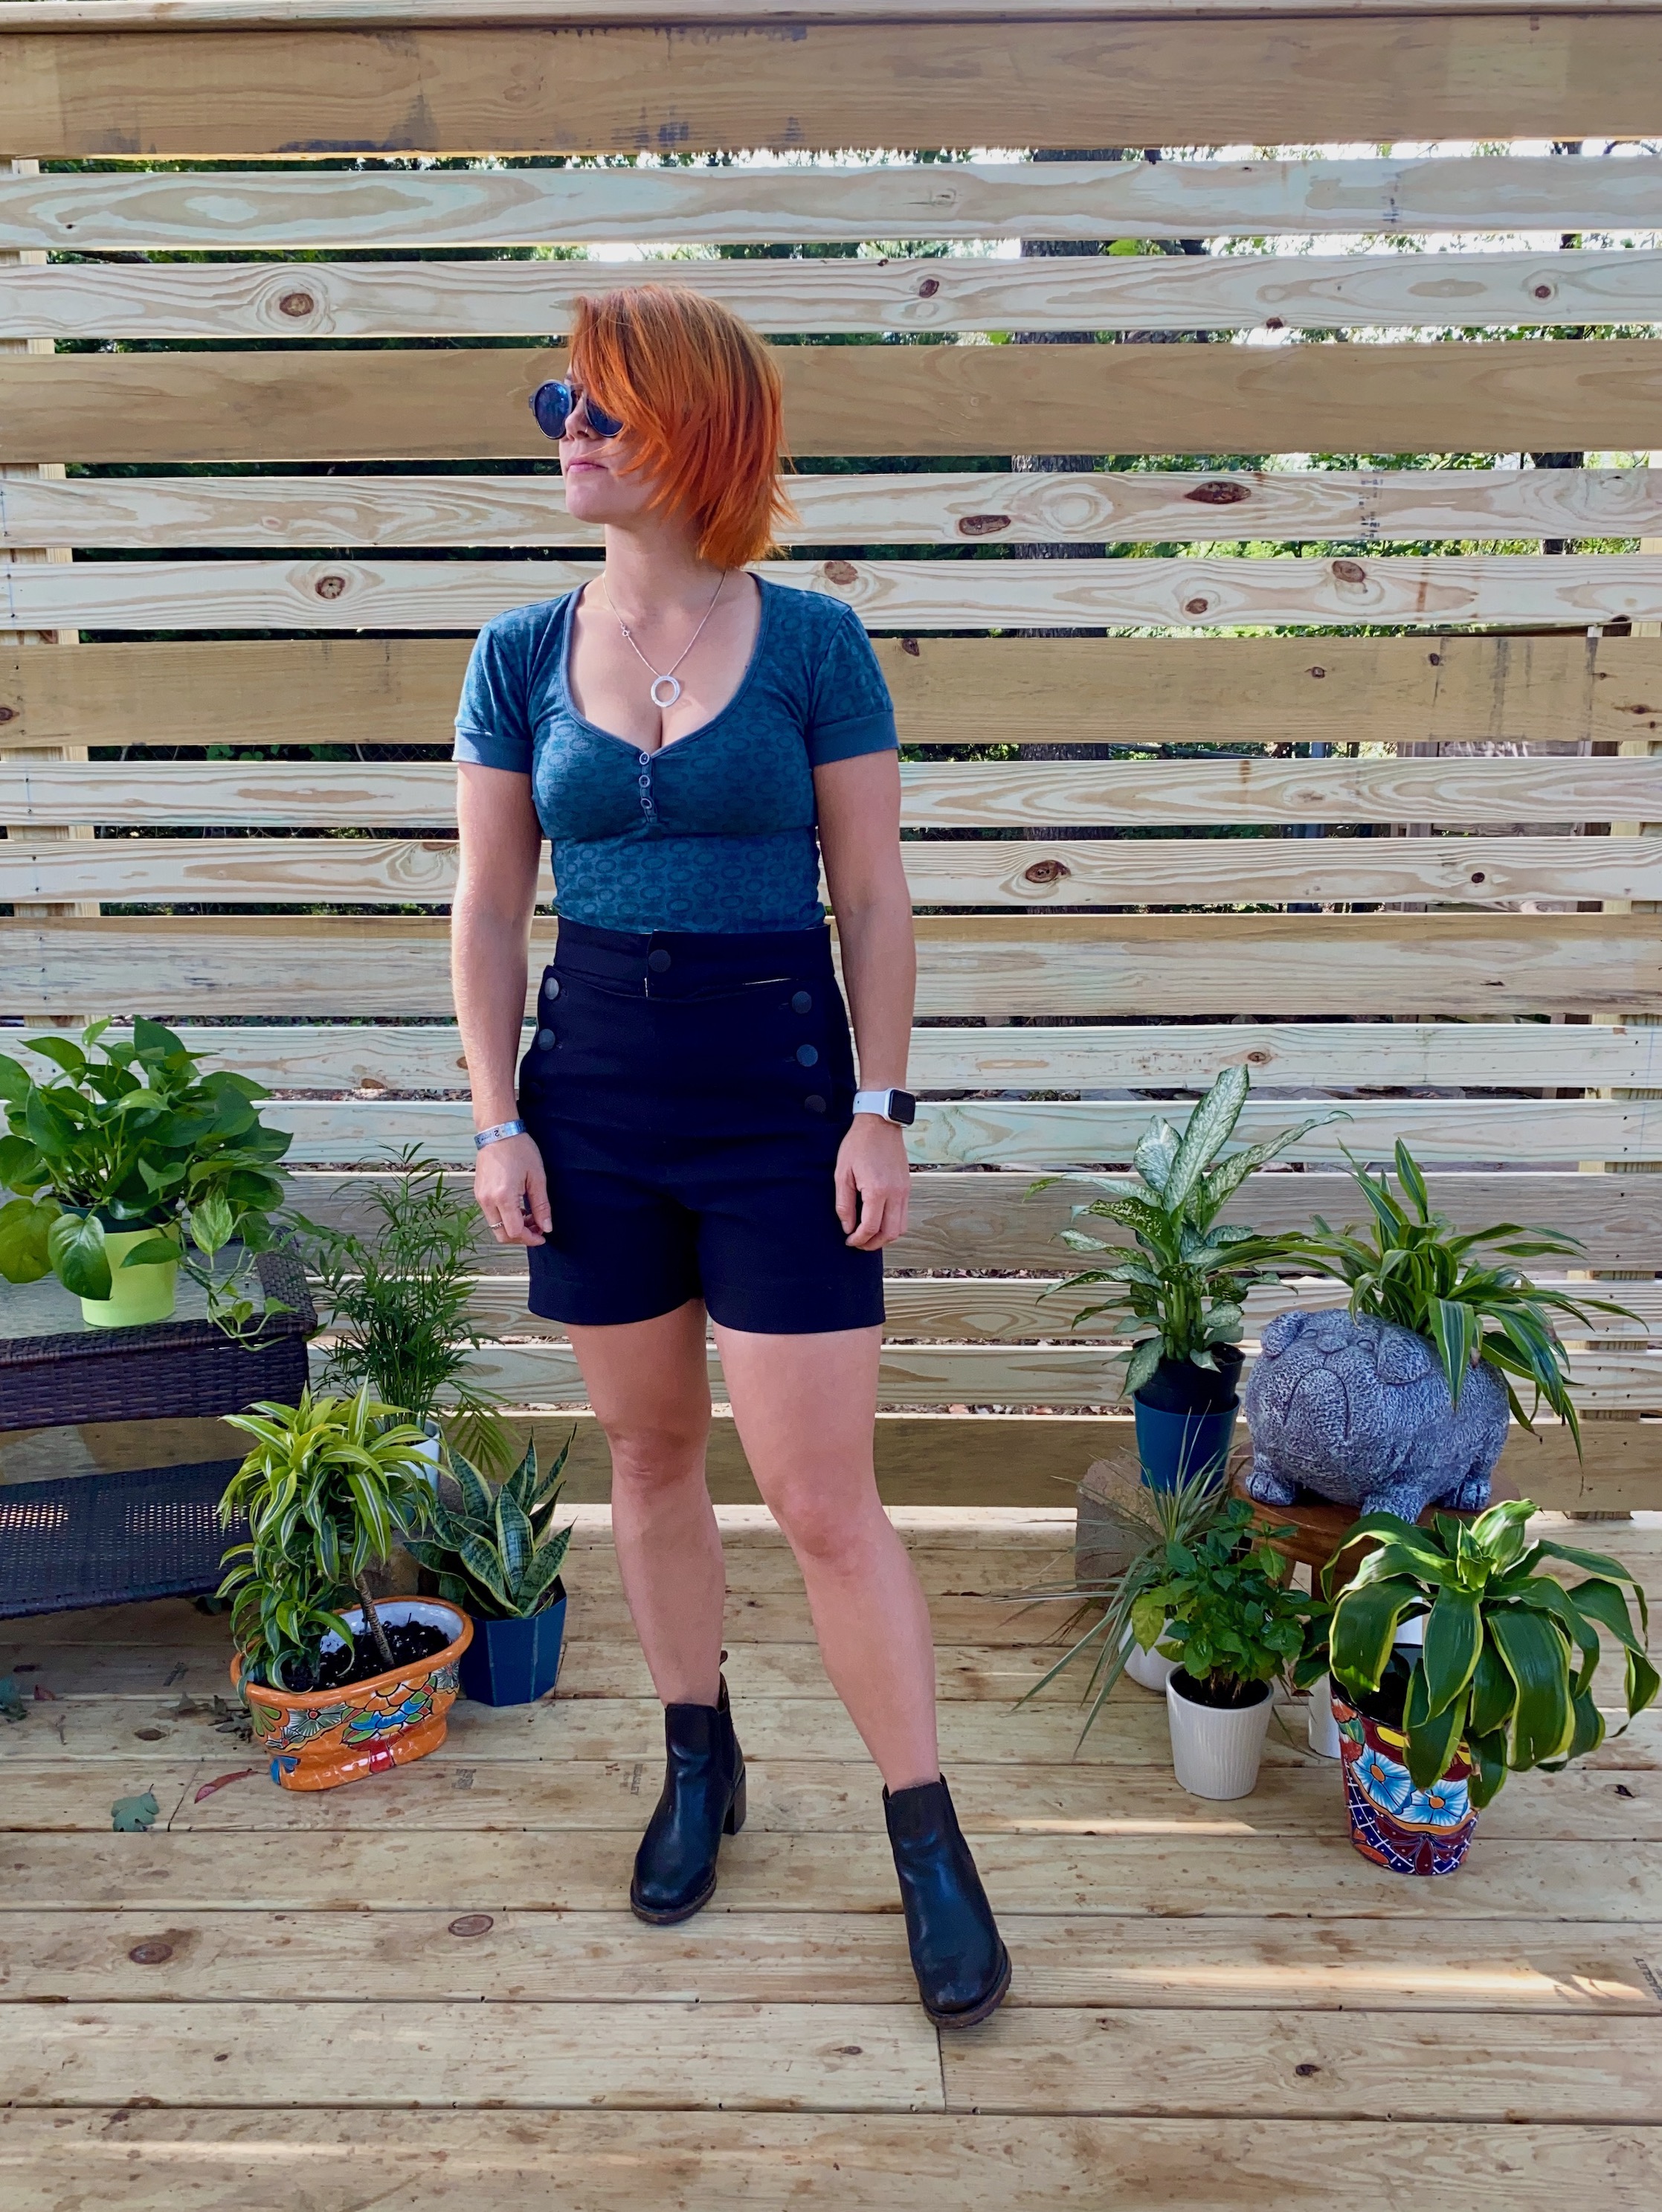
I do really love them though and because I made them as shorts I have enough fabric to make another pair! For that next version I will grade from the 30 at the waist to the 32 in the hips/thigh and shorten the rise by about 1-1.5″. I think I’d also create a curved waistband as I often have issues with waistband gaping due to the large difference in my hip/waist ration (10″).
Can’t wait to find multiple ways to style these but right now I’m off to batten to down the hatches cut my next pair!
![]()