How is it June and this is my first post of 2021???
Don’t worry, I have been sewing but honestly, I just haven’t felt like blogging, maybe I’ll do a quick overview post of the things I’ve made so I can share them with you all!
Anyway, the reason for today’s post is a good one! I tried my hand at draping for the 1st time and I think it was a success 🙂
I should warn you, this topic has been split into two parts as it got a little too long while I was writing. This post covers the drafting and construction, whilst Part 2 covers the fabric/final dress. So if you’re just here for the pretty finished garment, skip straight to that 🙂
Okay, let’s get on with it.
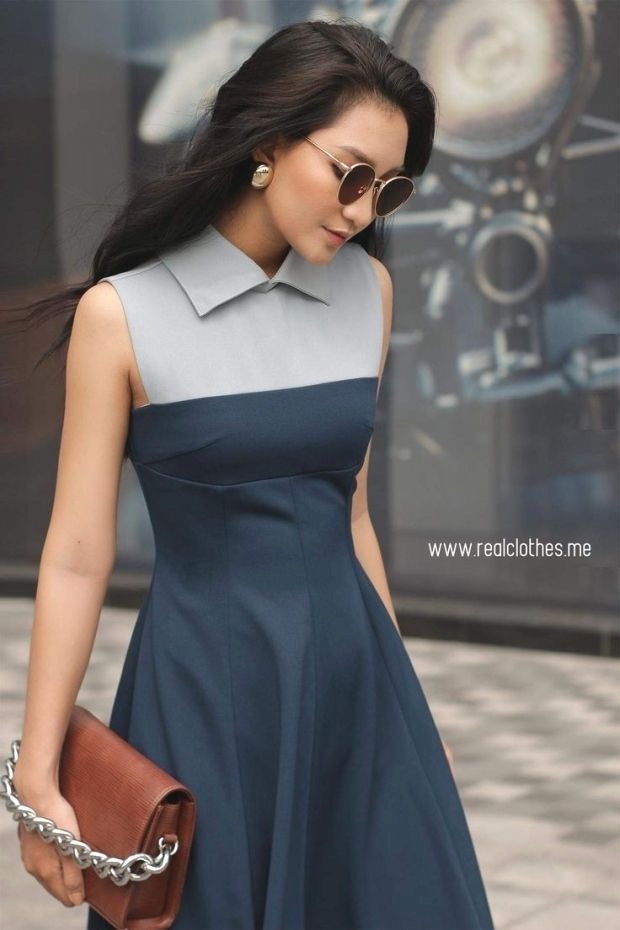
Early this year were planning a tip go L.A. for a wedding and I decided I wanted to make my dress and my thoughts immediately went to a dress i found on there that was a 2014 Valentino, so not something i could easily purchase.
I mean, look at it?!
If I wanted to recreate that dress, I first started thinking “which patterns could I hack?” At the time I was actually making a muslin of princess seamed dress from a vintage pattern. My friend Mary saw that and the dress I wanted to copy and said “why don’t you use the skirt from this and then we can drape the top now that you have a dummy?”
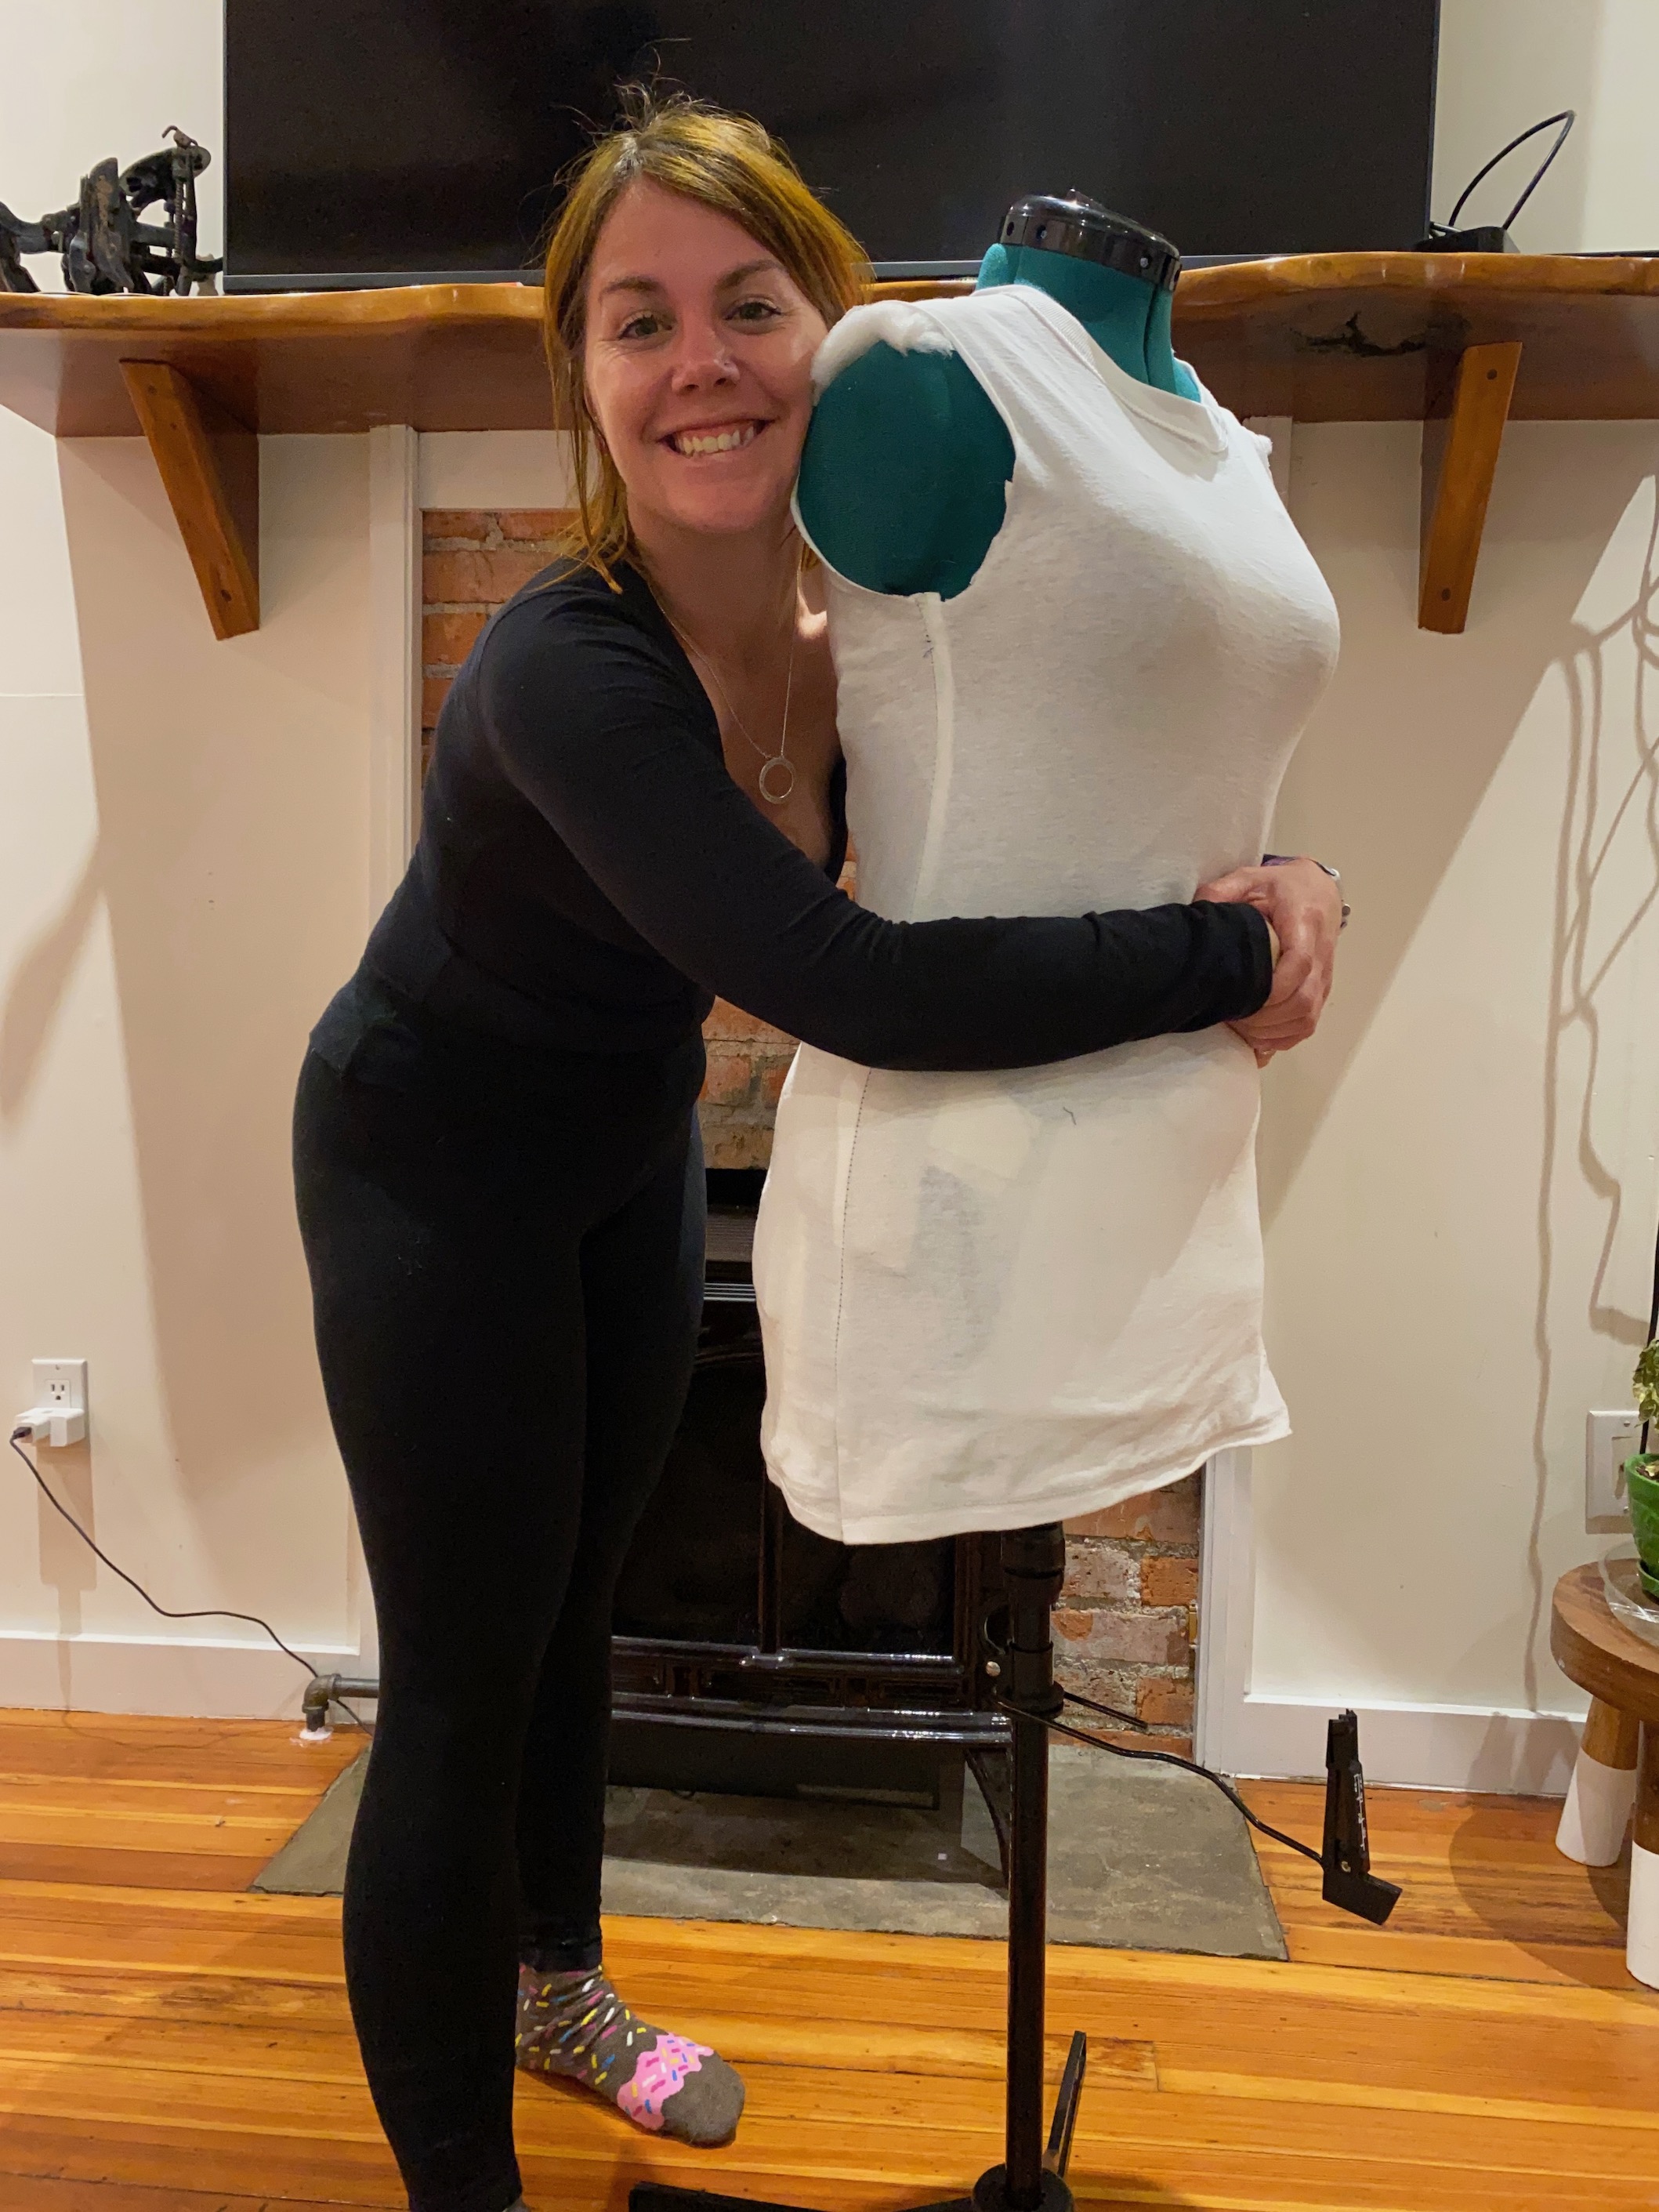
(I should explain one big thing I did this year was to finally create a body double dress makers dummy! (I need to post about this too). Mary actually helped me with this too! This meant I could finally try draping. It’s something I’ve always wanted to try, and have had it suggested to me a number of times, mostly due to how much i have to alter purchased patterns.)
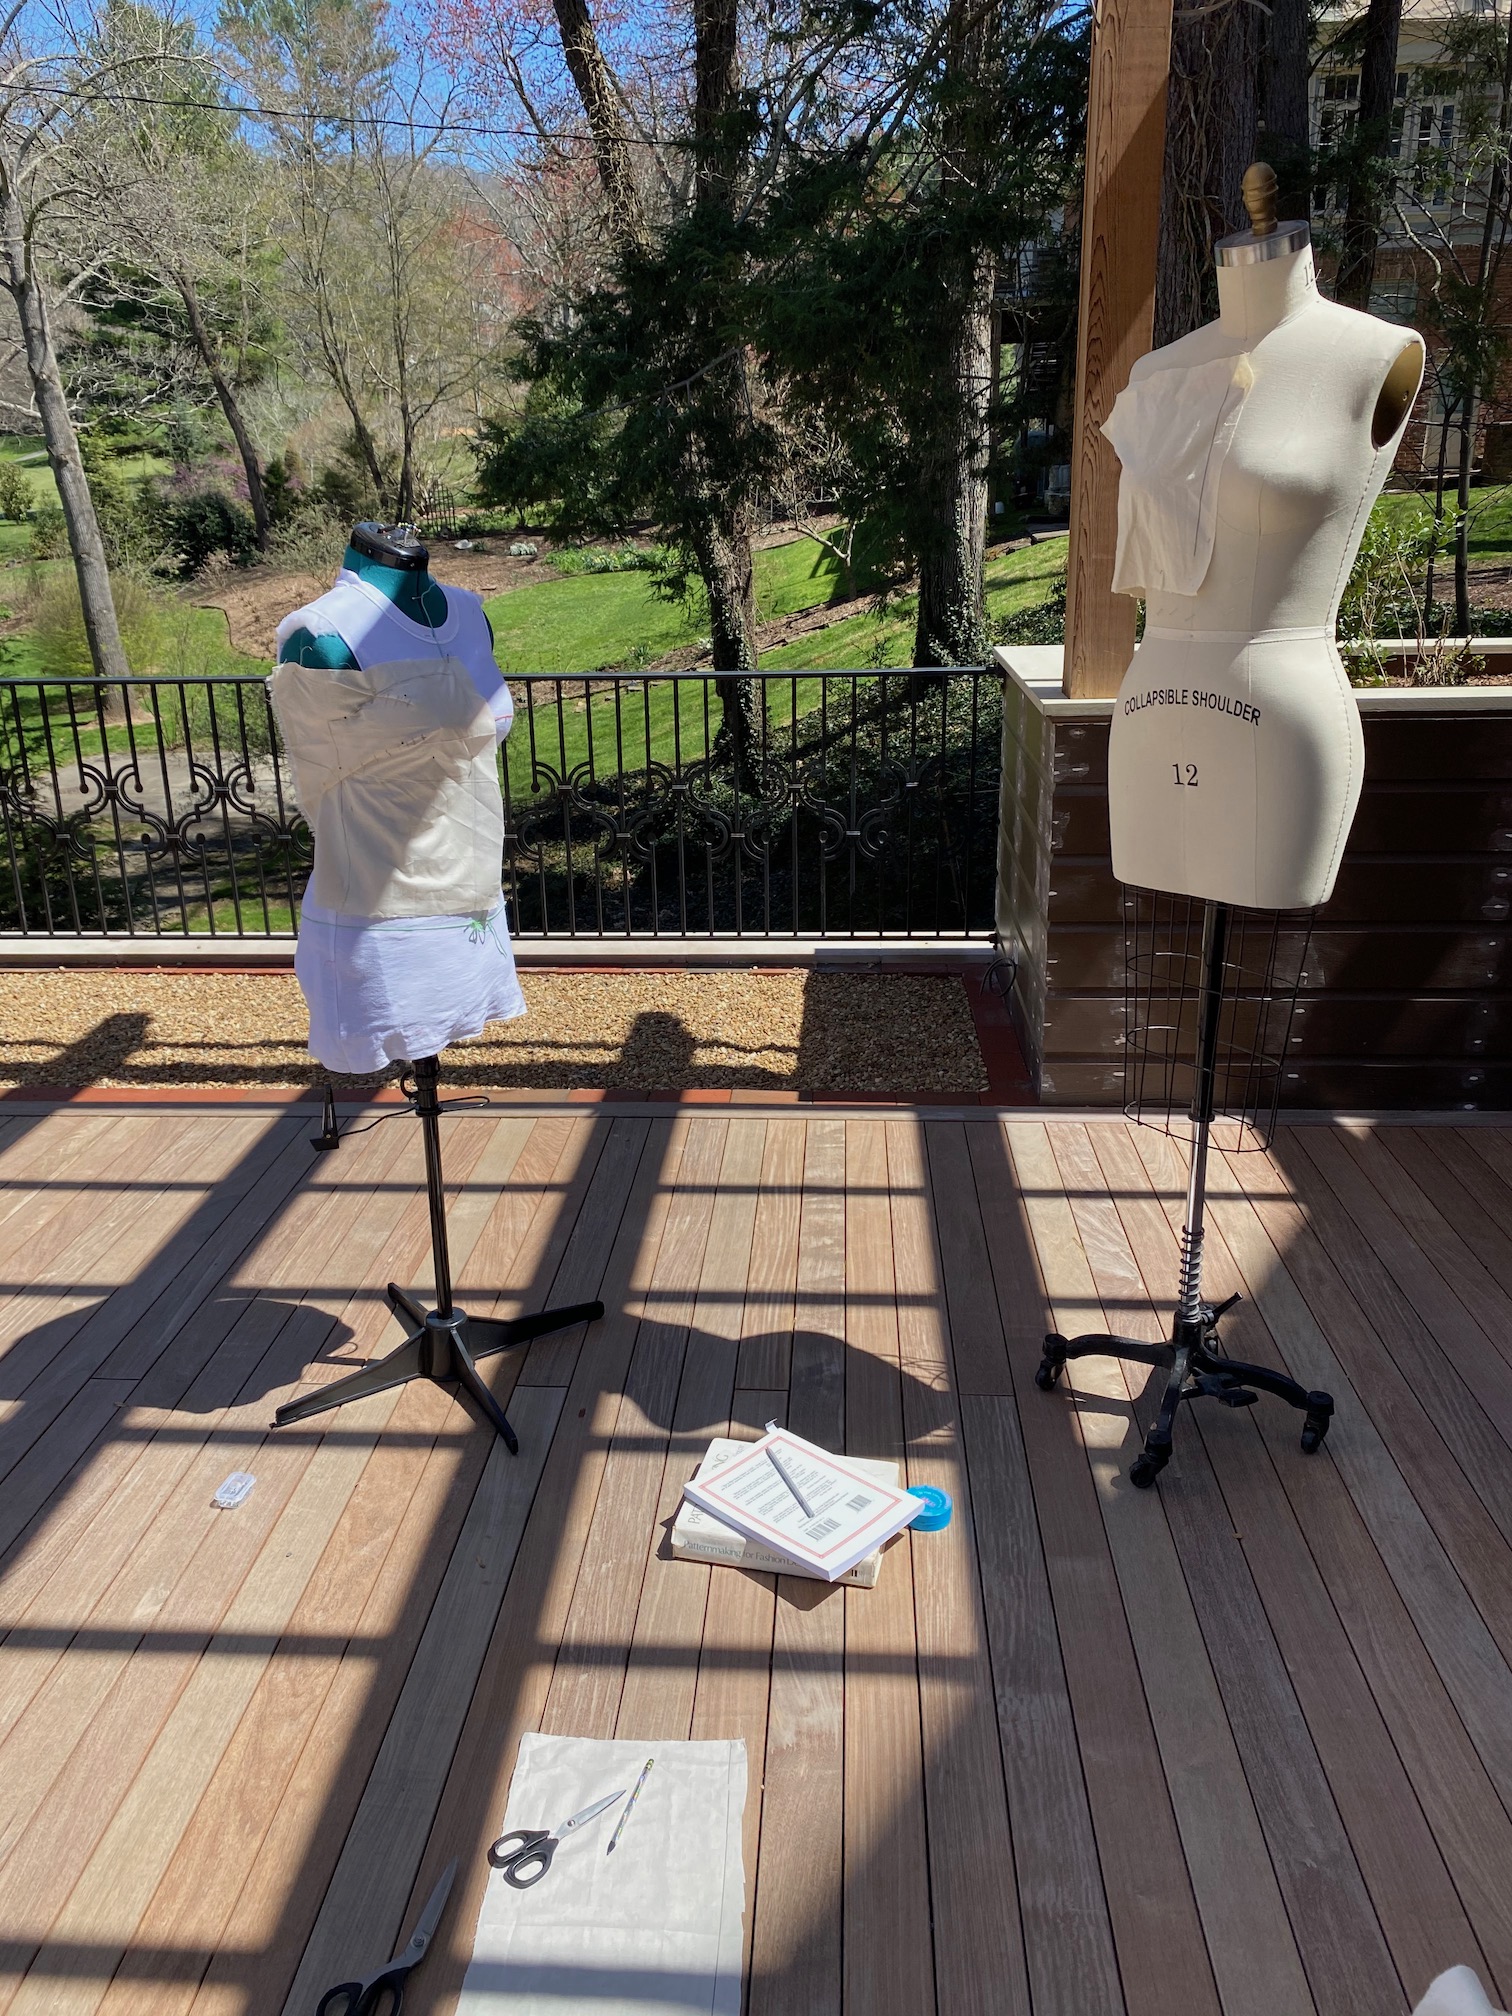
 Mary went to fashion school and hadn’t draped in years so she was super keen to help me try – I’m very lucky! We spent a sunny day on her beautiful new deck.
I arrived armed with my new dummy, Tallulah, some muslin and some markers. What I cam to learn was, essentially you cut strips of muslin fabric then pin them to your dress form to create the shapes you want.
One major factor is being sure to mark your grain line and cross grain to make sure you’re keeping those straight whilst pinning. One cool little trick Mary taught me was to draw lines perpendicular to joins and darts, this helps you figure out how they line up later.
Once you’re happy with the shapes you take them of the dummy, then use carbon paper and a tracing wheel to transfer the shapes into a paper “pattern”.
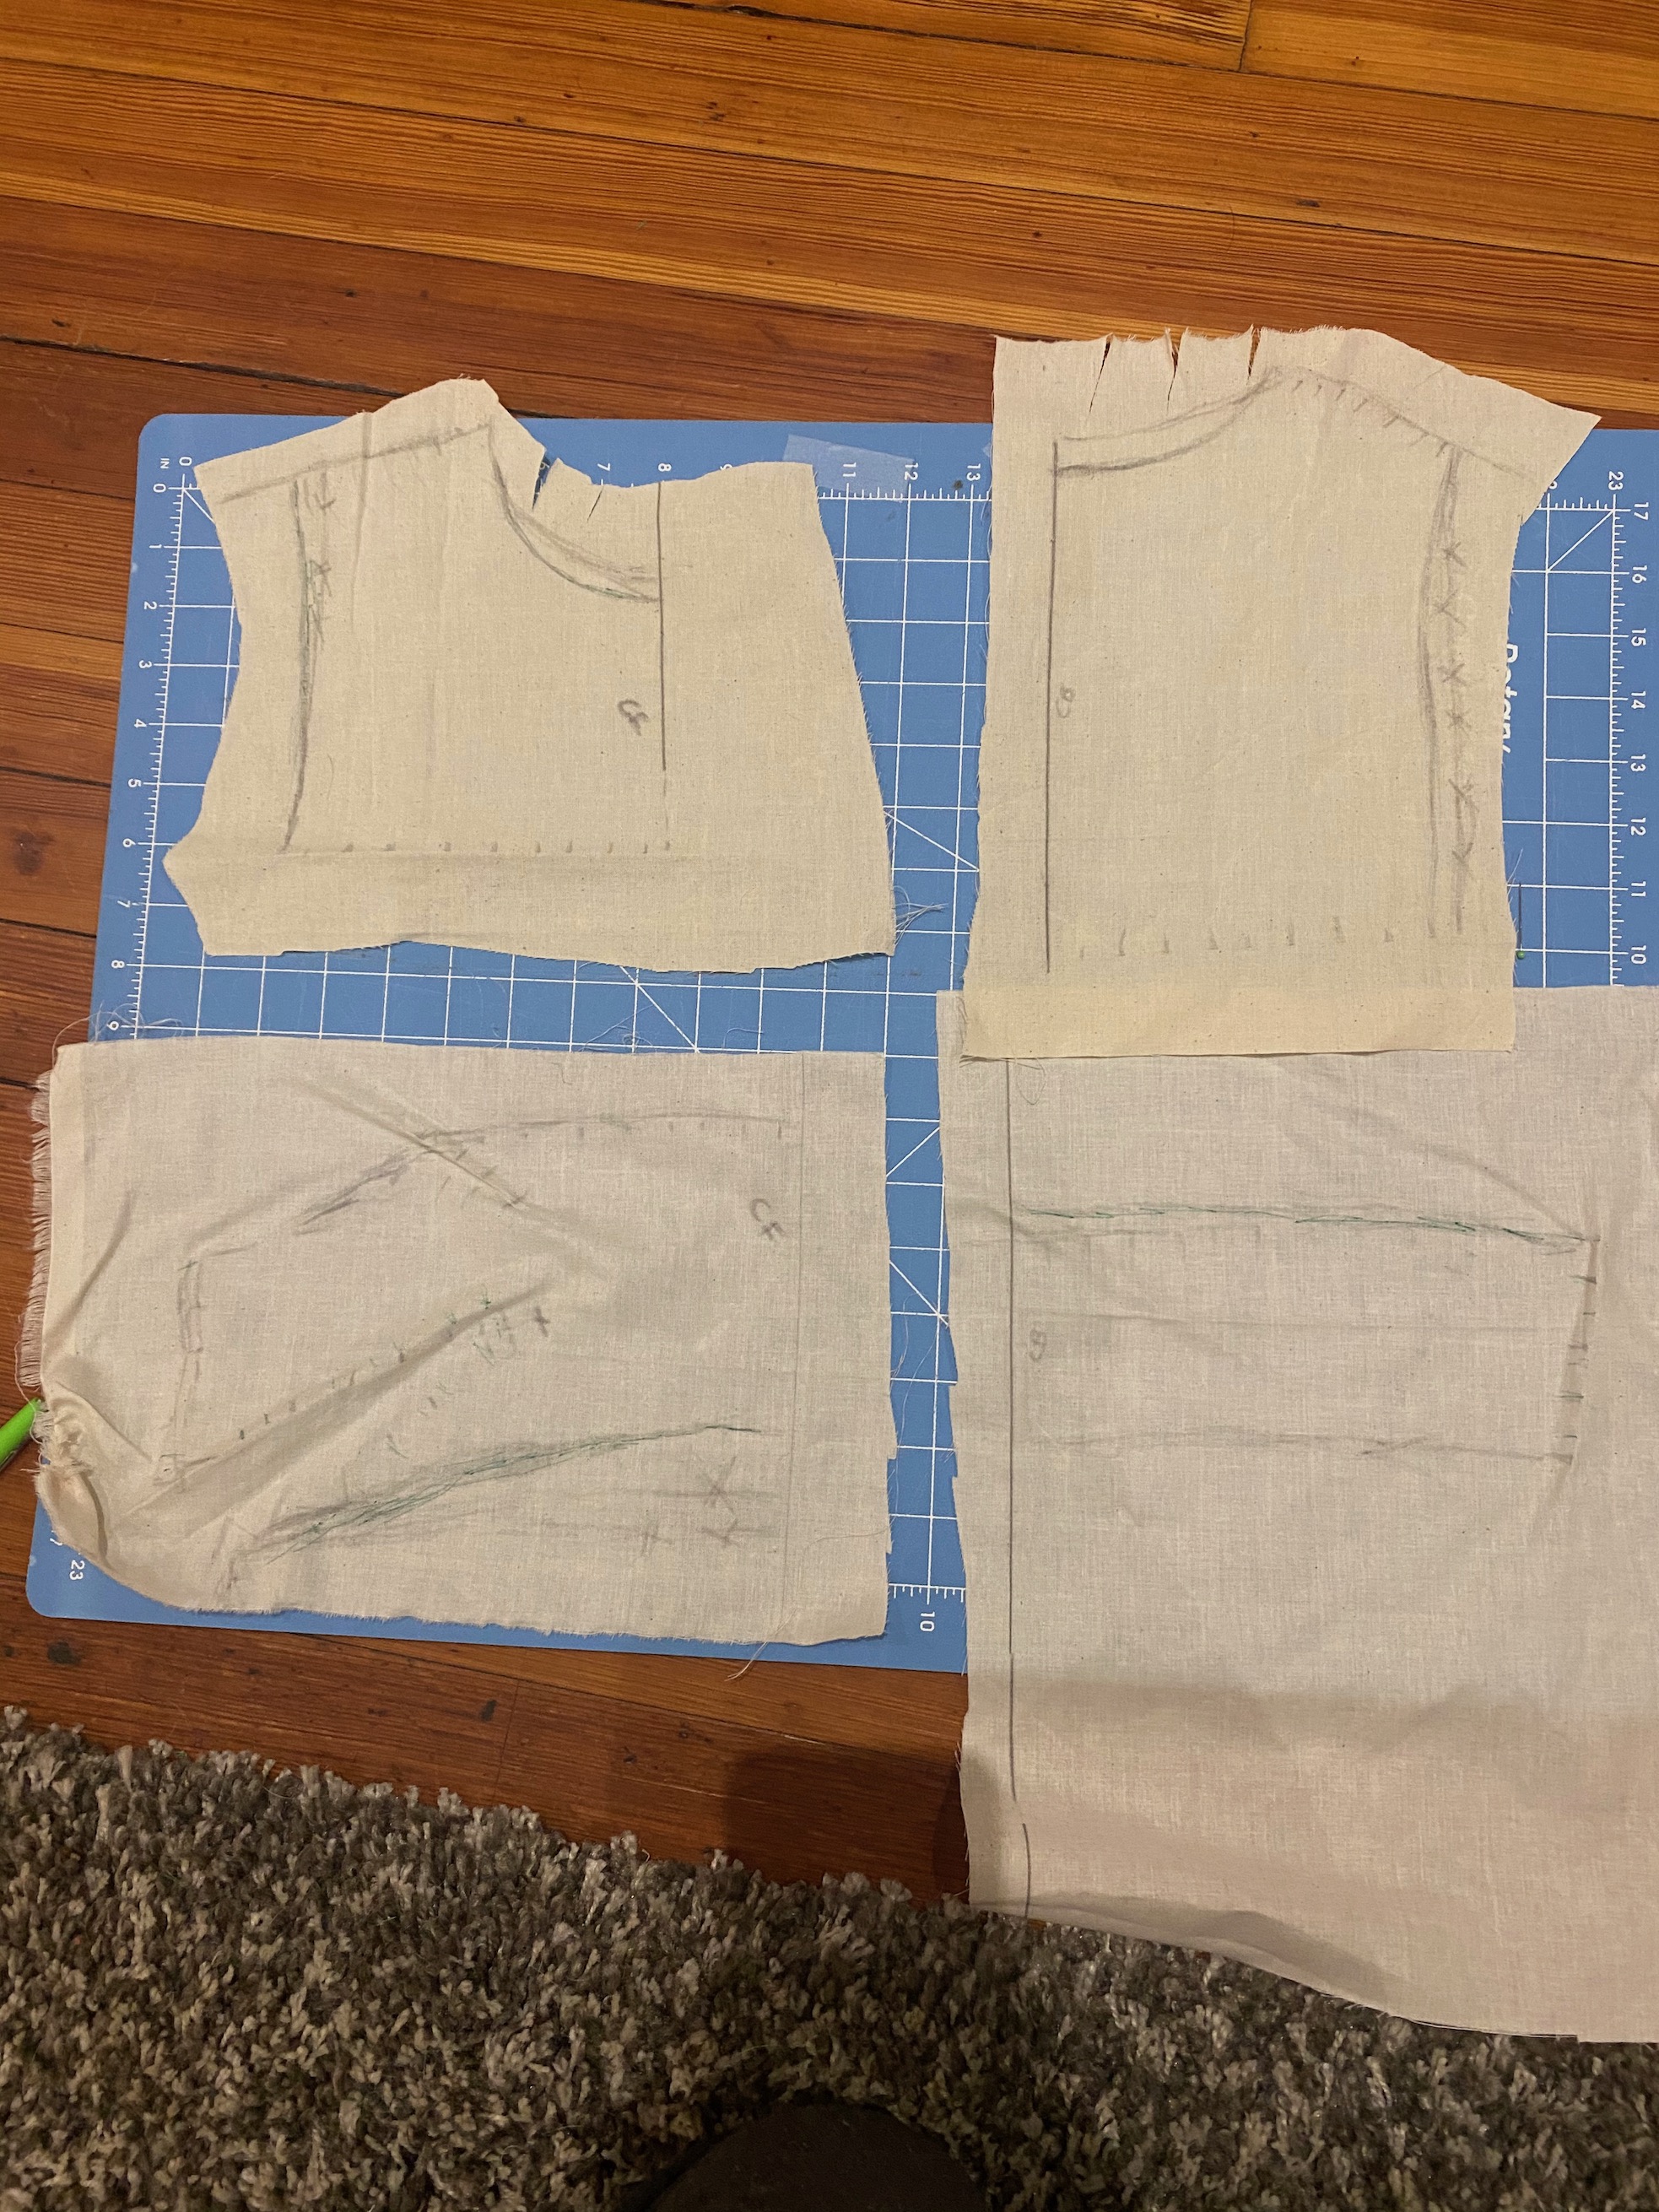
It’s still crazy to me how simple those shapes are!
Once you’ve got your rough shape, you then true your lines and just generally neaten up everything.
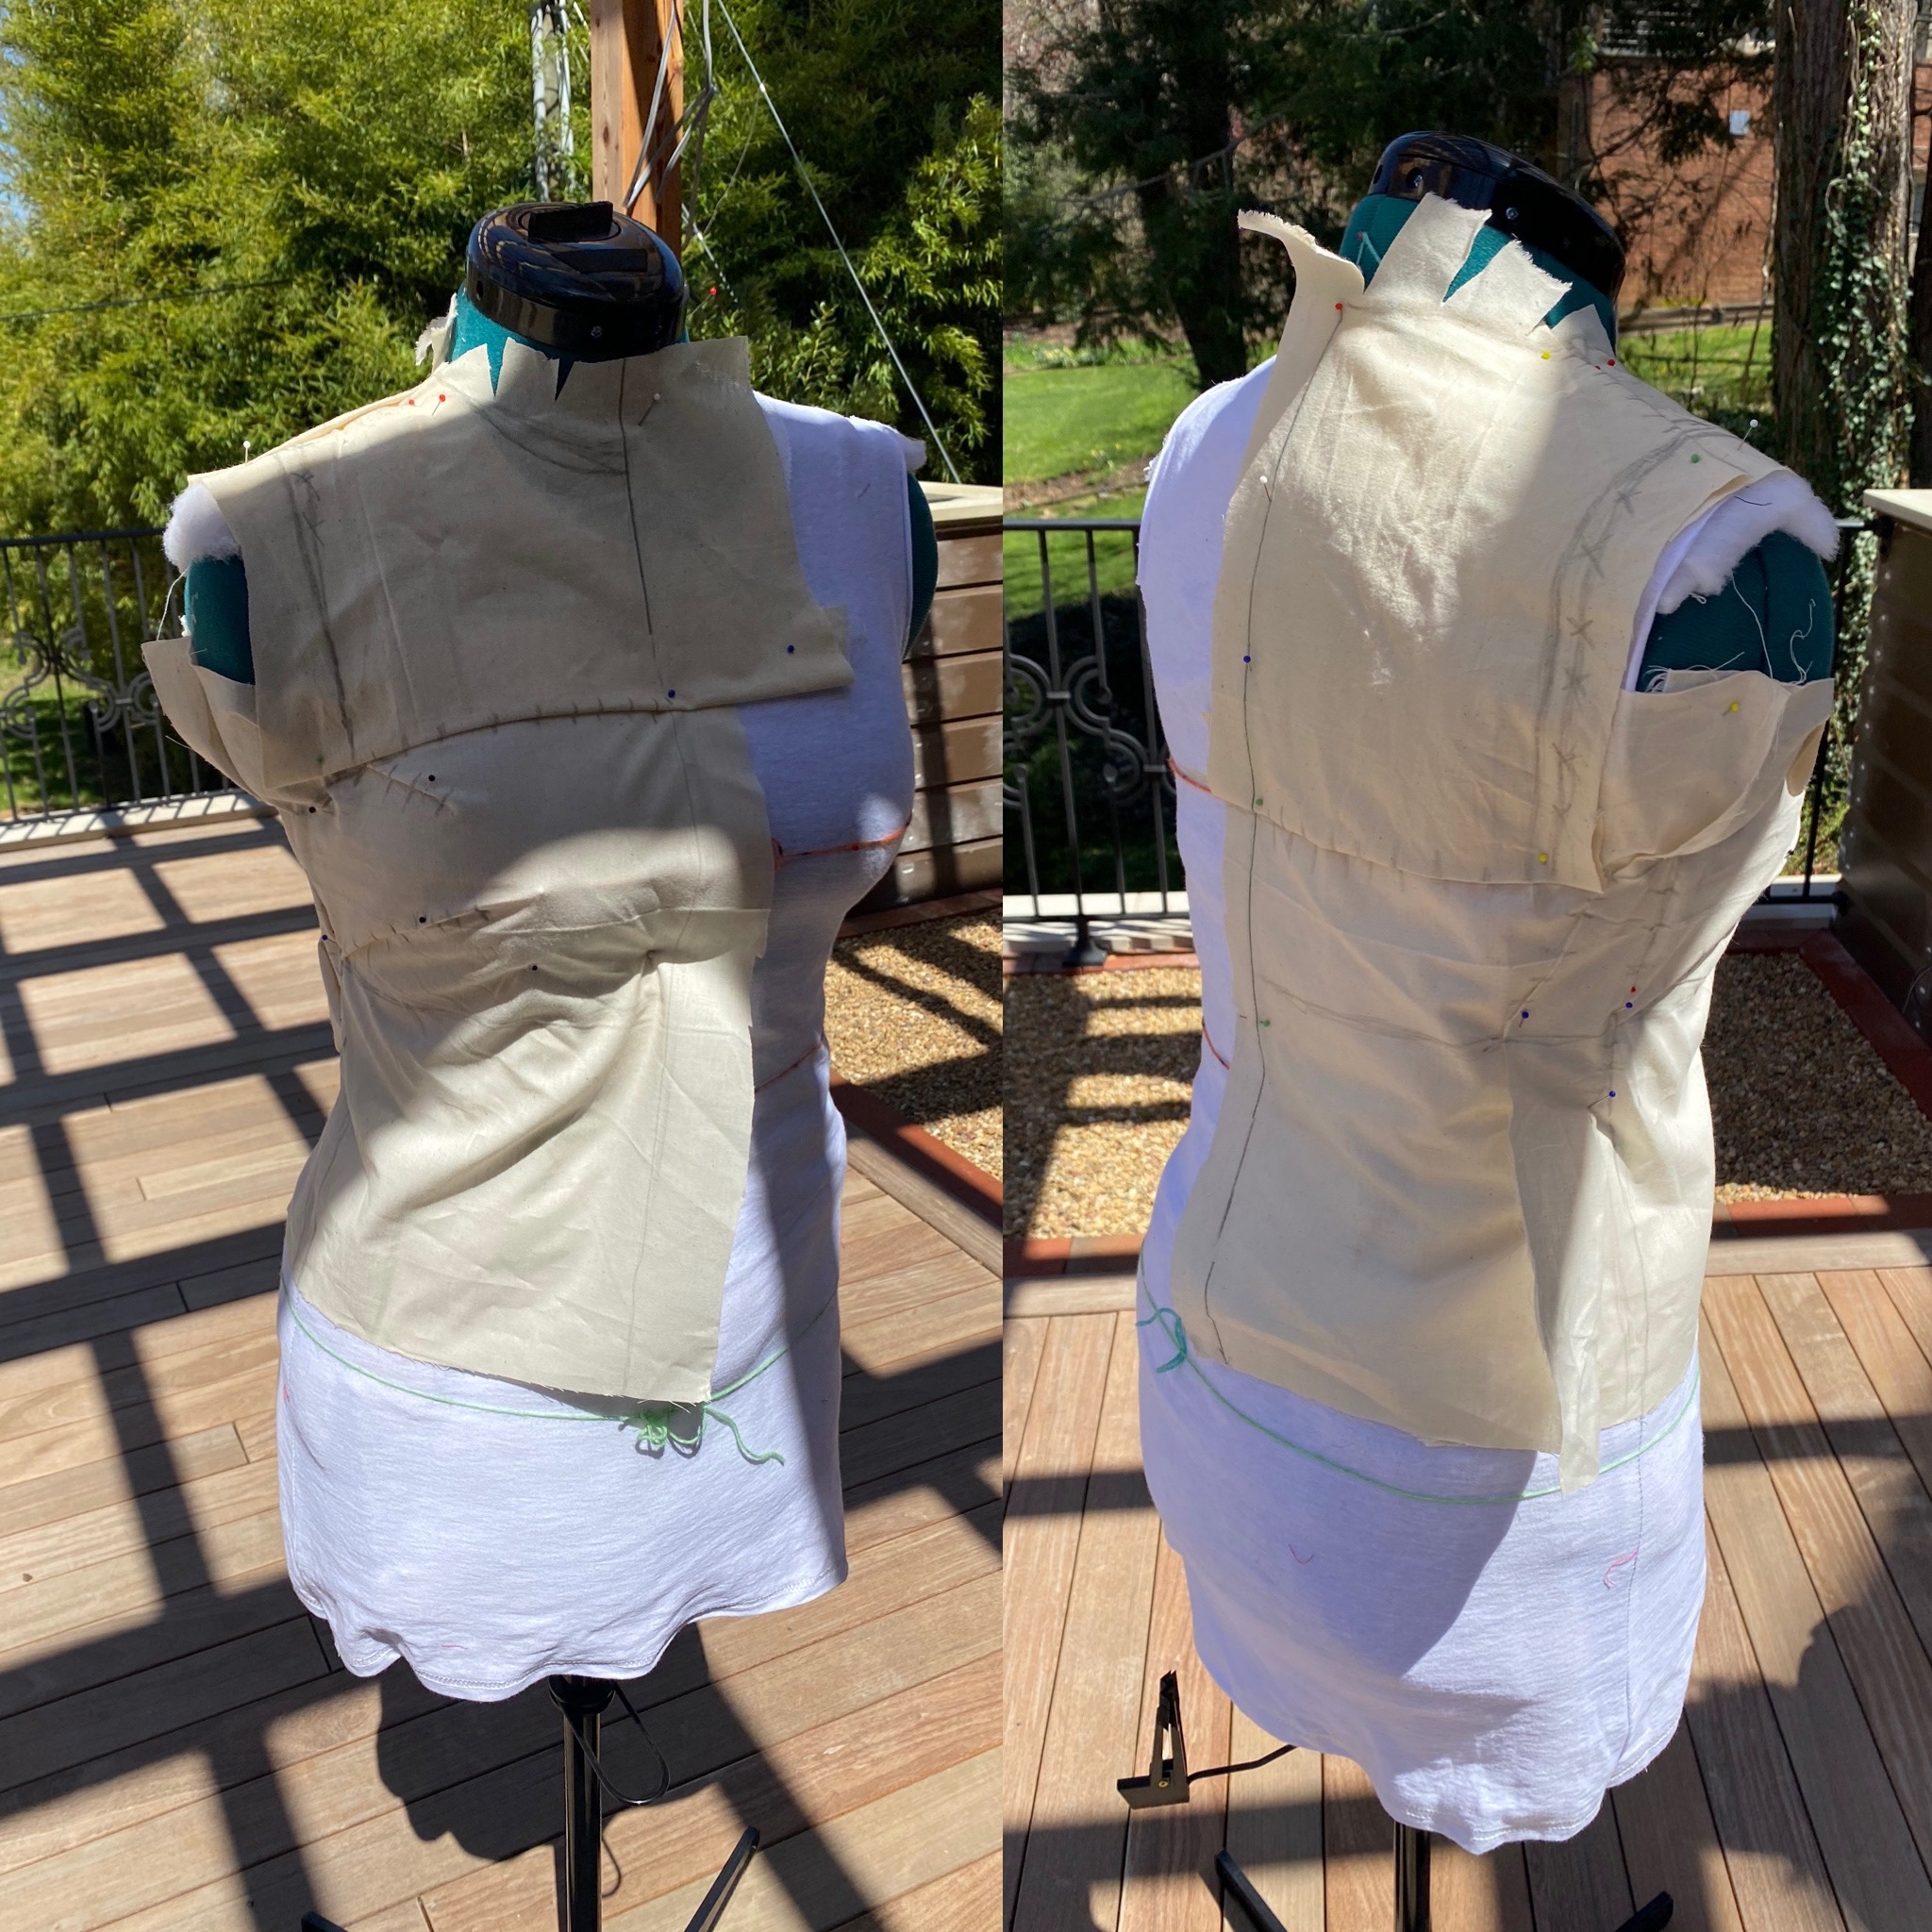
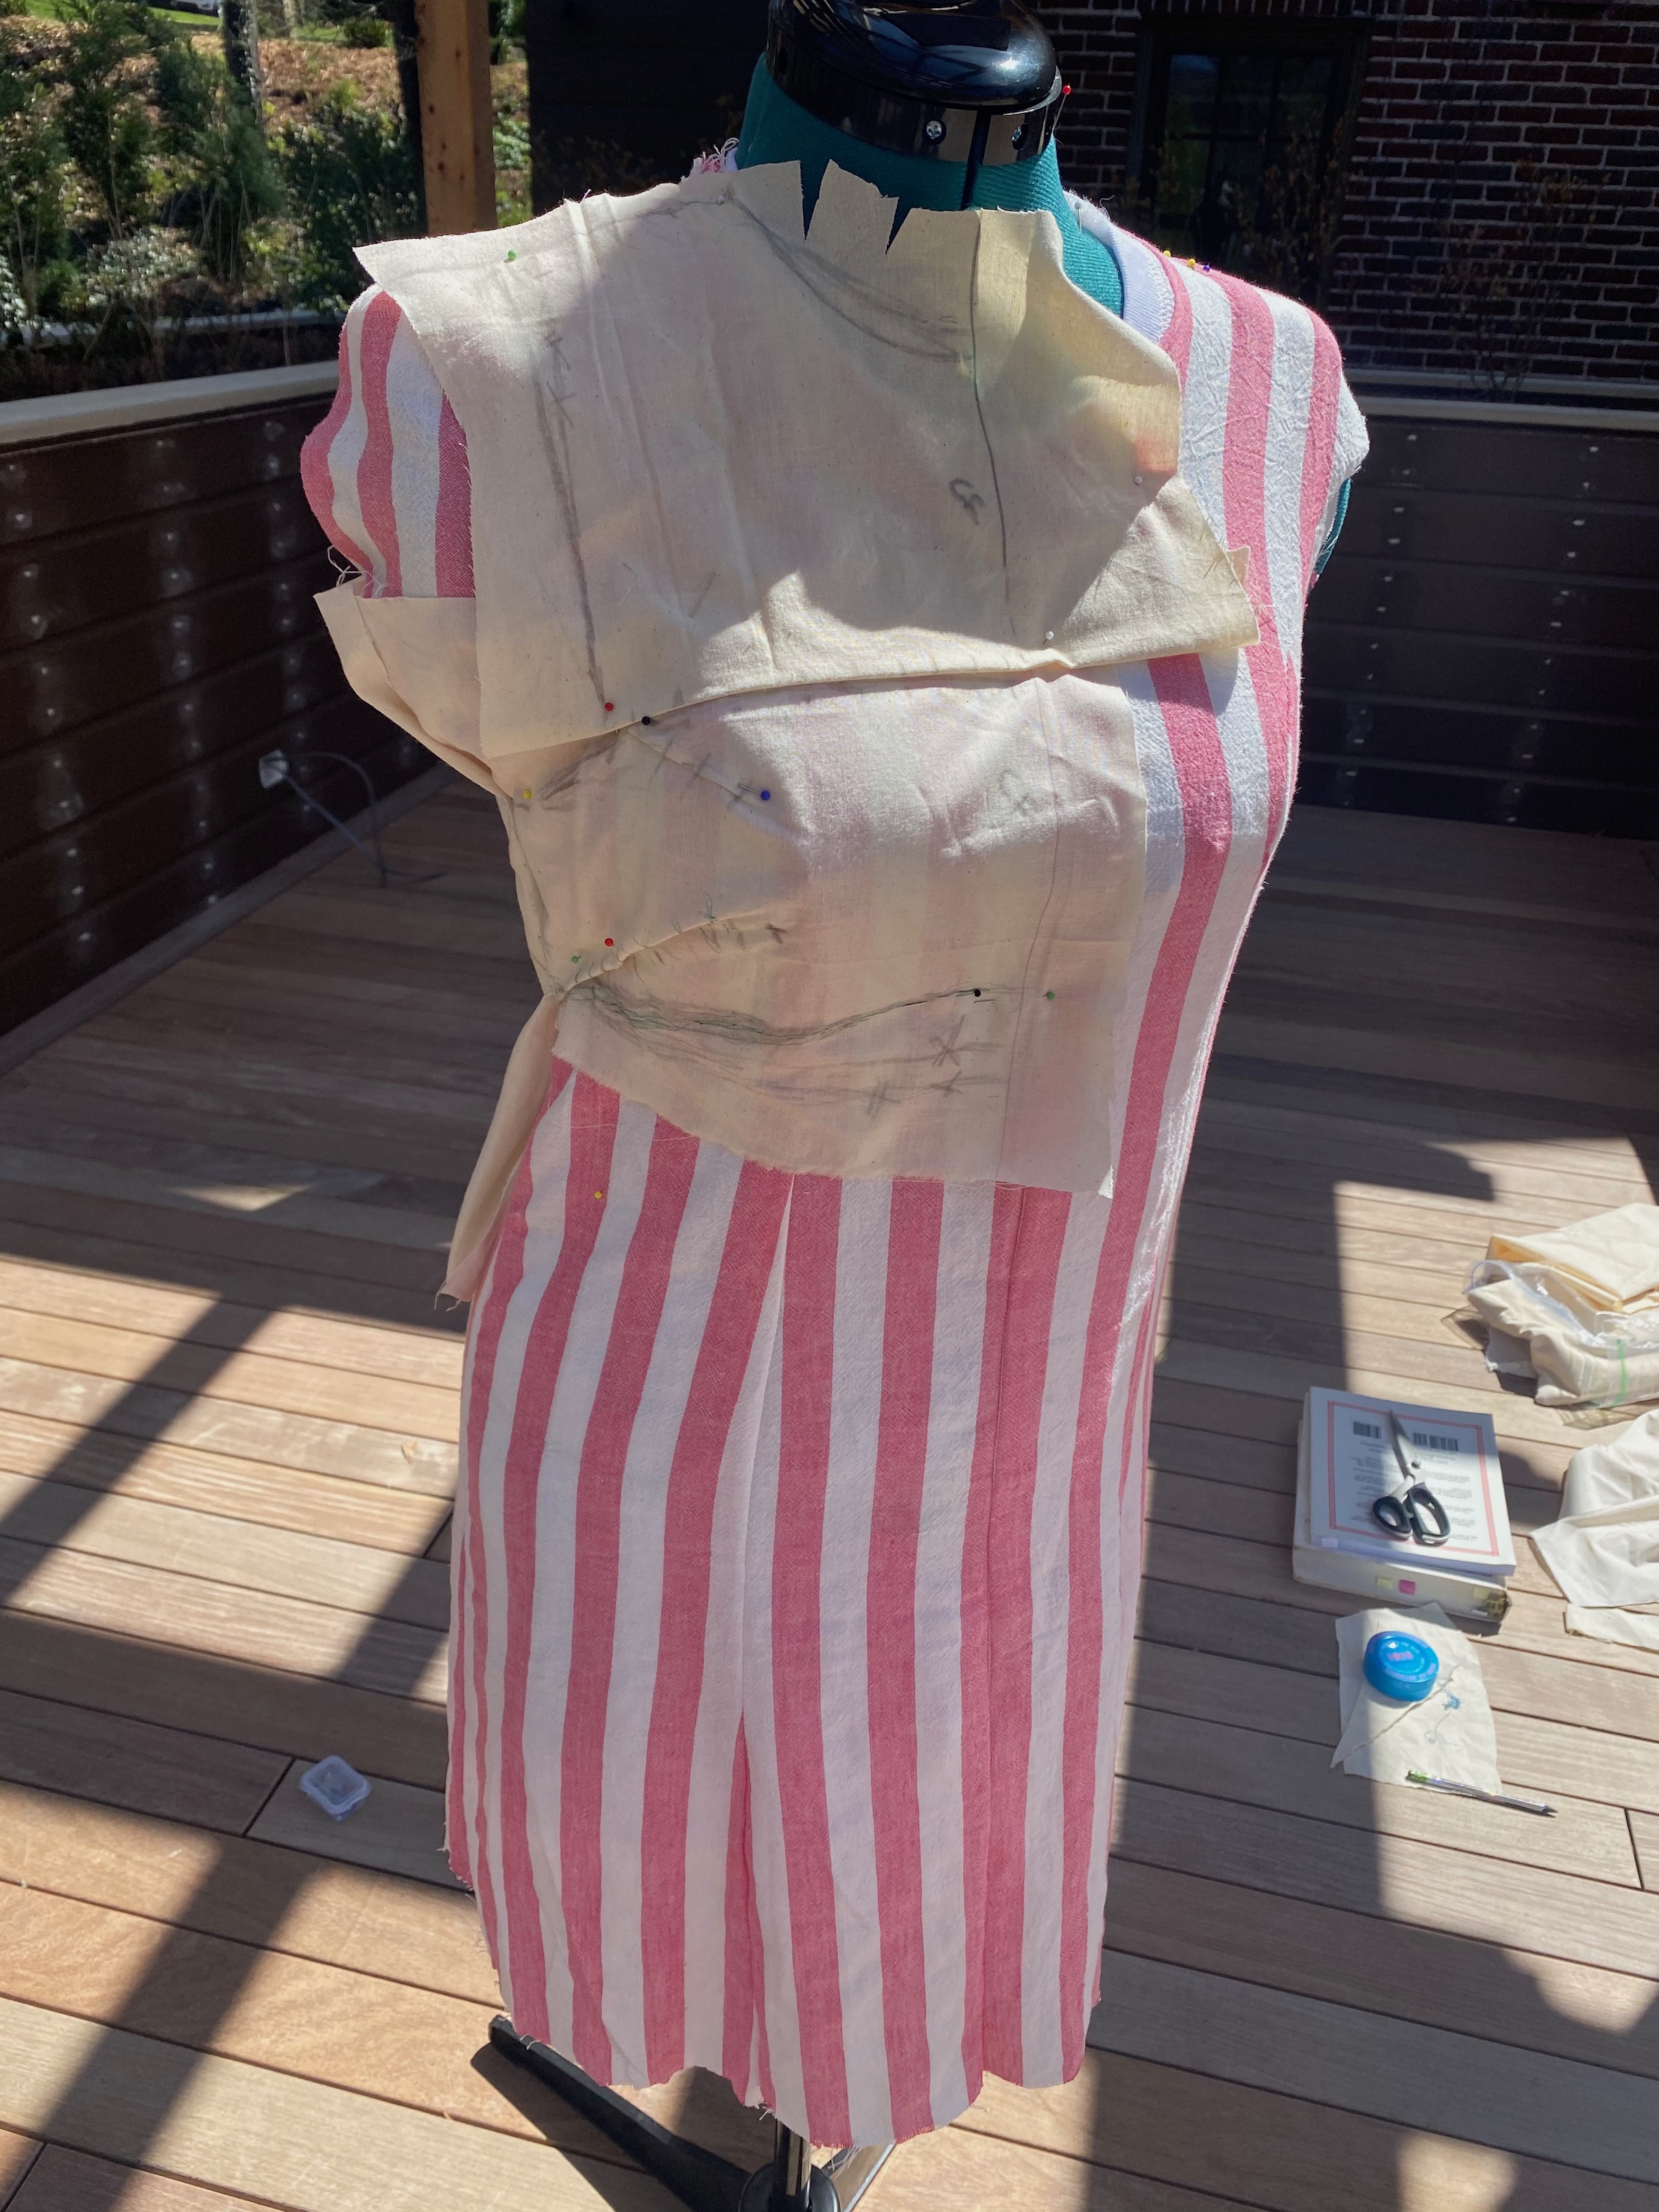
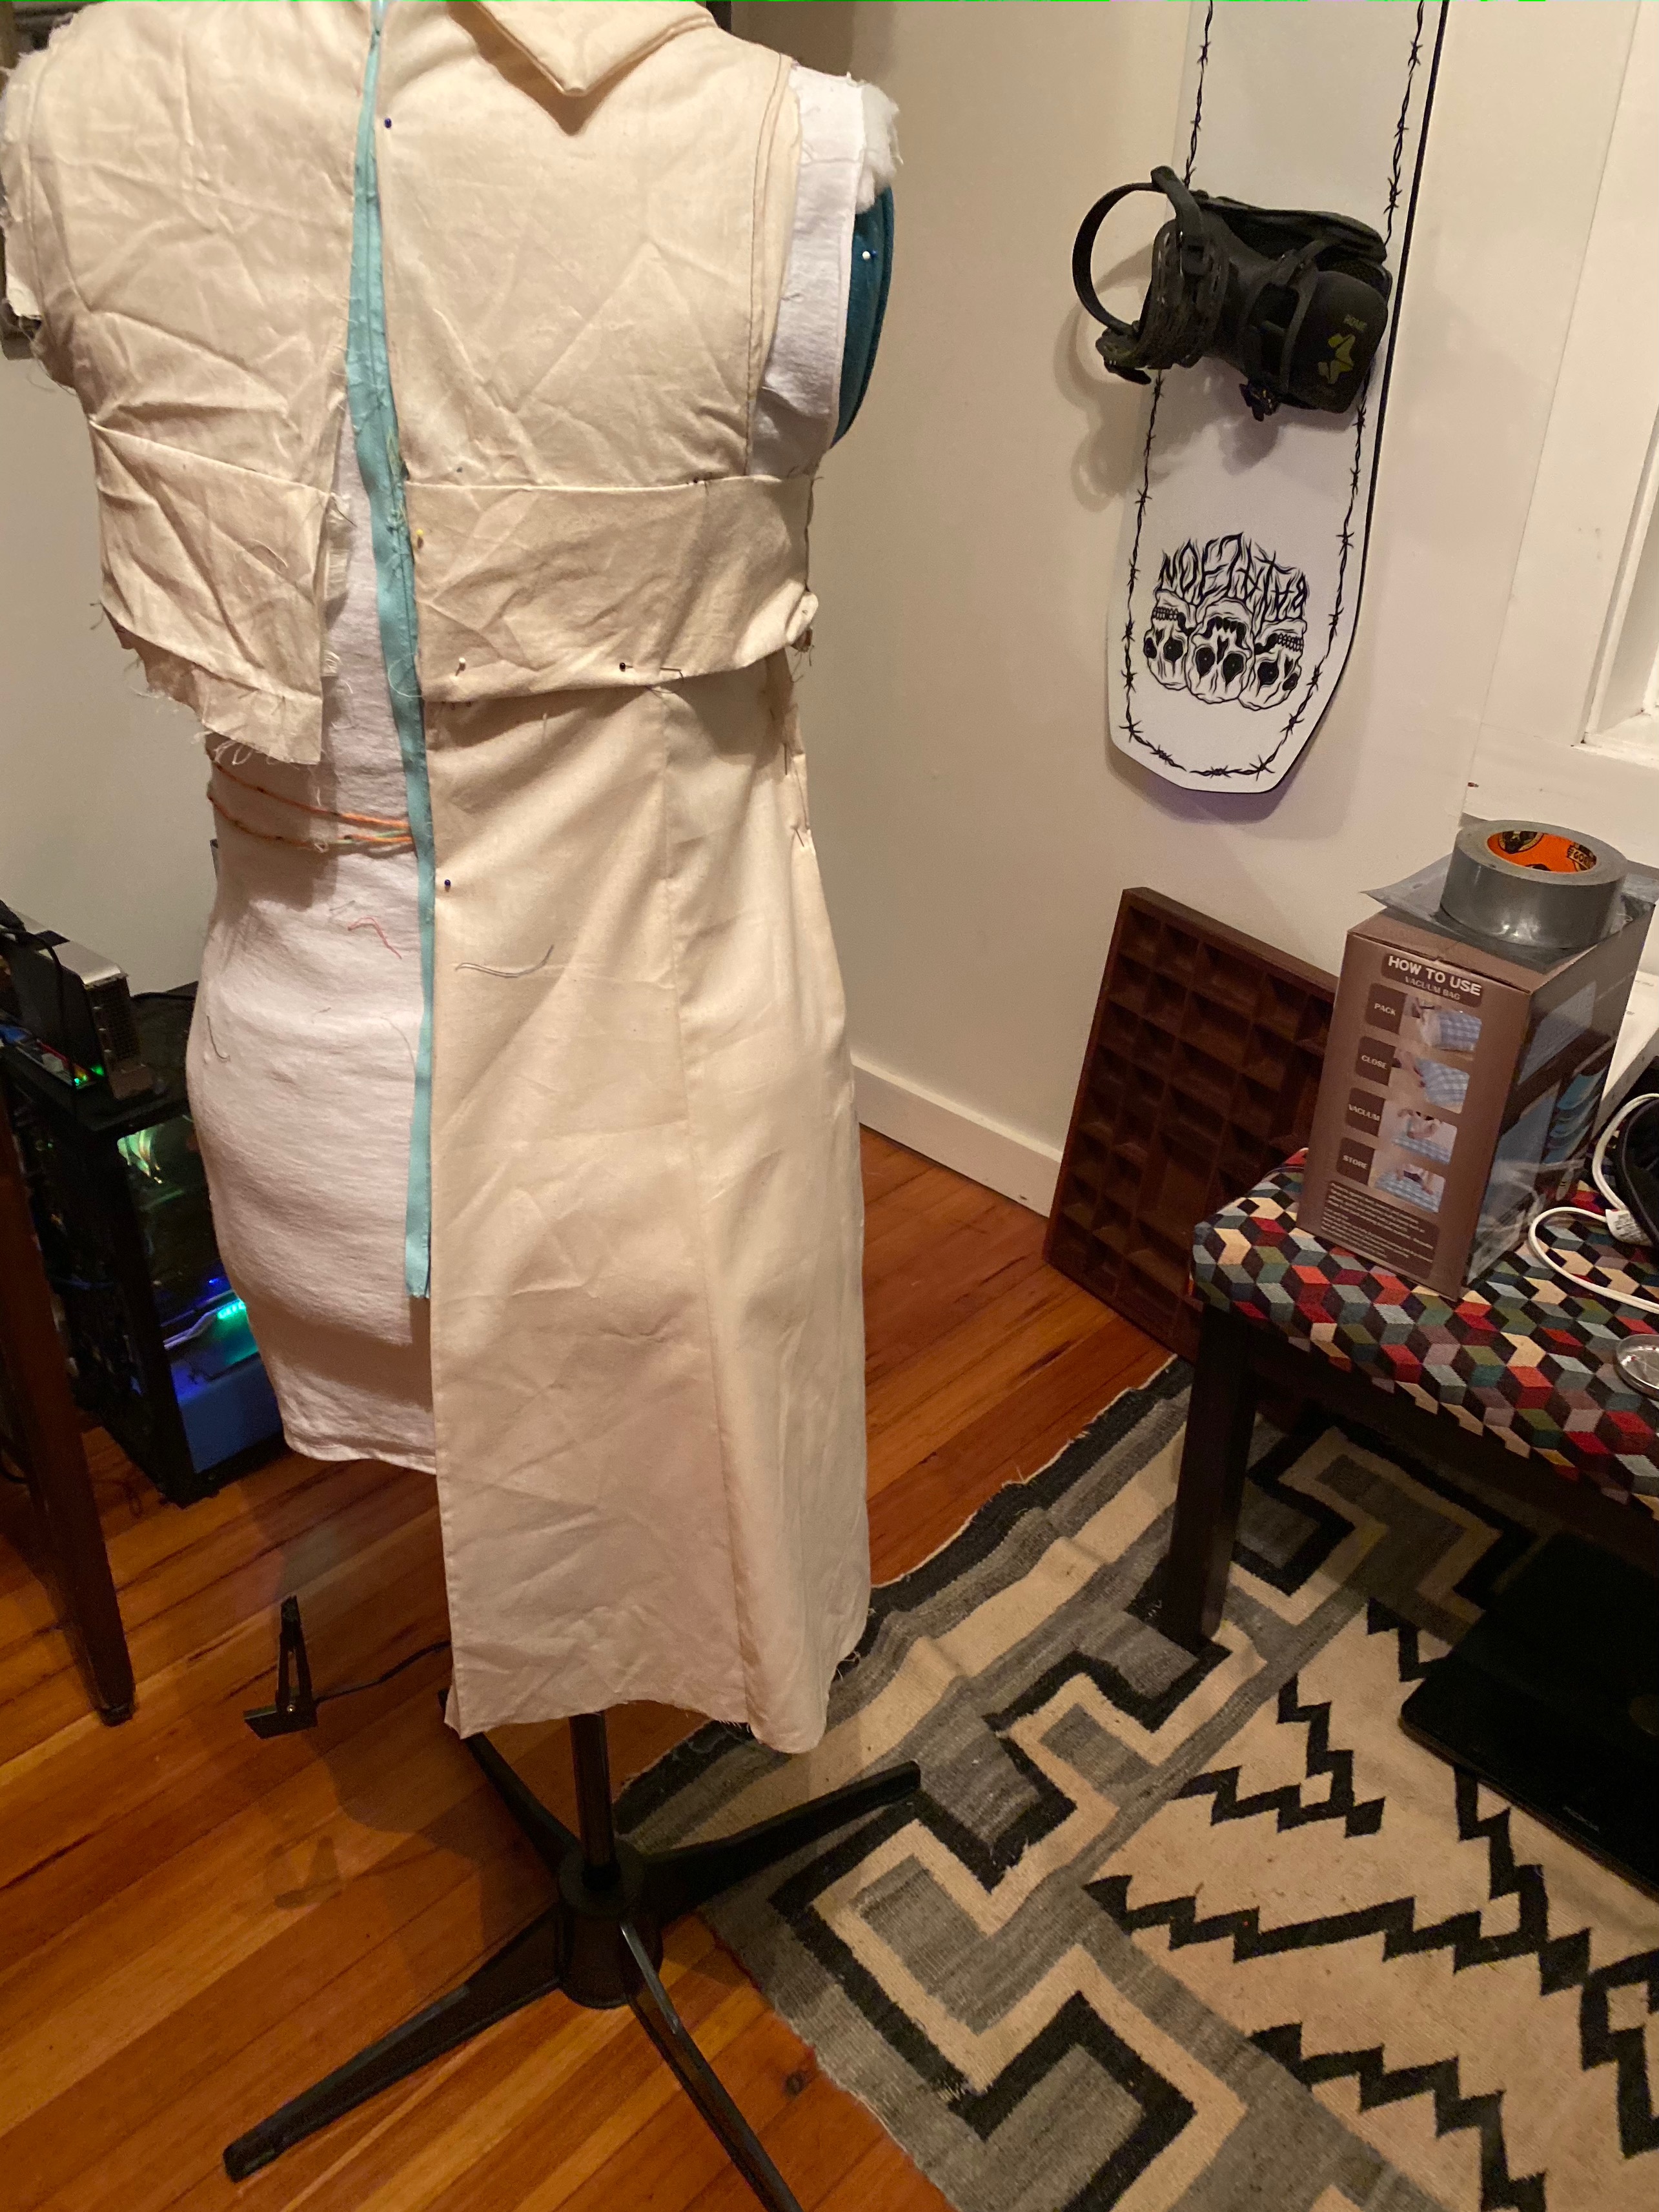
From there it’s time to muslin. I used my new pattern pieces for the bodice, the skirt from the princess seam dress I was working before, literally just cut it off, including SA and, for the collar I used the pattern piece from recent shirt
I used the technique I learnt on my Brooks Ann course, which stems from couture sewing. You don’t have seam allowances on your patten. Instead you trace around your pattern place, then add whatever seam allowance you like directly on the fabric. This takes a little longer but it means you are sewing along a marked line instead of having to watch the measurement lines on your machine. I really this like method and think the extra time makes it worth it.
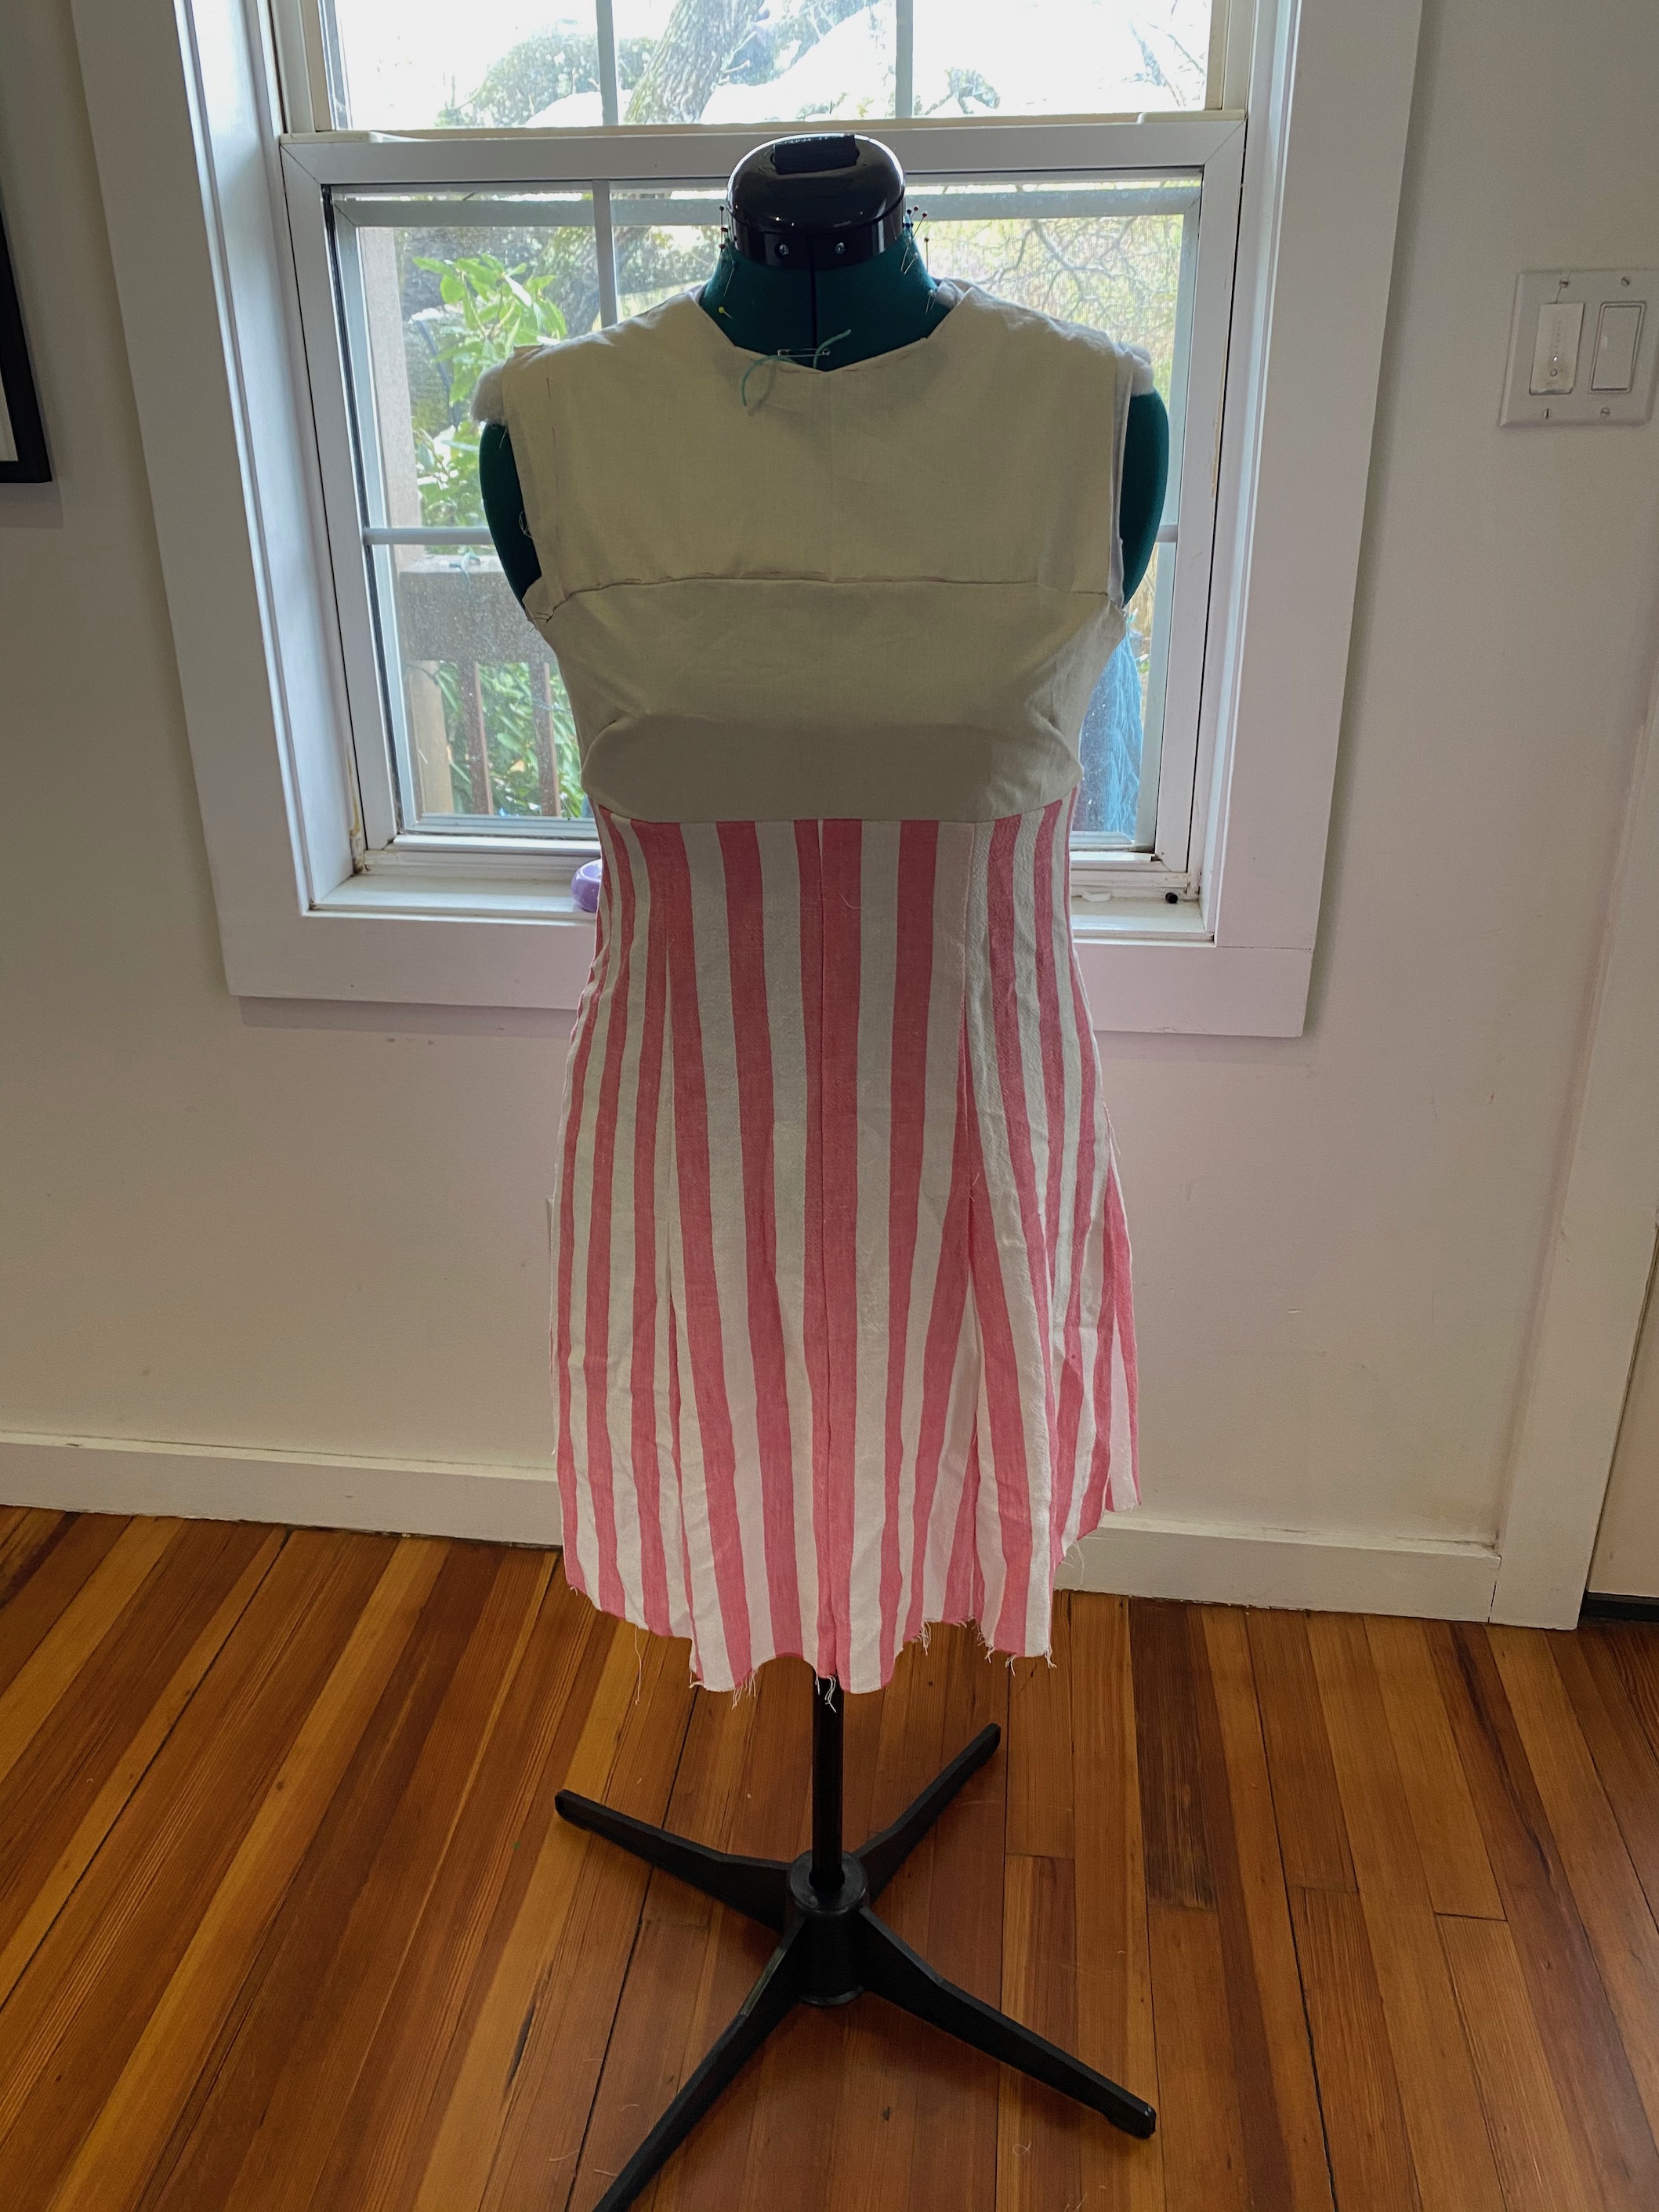
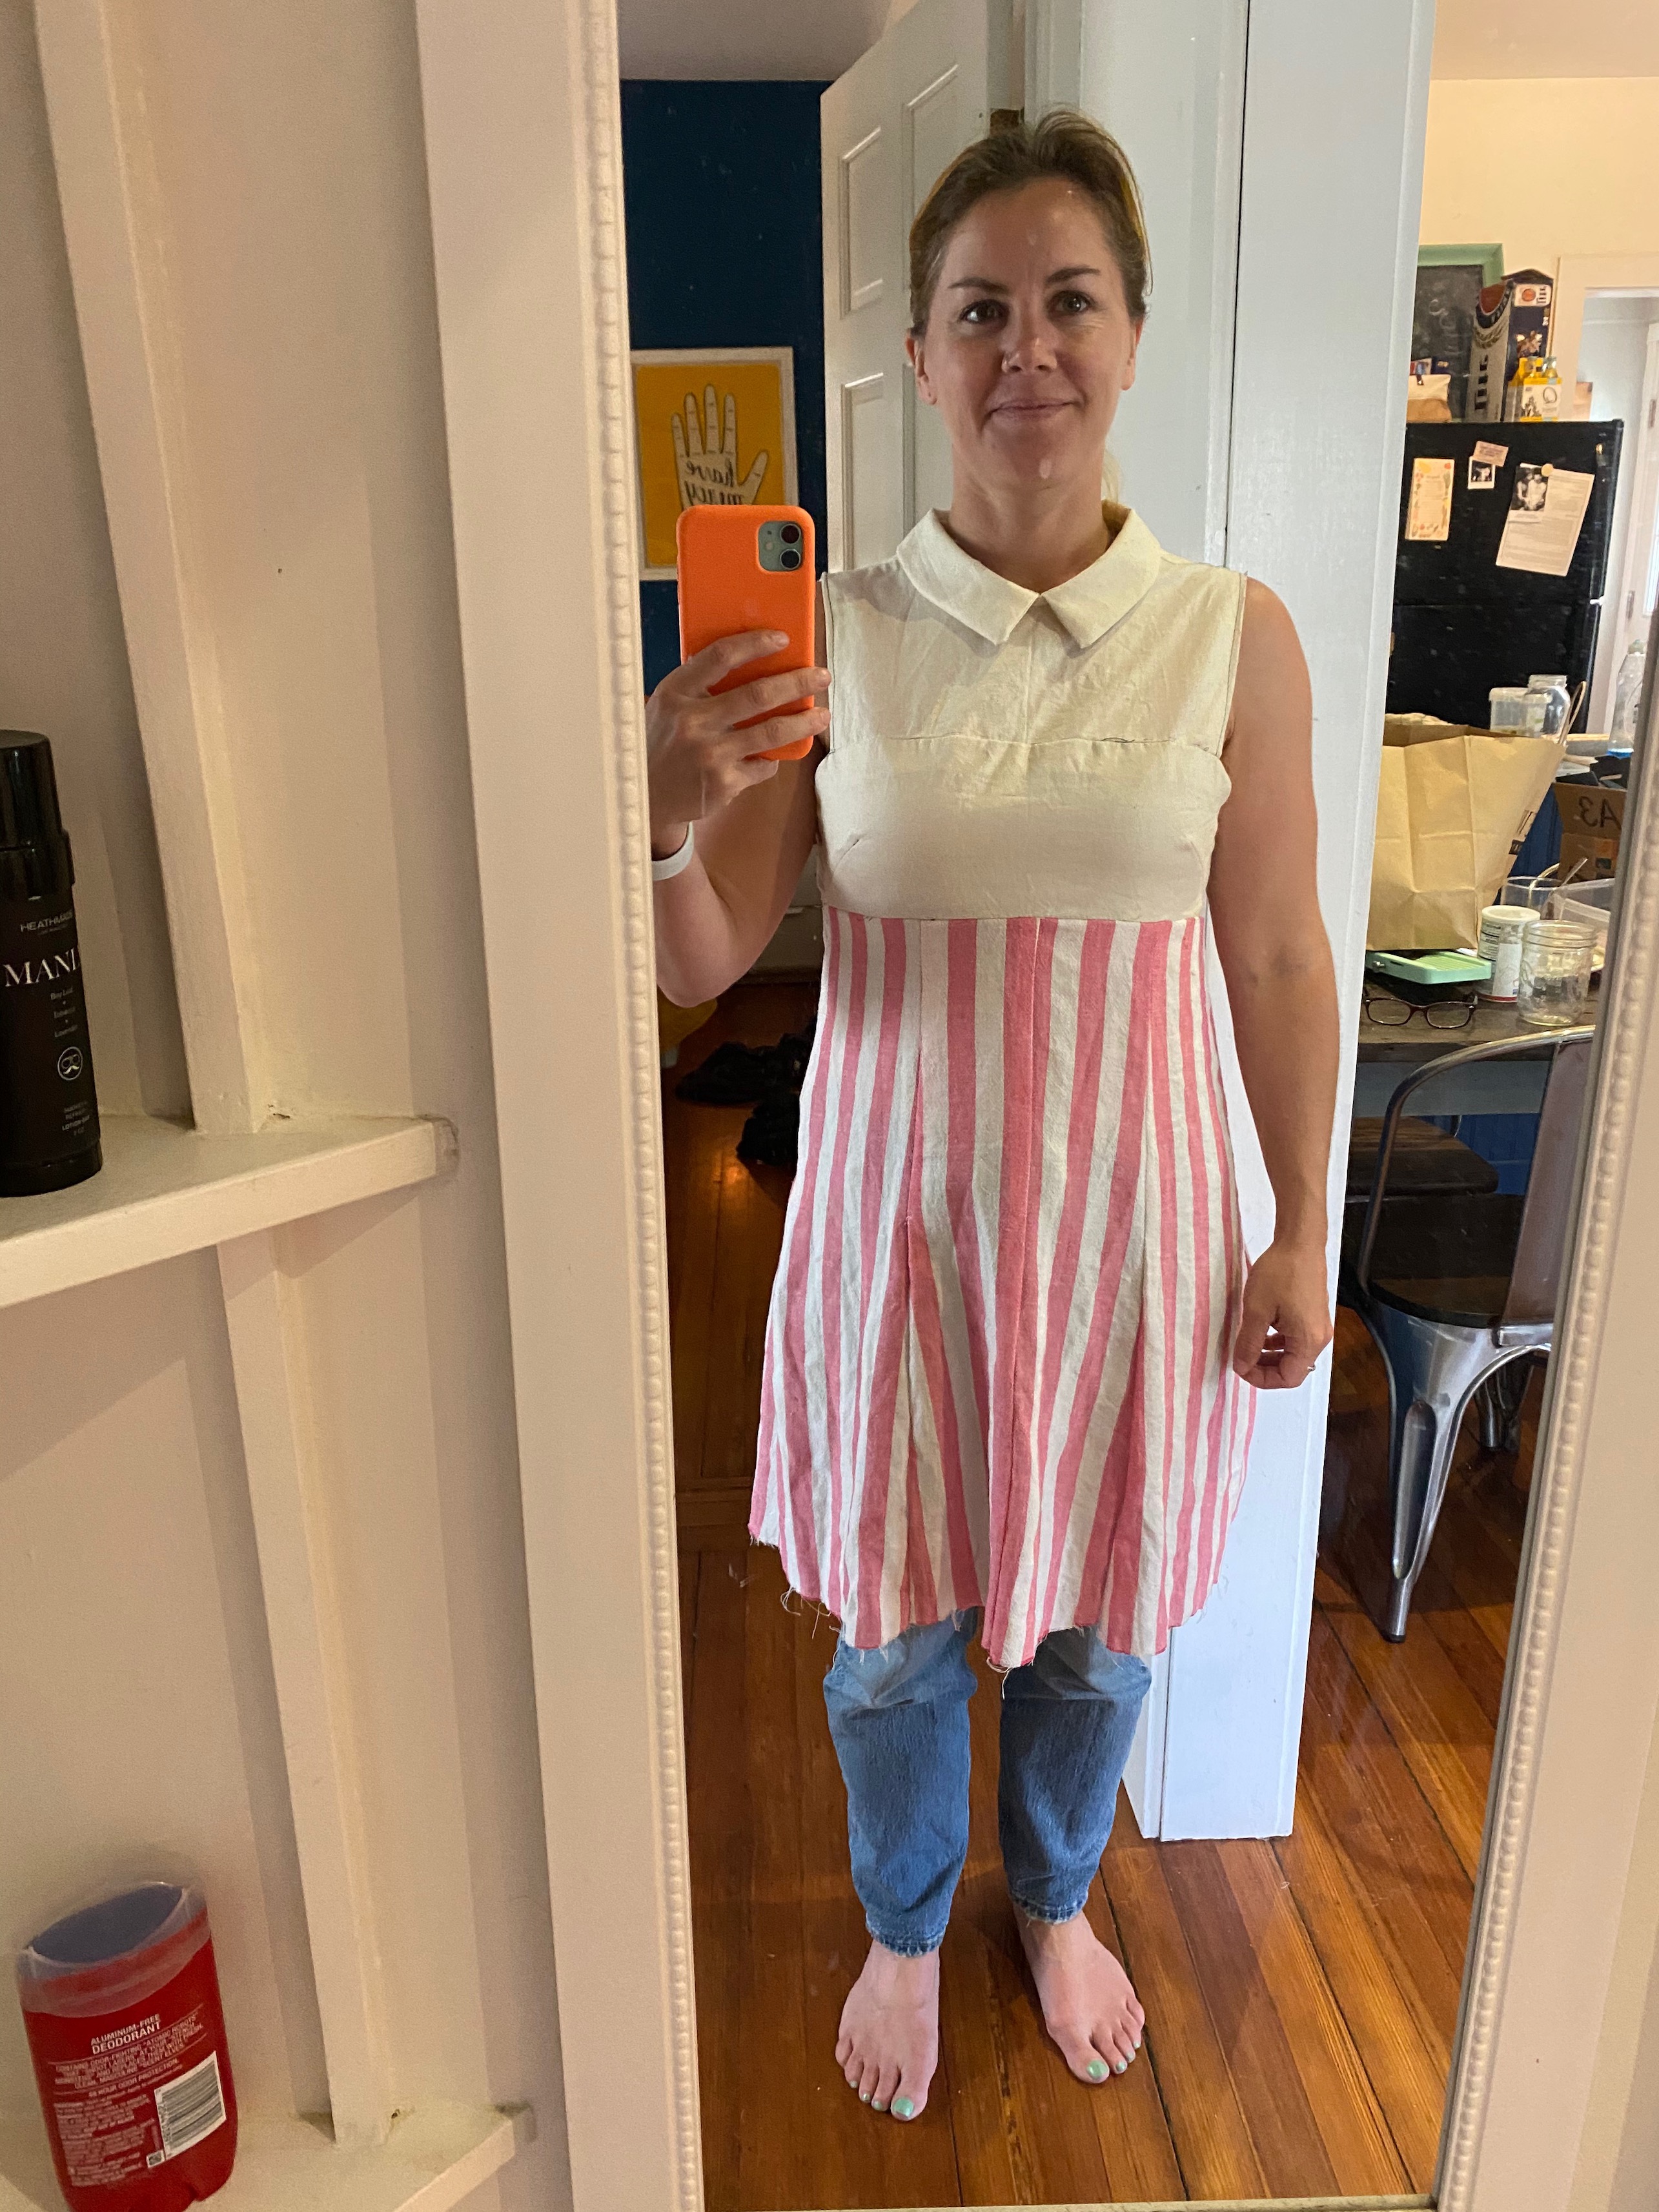
I have to say, I was super skeptical it would work, I don’t know why. Perhaps a little impostor syndrome? Perhaps because I’ve been so stung by commercial patterns and how badly they fit me.
Well, I tried on that first muslin and I couldn’t believe it! It worked!
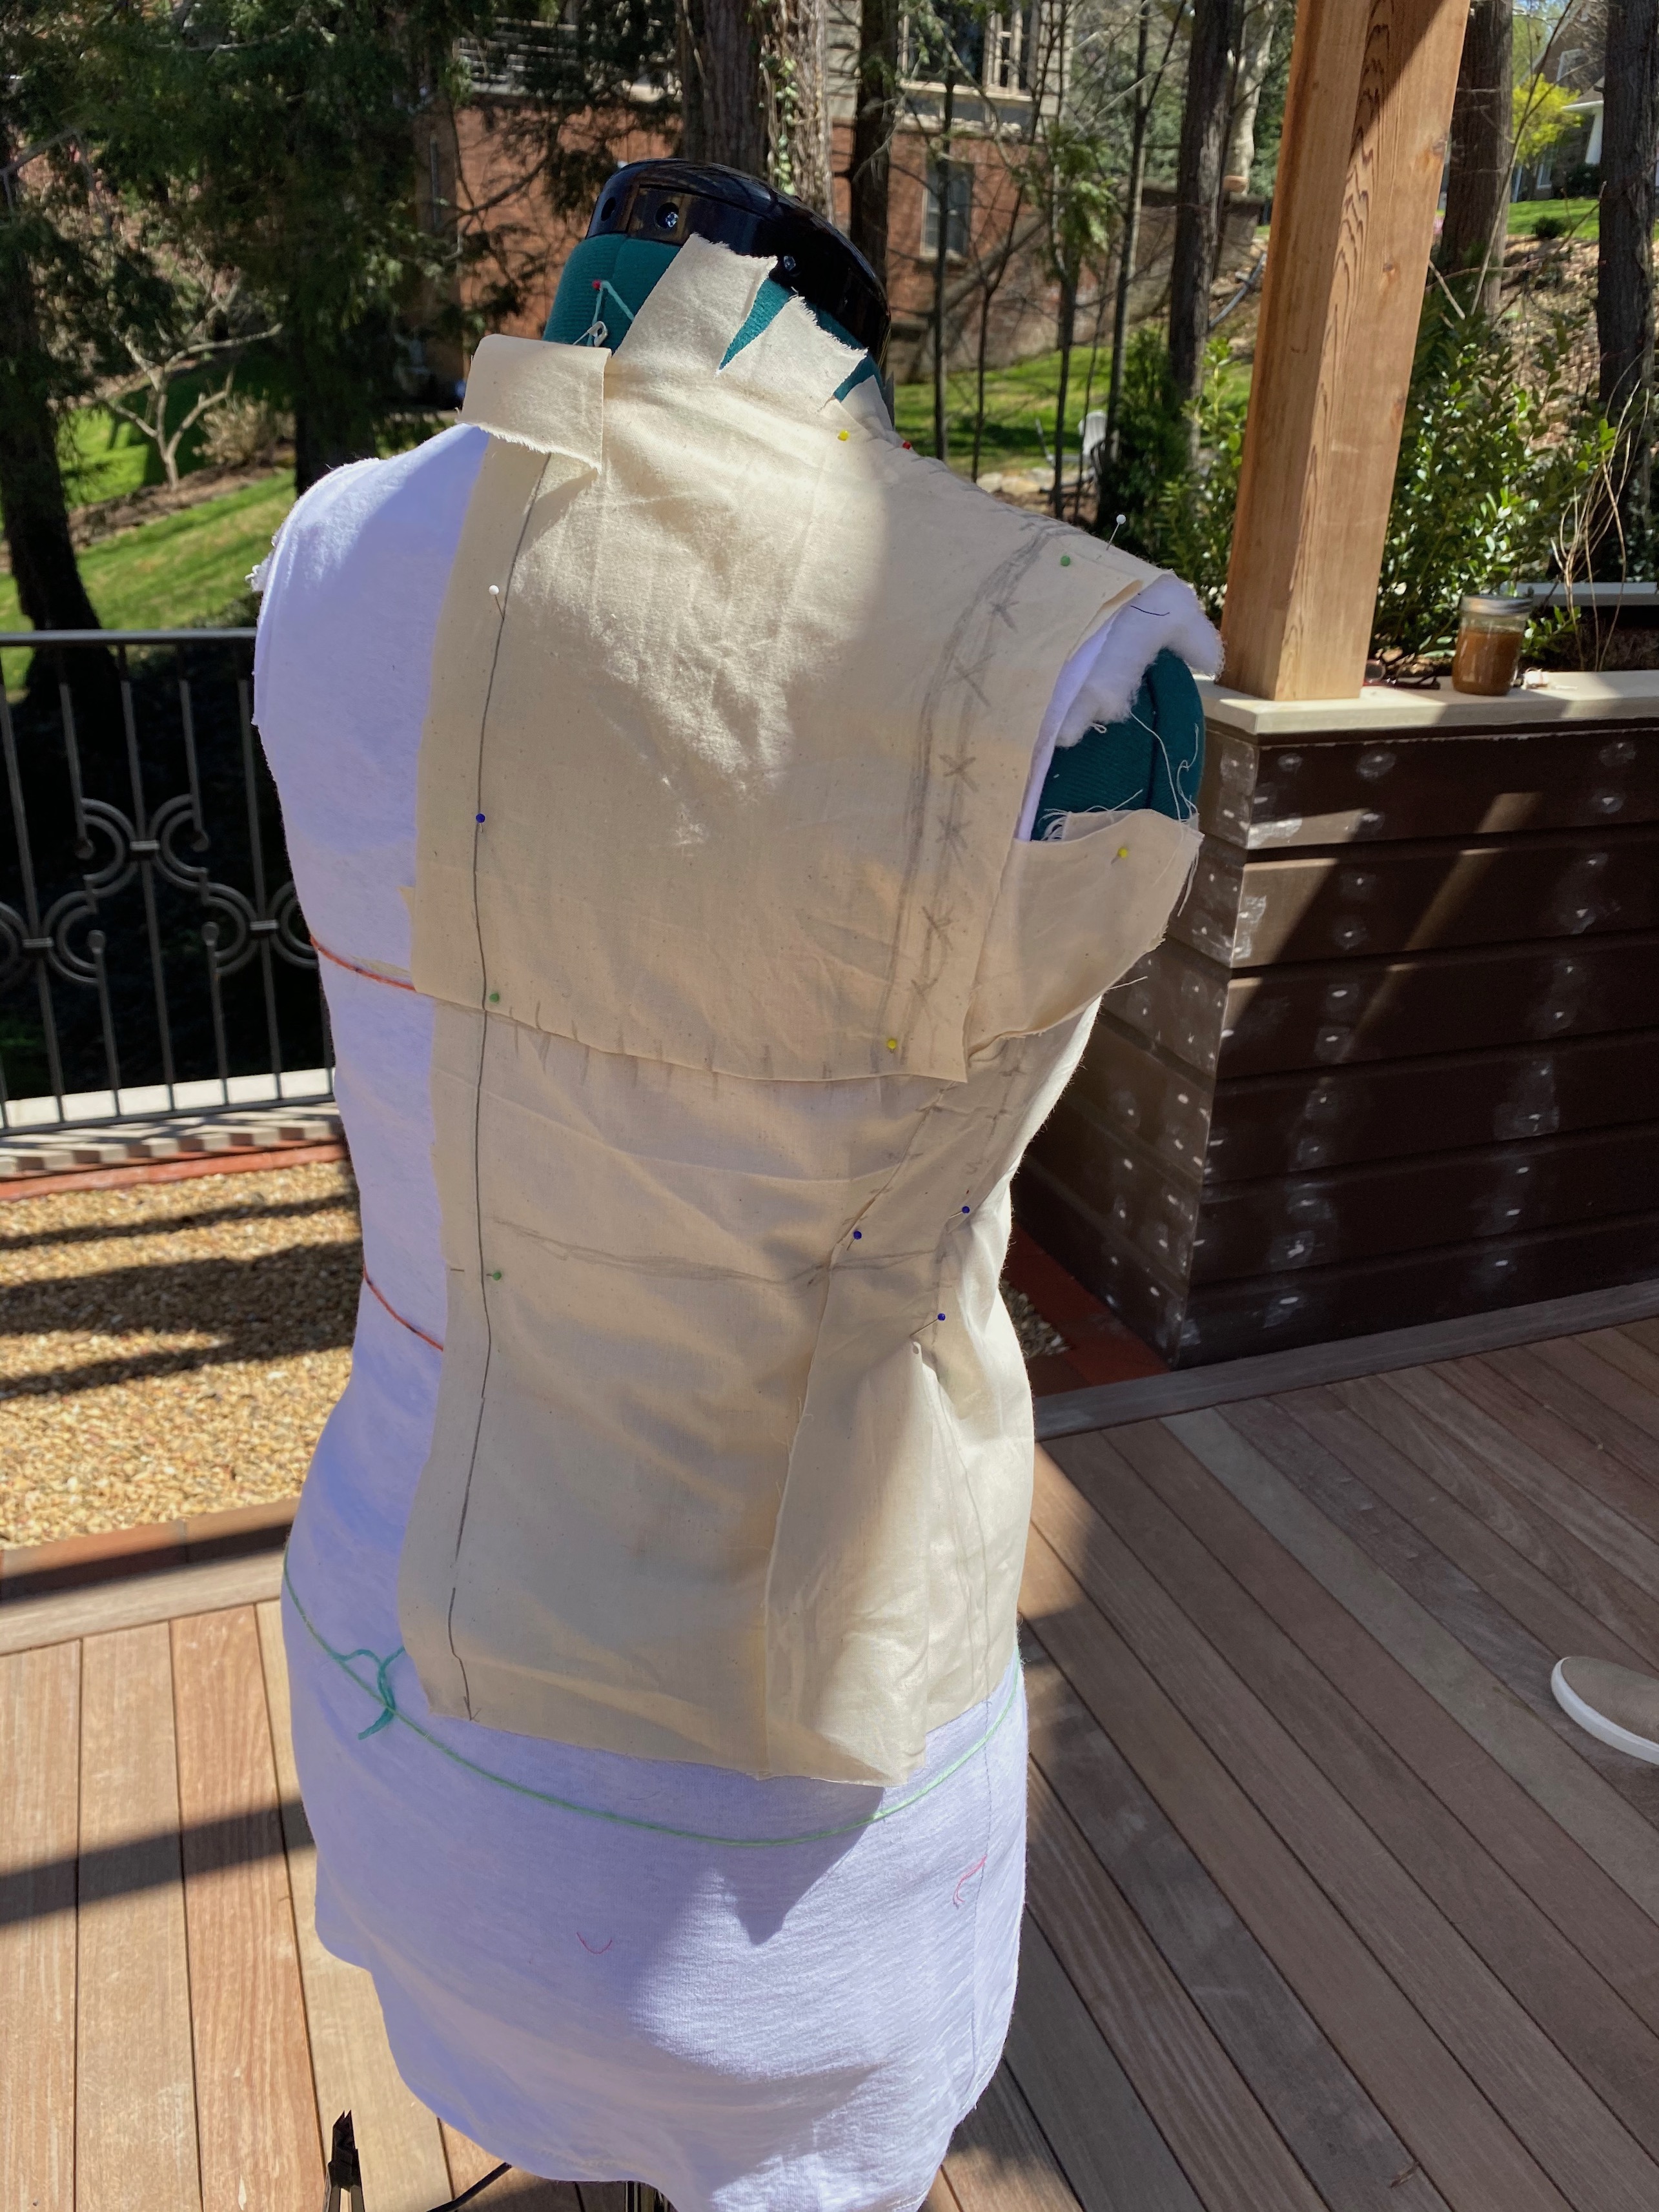
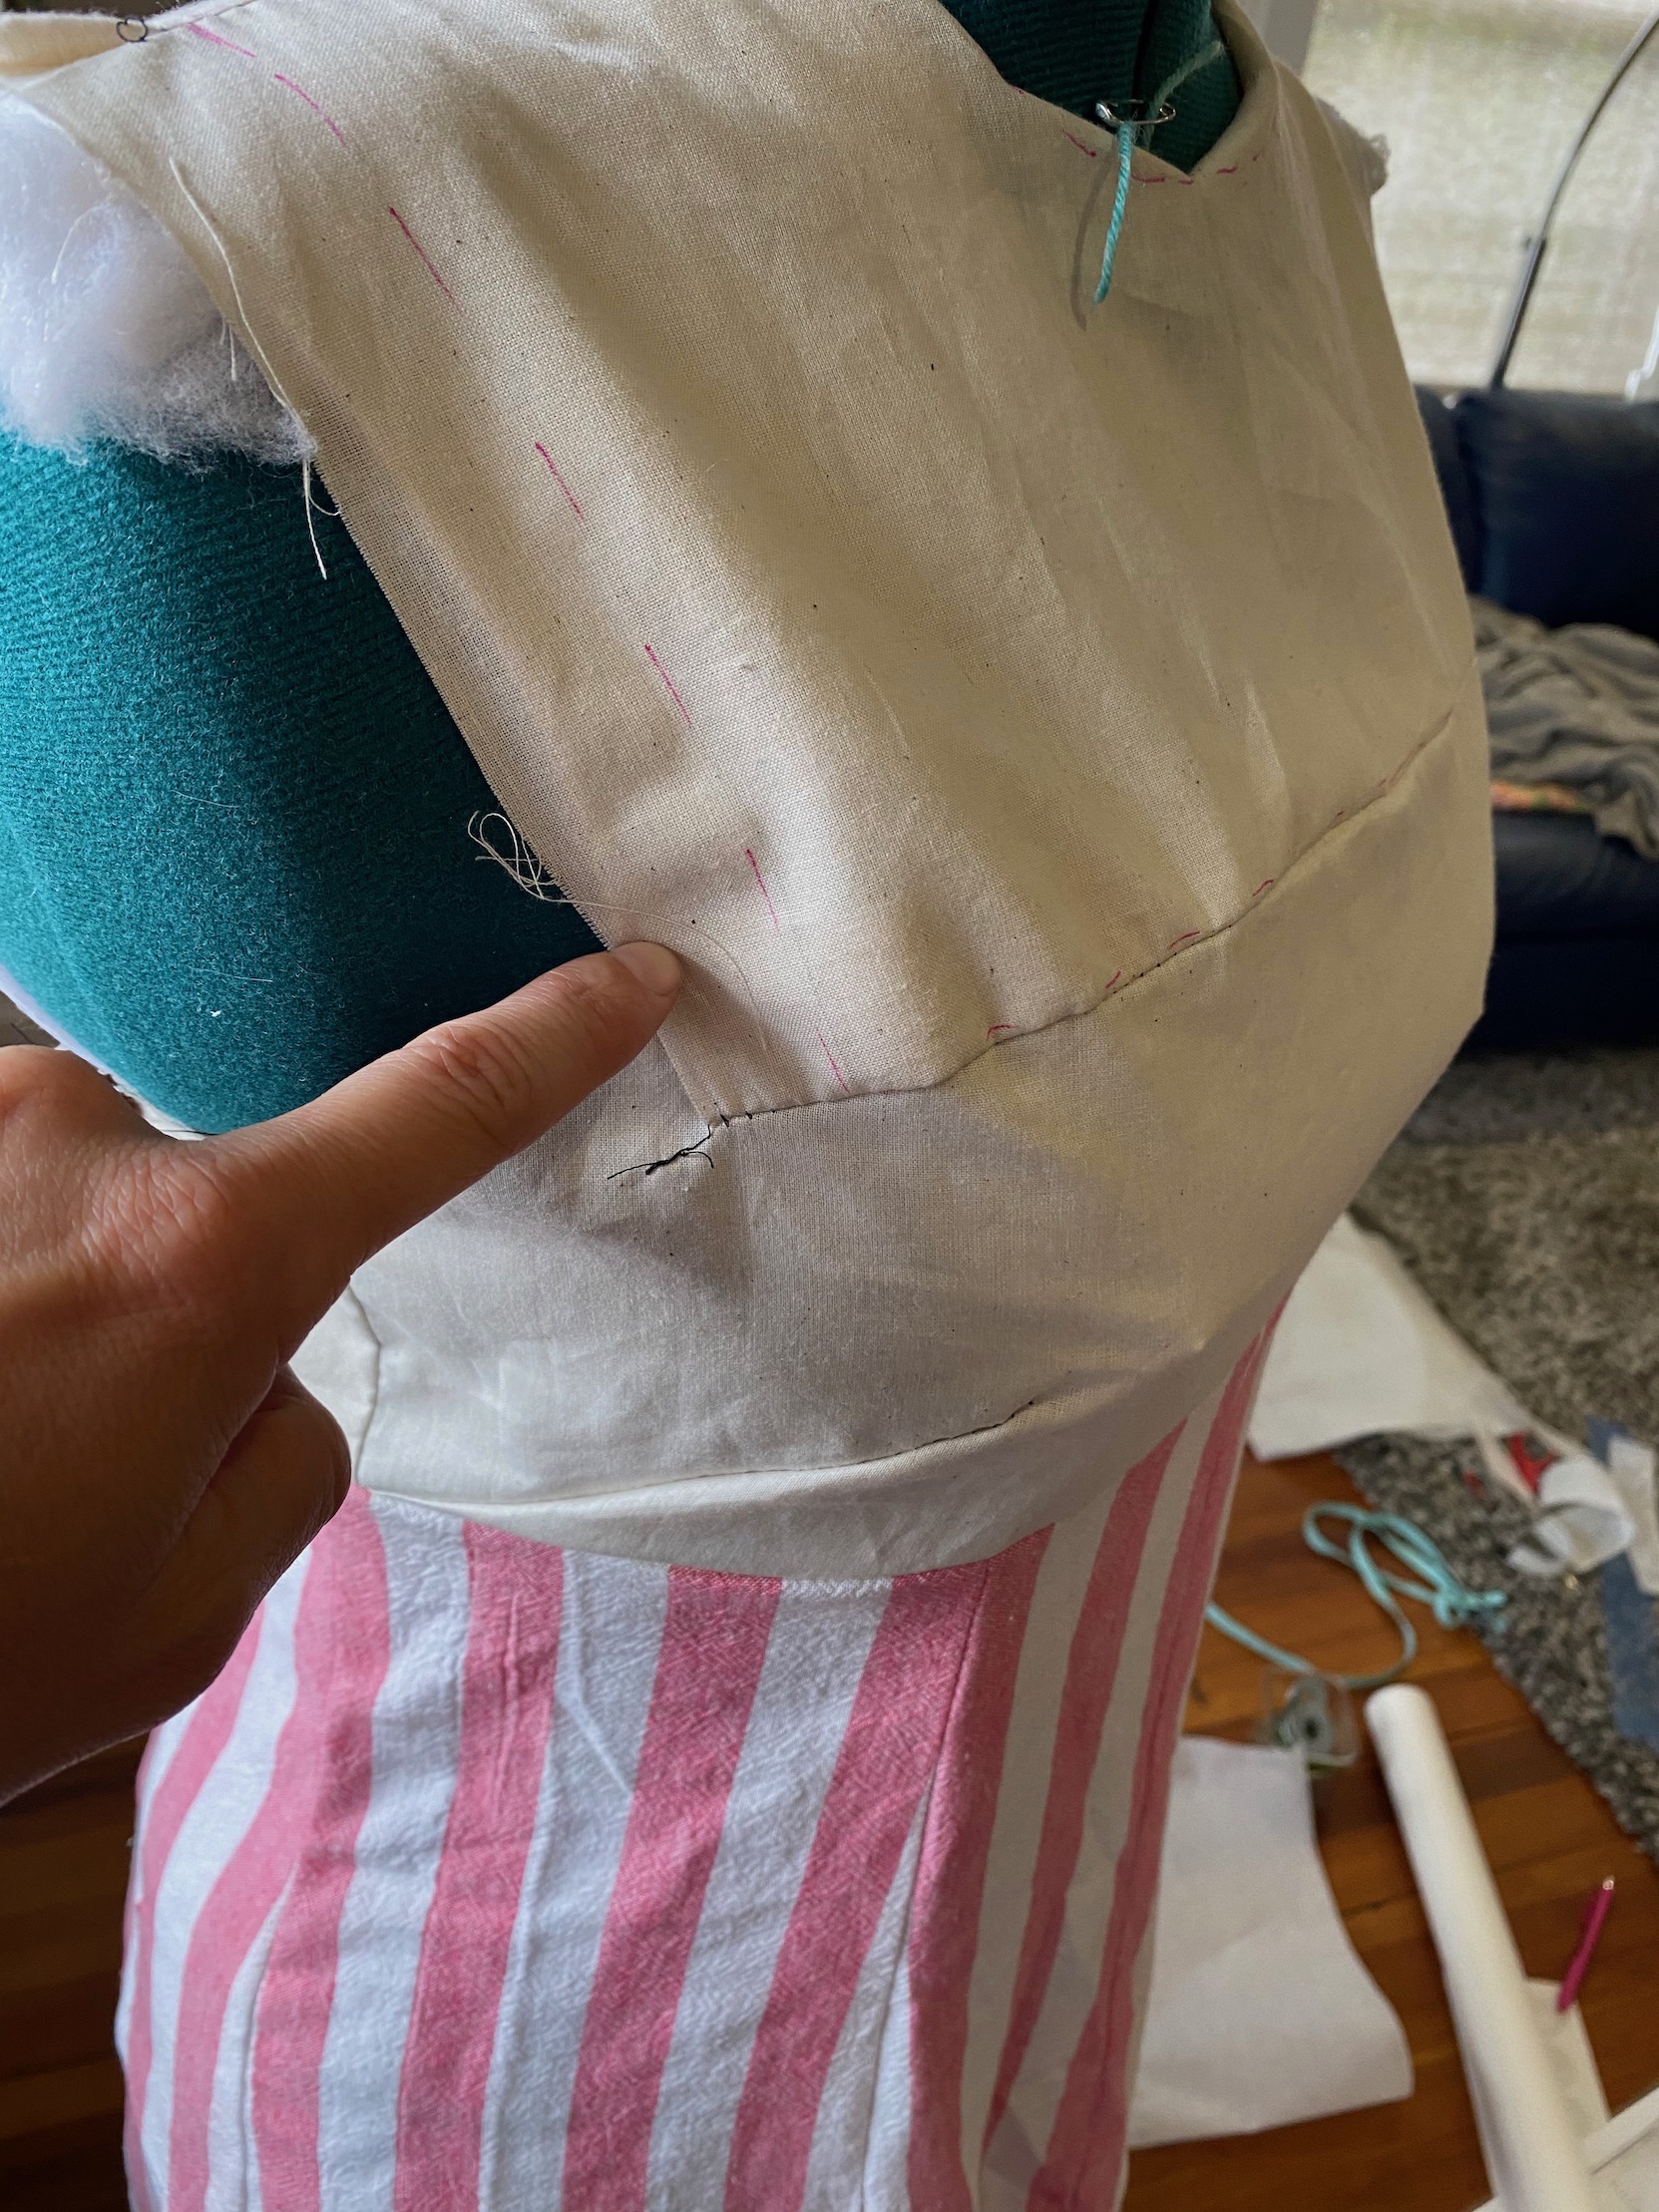
There were some small issues:
- the side seams peaked out but I soon realised my pattern wasn’t straight, so an easy fix.
- I needed to figure out how the final thing would be constructed as there was some unusual parts to it as it doesn’t technically have armholes.


For the construction, again Mary helped – she used little mini versions of my patten pieces (so clever!) that we pinned together to see if our idea worked.
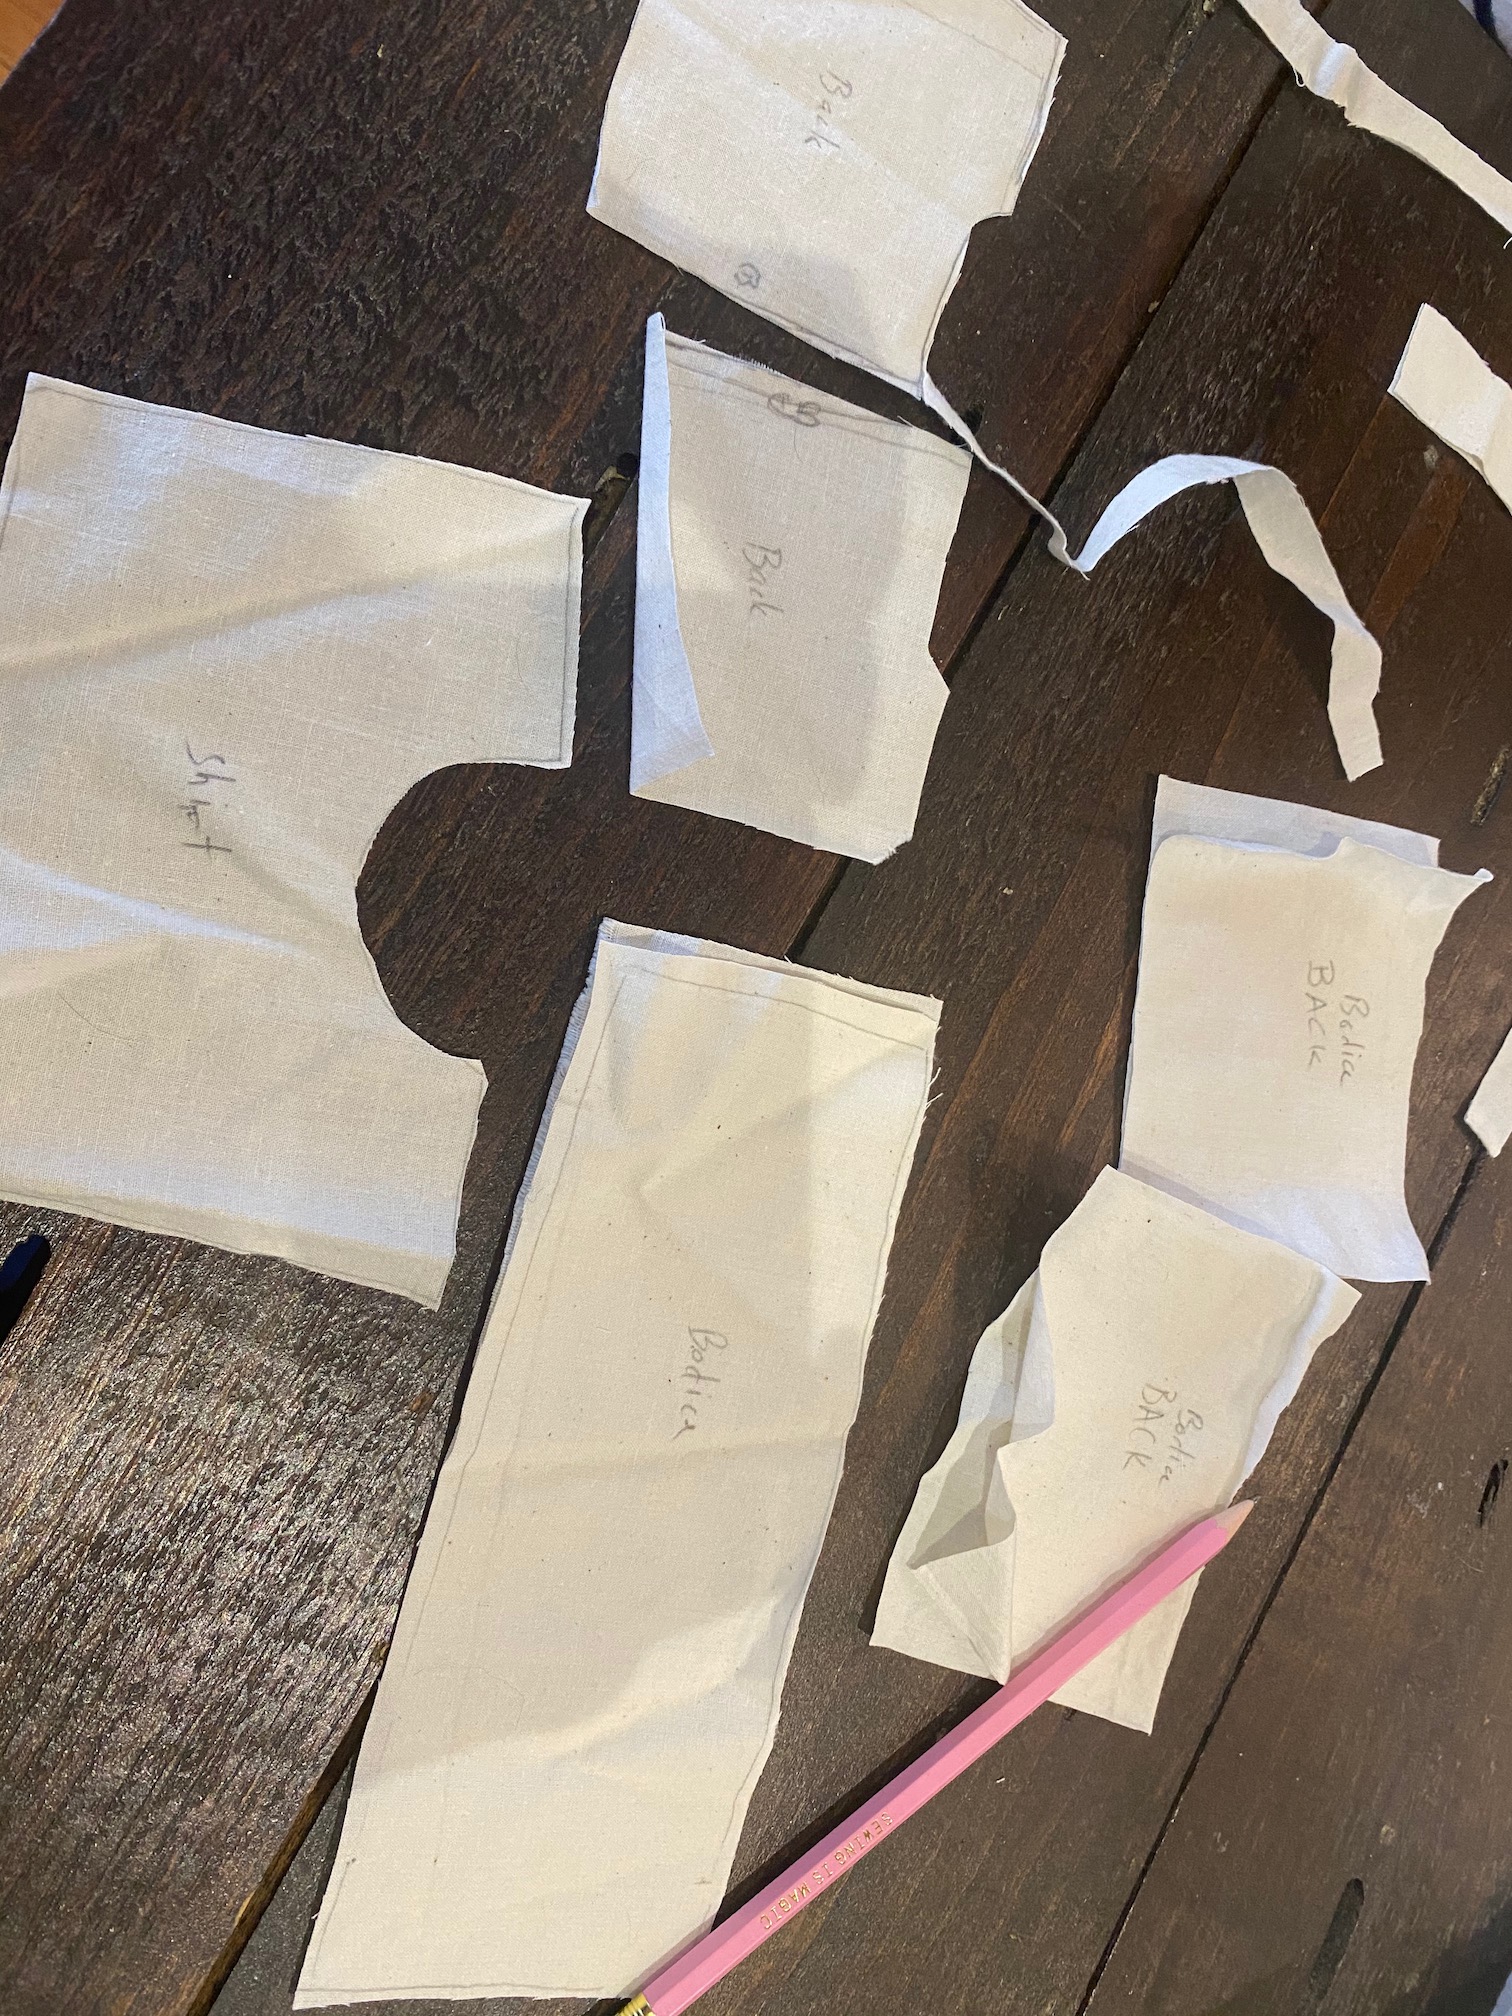 From this stage we decided I needed to create the shoulder seams of the “top” and then hem those.
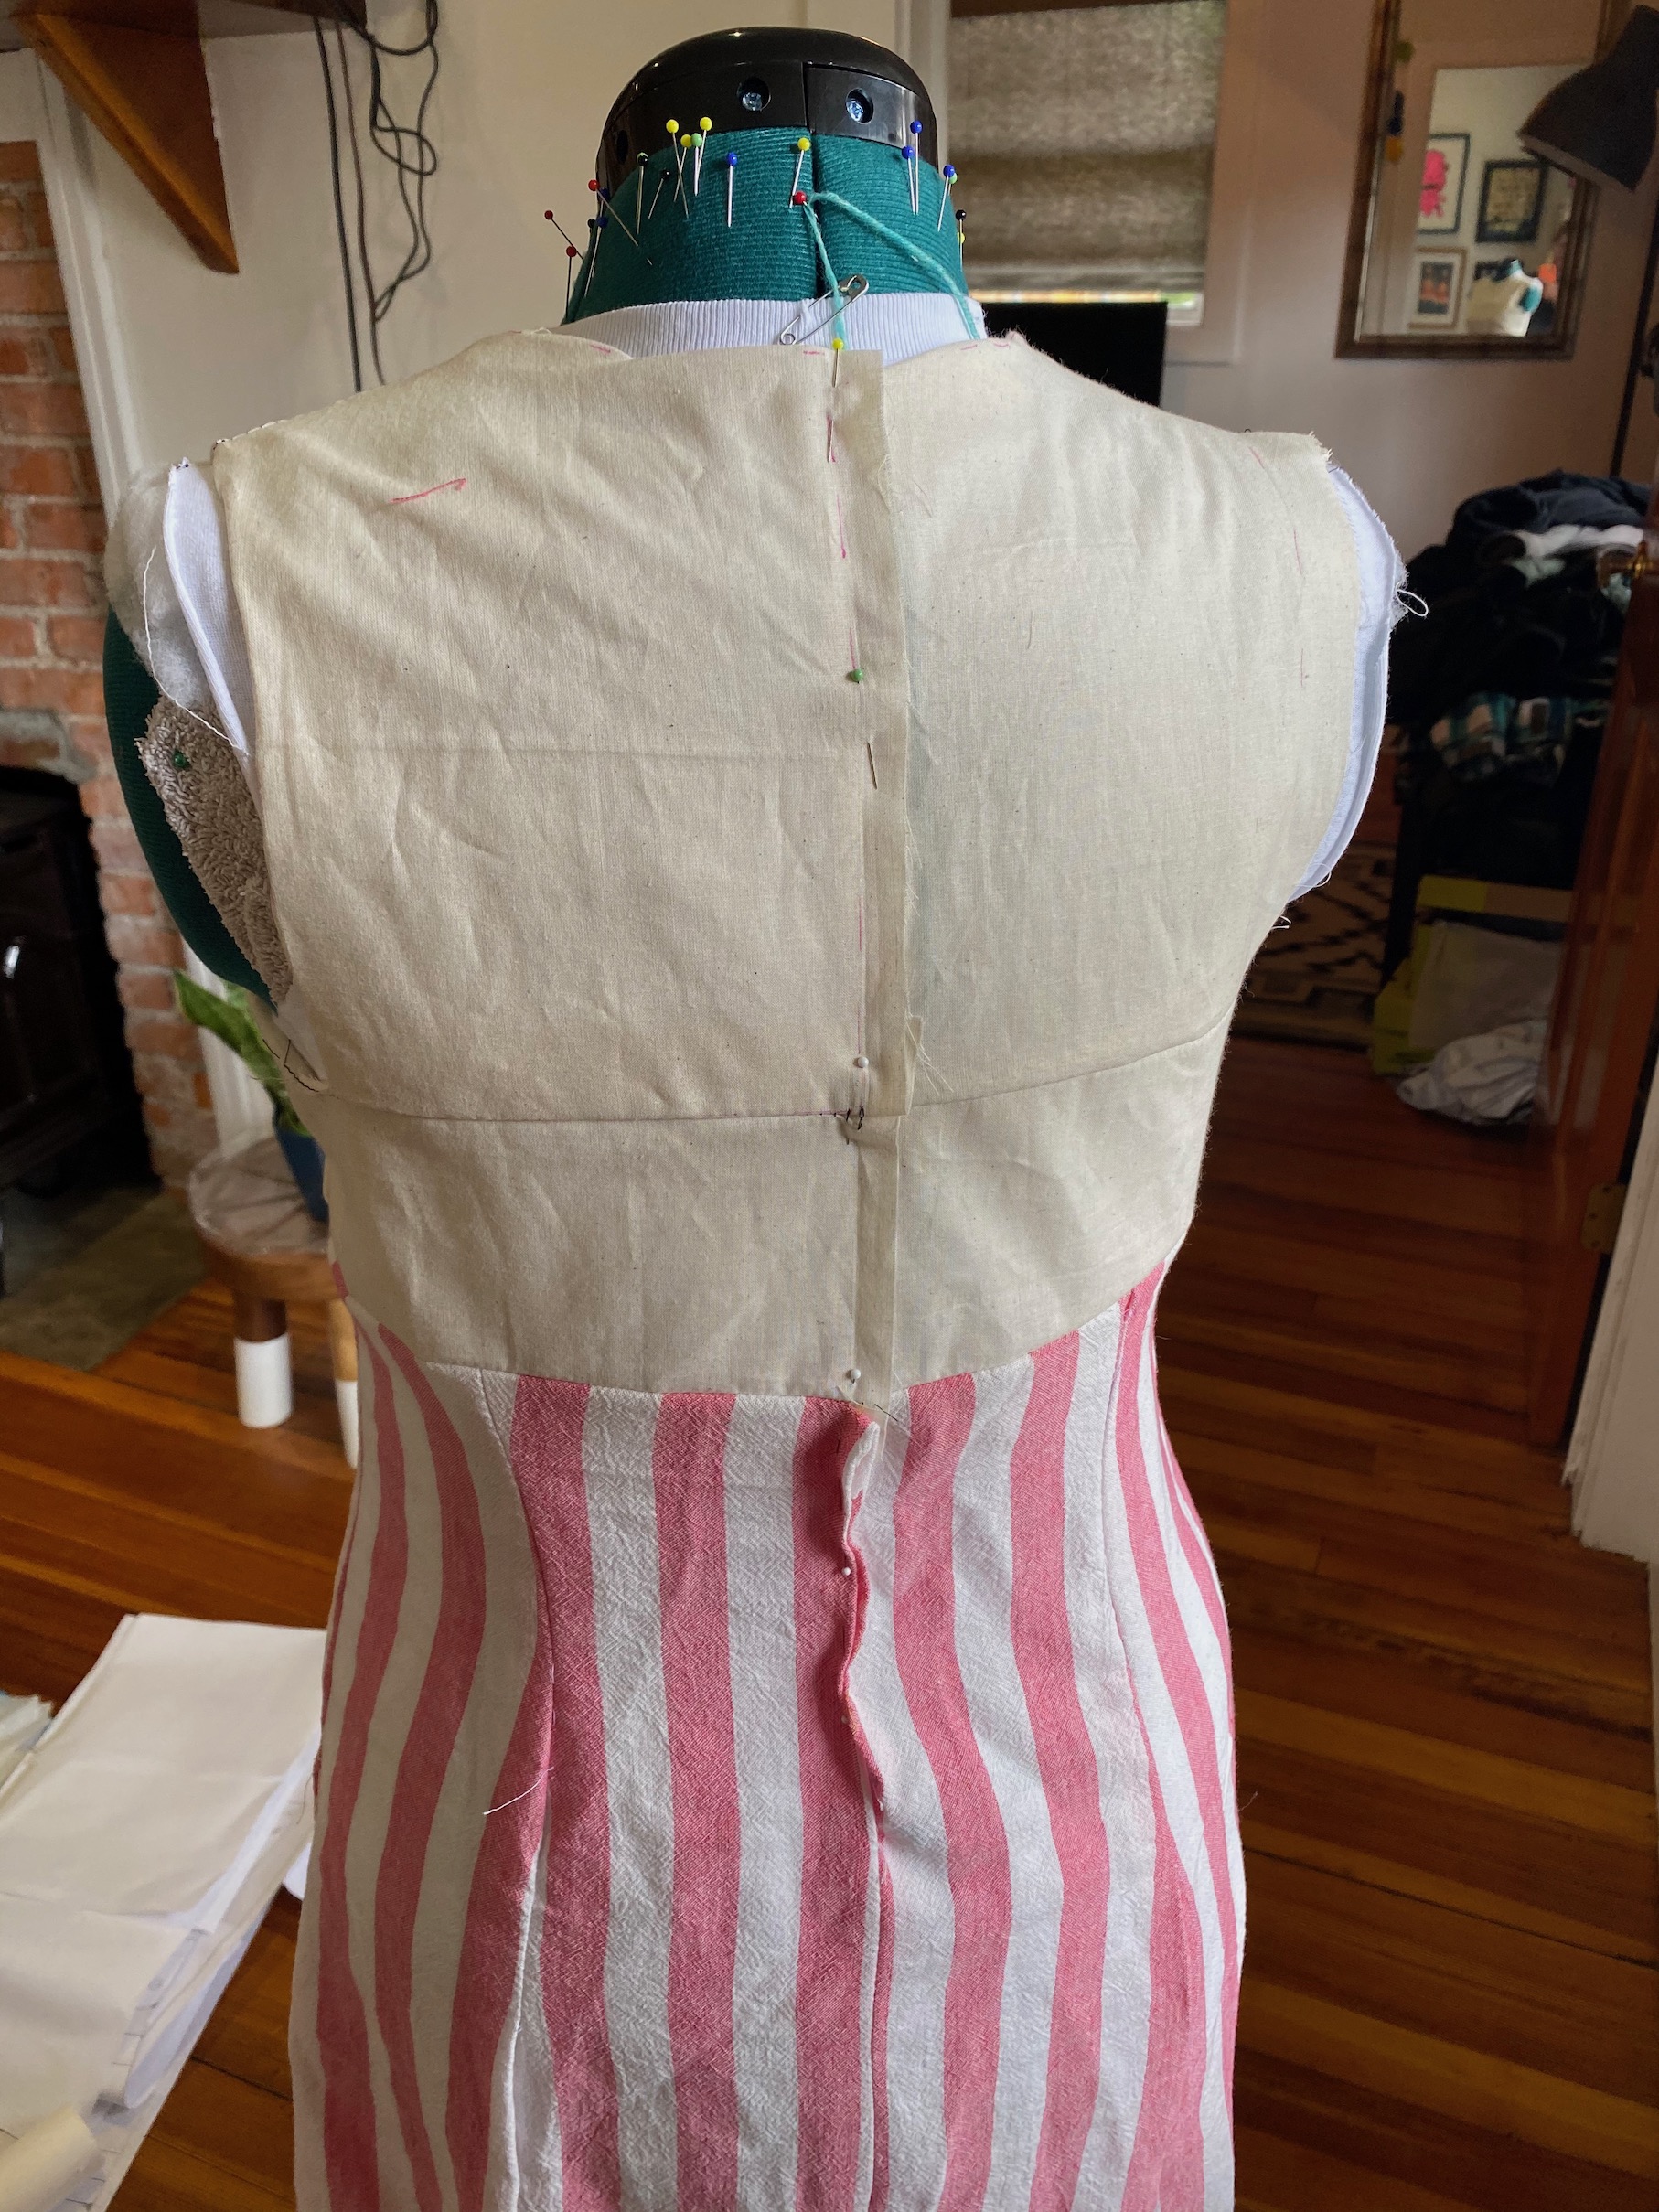
I would then create a full self facing for the “bodice” (the bit around my bust) and sandwich the “top” within that seam.
I’d attach that to skirt front and back, insert zipper, attach my collar and then eventually sew the side seams.
I ripped open my muslin and tried this new method along with the collar.
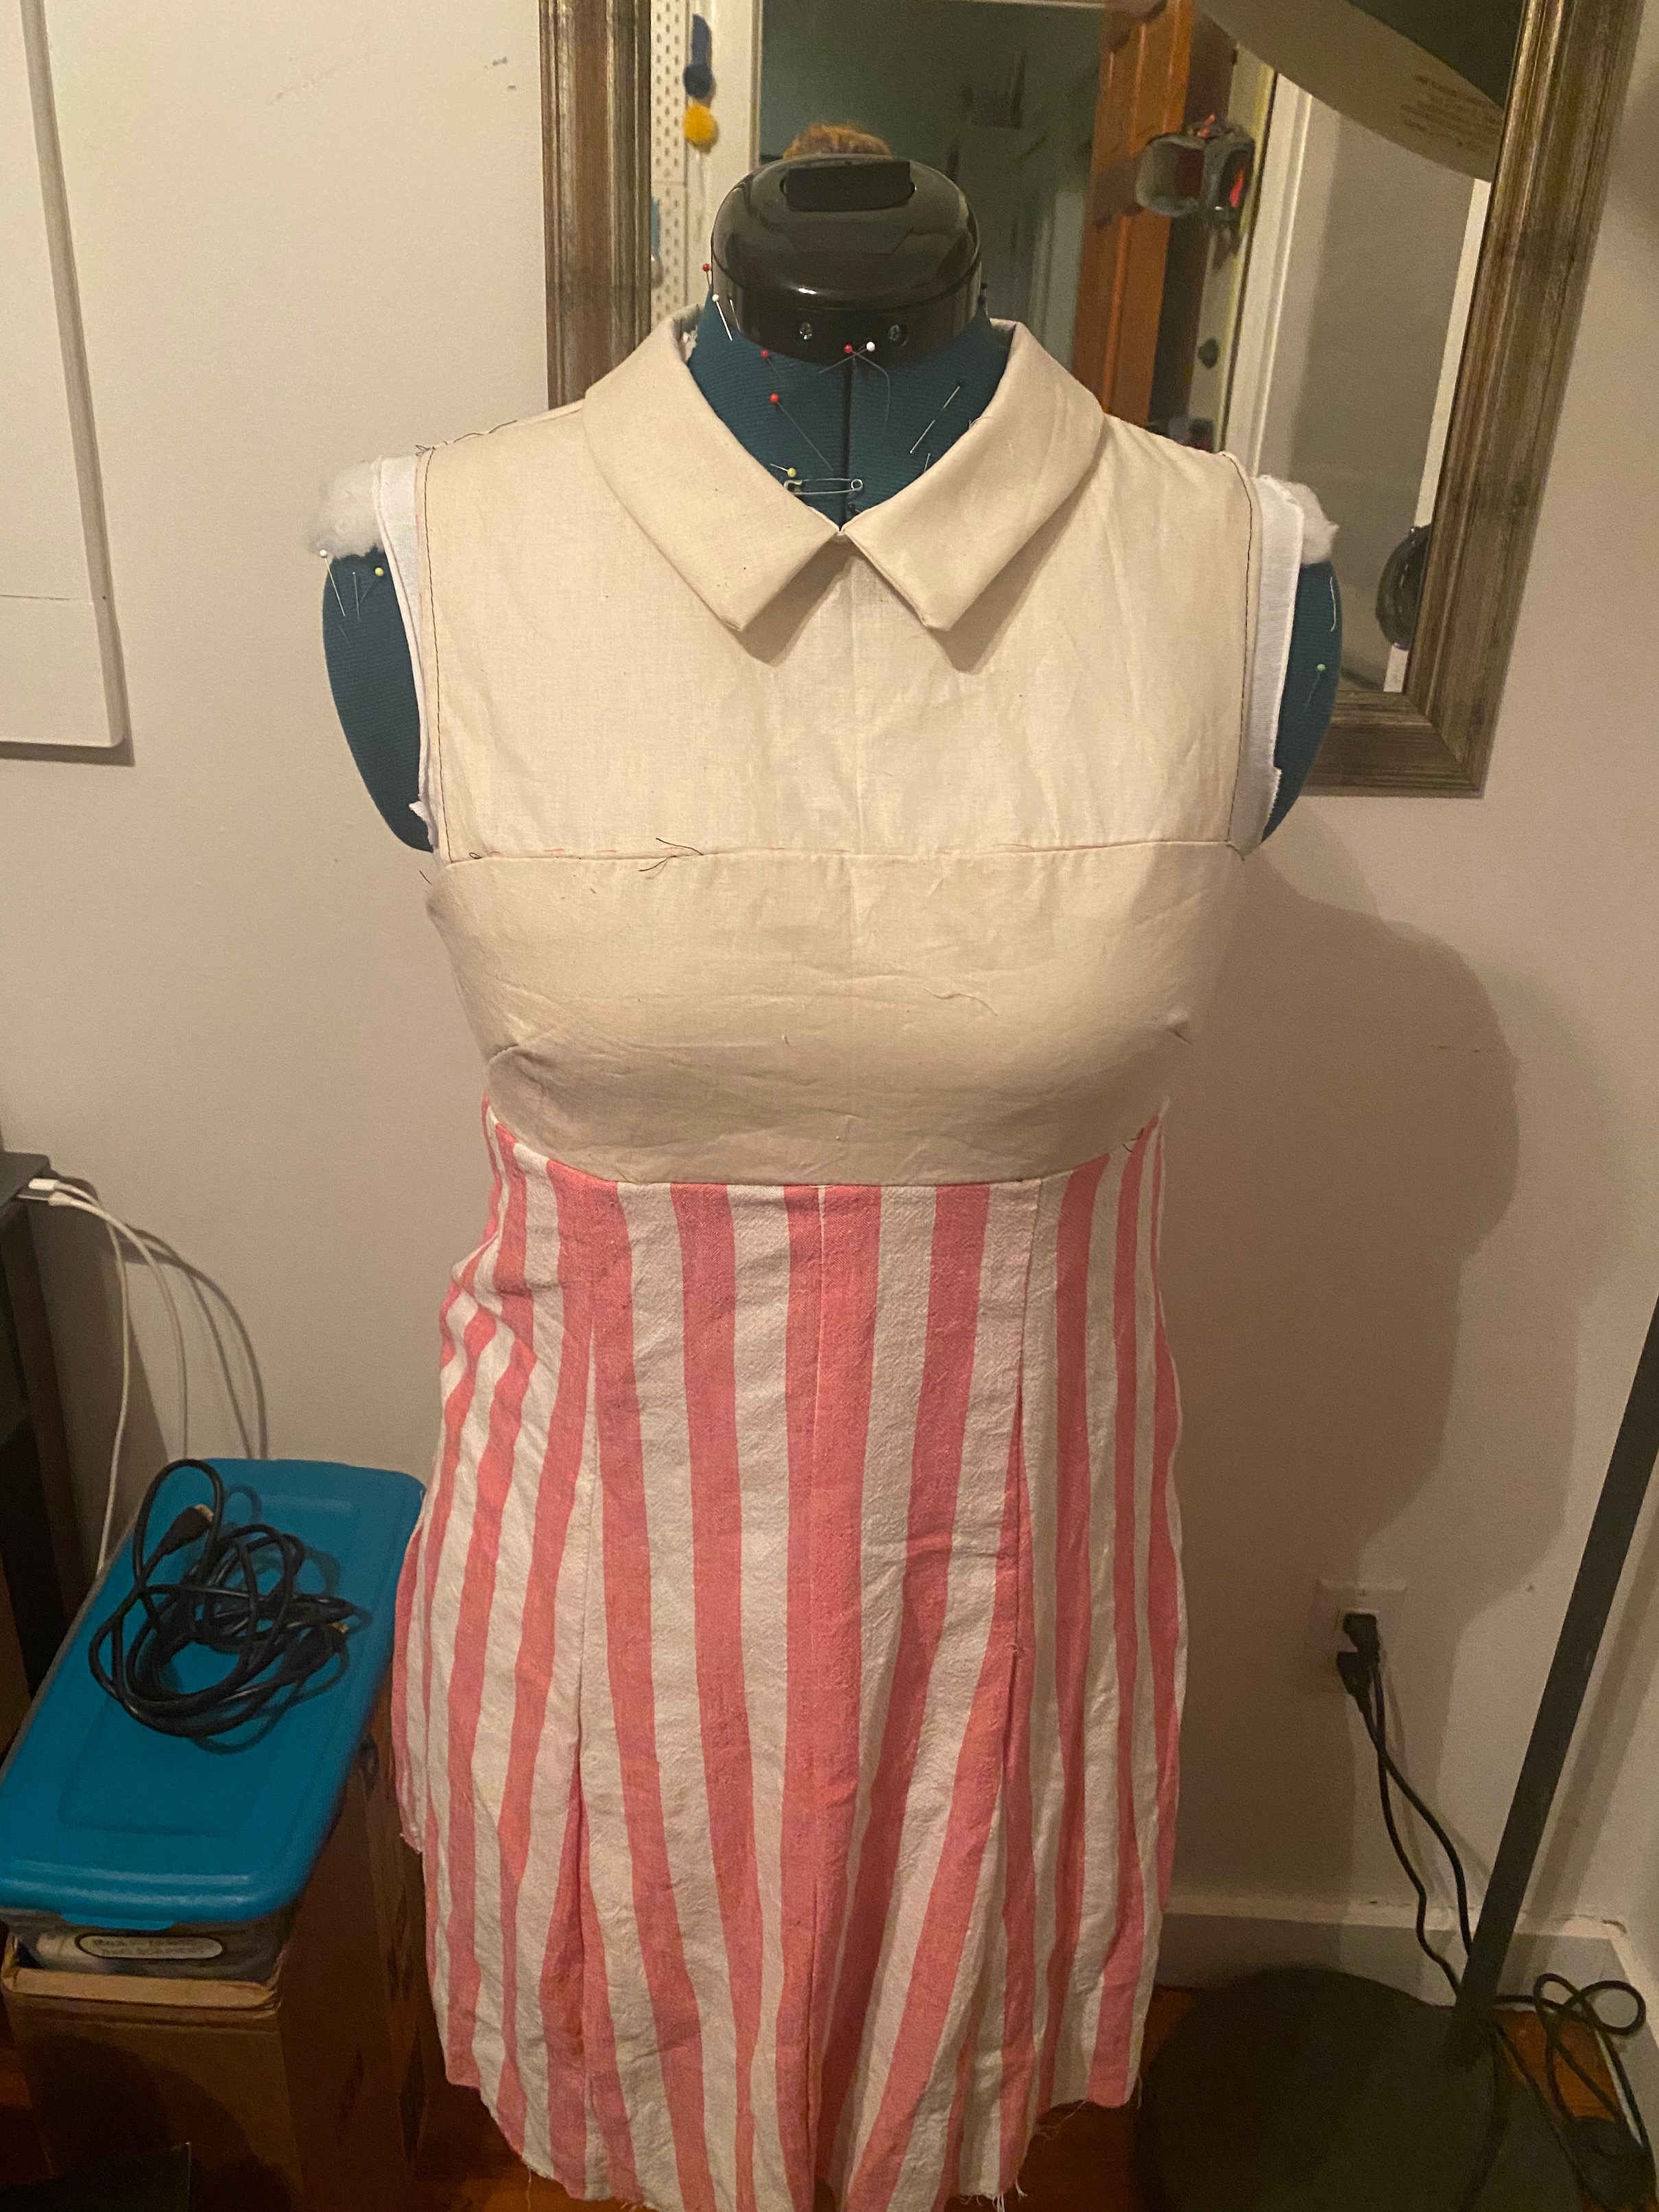
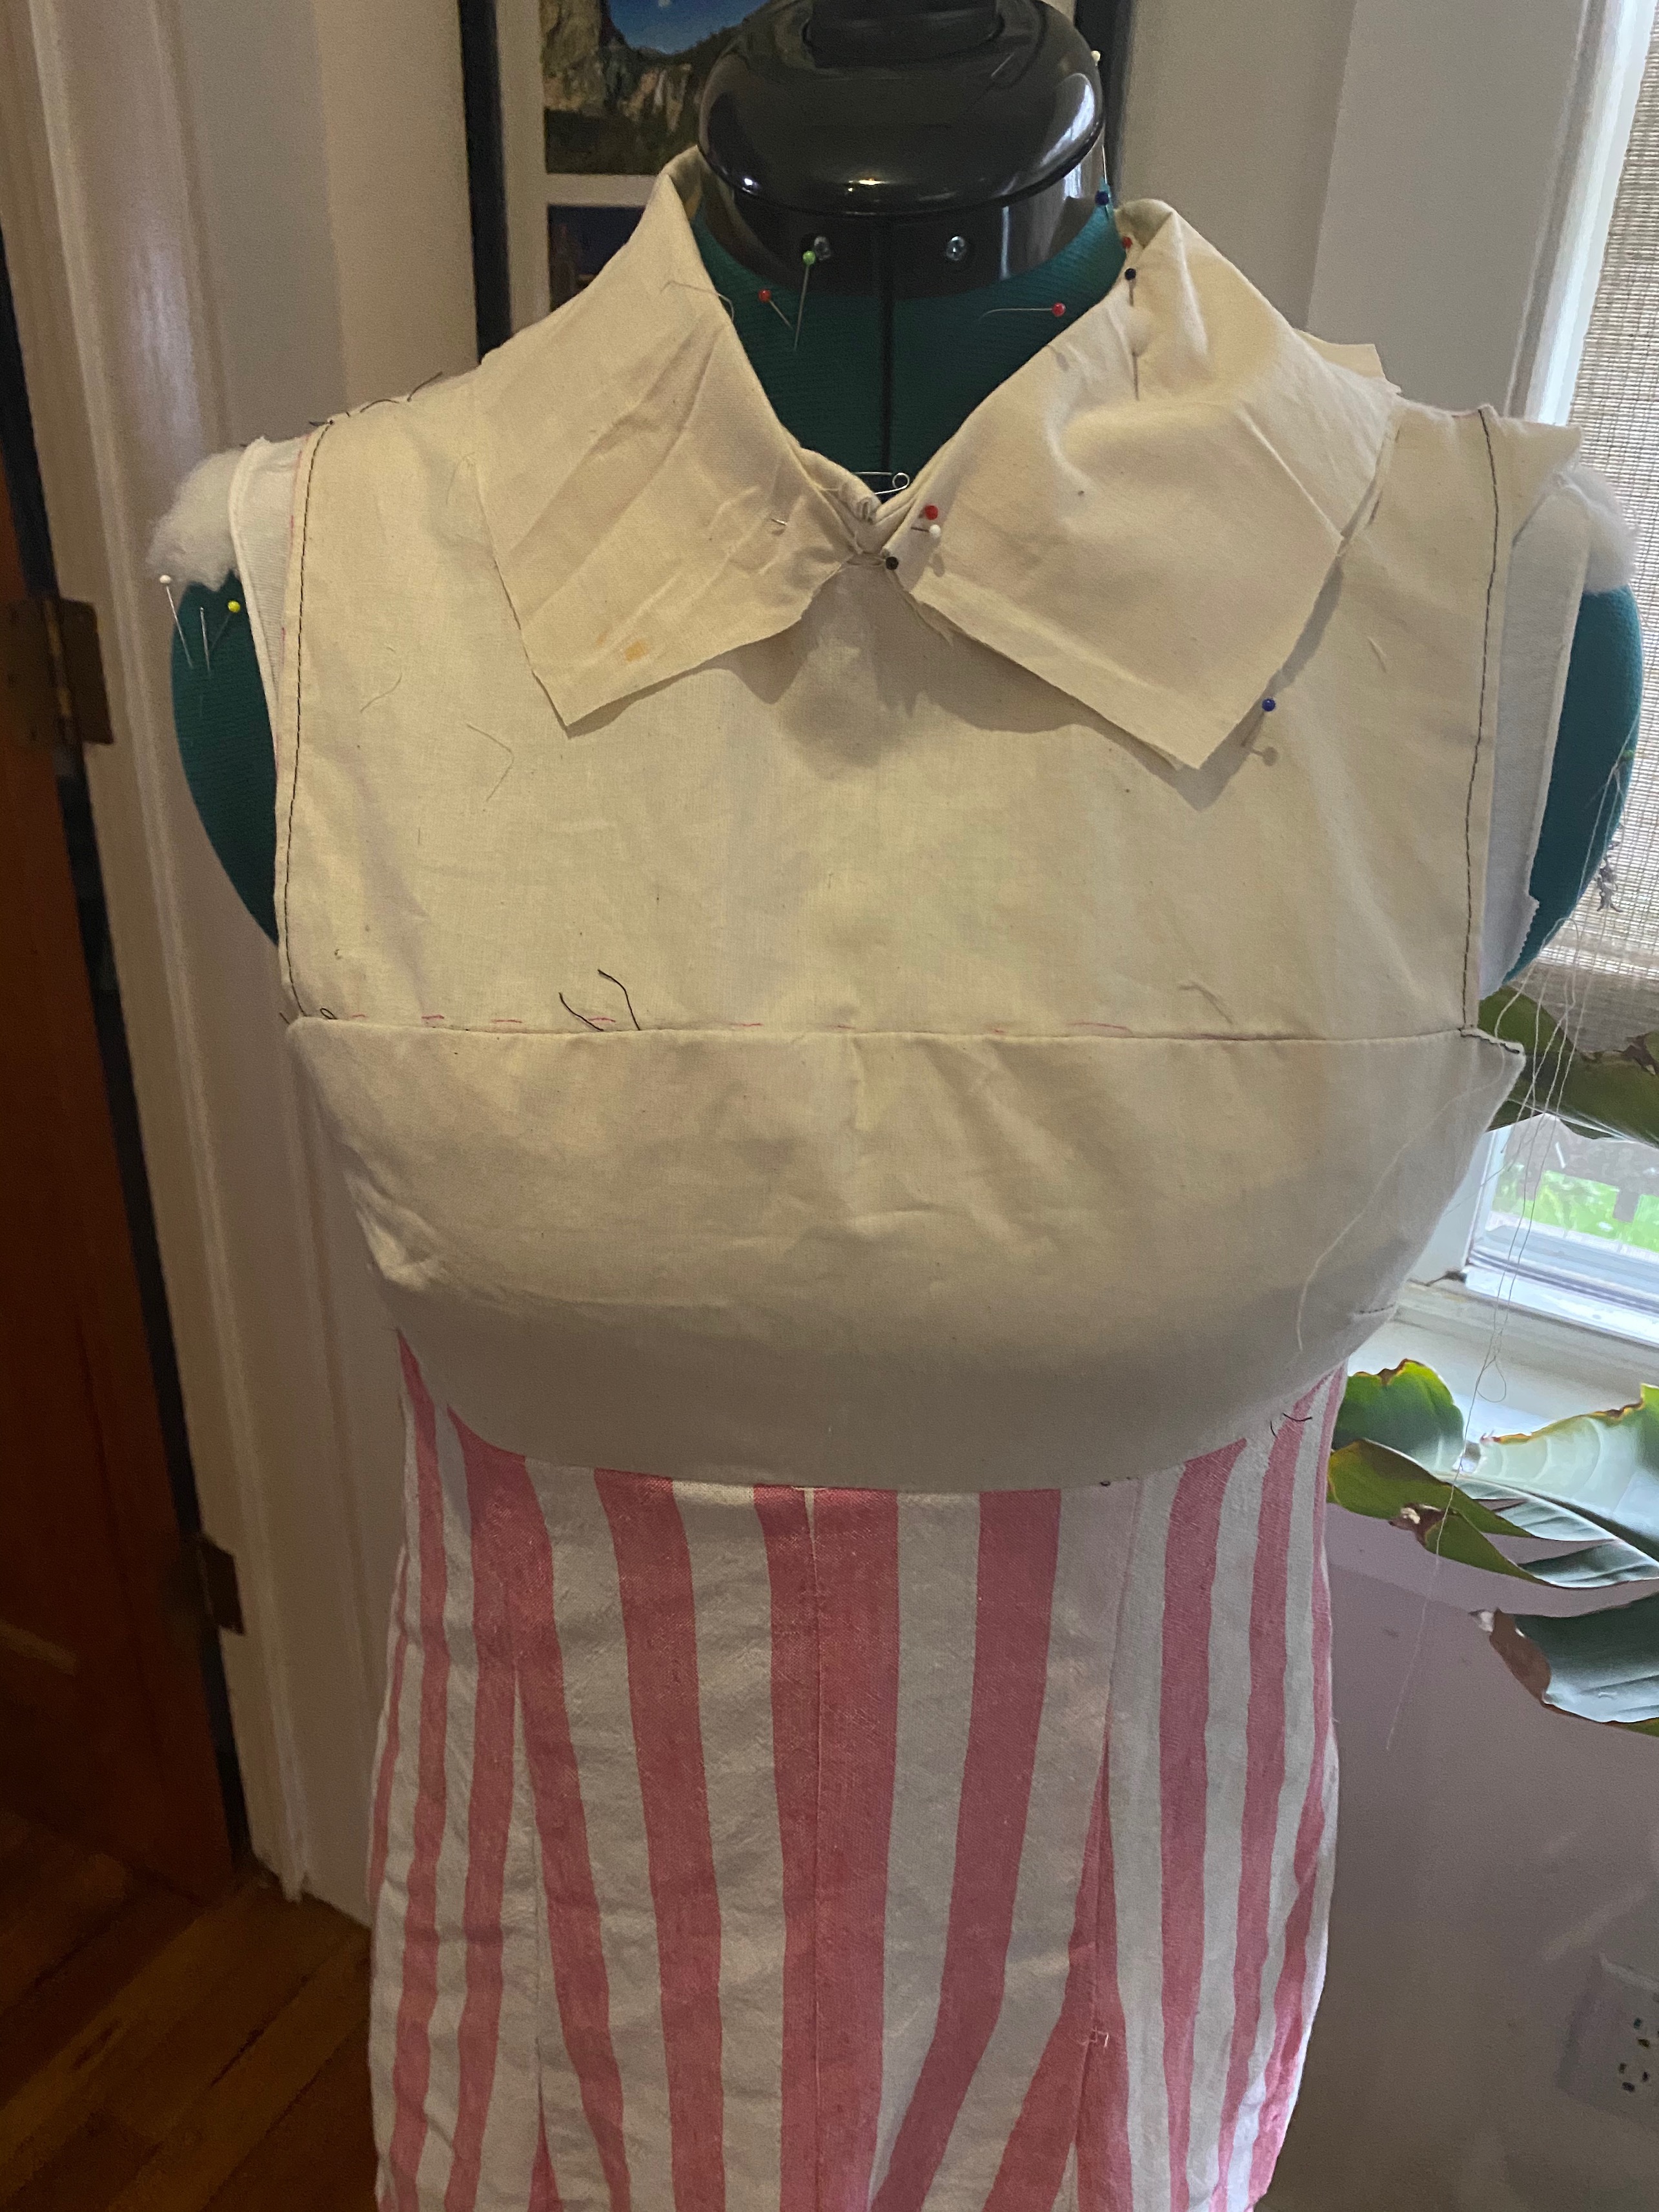
The construction worked perfectly and straightening the bodice side seam fixed the gaping there. My only issue with this one was i wanted the collar larger, to better match the inspiration. Again i turned to draping and just pinned a piece of fabric and cut the shape/angle I wanted.
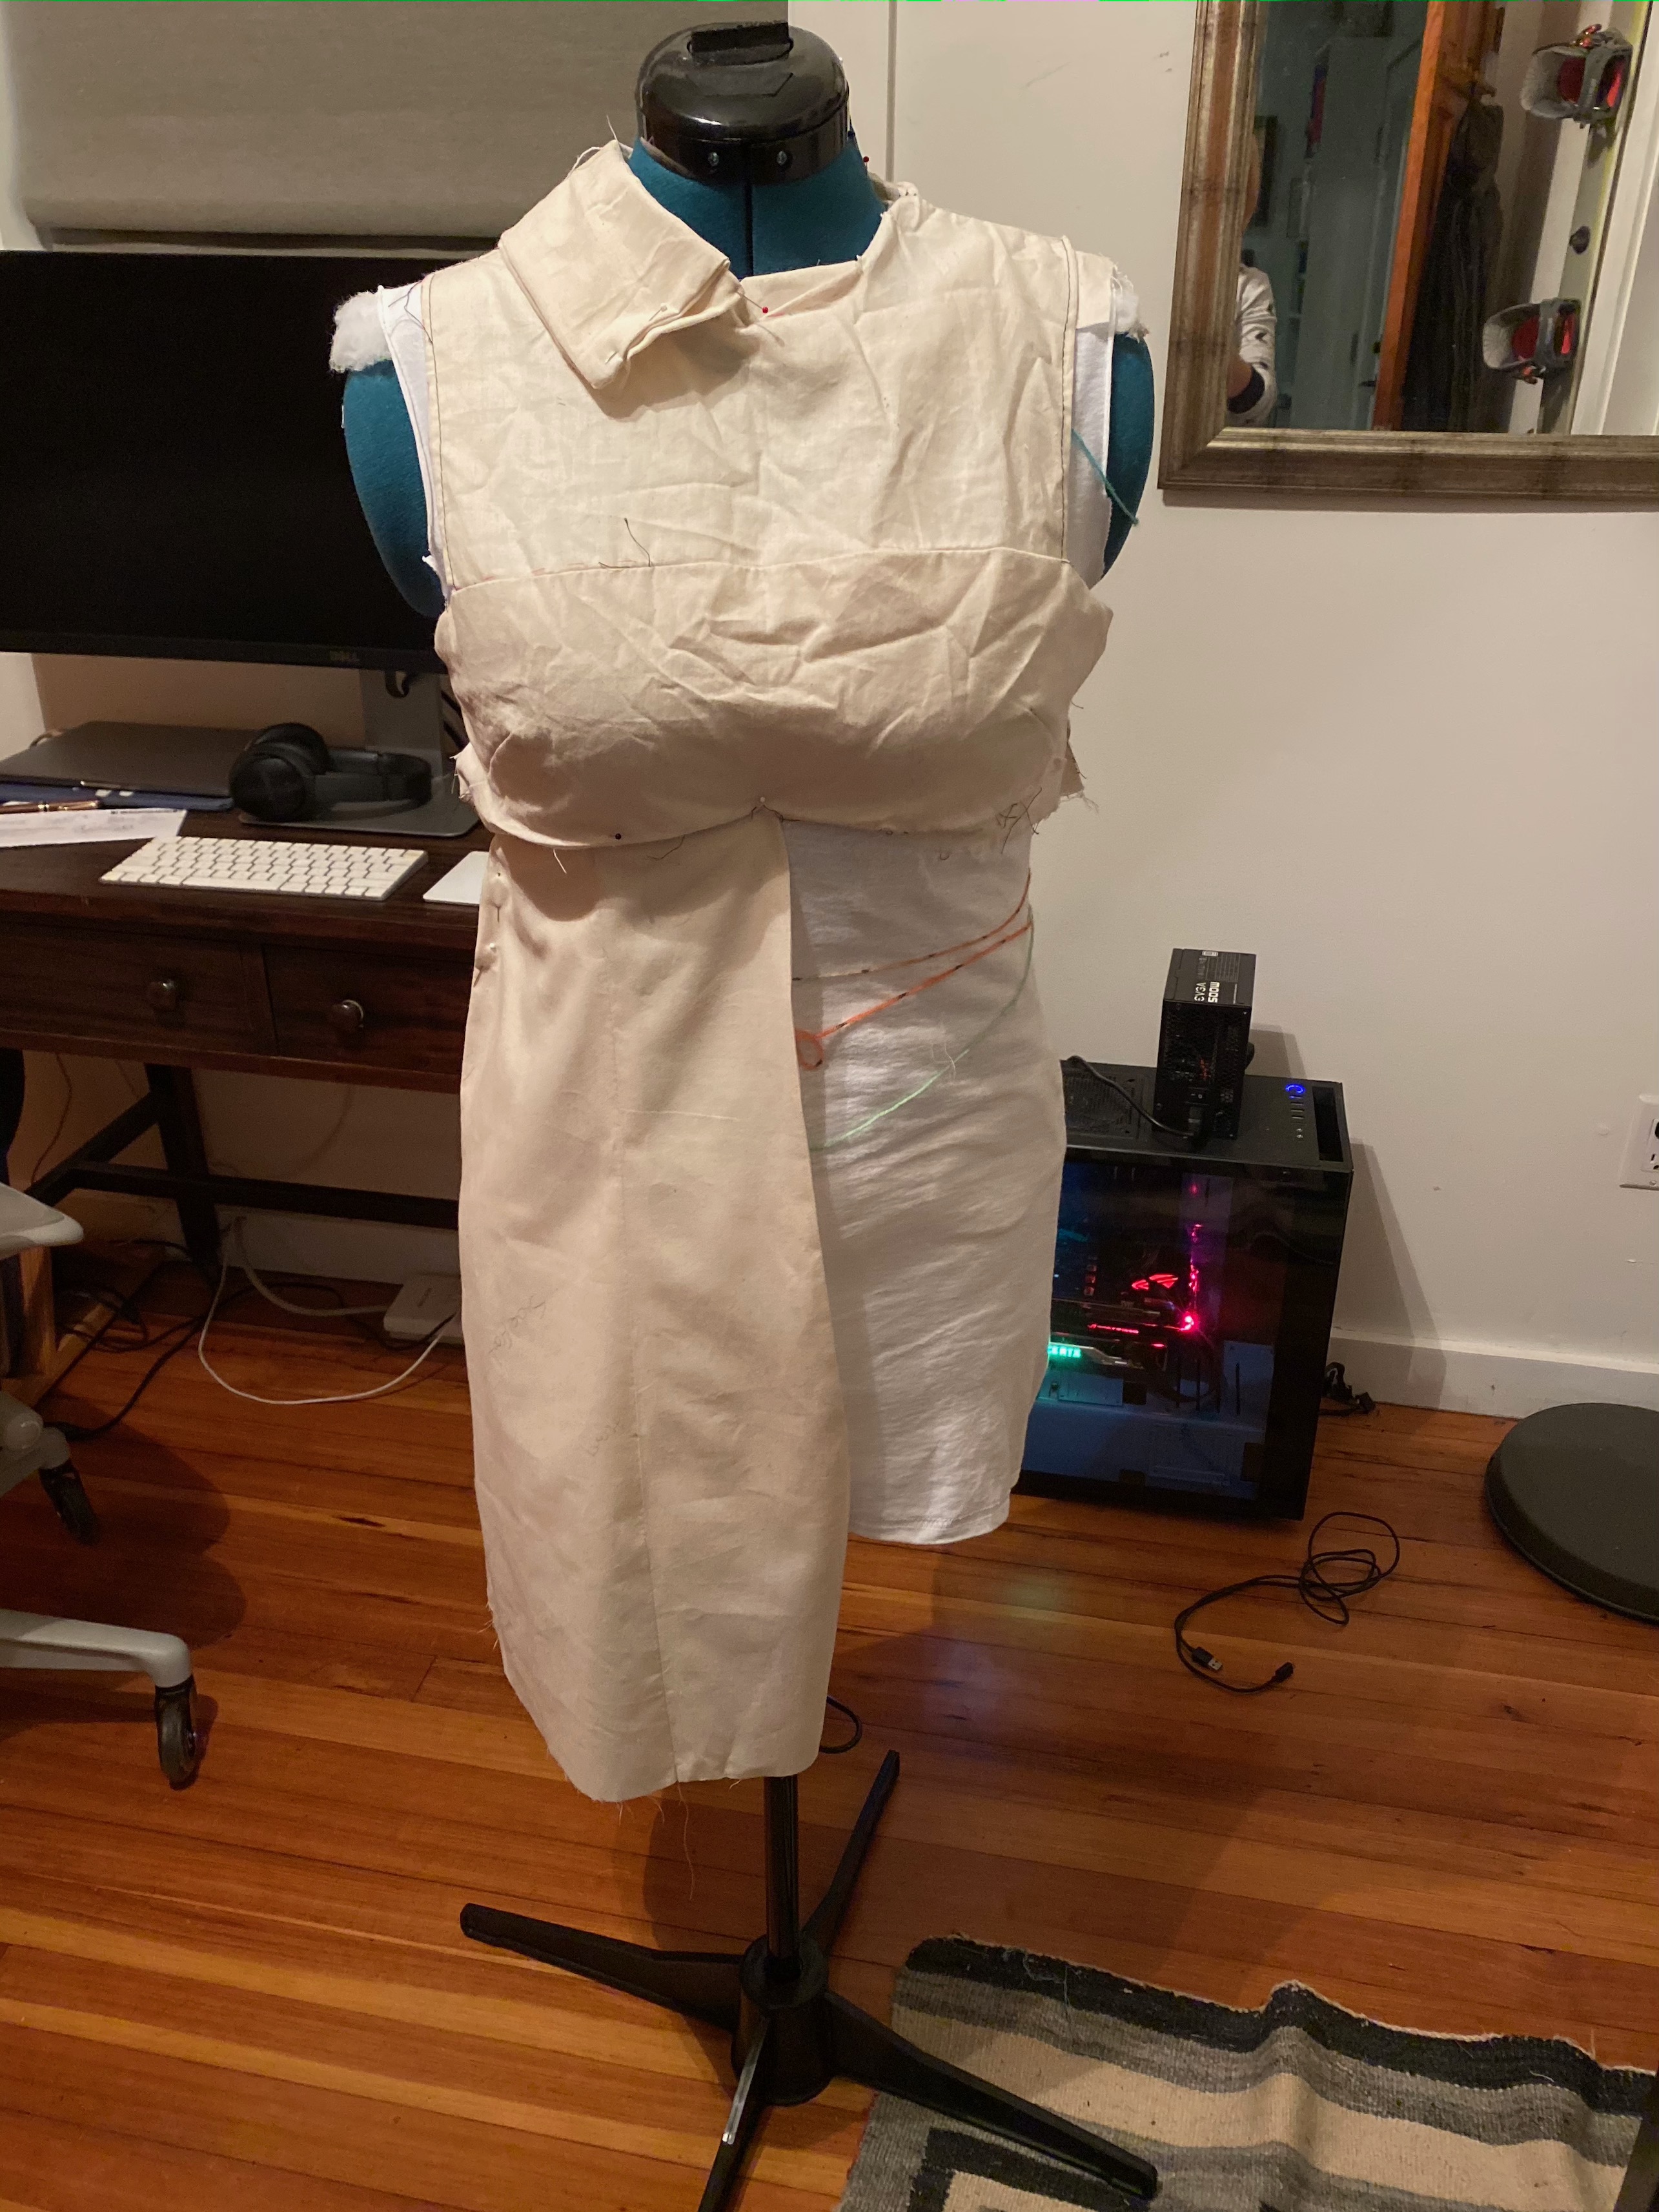
From there I needed to work on the skirt pattern as I’d used the skirt from the dress I’d muslined but never finished. I’d changed it a lot so the pattern pieces were a mess so I decided to make a quick 1/2 muslin of the skirt and so I could practice the collar properly.
I added a bit of extra flare to the skirt but from there I was super happy and ready to go.
If you follow my blog you know how huge it is that I only technically made 2 muslins. When I’m working on commercial patterns and modifying them to fit me I often end up with 3-4, sometimes 5 muslins .So to be happy with the fit after 2 was just sensational!
Even with the 2 muslins (which may seem a lot to some people) I was amazed how painless/less frustrating this whole process was. I was definitely smitten with drafting.
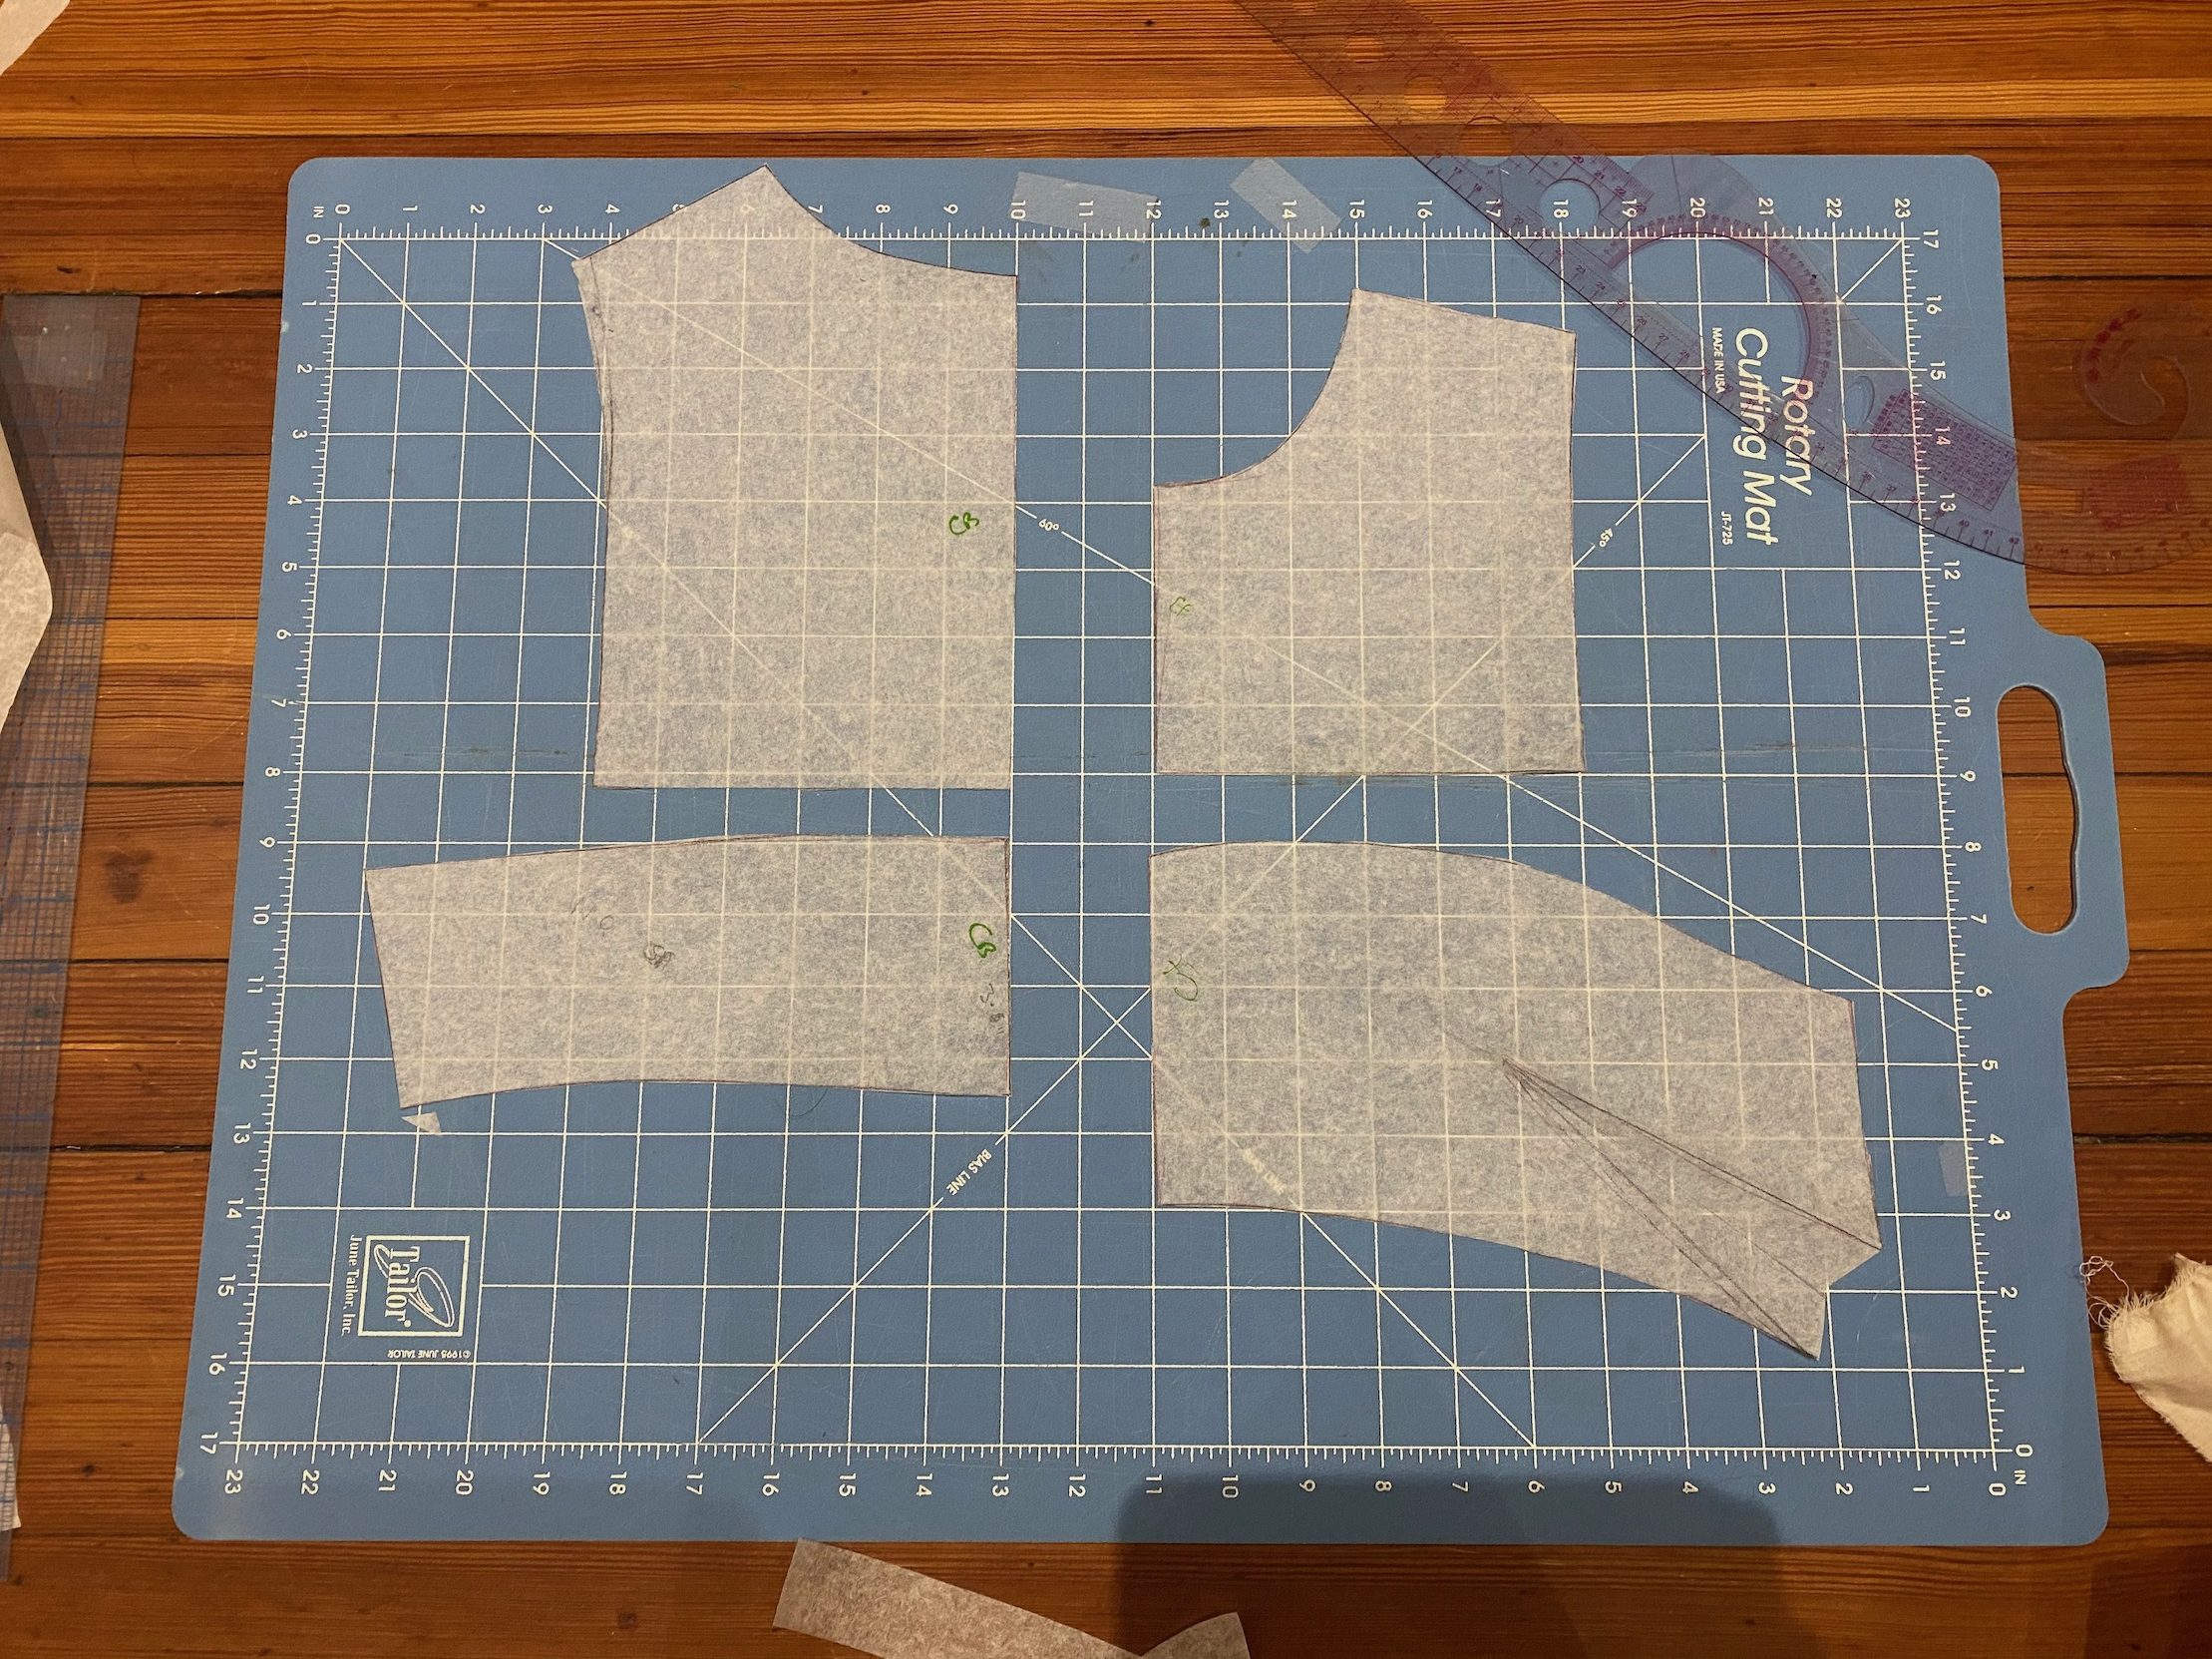
So here’s my finished, prepped pattern :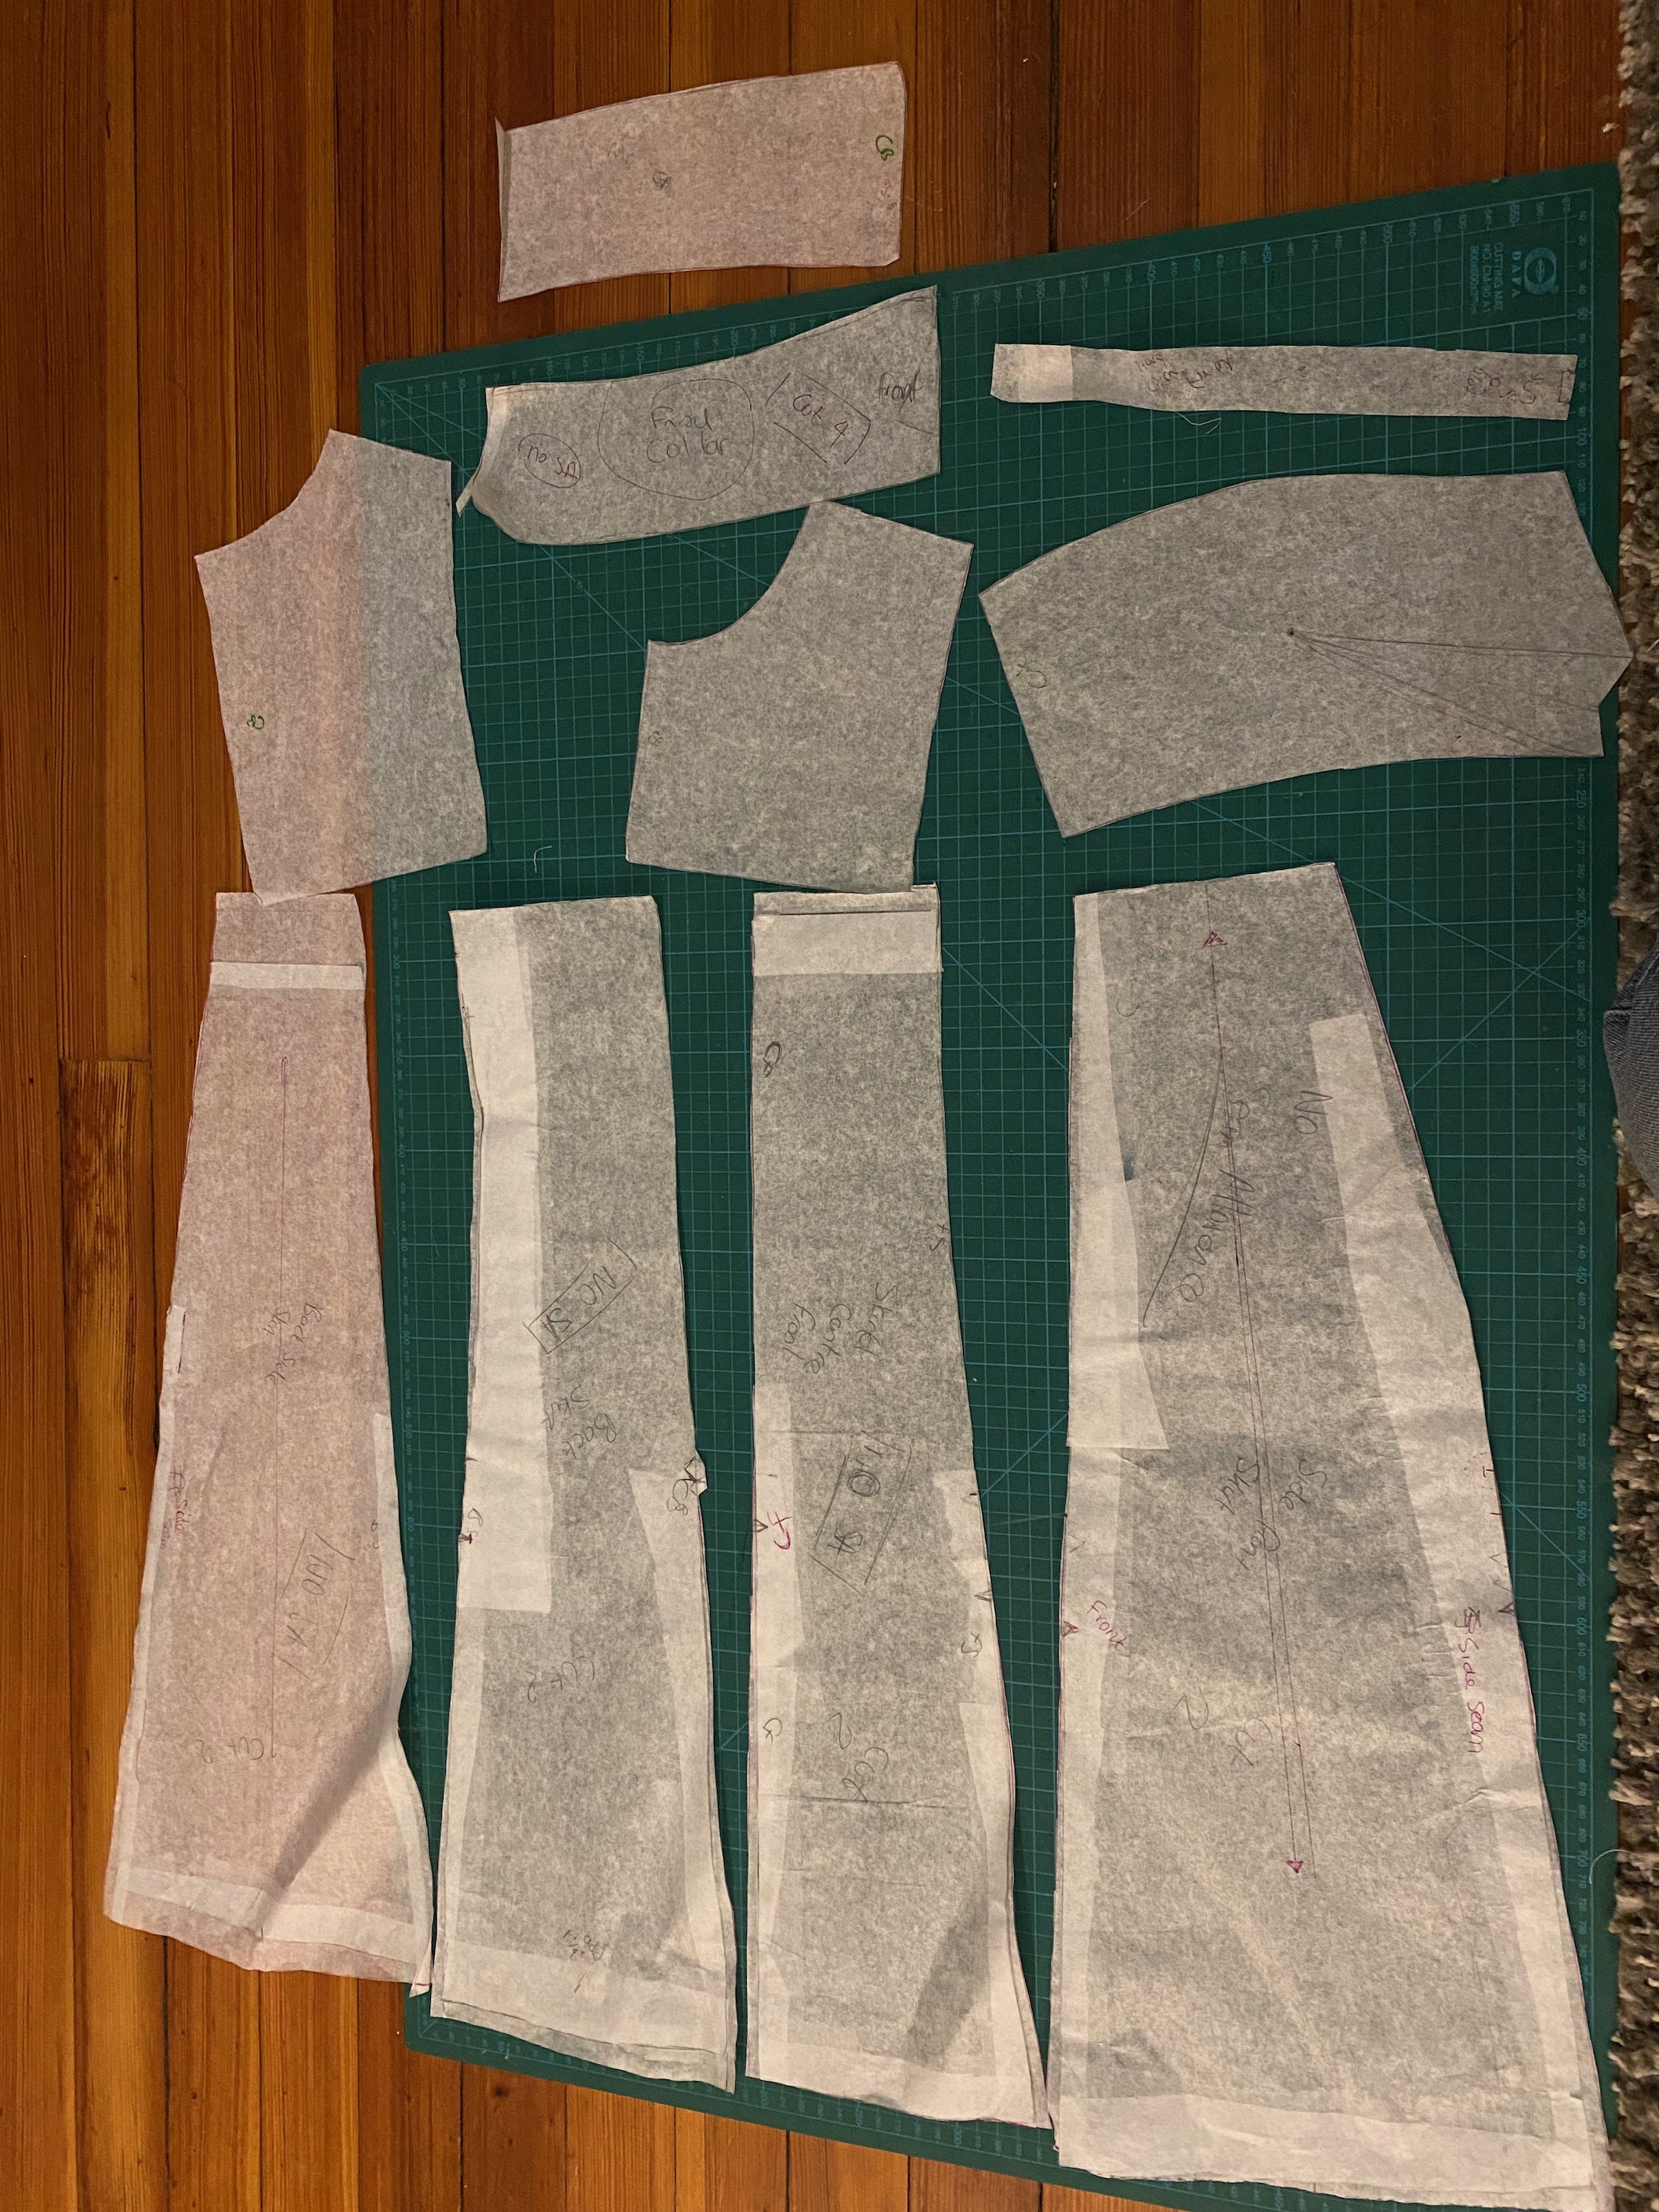
If I haven’t bored you to tears already, please visit the next part of this post to hear about the bump in the road I came across and to see the final dress!
![]()