
Happy New Year everyone!!
Yes, I know its already nearly the end of the first month of the new year but shhhhh.
Today’s post is super exciting – for me at least – I MADE MY FIRST JEANS!!
It was my new years resolution for 2018 to add that string to my bow so seems fitting to be writing about it at the beginning of 2019.
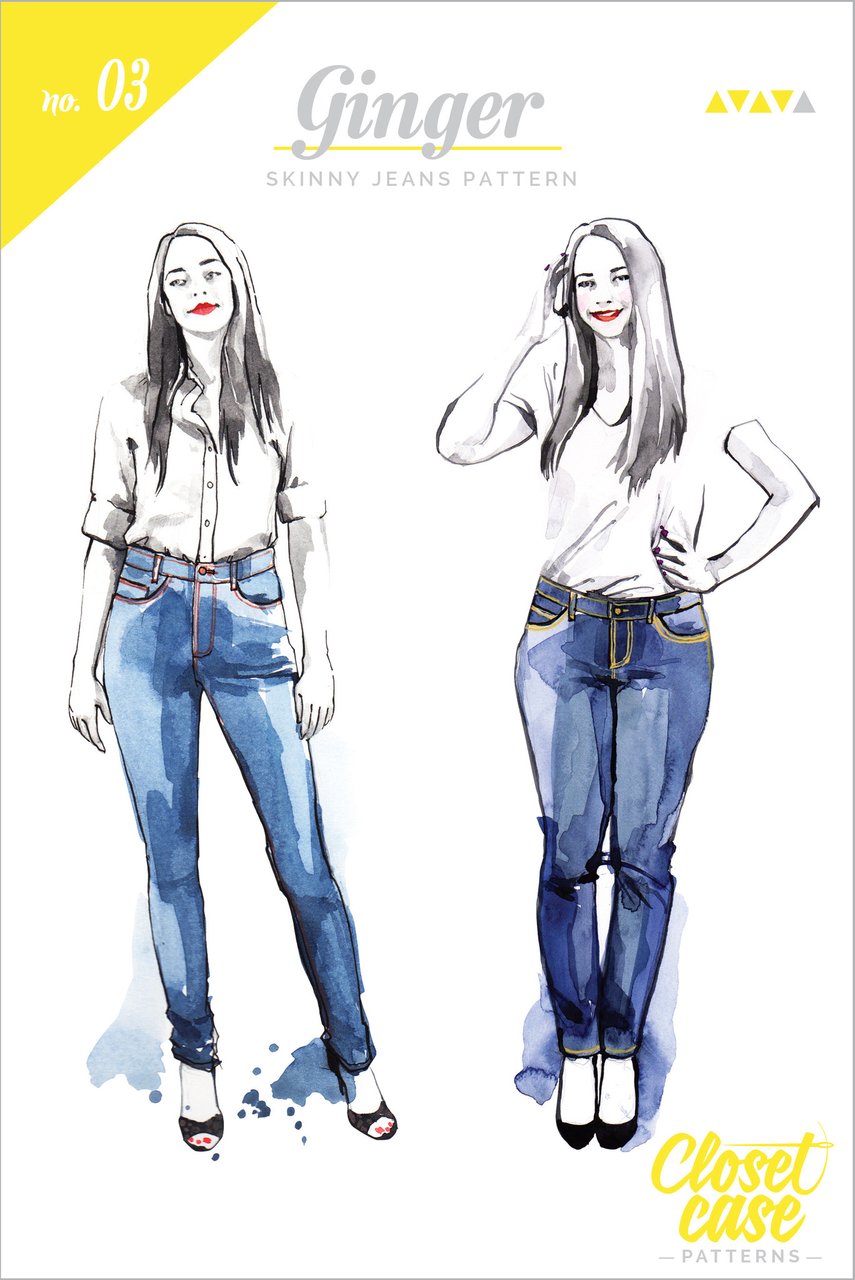
I wanted 2018 to be the year I upped my sewing game, both regarding fit and technical garments, so I added the Ginger Jeans from Closet Case Patterns View B to my Make 9 for 2018. It was getting pretty close to the end of the year and I was determined to get them done but it just didn’t seem to be happening. Luckily my lovely sewing friend Jenn over at @msjennmakes was supposed to be making them too so we decided to work on them together.
 I’d had the pattern, fabric and hardware since May 2017 – yikes!- so there really was not excuse. I’ve always been the kind of person to just throw myself into a project no matter the level it is considered to be so I wasn’t really worried about the concept of sewing jeans. The reason I kept putting it off was the thought of fitting them.
I have a lot of fit issues in bodice’s an had had a really hard time with my Lander pants (you can read all about that sage here) so I was pretty sure this would be no different.
Luckily, I’d become friends with Jenn who happens to be great at fitting. She’d just got a new sewing space set up and invited me to get together to make our muslins, oh and Amanda came too :).
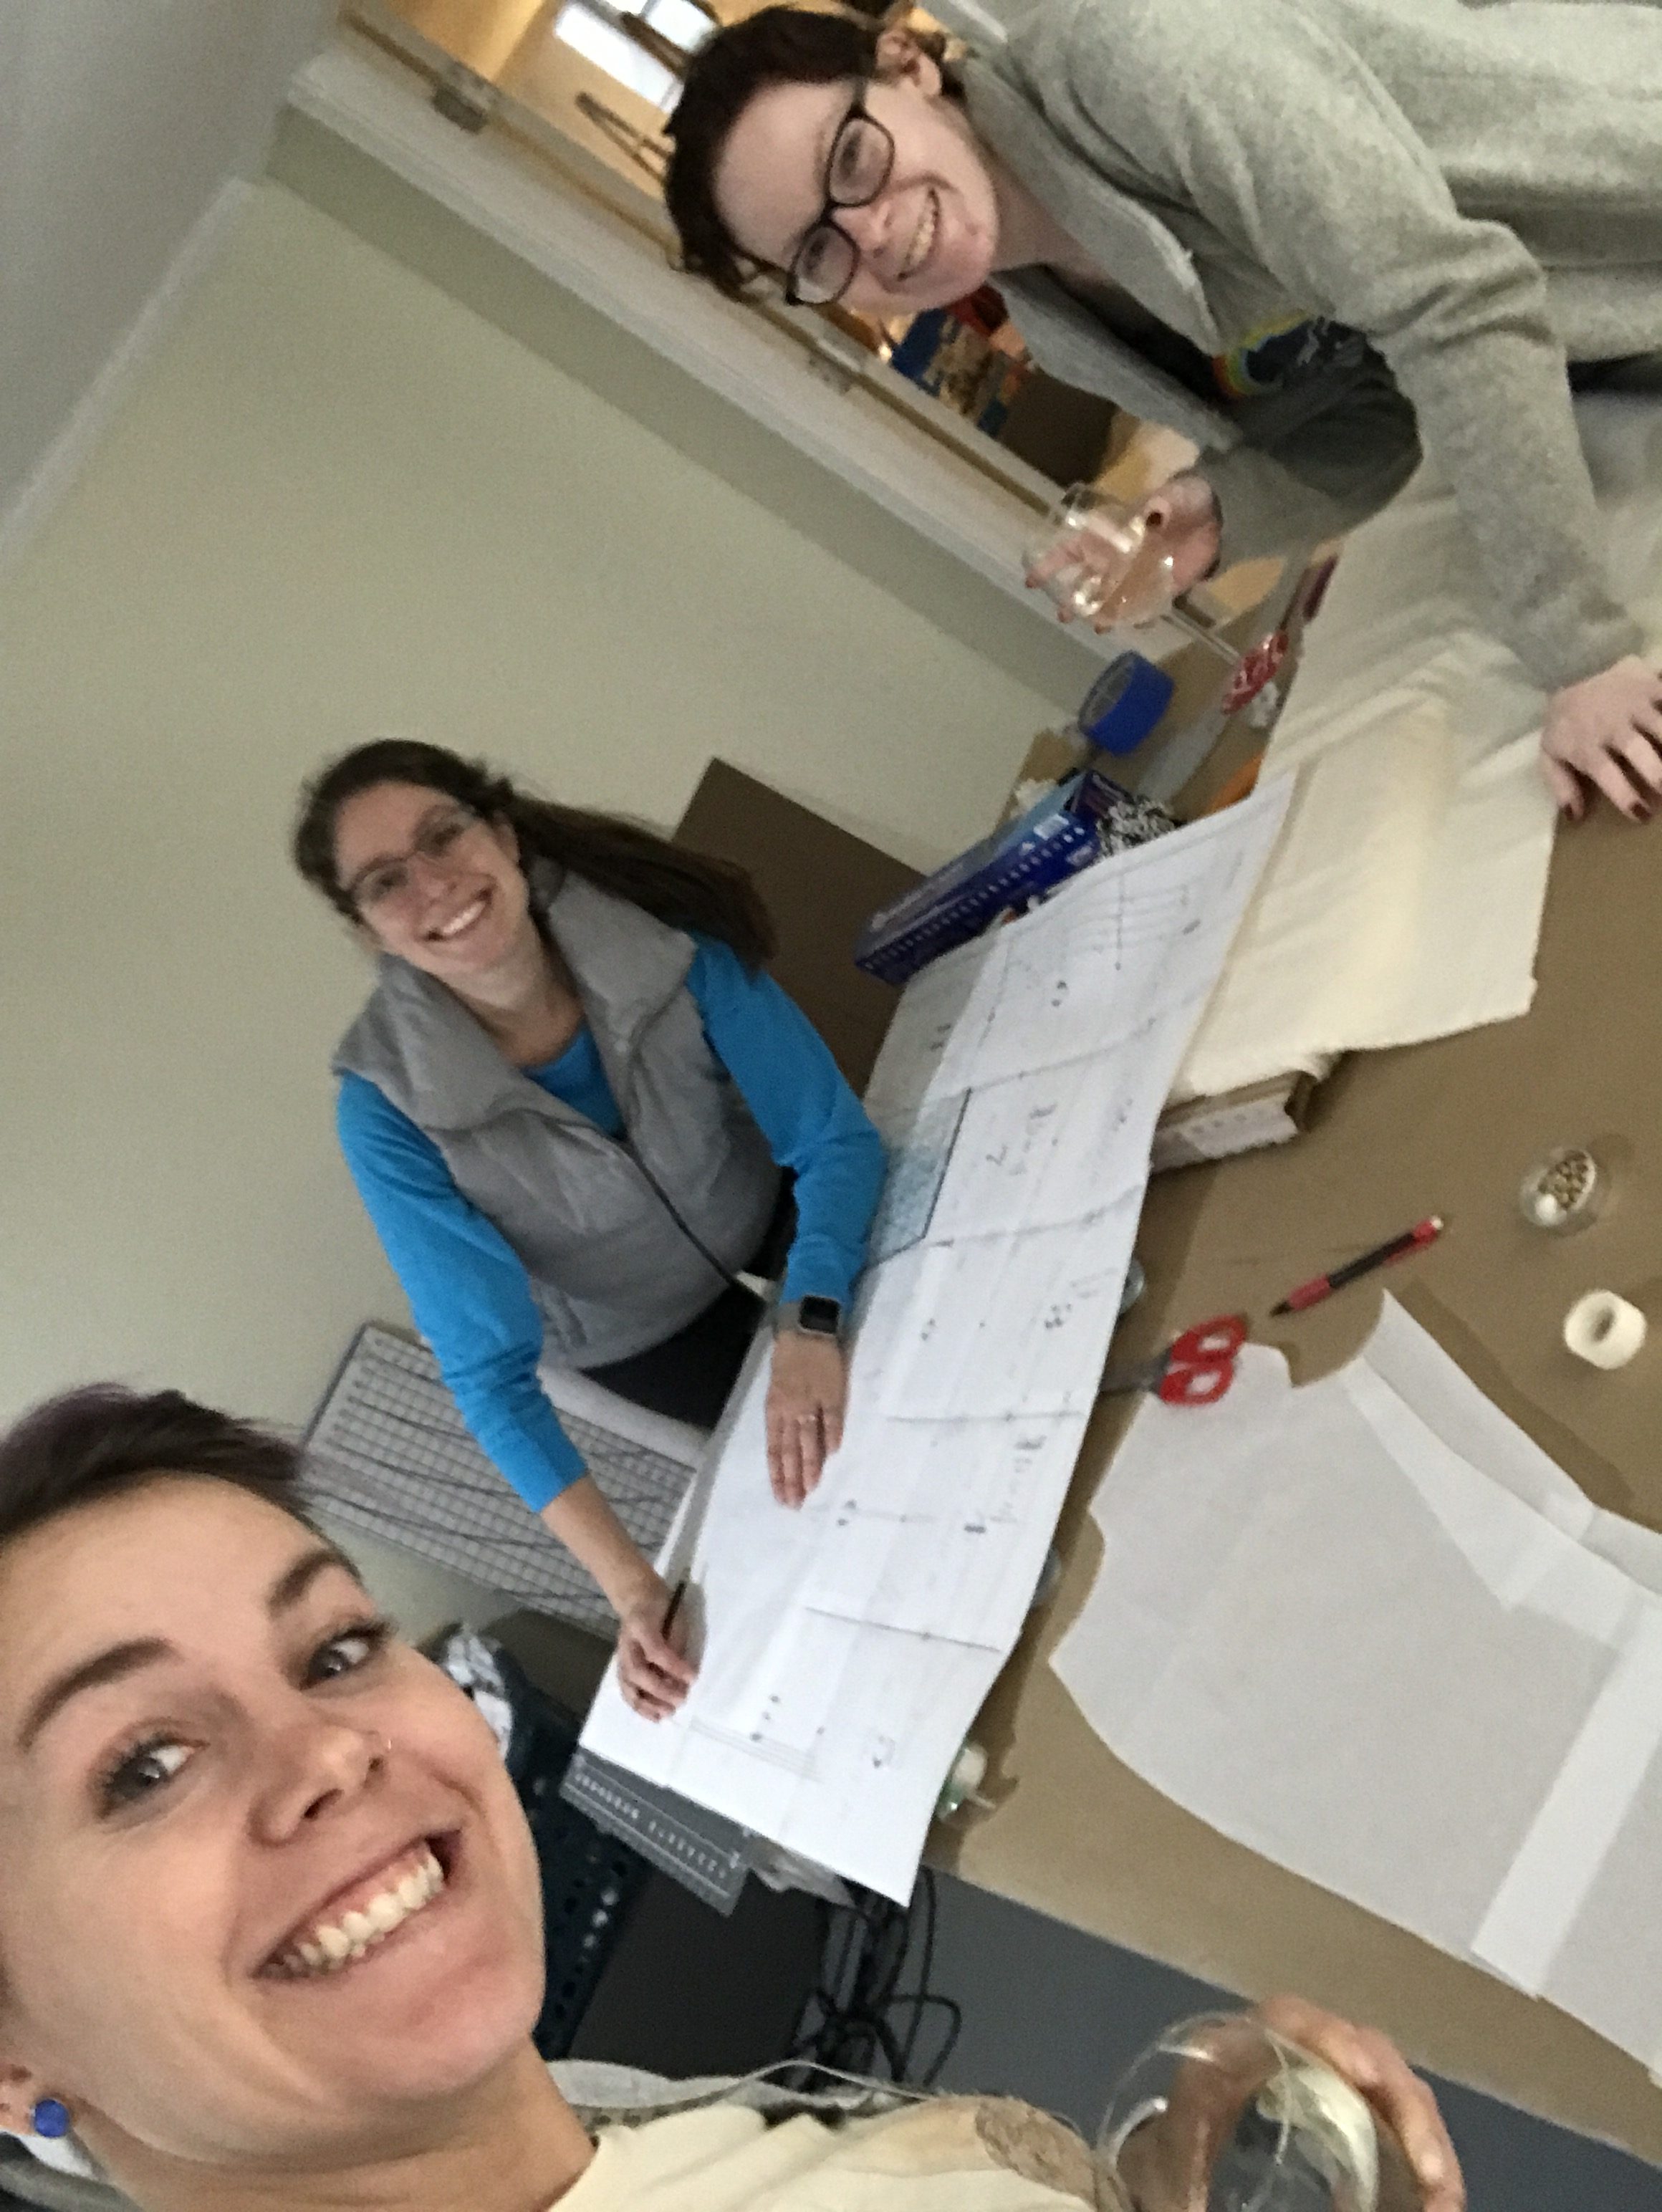
I’d got myself some cheap stretch cotton sateen to use. I cut out a size 8, going by the measurements compared to my fave RTW jeans. I put them together and yup, they did not fit me well. We started to diagnose all the issues and this was the final list:
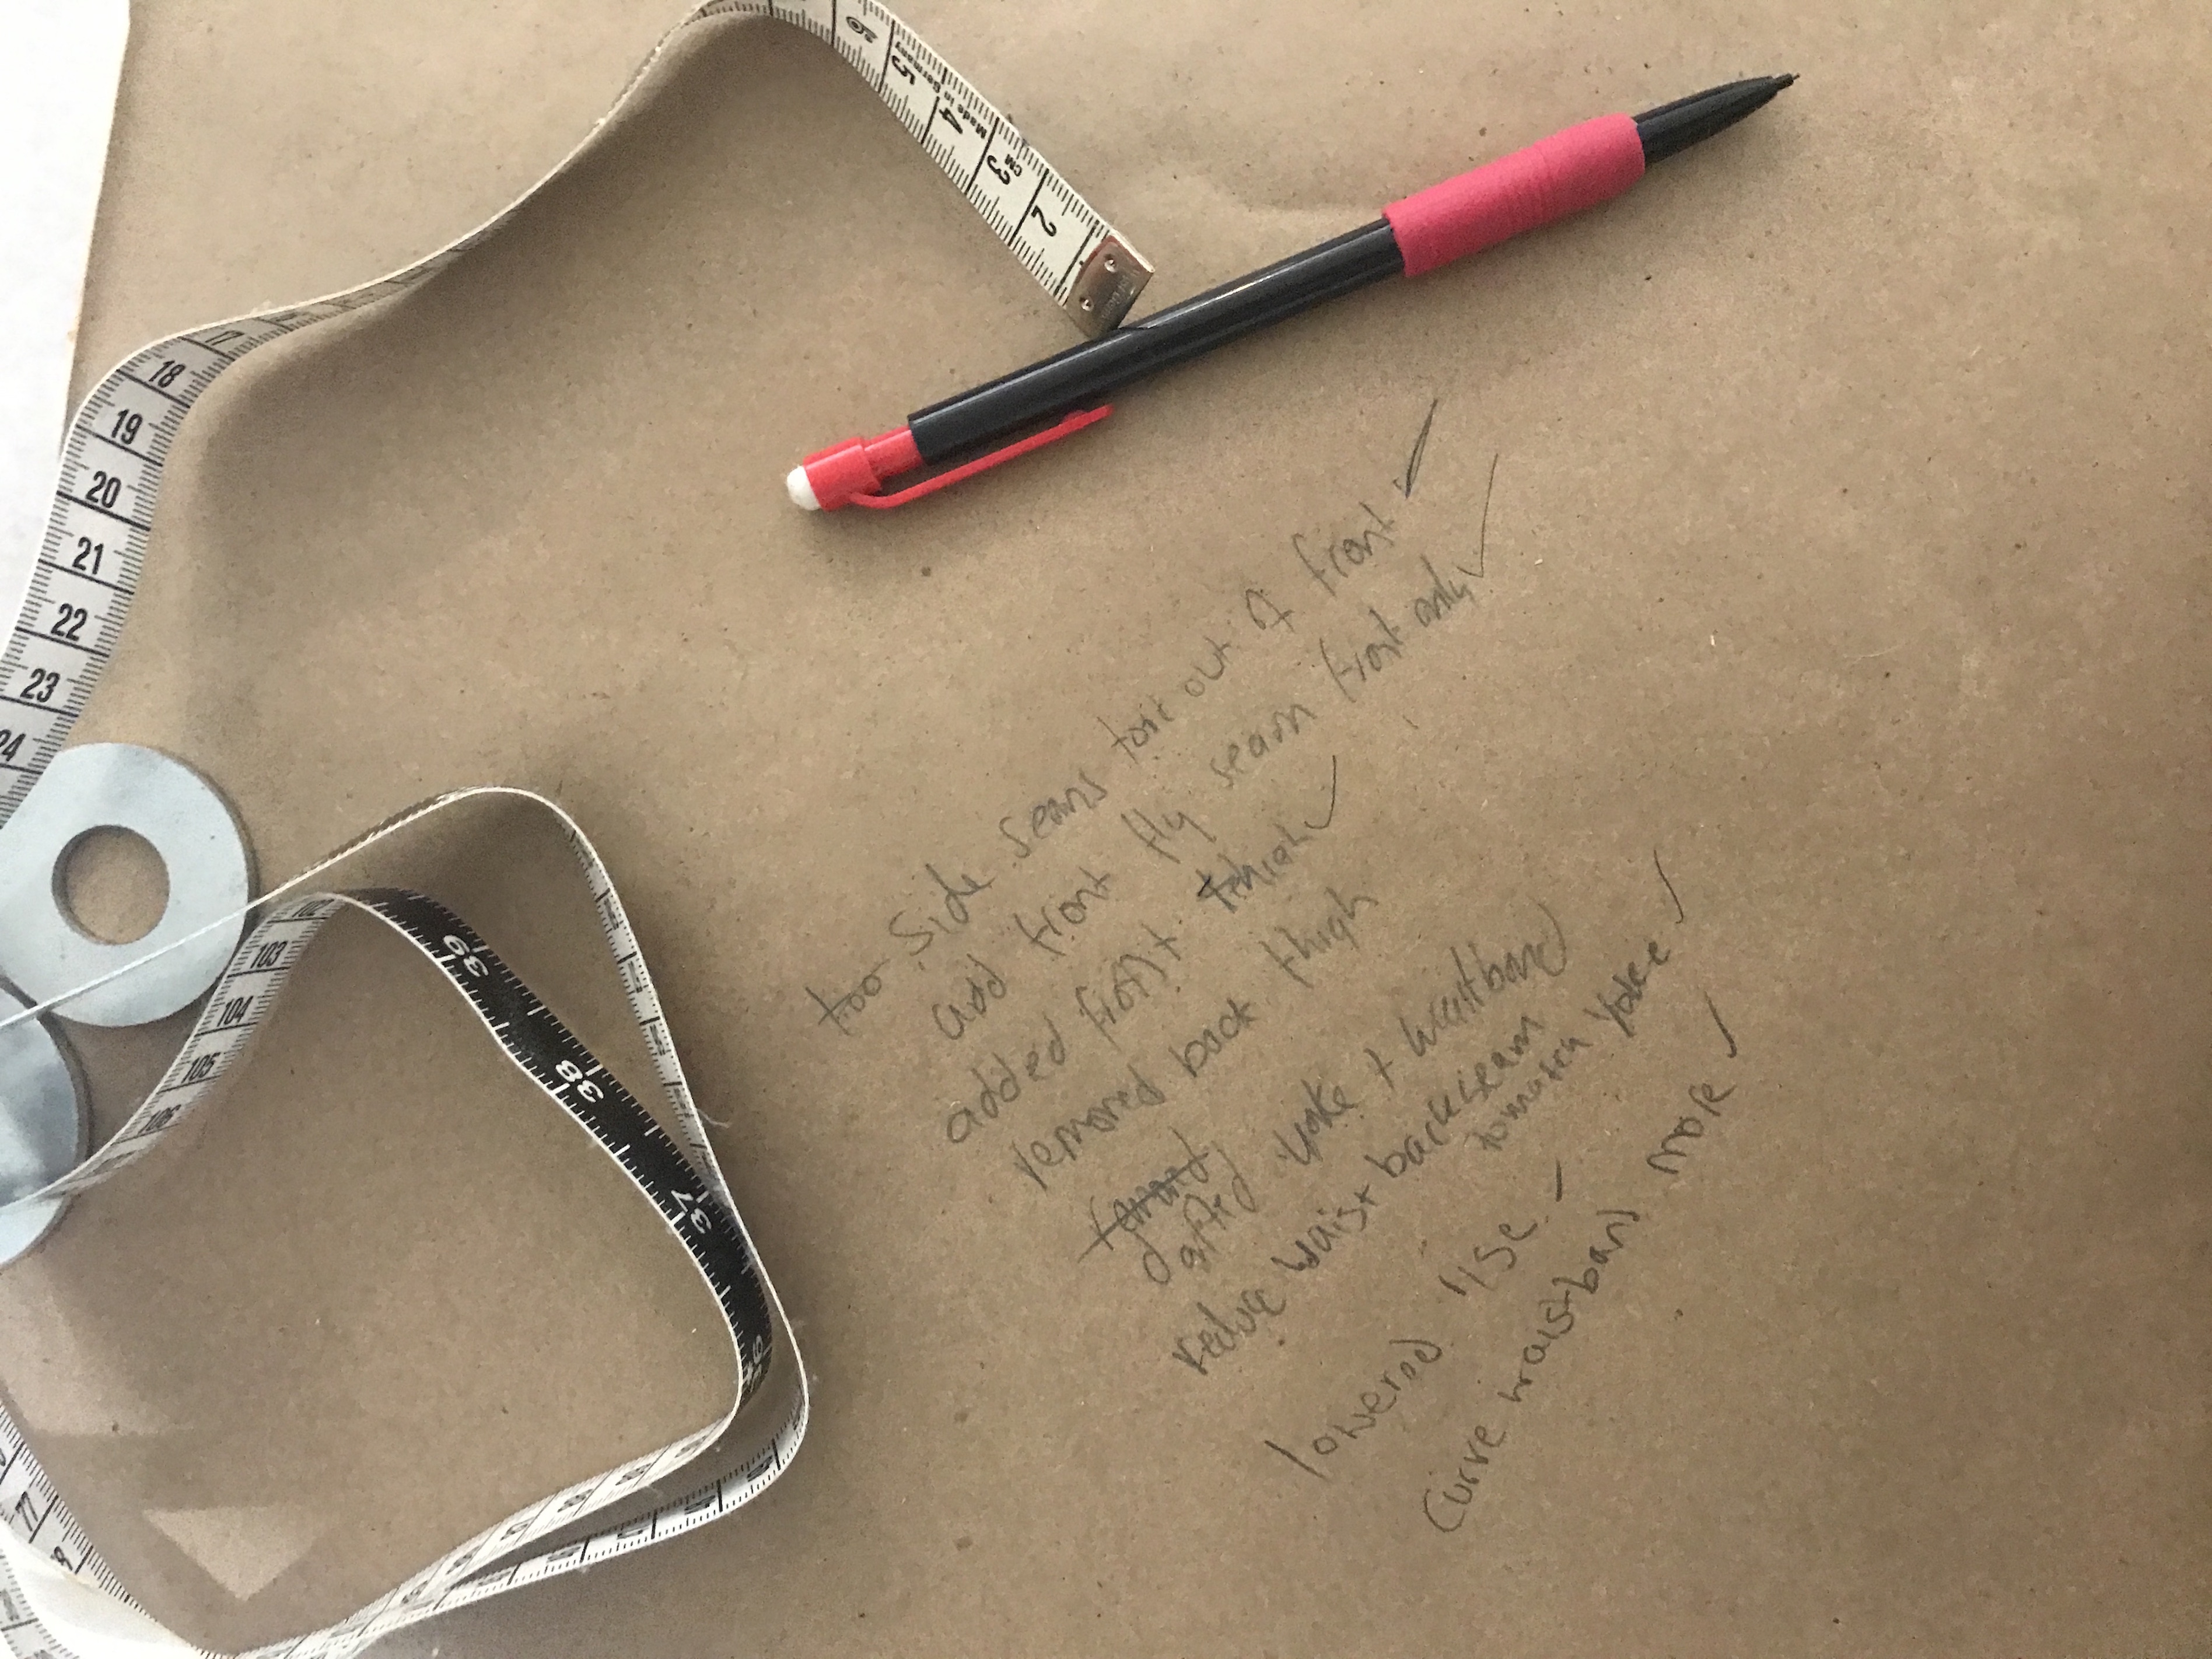
As you can see, it’s pretty impressive! Luckily the majority of changes were relative simple and I had Jenn there to help.
First up, of course, being 5ft 2″ I had to shorten the length 3″. I did this at the lengthen/shorten line, not simply at the bottom, to maintain the taper of the leg.
Next up was curving waistband more drastically which was pretty much a given, I’d had to do it for my Landers and I know I have a small waist in relation to my hips so wasn’t surprised at needing this change. . I also had to curve the yoke too to match the new waistband.
I have large quads so we added length to the front pattern piece and took away from the back, meaning the front pattern piece was wider. This was only done in the thigh ,tapering out at the knee. You do this by adding width to the inseam. The idea being that the inseam would sit in the correct place, not be pulled forward by my quads.
I also lowered the rise a little, being petit meant the high rise was just a little too high for my body. Don’t worry, they’re still super high though.
The hard part however was that there was way too much fabric around my crotch. Unfortunately I don’t have any pictures of the issue, but basically horizontally around the end of the fly shield the fabric pooled up. Like there was just too much in that area. You could basically fold out a horizontal line of at least 1″/ Luckily Jenn had seen an Instagram story describing just this issue, on Sewing Patterns for You Instagram. She does these great little videos showing you adjustments using mini pattern pieces. You can find her tutorial here.
She firstly has you check whether the front rise is straight as opposed to angled. The gingers rise isn’t straight, causing the fabric to pull, so Jenn helped me straighten it out. You then have to add that to the side seam.
Again, you can find the details on how to do this here.
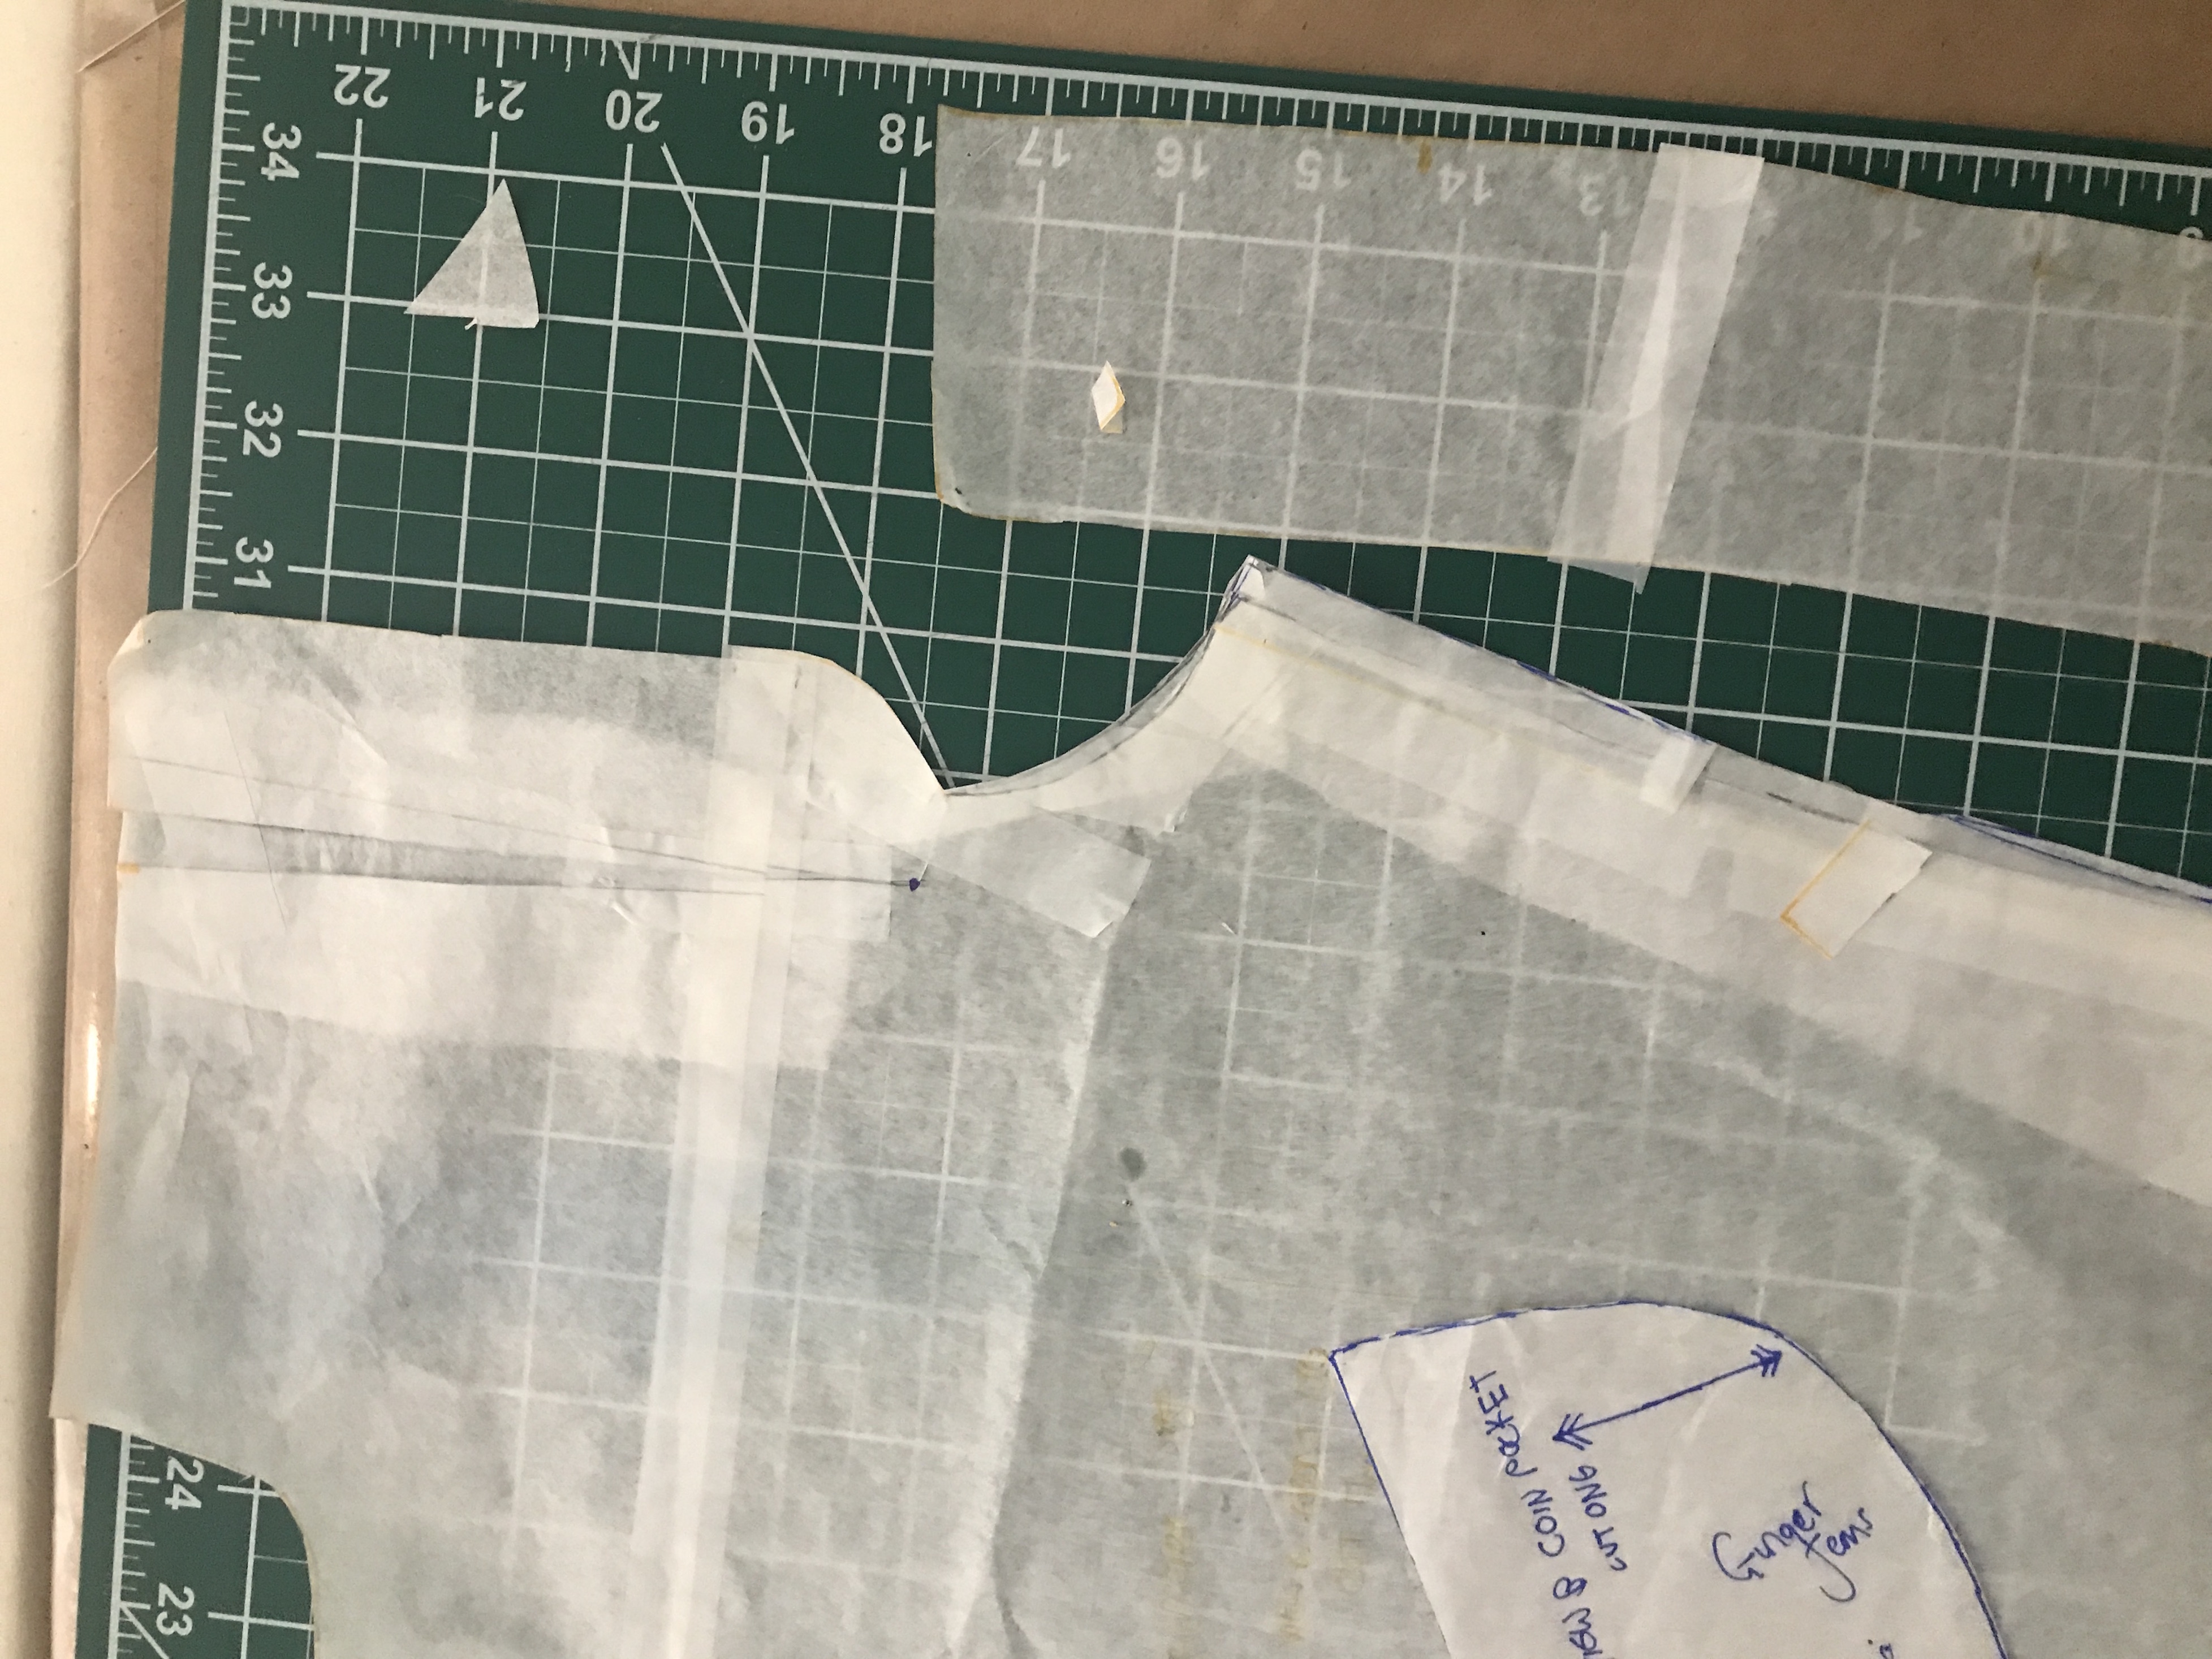
My pattern ending up looking pretty Frankenstein-y but I was pretty confident in it.
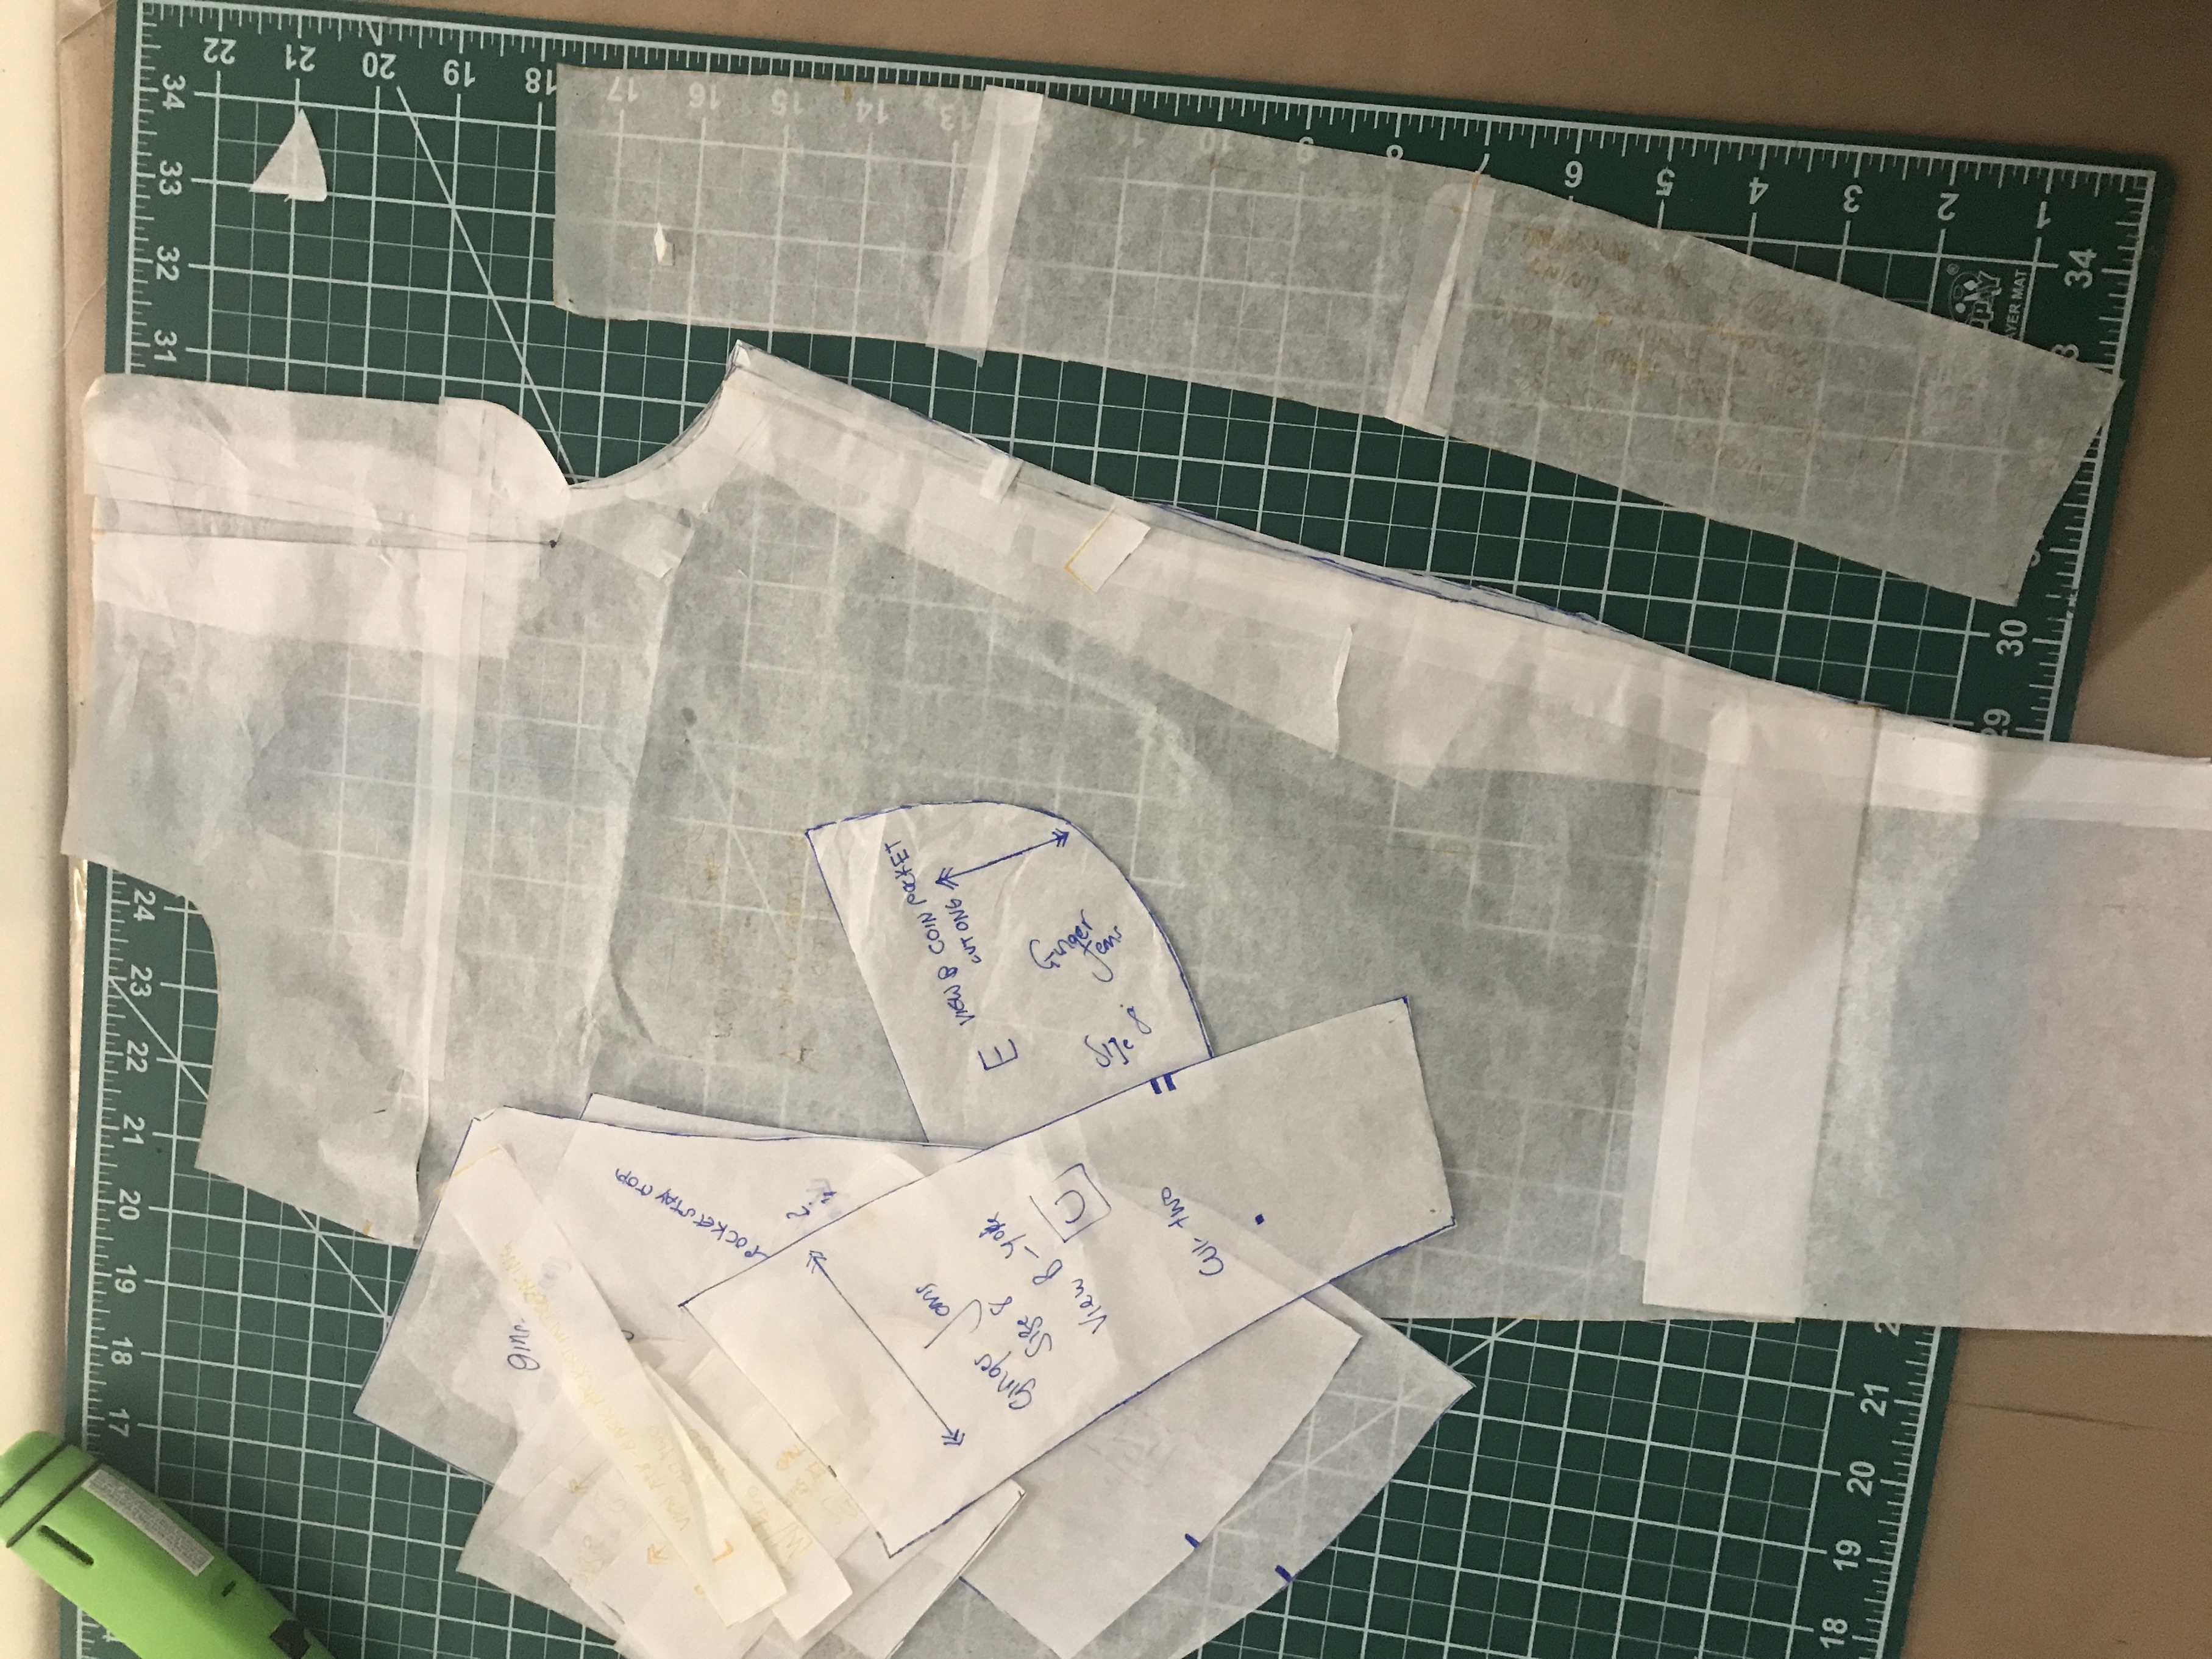
Now my muslin was done I was ready to get started on the real thing! I was using a super lightweight denim from my local Joanne’s, I bought it thinking I’d go with something light and cheap for my first pair so it didn’t matter if they were a disaster. Plus, it was a light grey colour which I love right now.
Because I’d made my muslin I didn’t really need to worry about fit so I could just concentrate on constructing my jeans. It ended up being pretty relaxing as I’d purchased the Closet Case workshop which really helped. It broke down each stage into little bitesize pieces meaning it was a really fun make. I didn’t even try them on until it came time to test out my pocket placement.
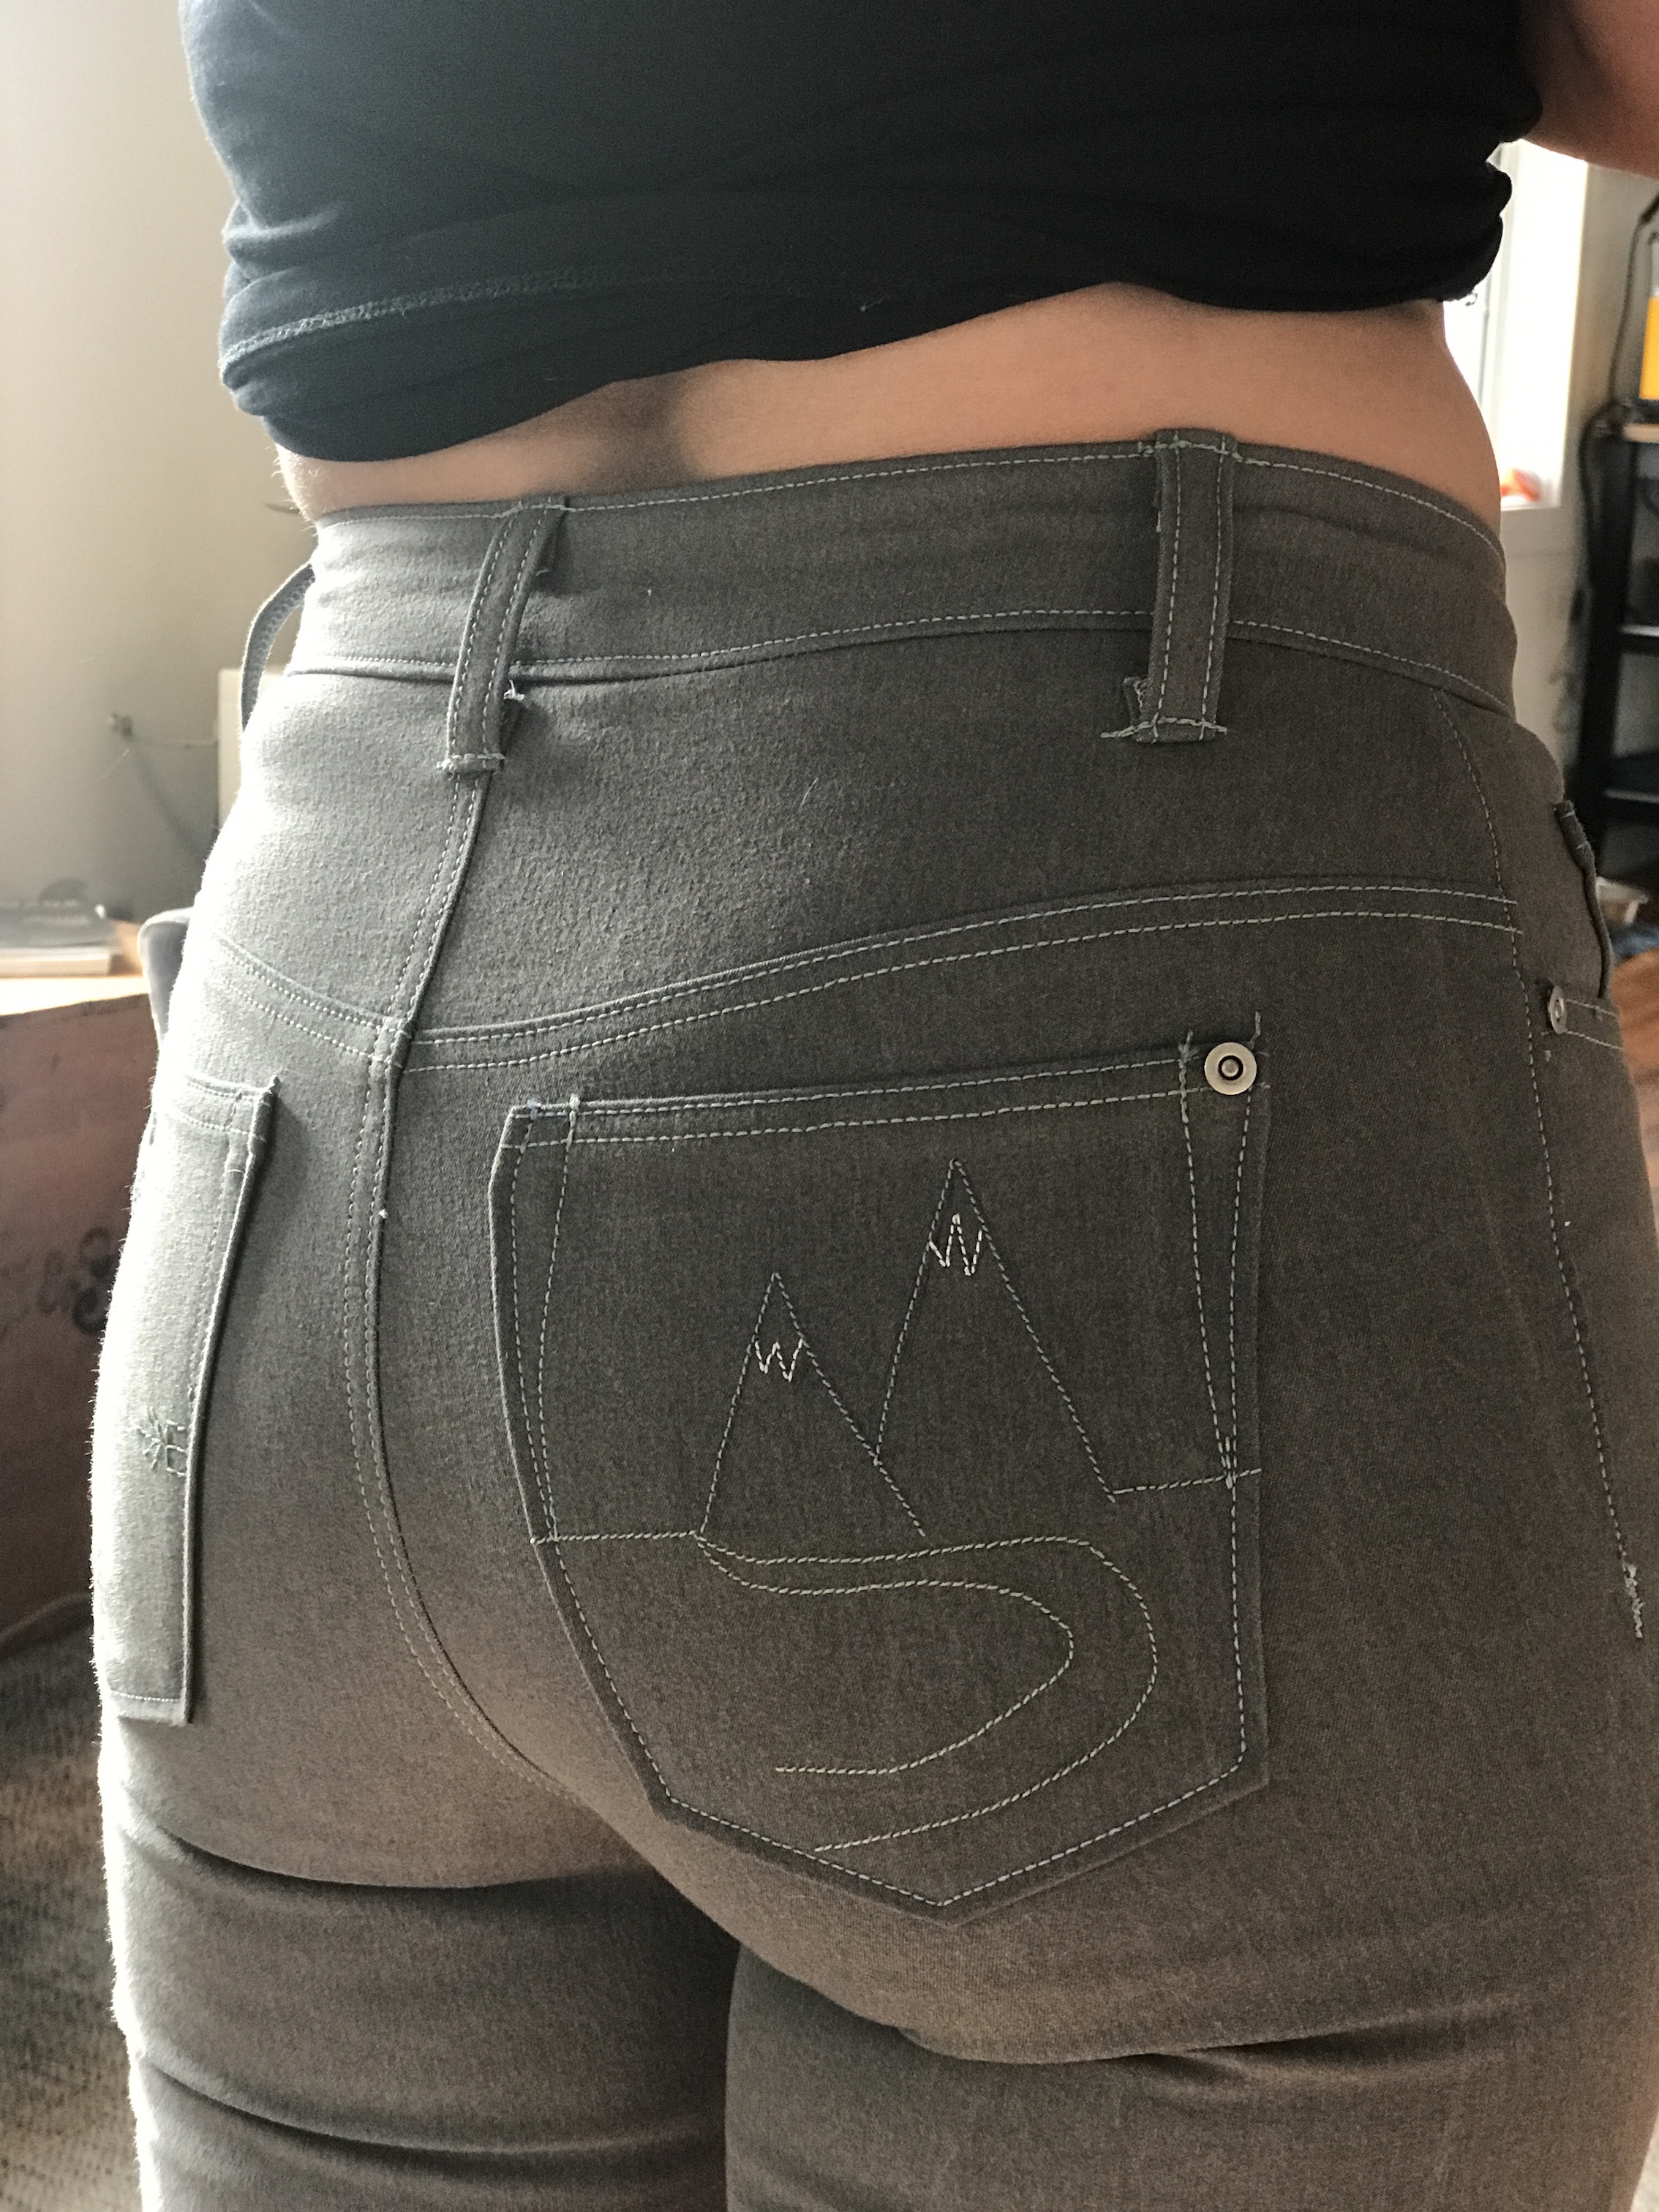
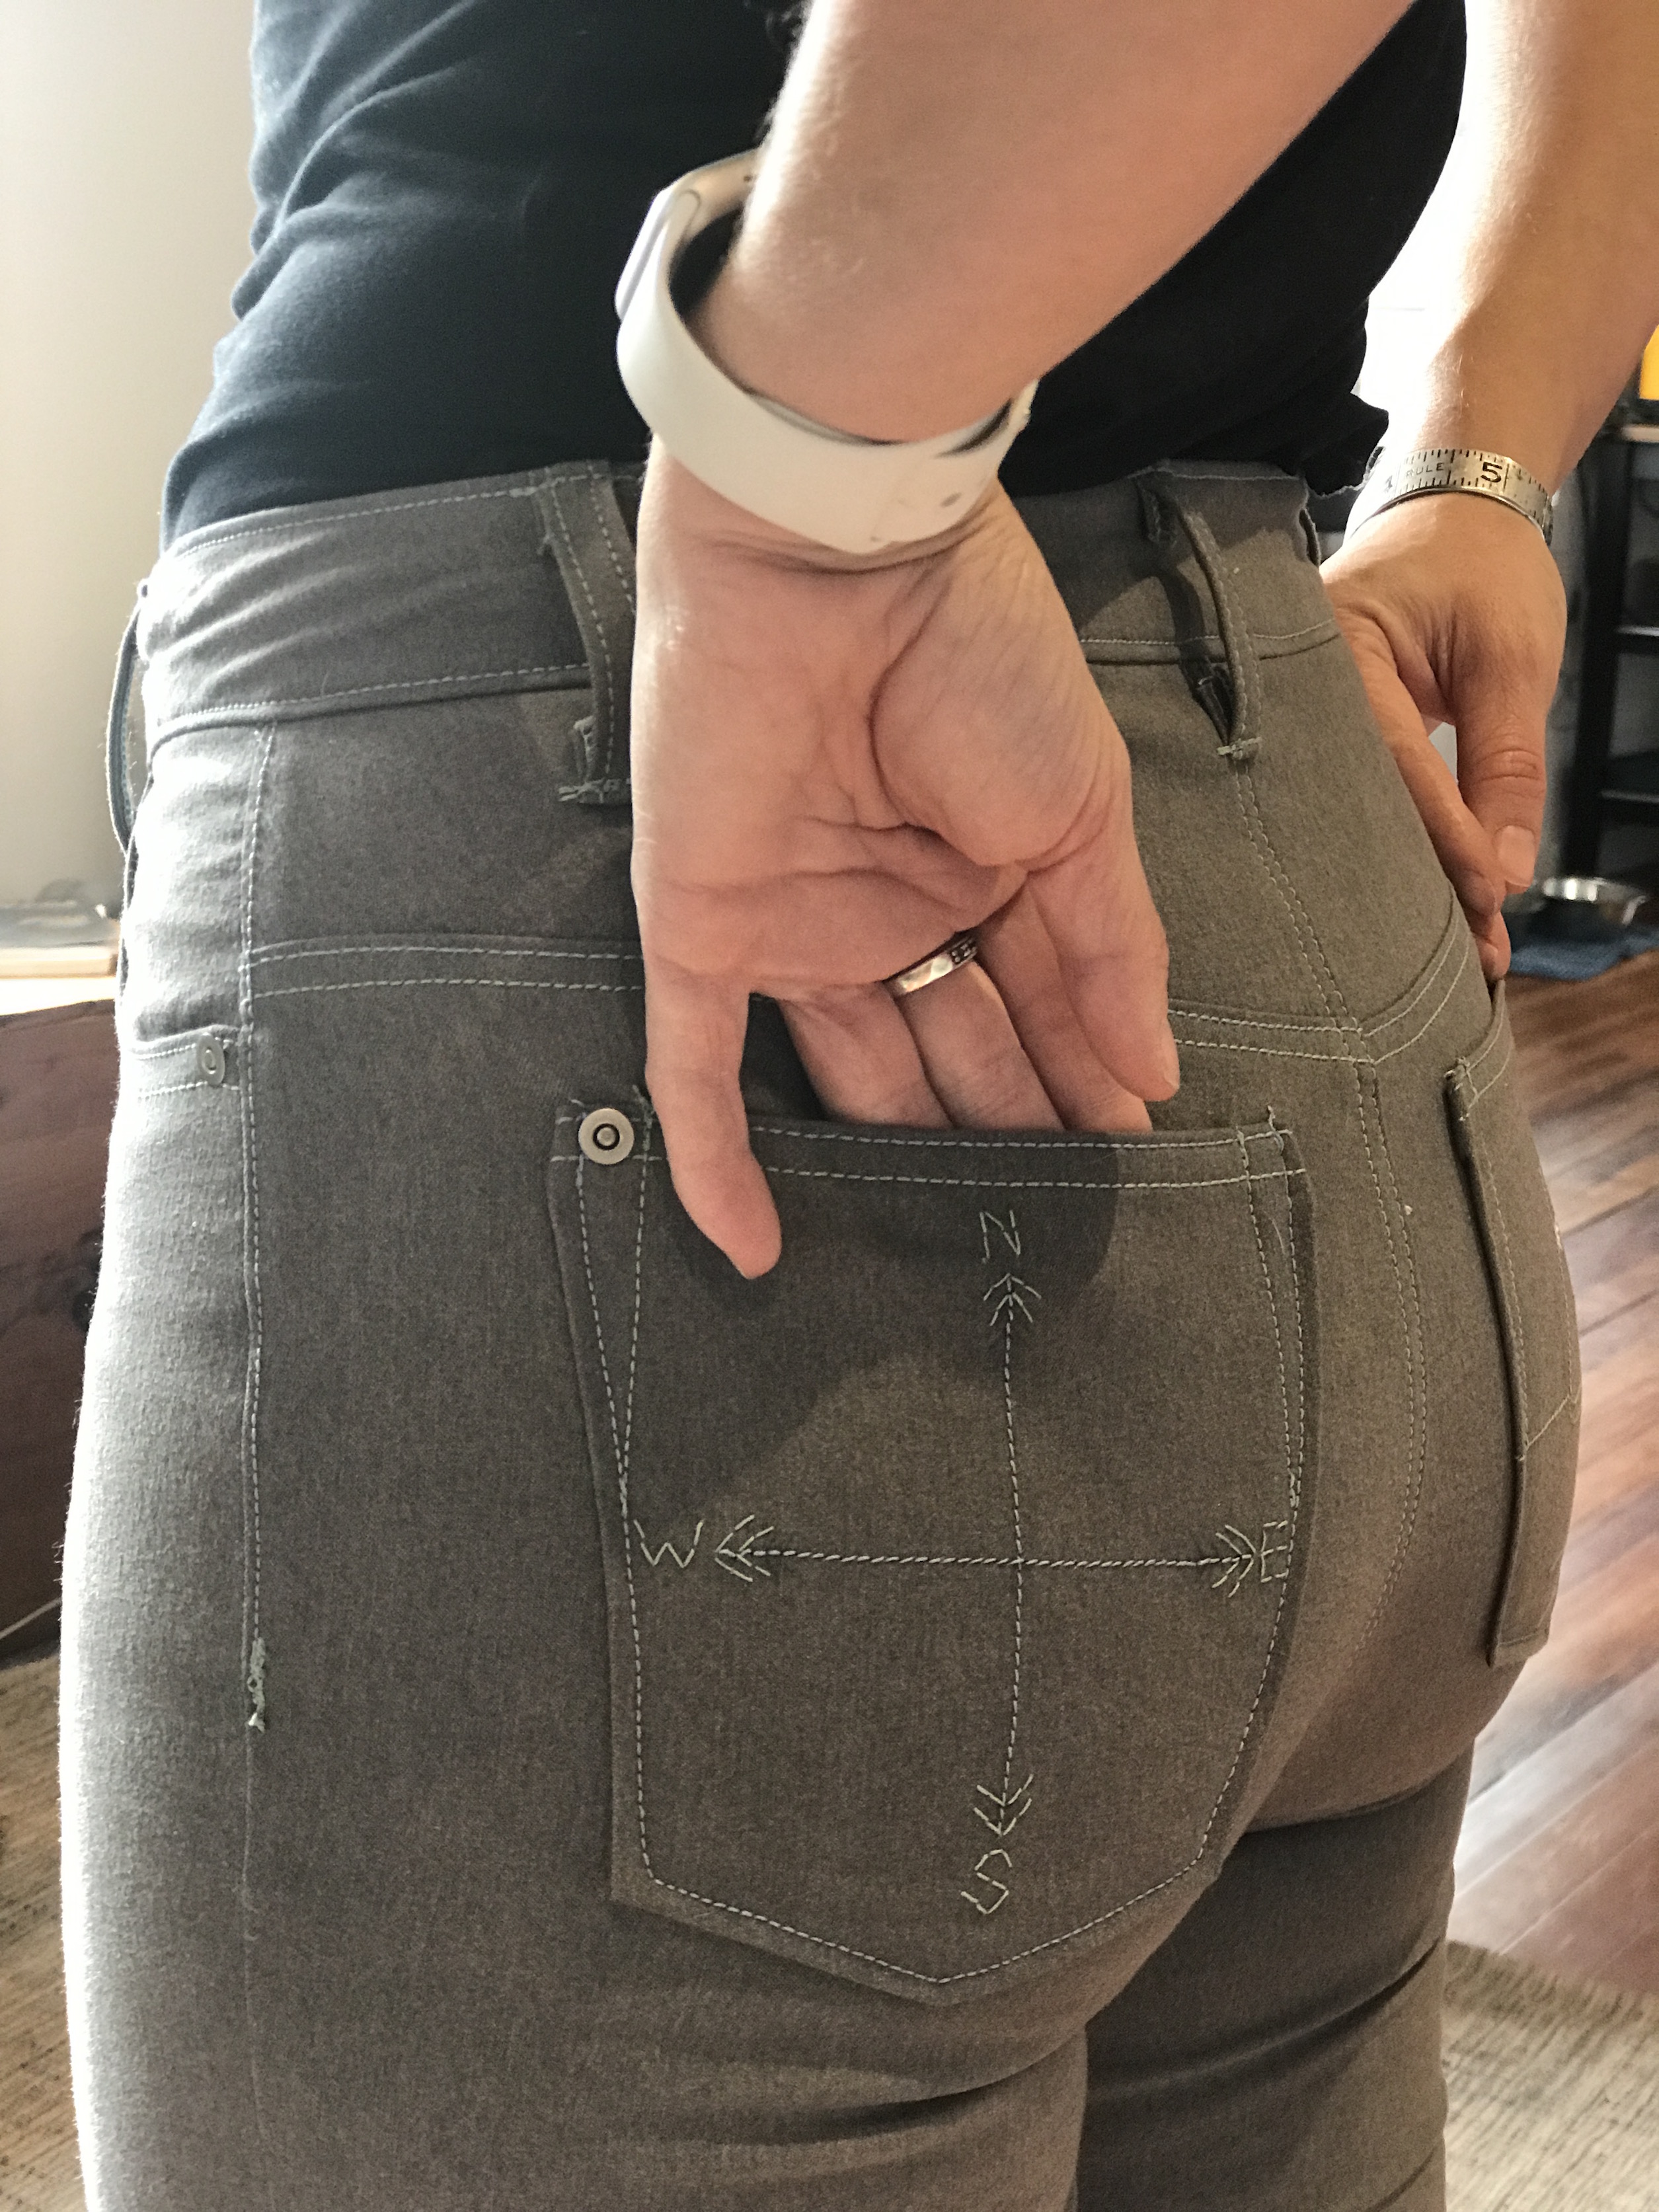
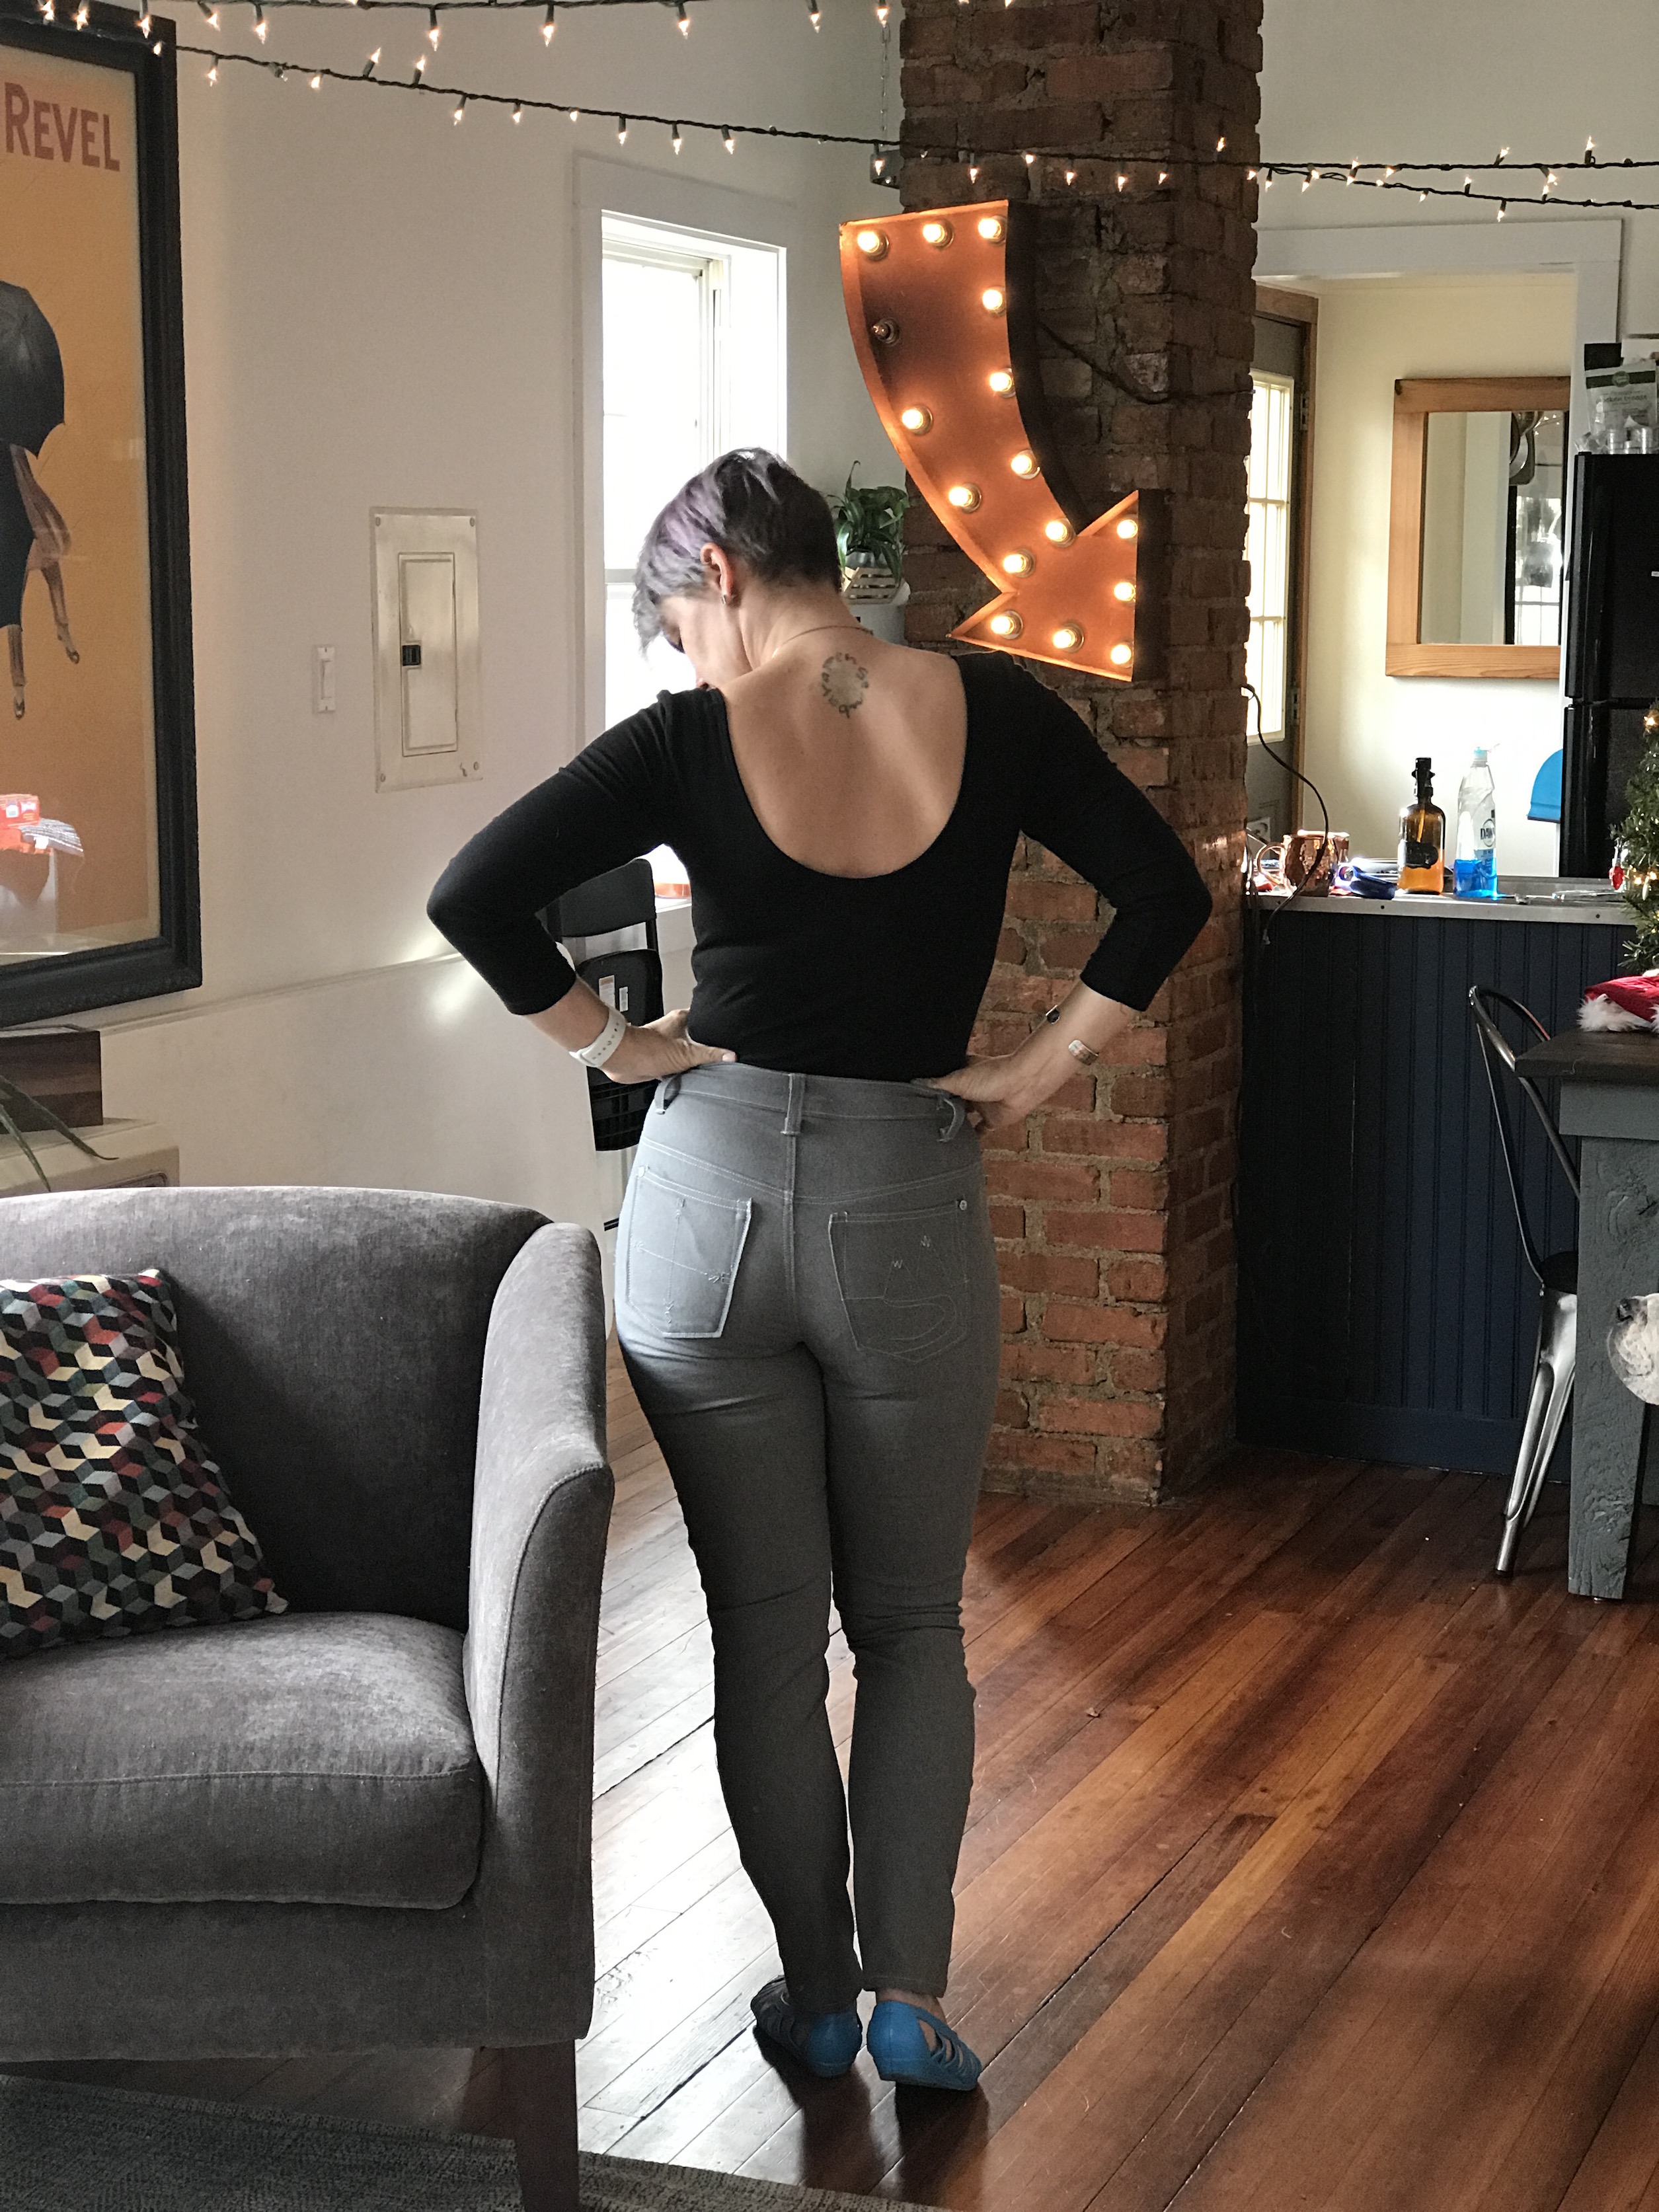
Talking of pockets, I was super excited about my back pocket top stitching – a chance to really personalise my jeans! Which for me is the main reason I sew my own clothes, I love wearing something unique and that reflects me.
I’ve travelled a lot in my life and we currently live in the mountains of North Carolina and because I was using grey denim with light blue thread I felt that leant itself well to a mountain themed top stitching pattern.
This is what I came up with, and I’m not going to lie, it ended being by far my favorite part of my jeans.
Unfortunately, I only made my muslin down to just above my knees, figuring the lower half of my leg wouldn’t cause any issues. It seems this isn’t true; while I was expecting some wrinkles there – I need to move my knees after all! – there seemed more than that, especially as they were at an angle:
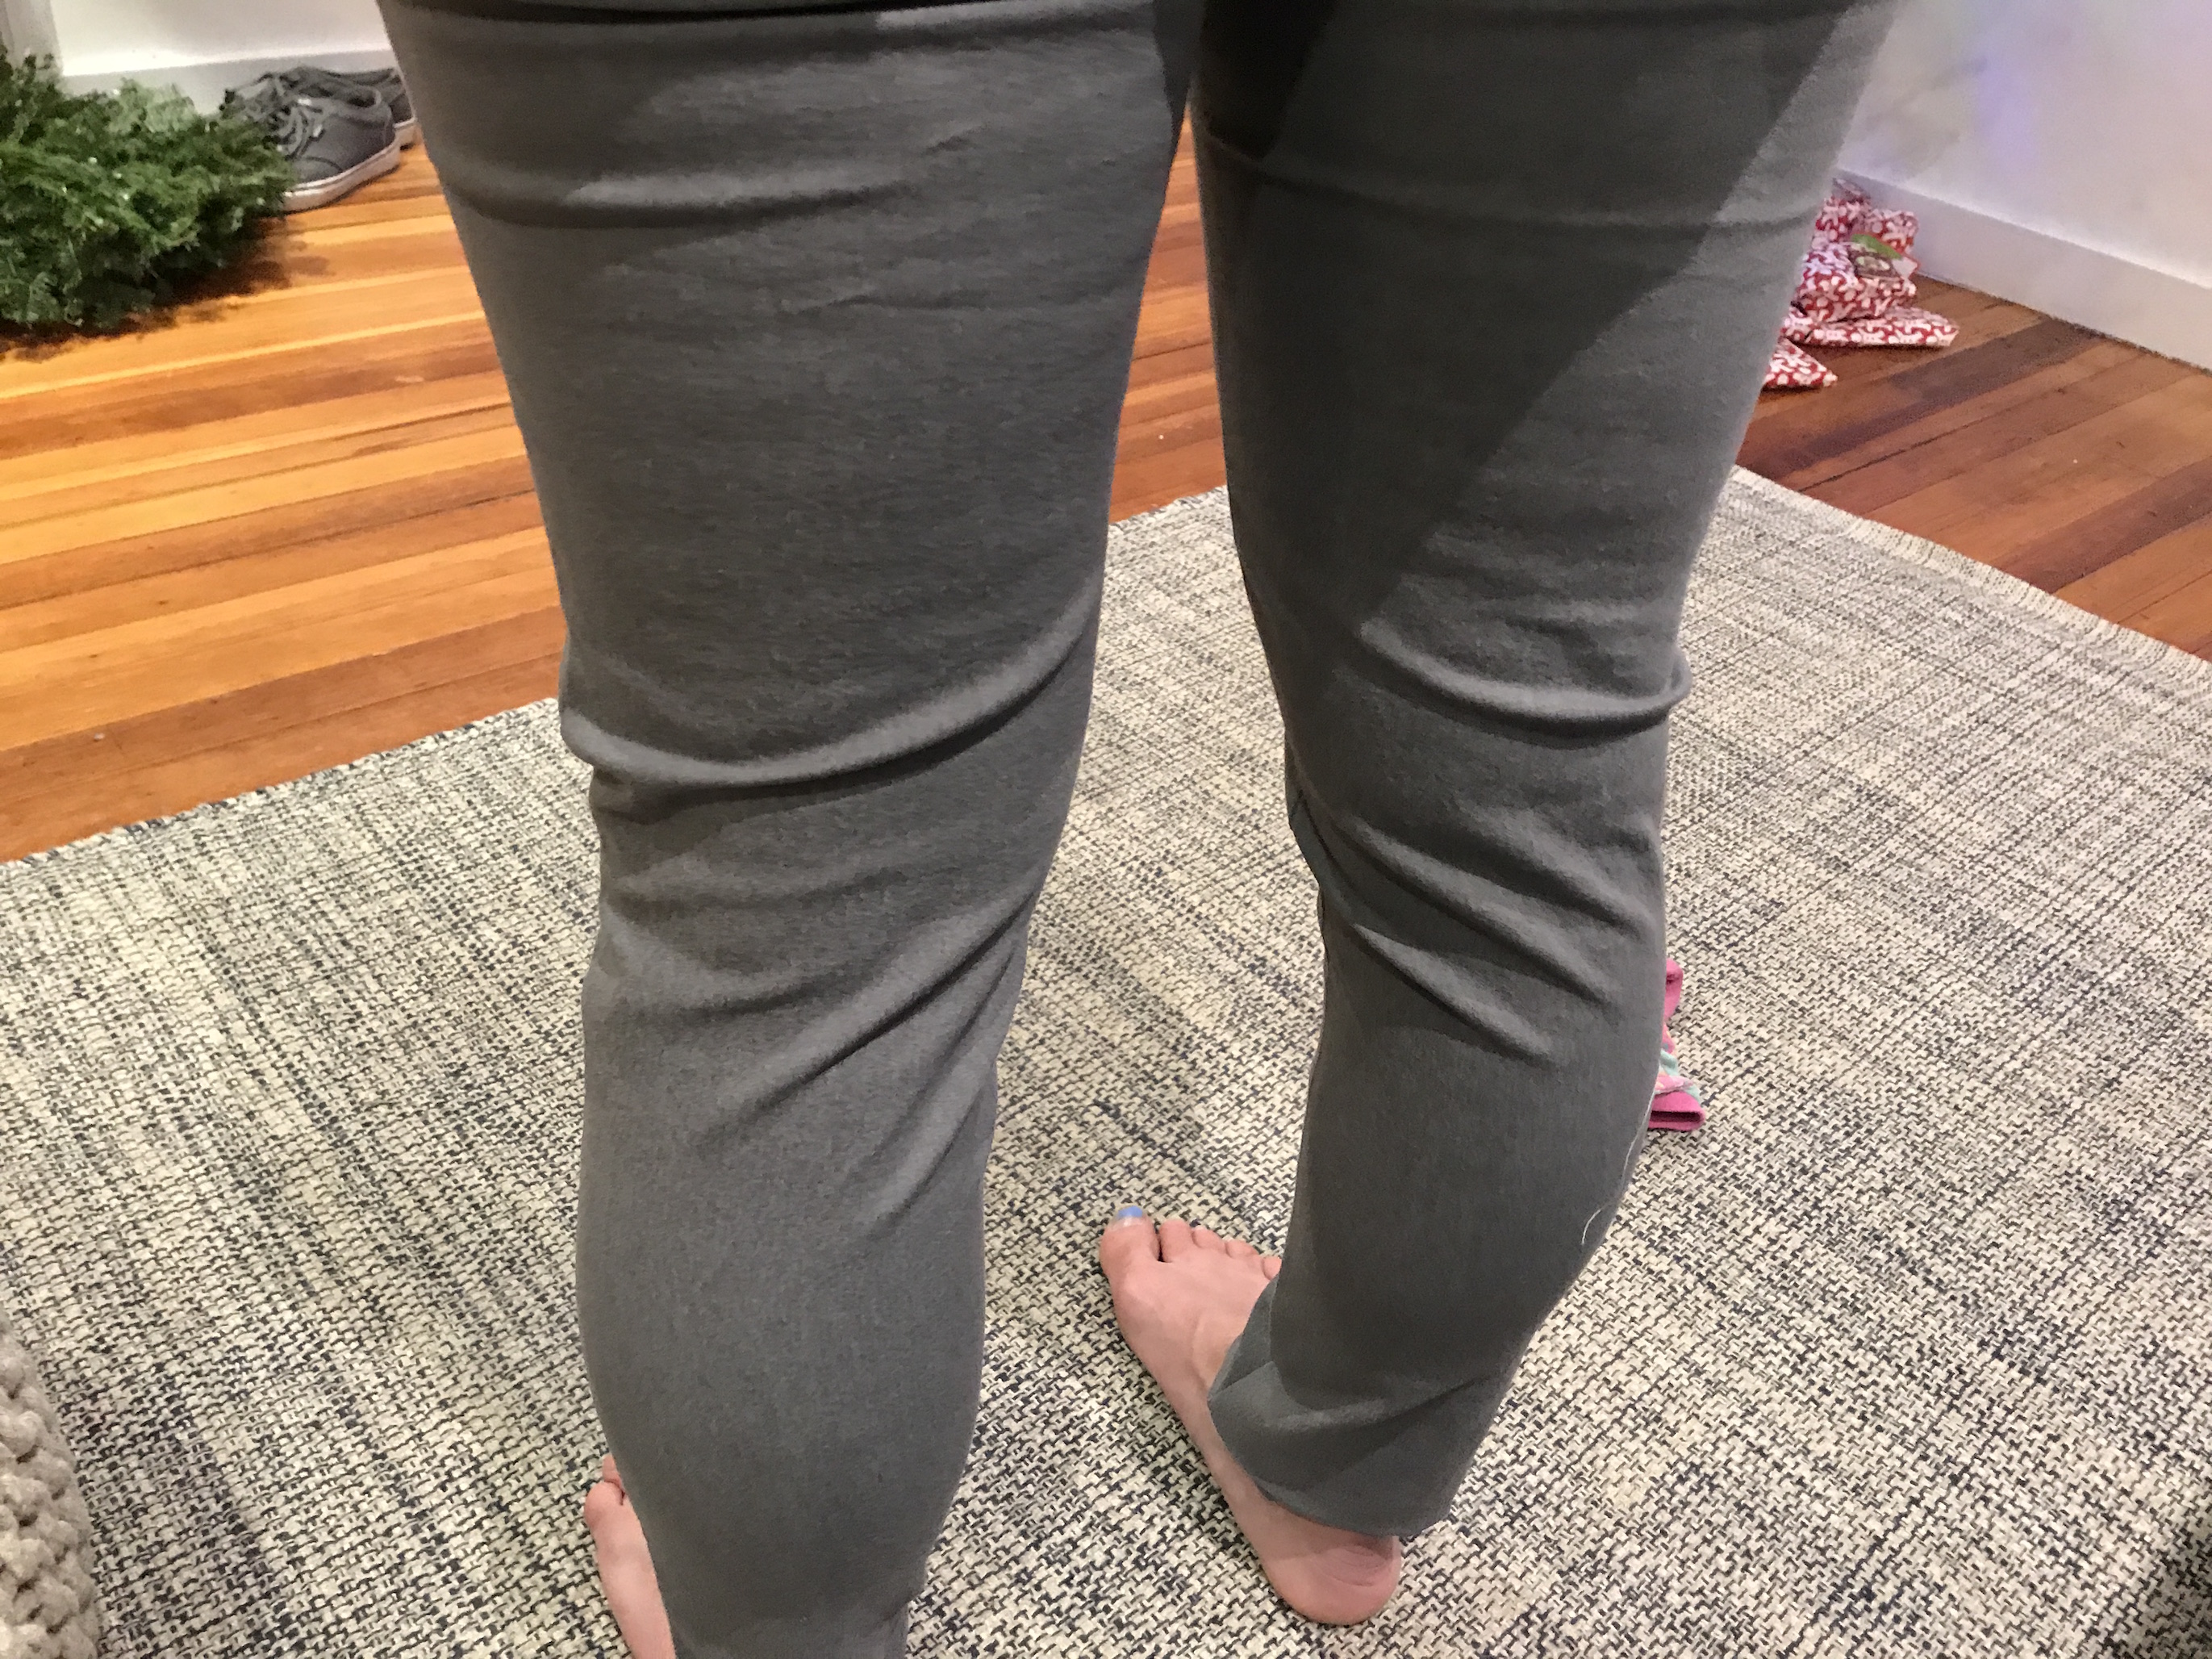
As part of the workshop you get to ask Heather Lou fit questions. I shared this with her and she said it looked like I needed a knock-kneed alteration (why are the names sooooo terrible?). Unfortunately this is something you have to do prior to cutting your fabric so that’s something for the next pair. This time I just sewed them in a little tighter around the knees – tapering in my seam line and then back out again at the calf. This helped but will definitely muslin full length next time!
It was sooooo satisfying trying them on when I pulled them off my machine. I had to get a picture even in the crappy light.

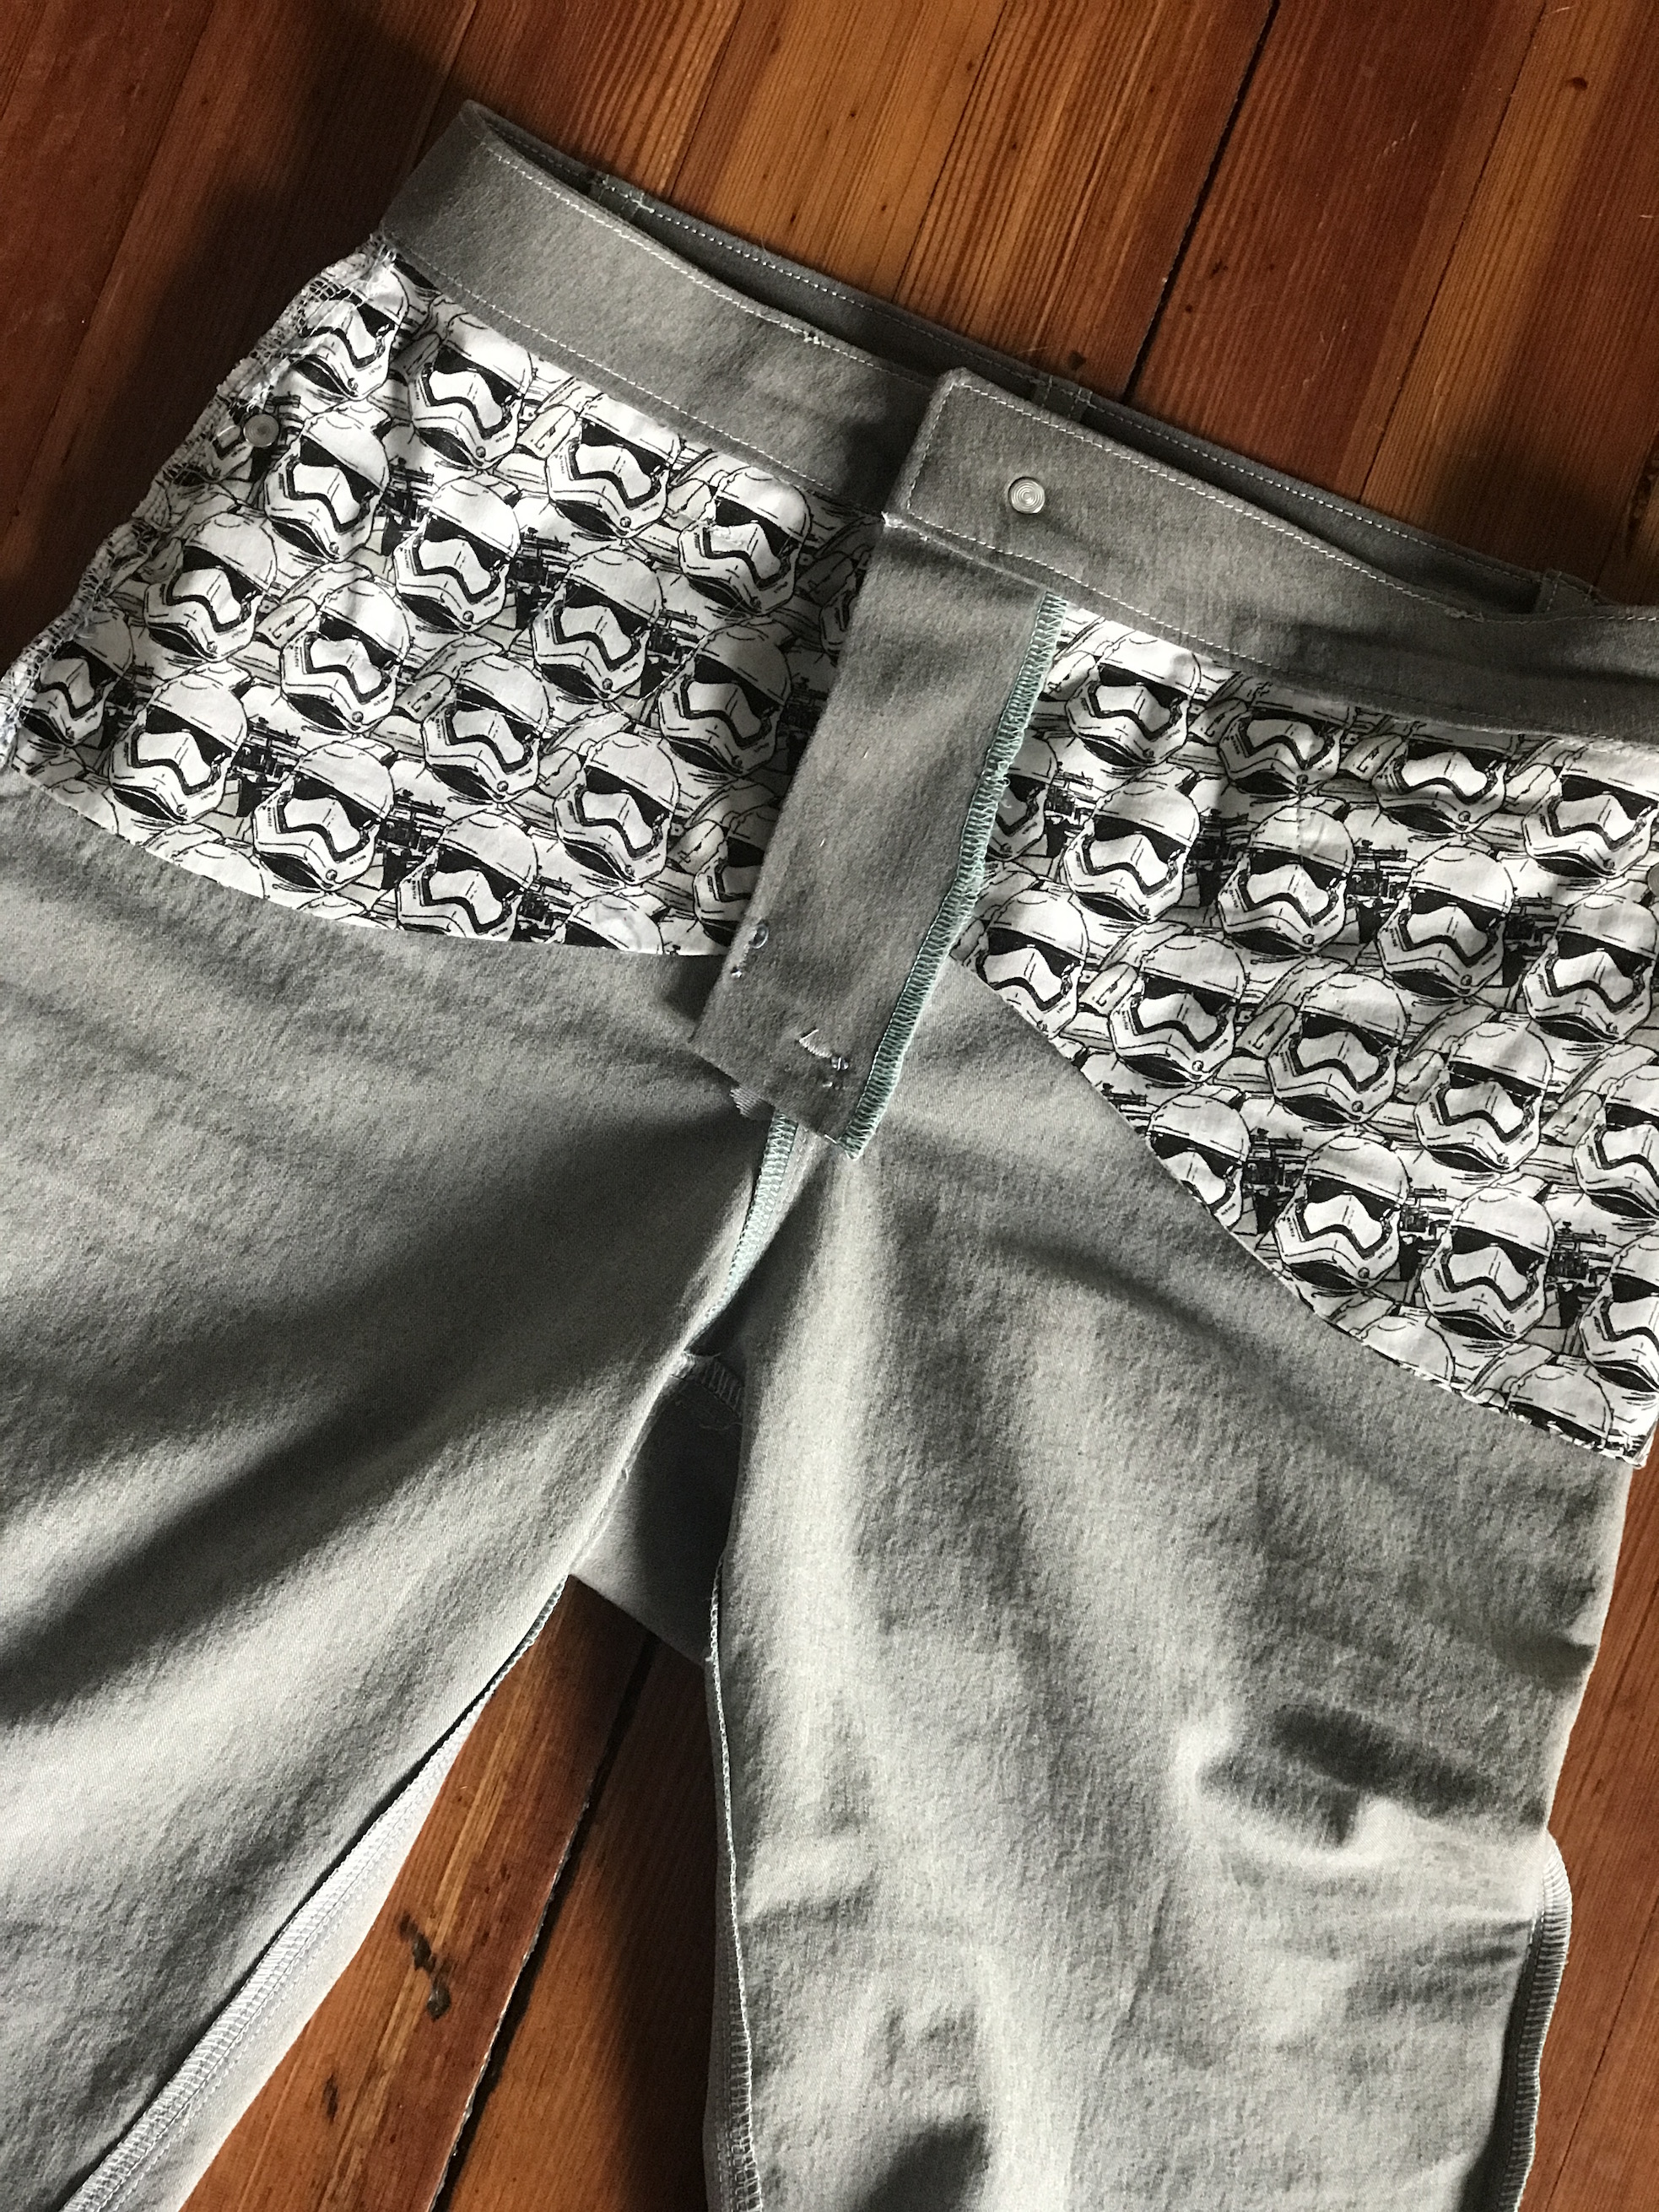
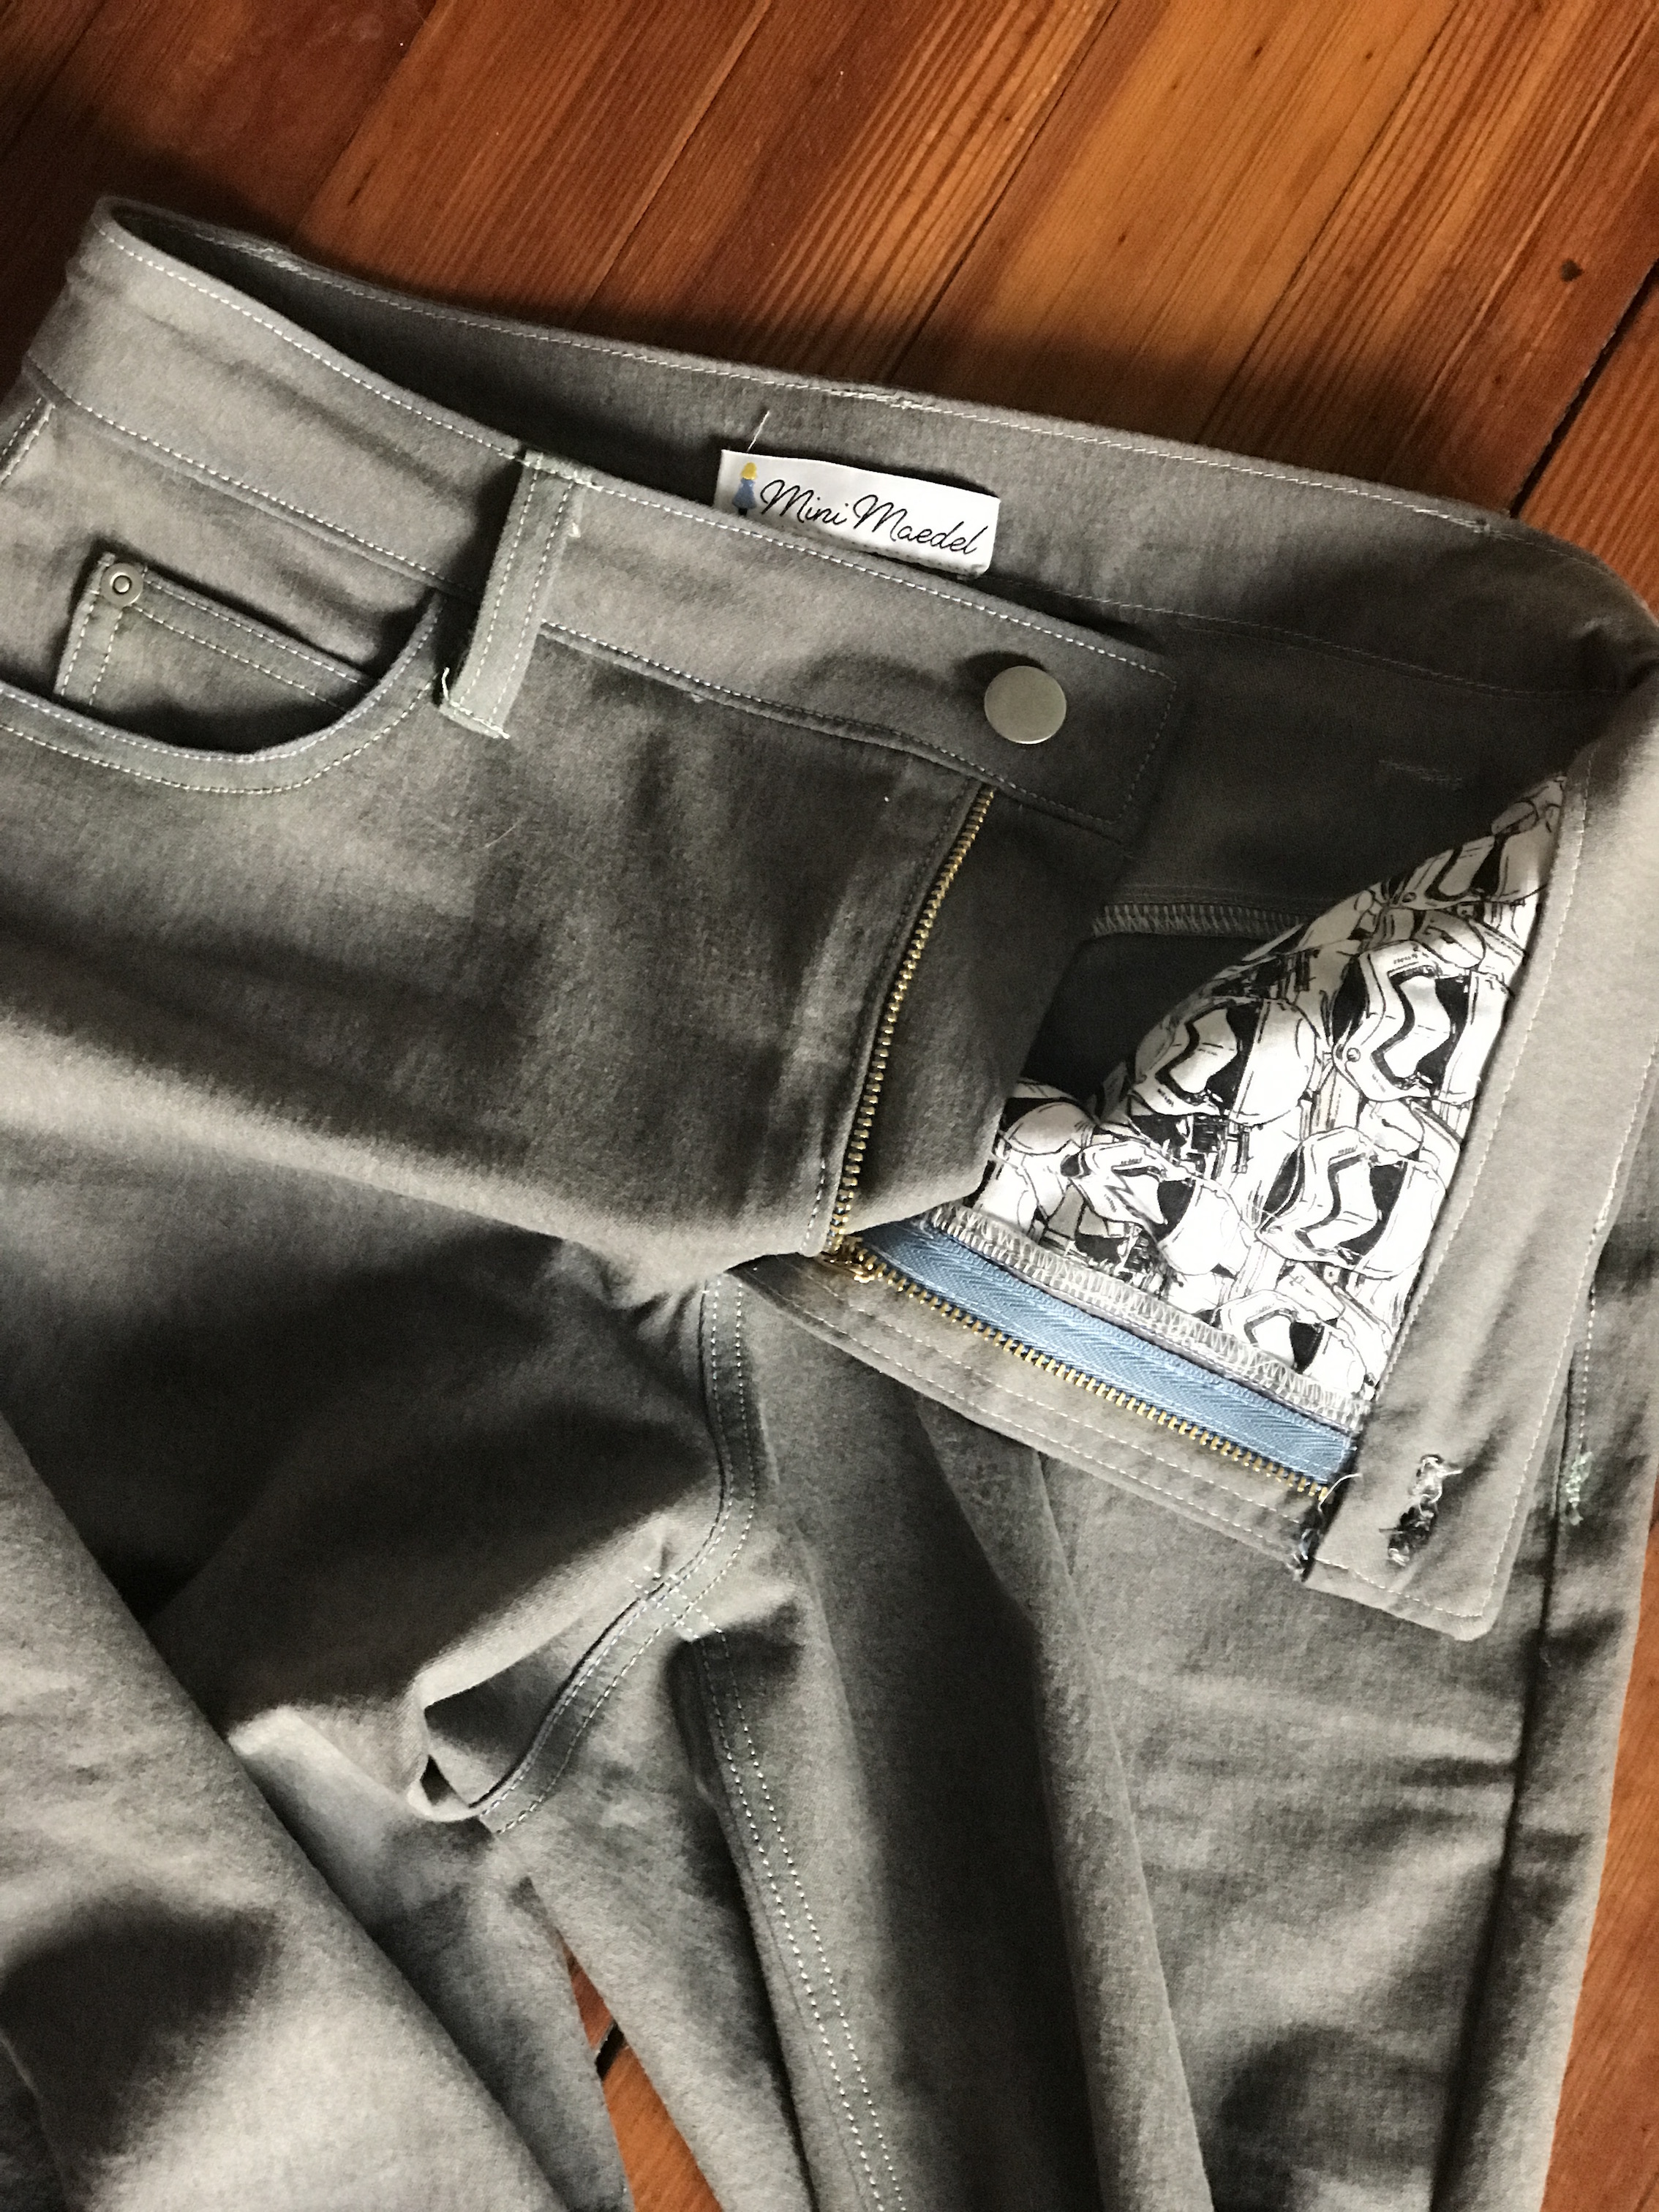
I even loved the guts! Next best part after cool topstitching is having secret fun pocket bags! Oh and Heather Lou, those pocket stays are GENIUS!
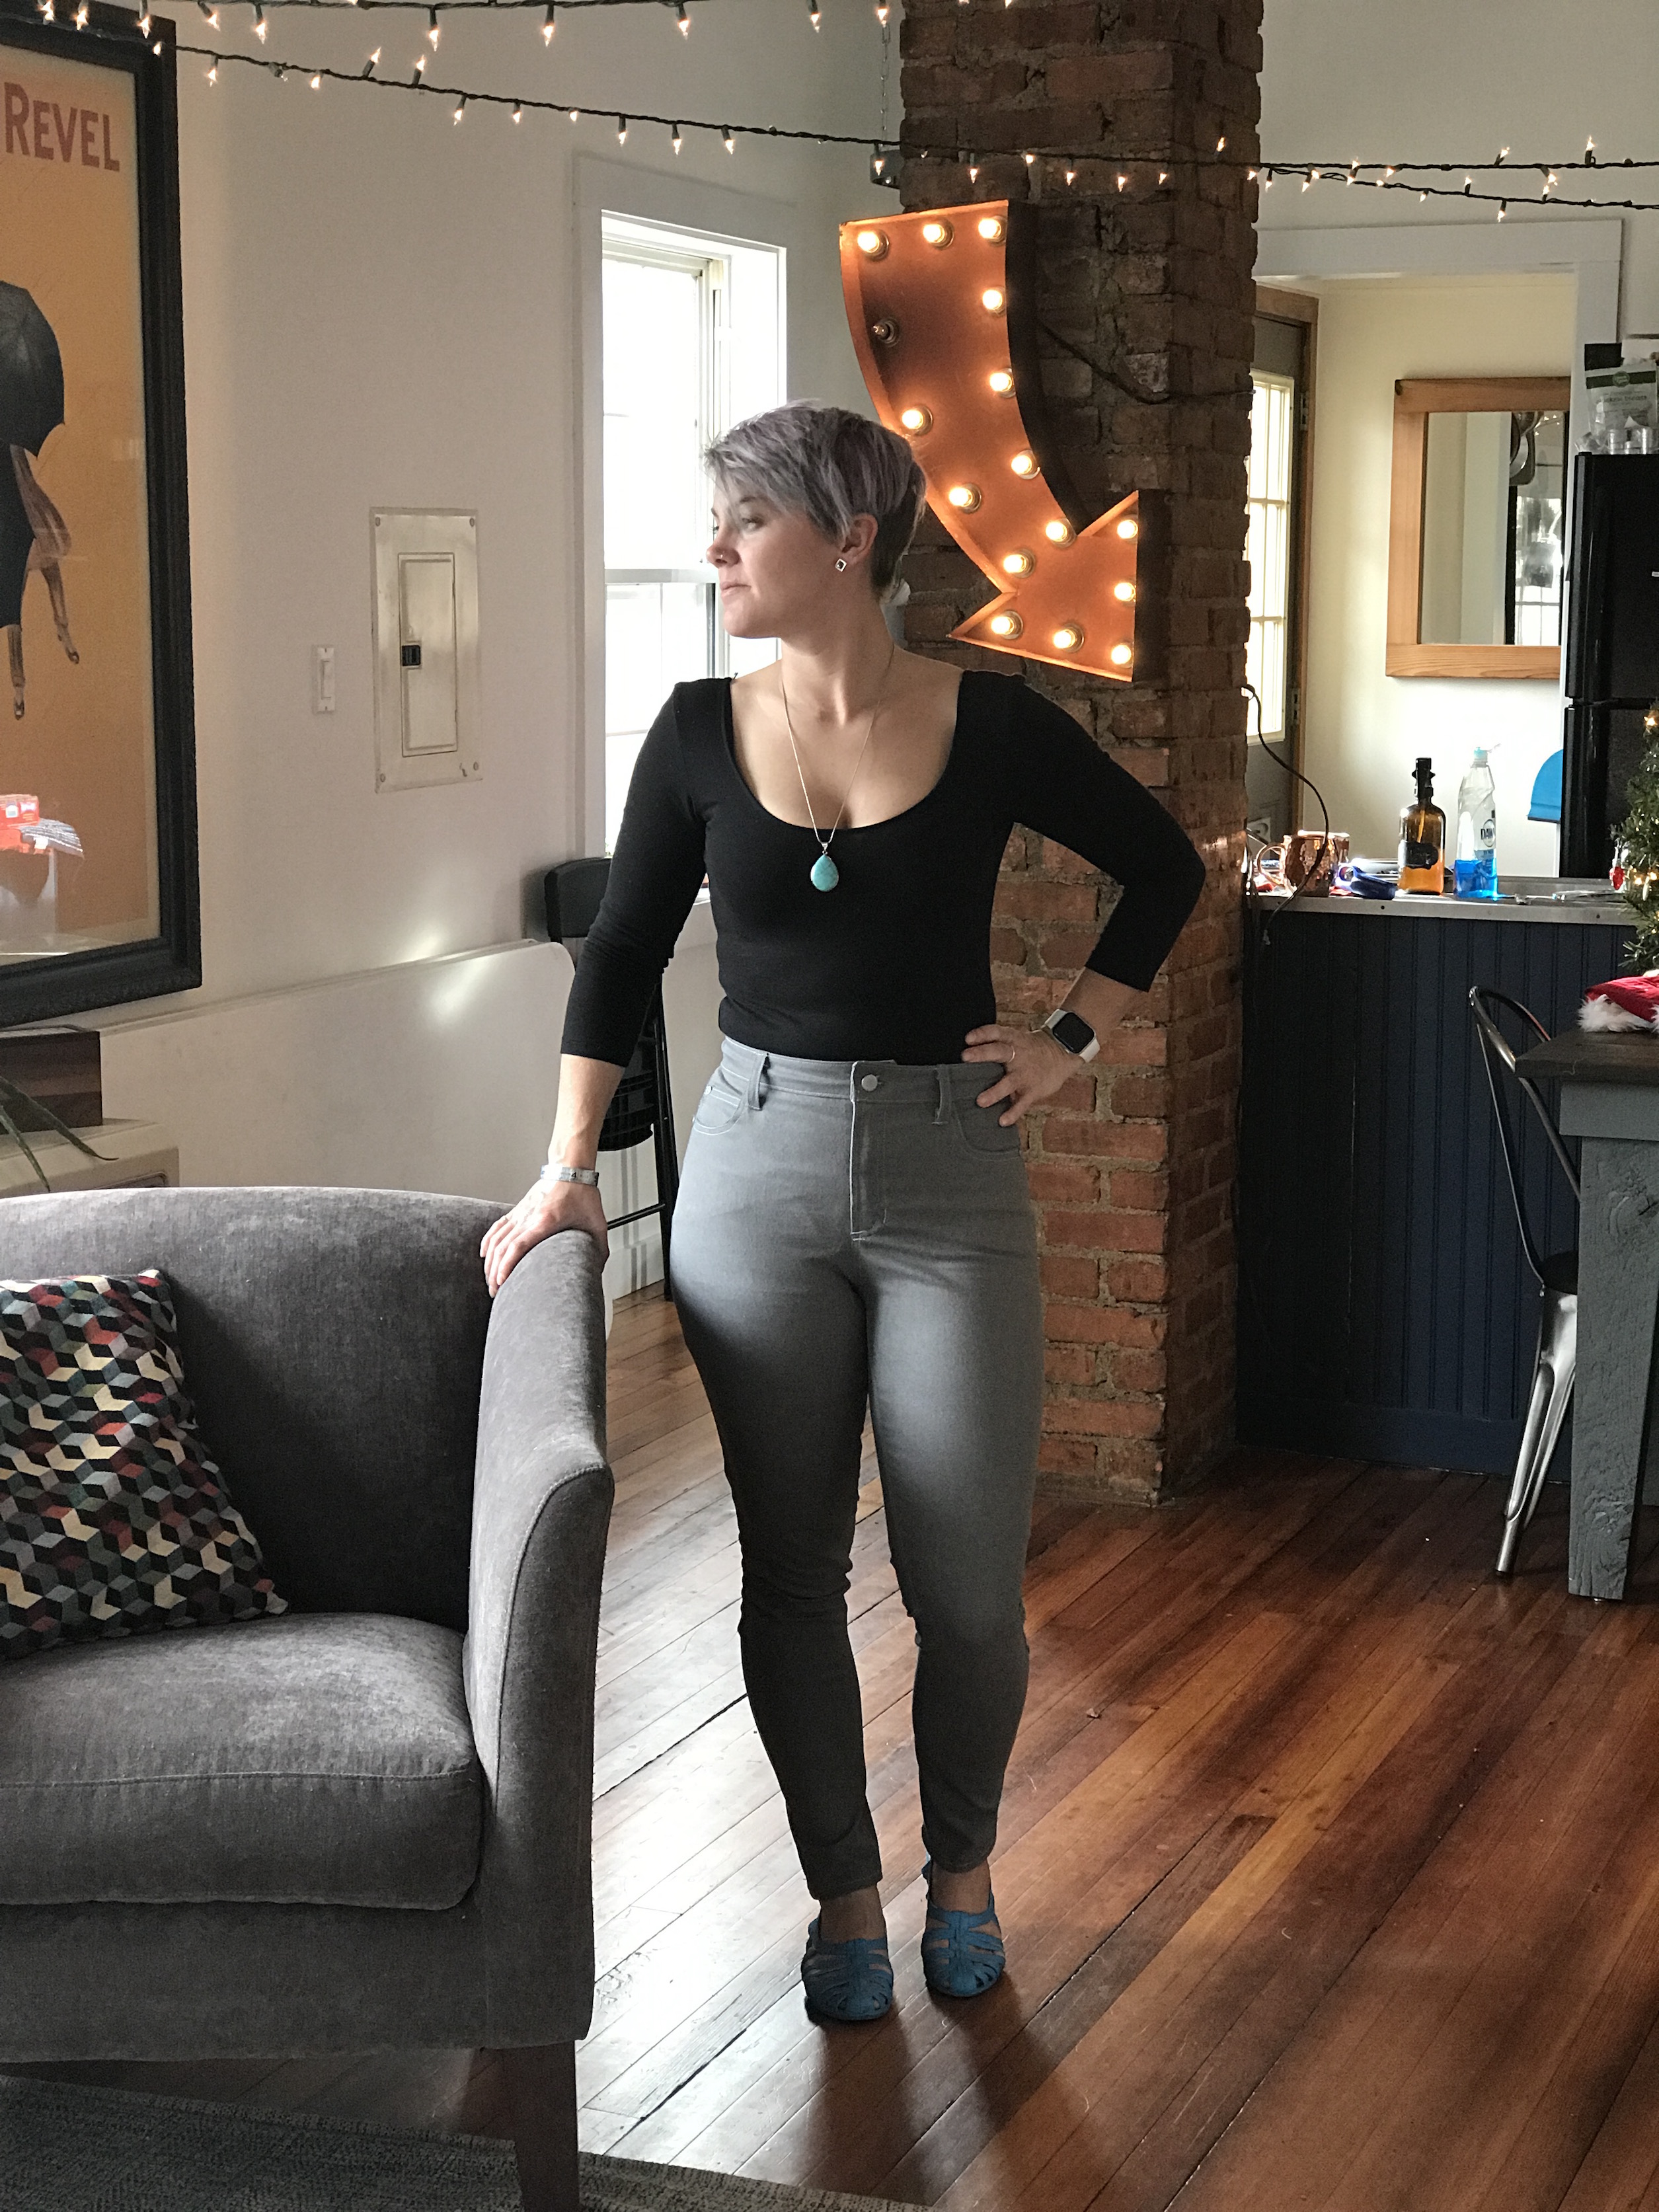
And, well, here they are:
Even Randle seems pretty impressed!
Even Randle seems pretty impressed!
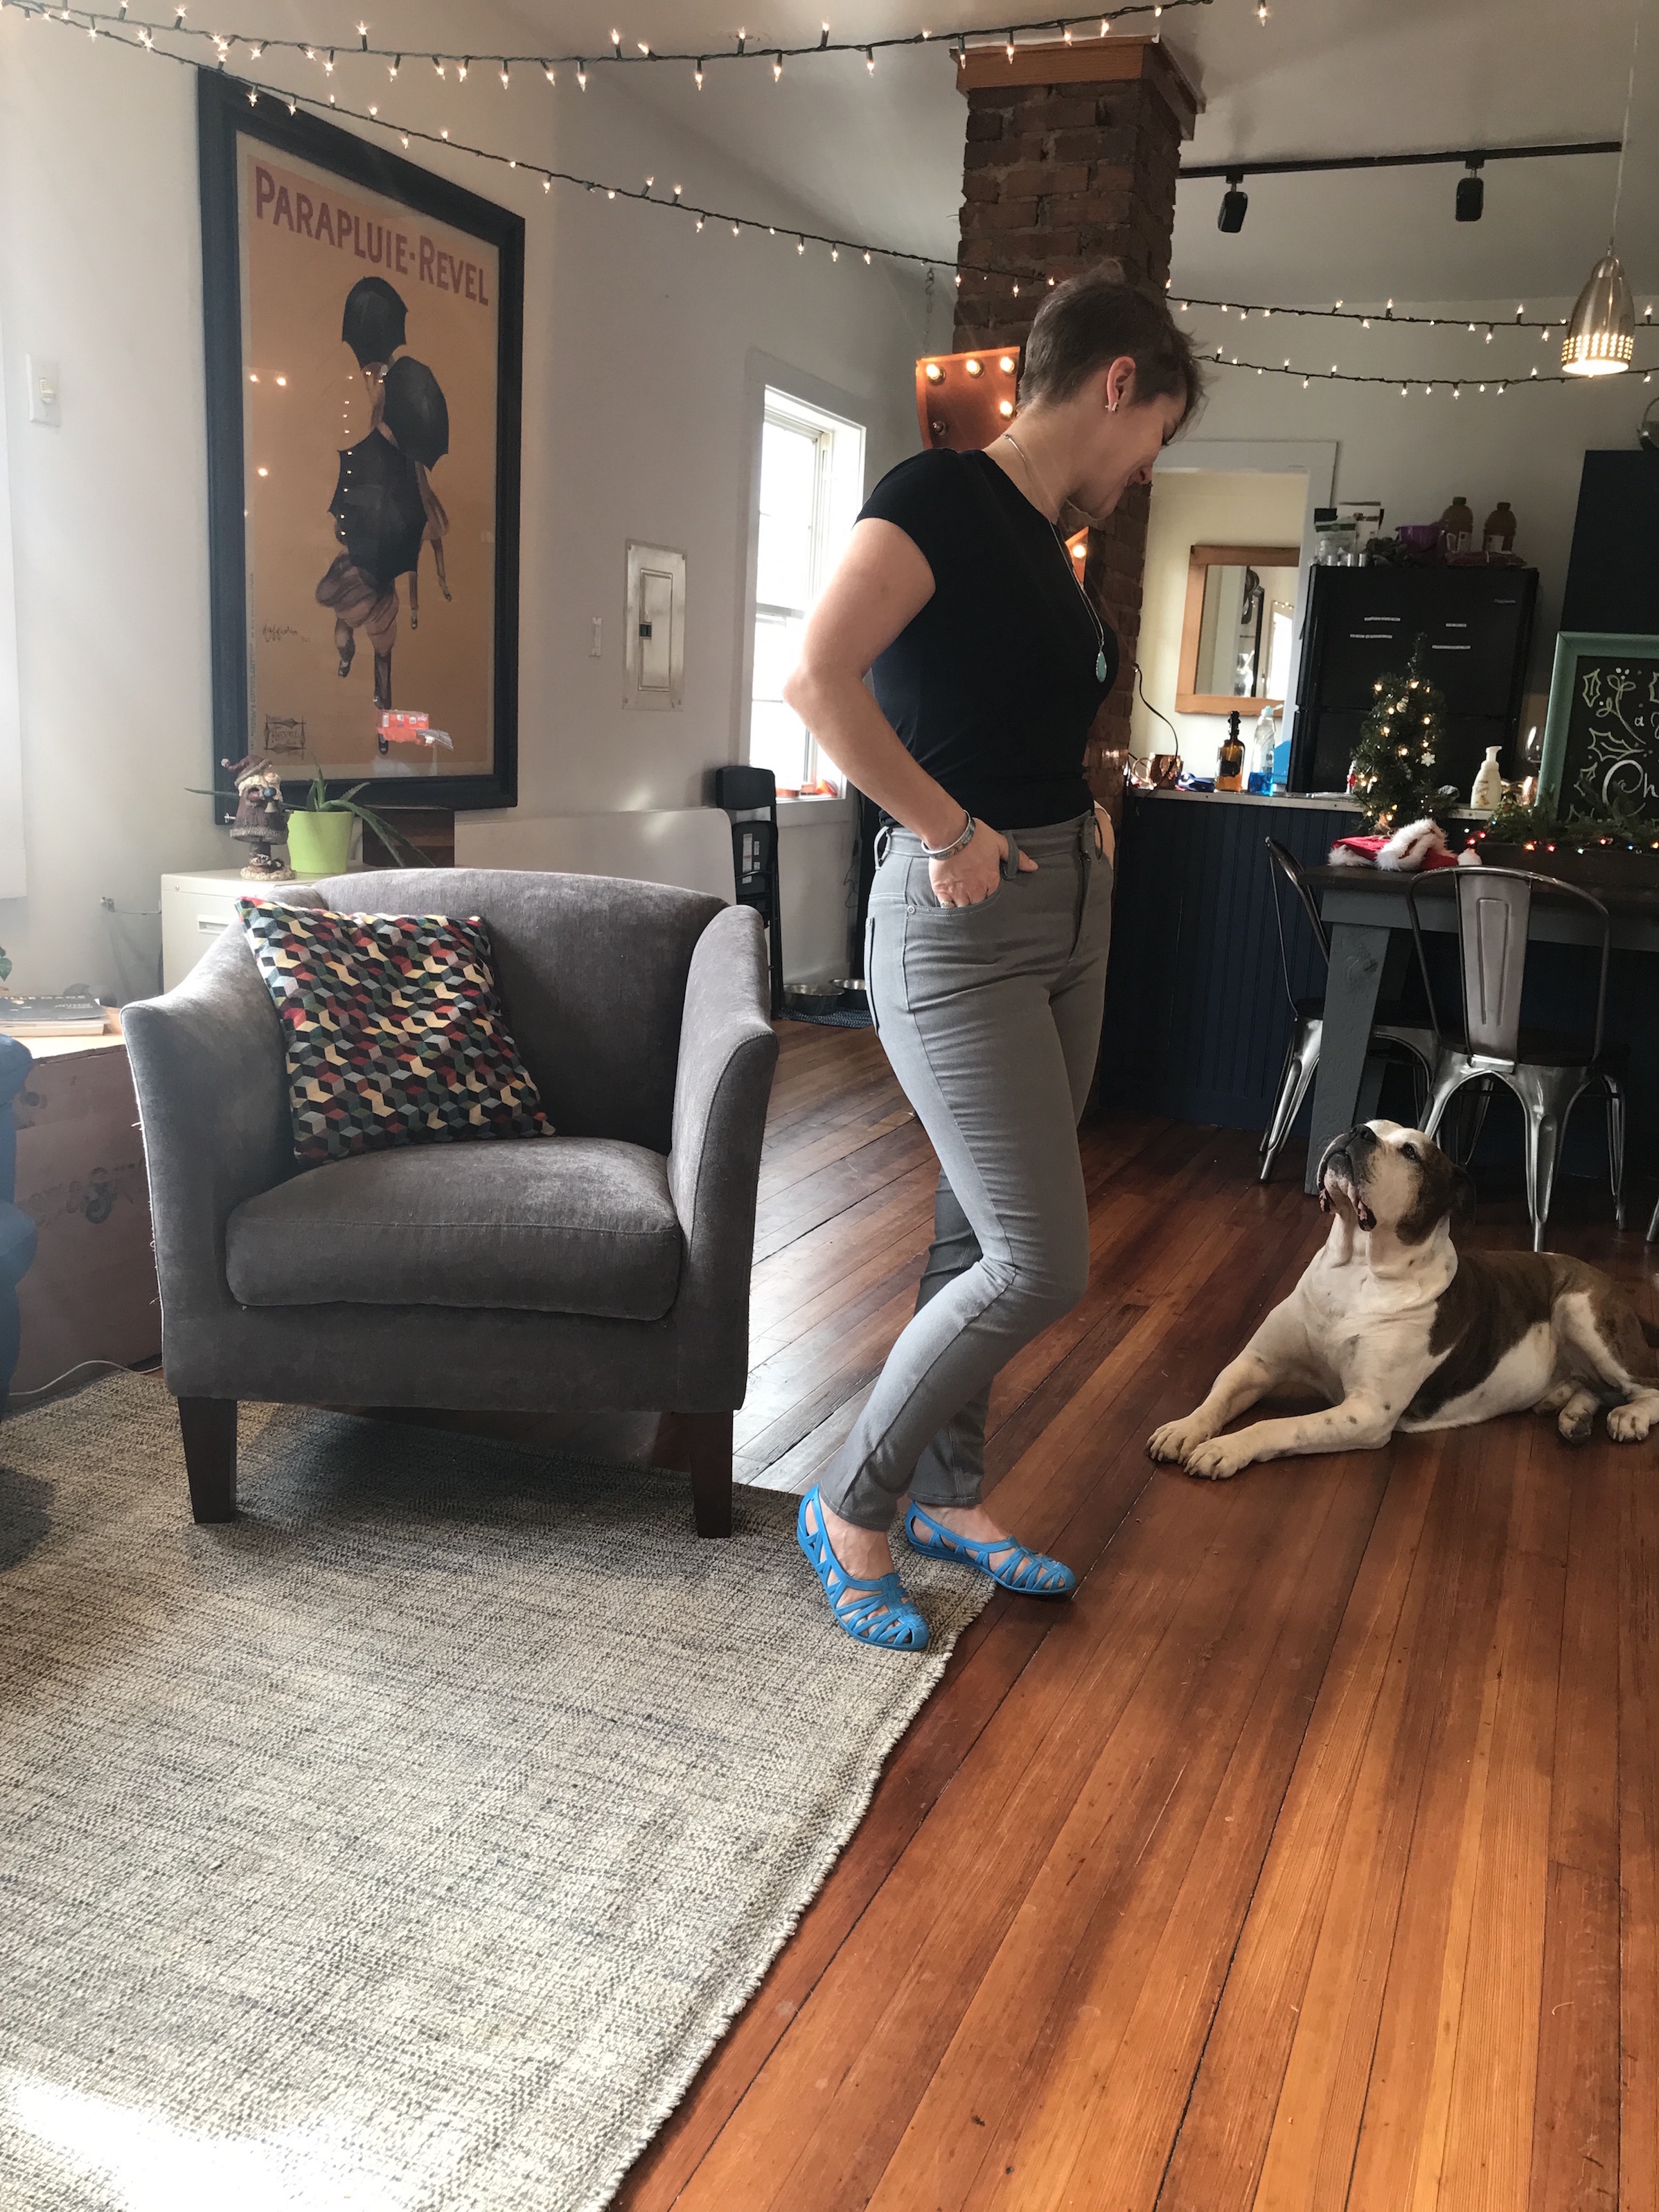
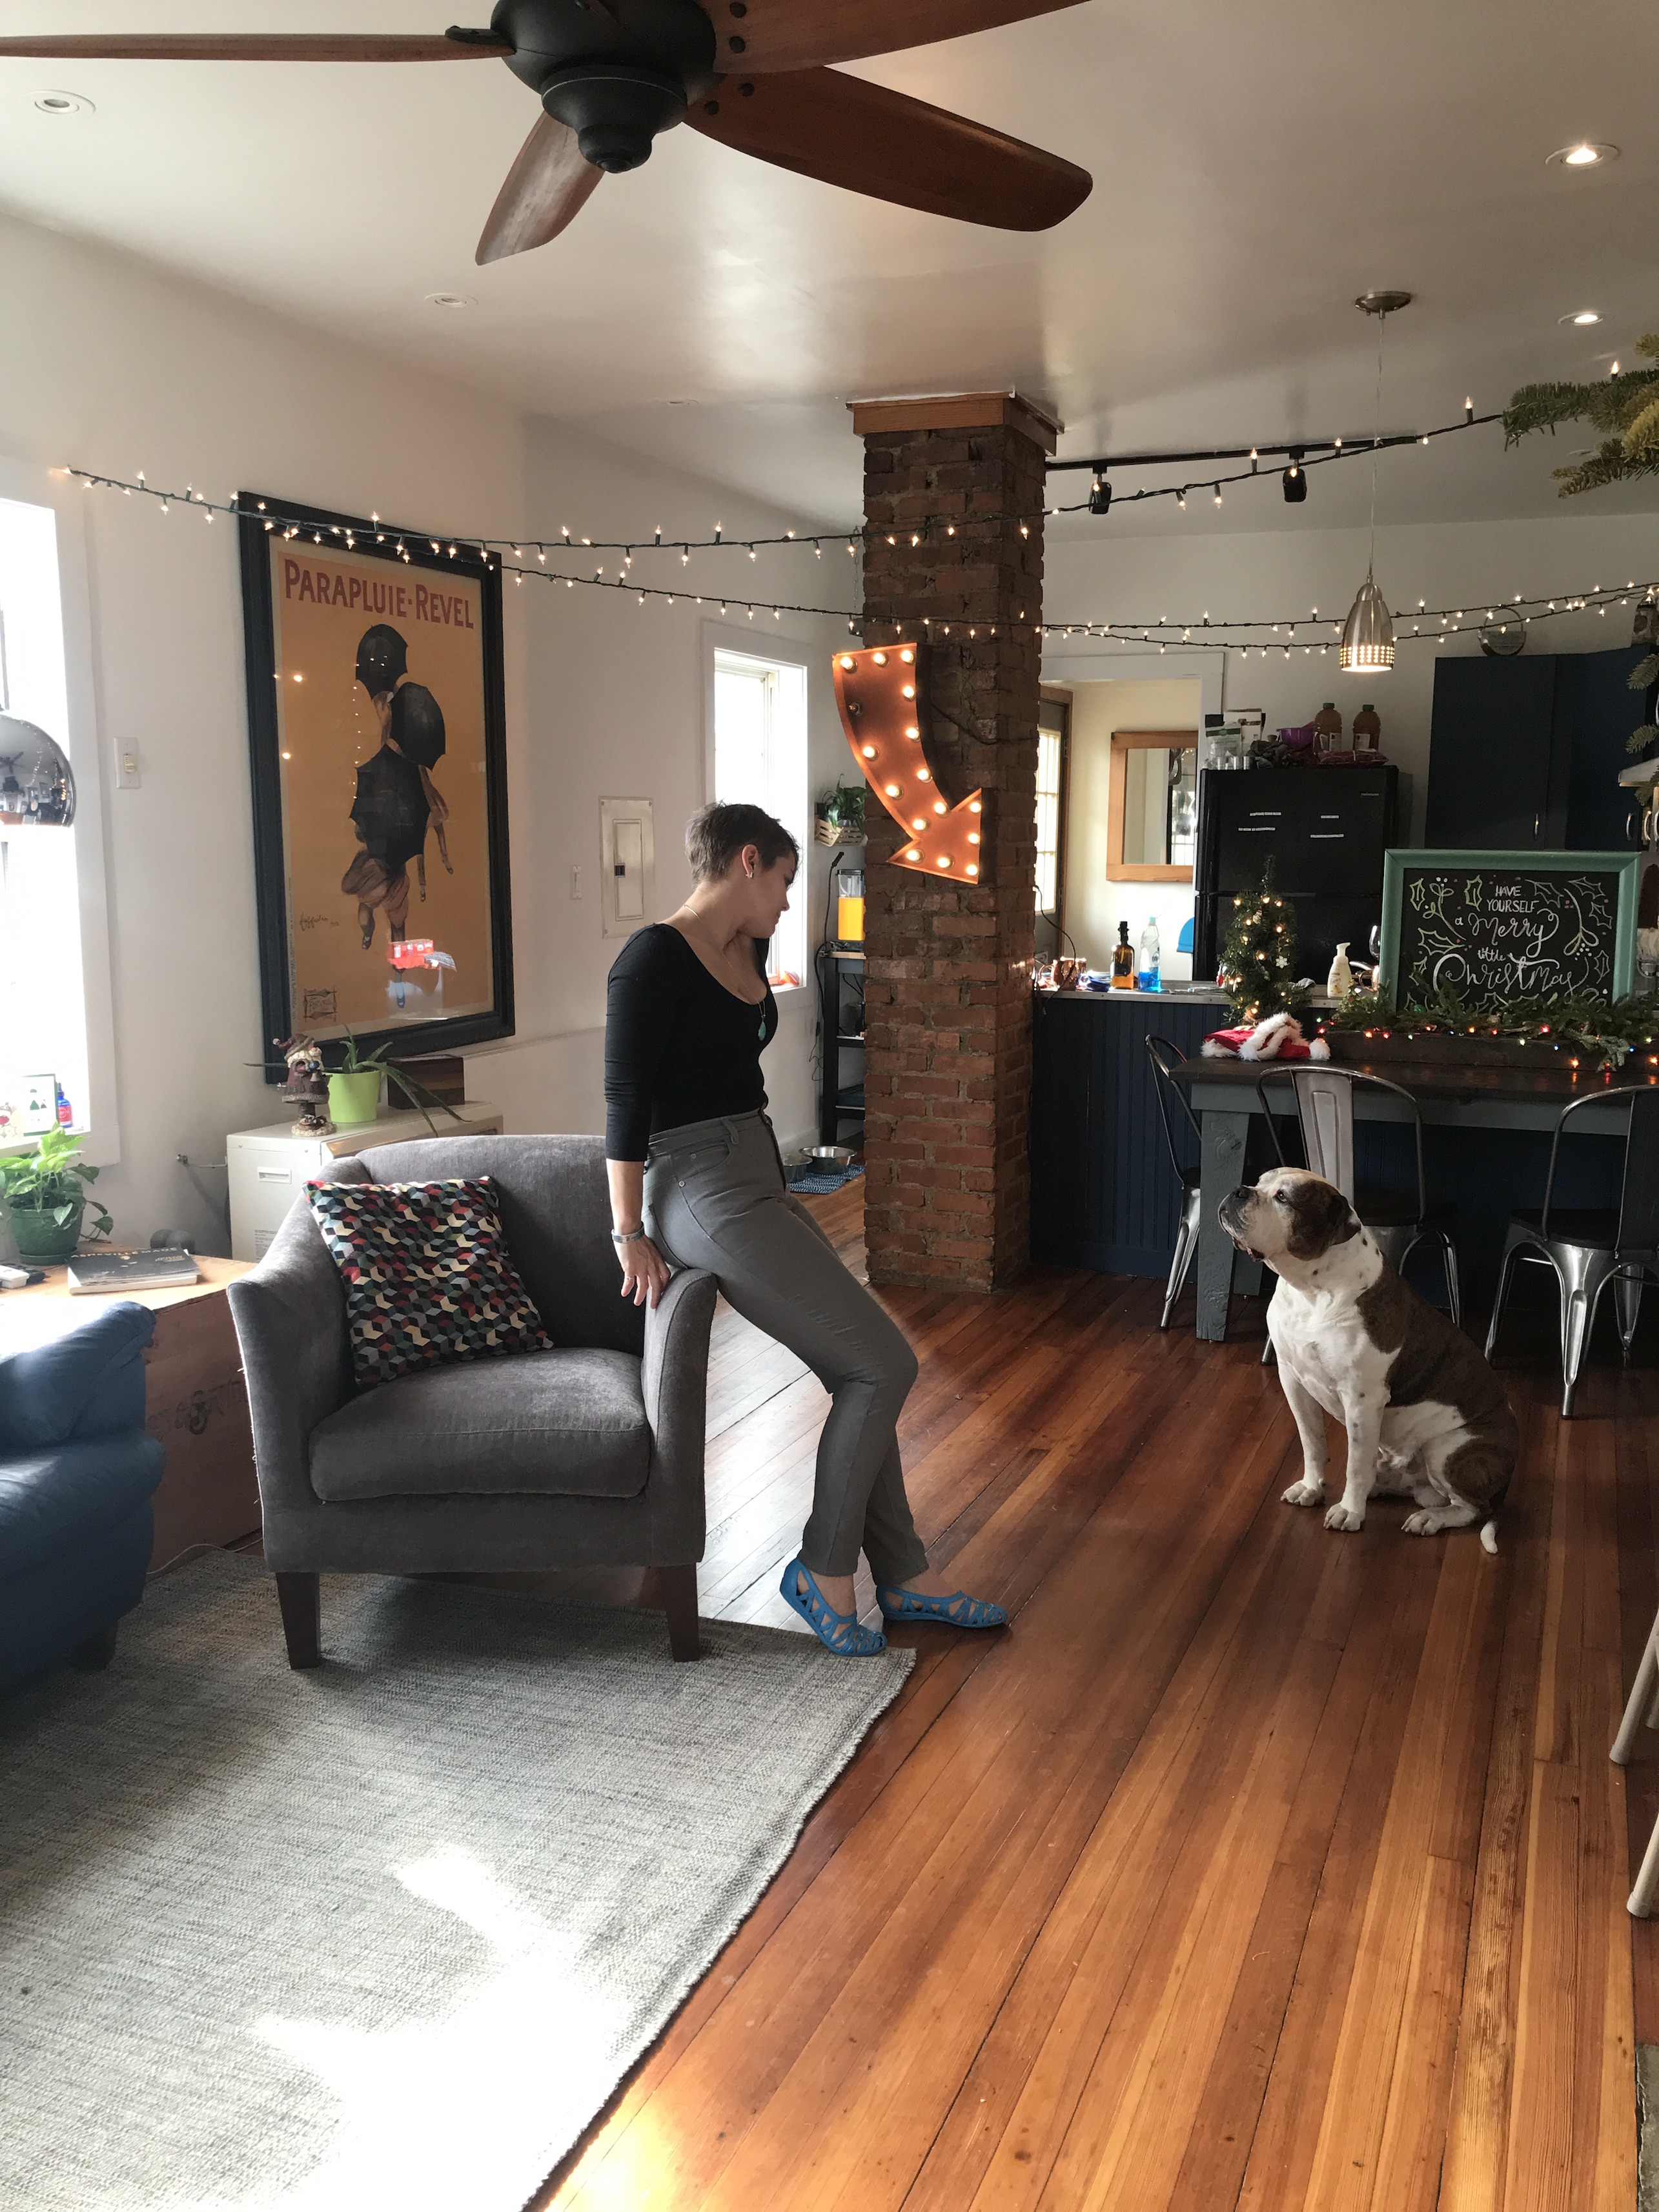 I’ve worn them so many times since making them, they’re really comfy and the best part…having jeans the right length! Seriously, my ENTIRE life I’ve had to roll up my jeans, this is the first time ever I haven’t. OH SO HAPPY.
So if you’re thinking about making jeans or have been putting it off, just go for it. It is oh so satisfying.

Until next time!
![]()
xxx
Super Blogpost!
Interessante Anpassungen.
Danke für den ausführlichen Bericht 🙂
Danke vielmals Tina 🙂