Hey hey!
Public Service Announcement – this is a long one so get a drink and get comfy!
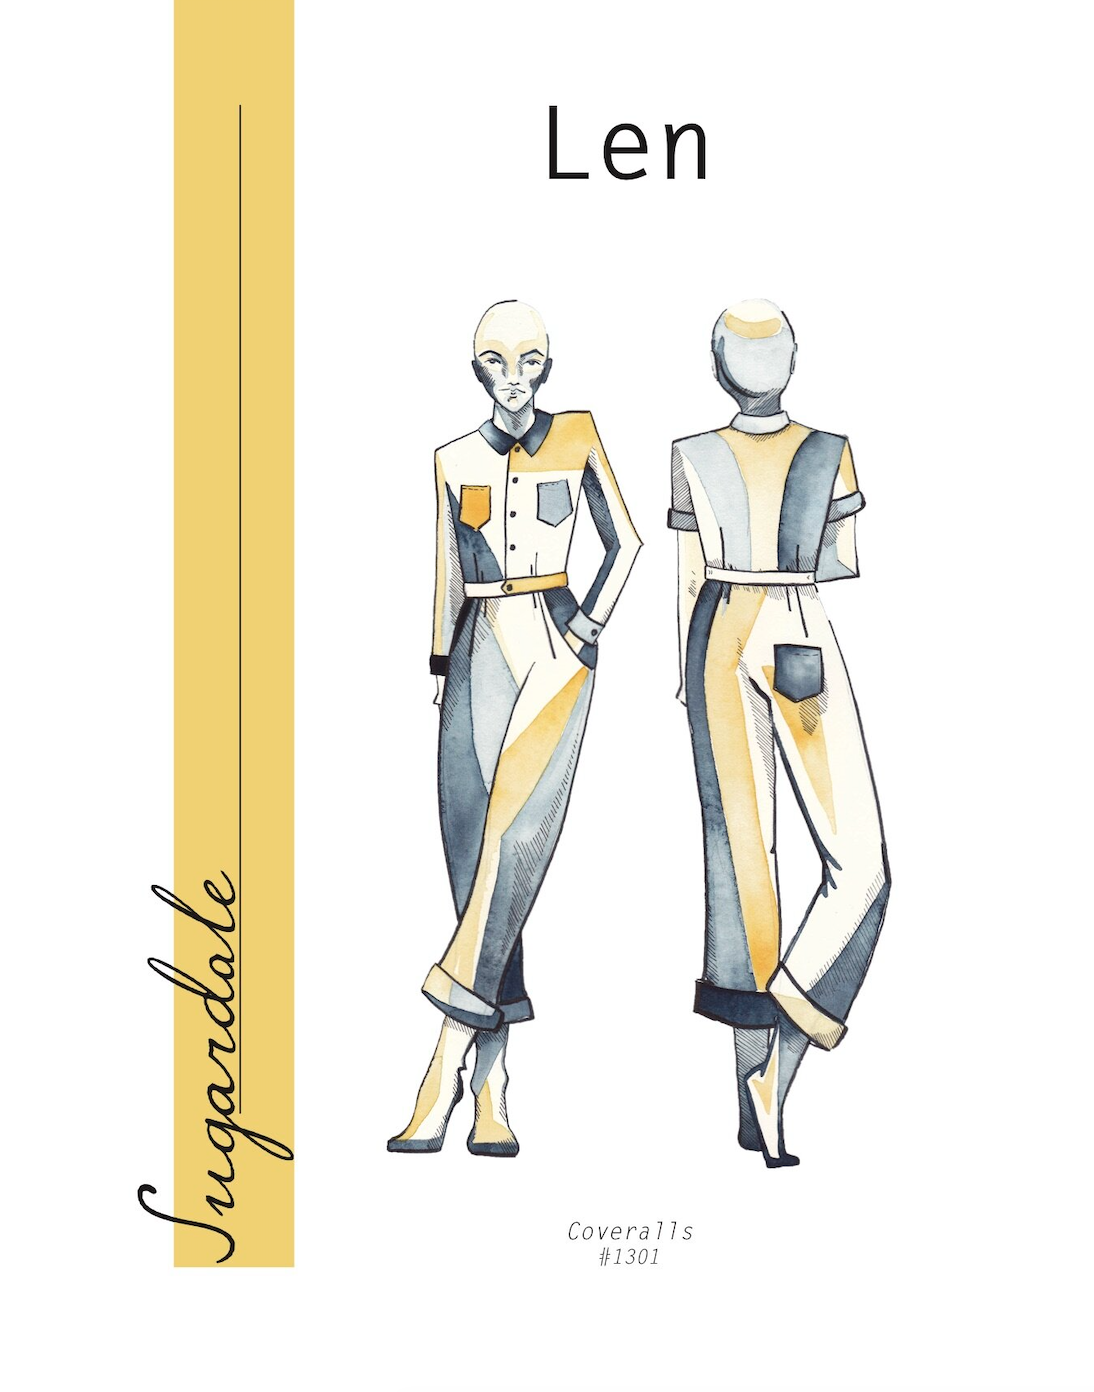
As soon as Sugardale Patterns released the Kickstarter campaign to bring their patterns to a reality I KNEW I would make the Len Coveralls. The pattern was everything I wanted – modern yet vintage, tom boy yet somehow feminine too – it felt like me in a pattern honestly.
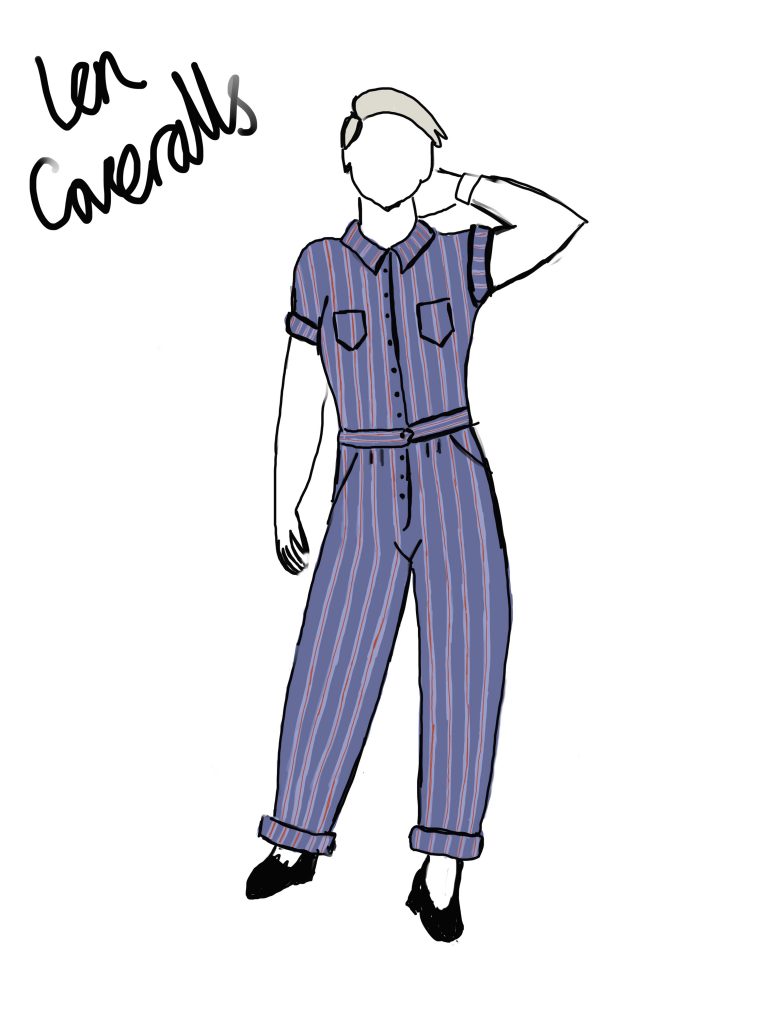
 Somehow though they seemed to constantly get pushed back in my sewing queue despite having found the perfect fabric back in June of last year and having drawn it out on my croquis!
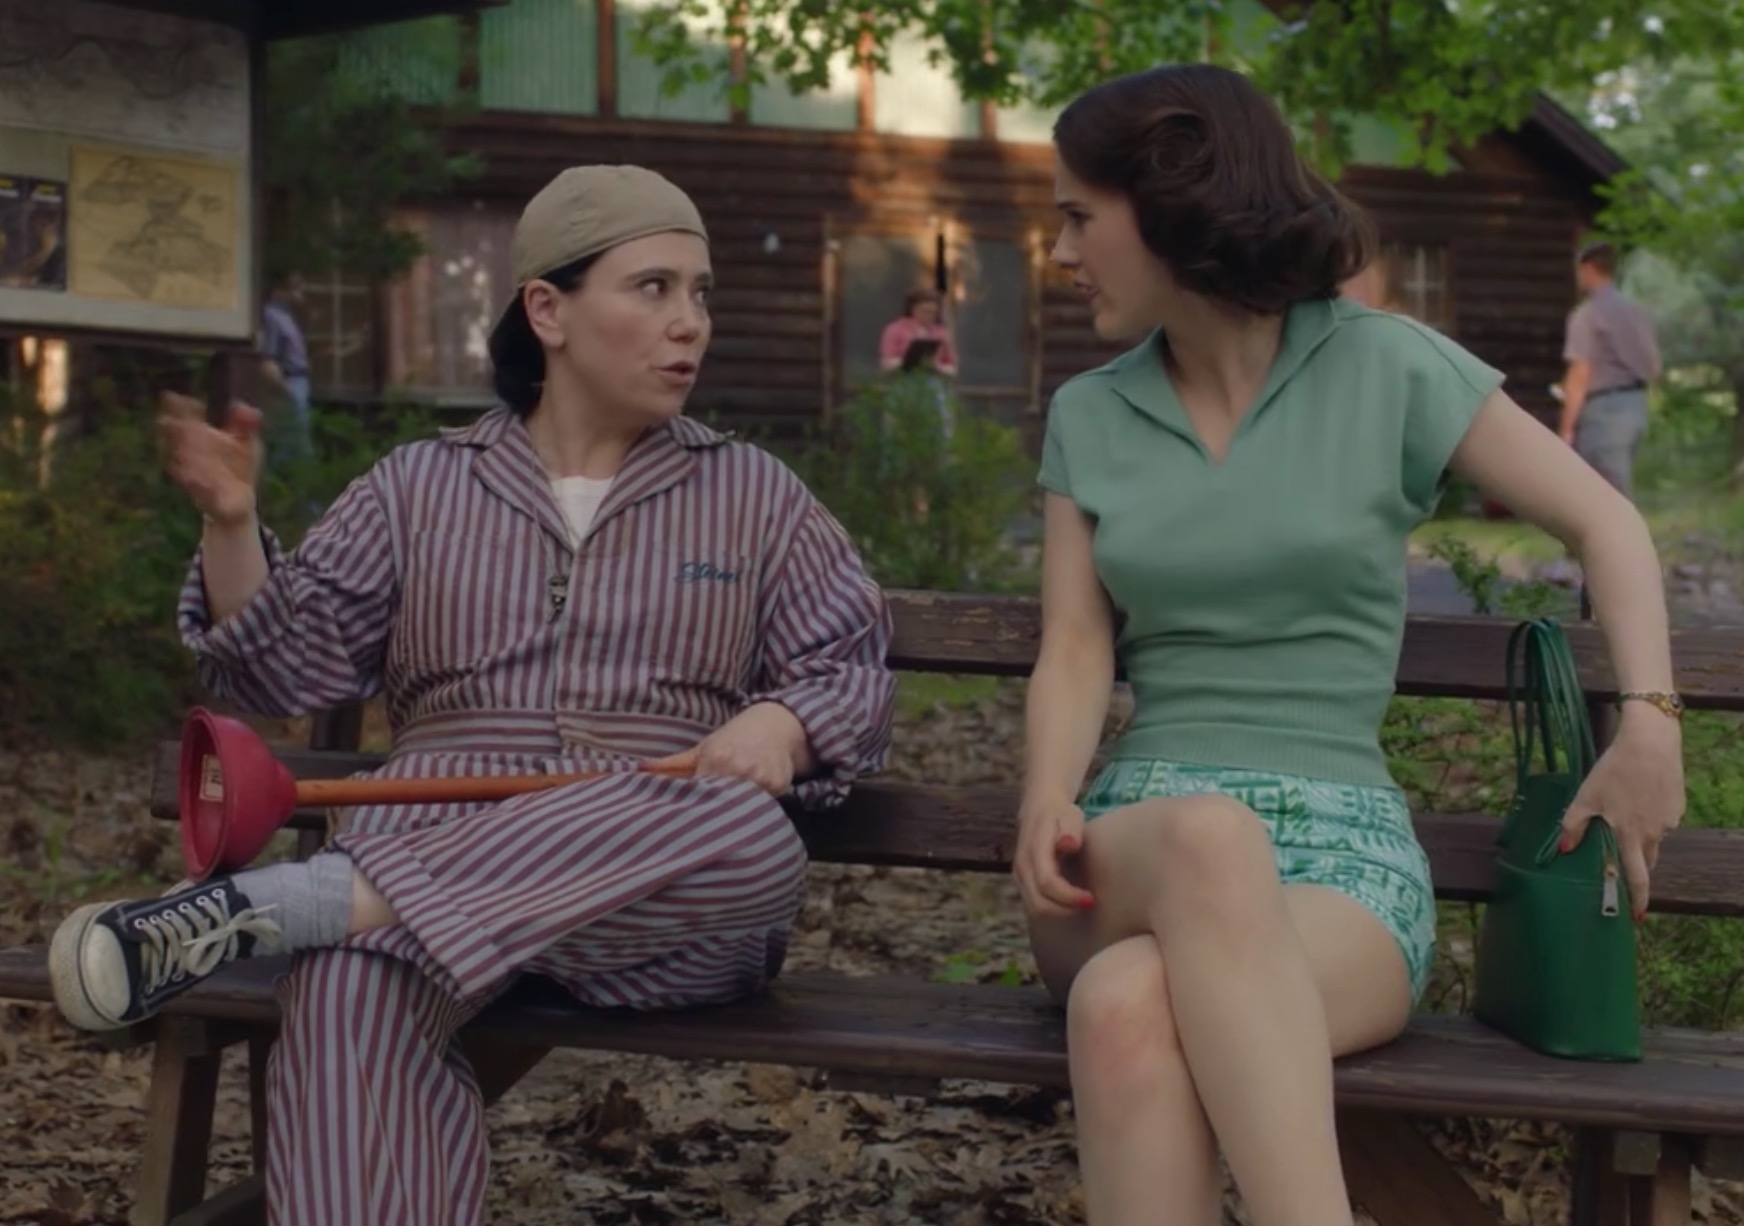
If I’m being honest, I think I was afraid to try. Not because of any sewing technique – I’ve always been one to jump in at the deep end – but with the fit. I am still learning to fit my bodice, every pattern seems to bring new issues and challenges, plus the only bottoms I’ve made were tight jeans, no woven trousers, so putting them together seemed a little daunting. Suddenly though it was time to host the #madelikemaisel competition and there I was watching season 2 again and Susie pops up in stripey coveralls and I knew the time had come!
Okay, so I decided to start, but what the hell size do I choose?? I knew from experience that my bust measurement never puts me in the right size for a bodice but the Len is drafted for a C cup rather than a B (I’m a D) so I wasn’t sure what to expect. My bust, waist and hips put me in a straight size 8 so decided to just go for it as a starting point.
Let the toiling begin!
oh, side note, inspired by @minimalistmachinist I decided people might find video documenting this process helpful so while I was making the toiles, I did fit videos and have saved them to my Instagram highlights under “Len”.
Firstly I sewed up the trousers and honestly, they seemed to fit pretty well as they were (ITS A MIRACLE) so I decided to focus on the bodice.
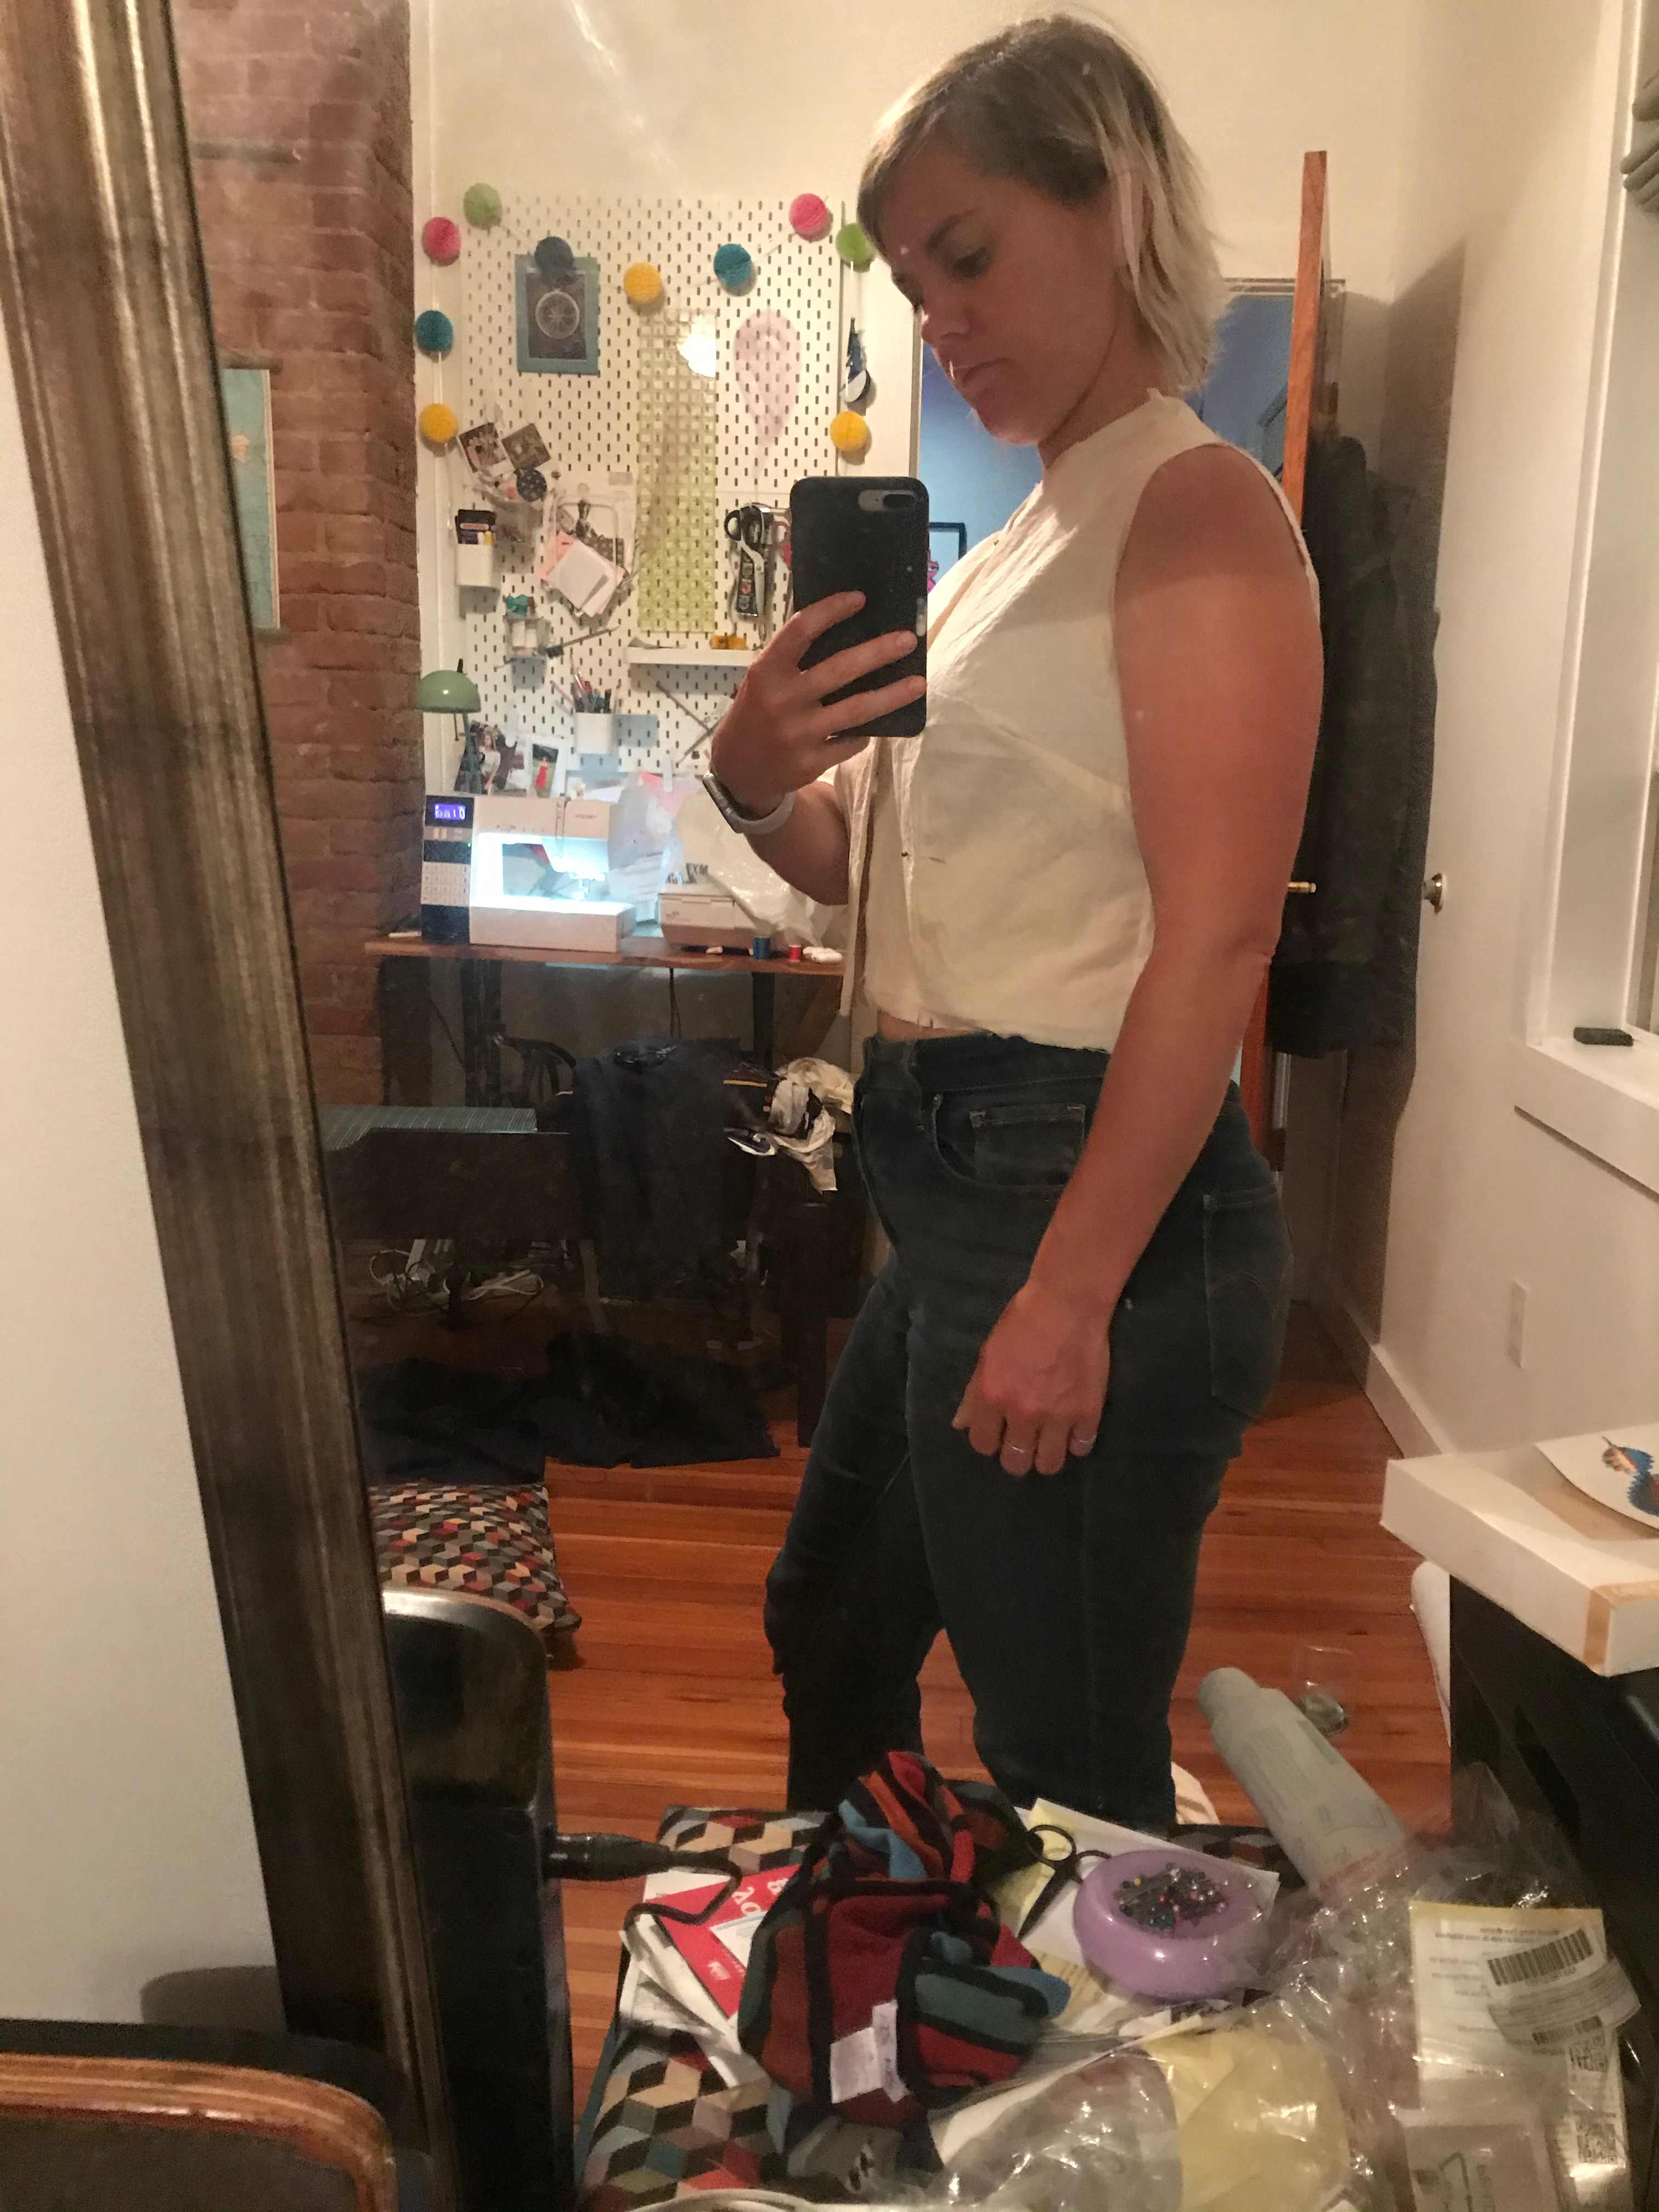
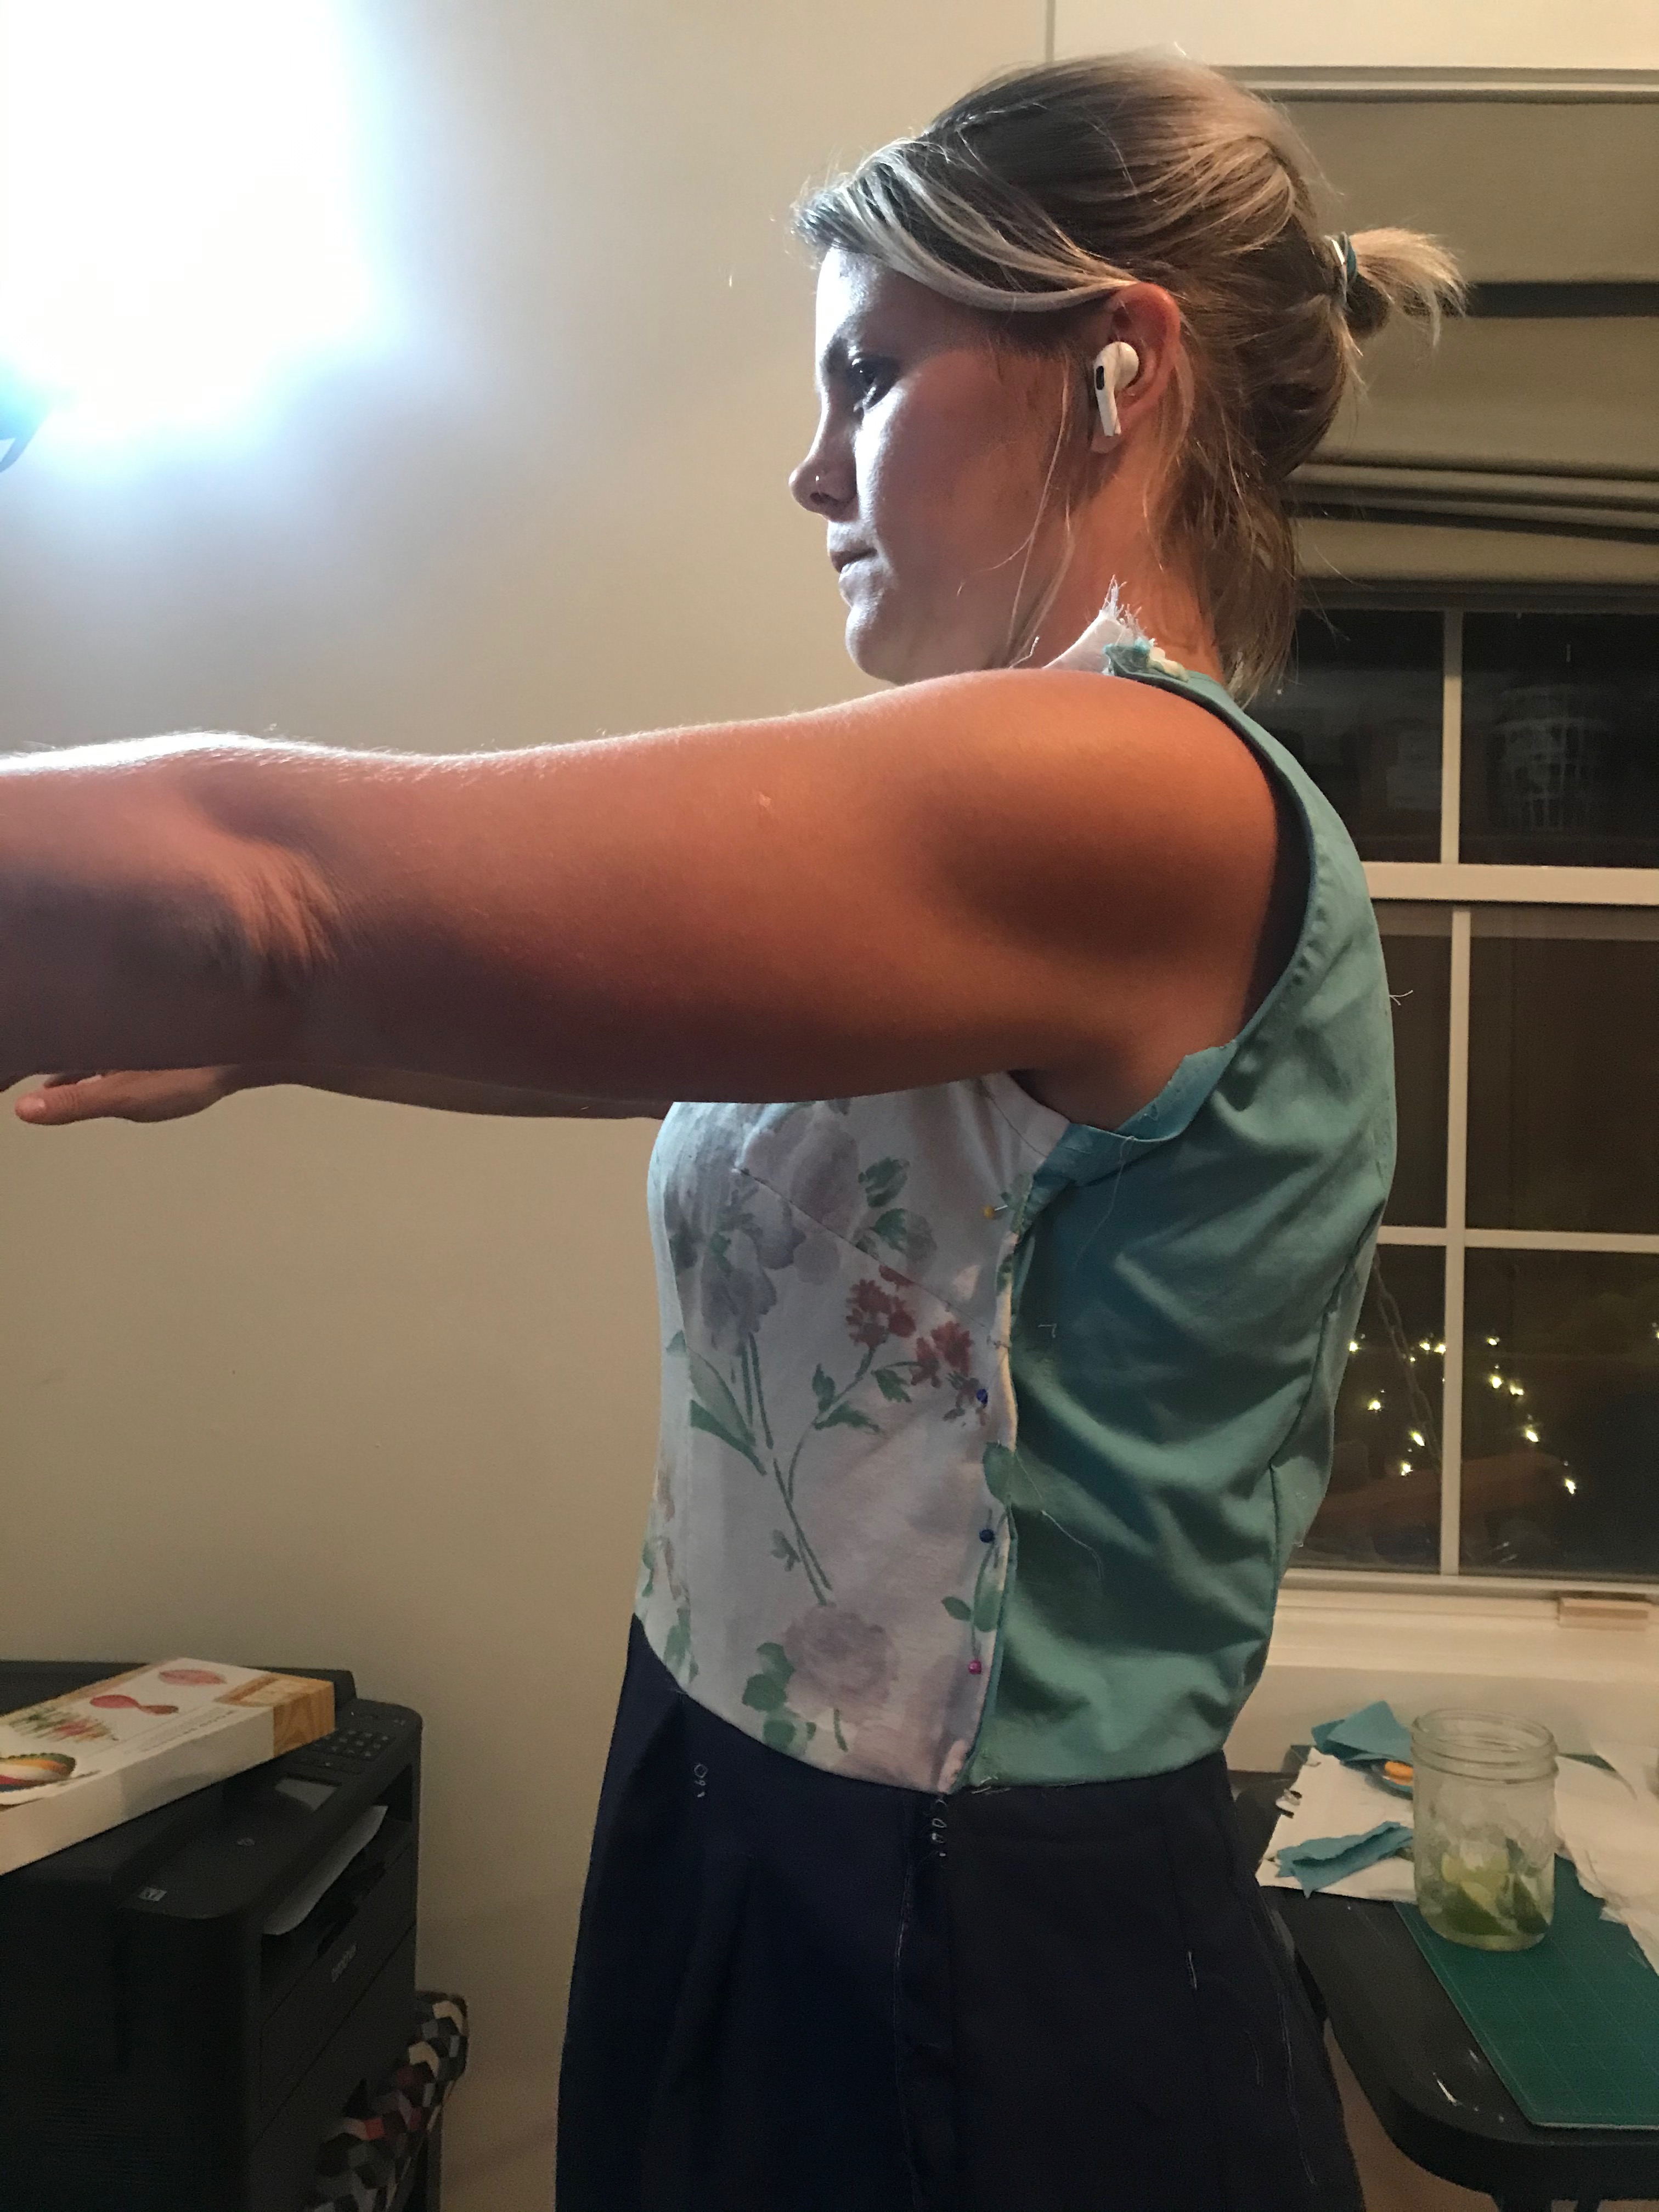
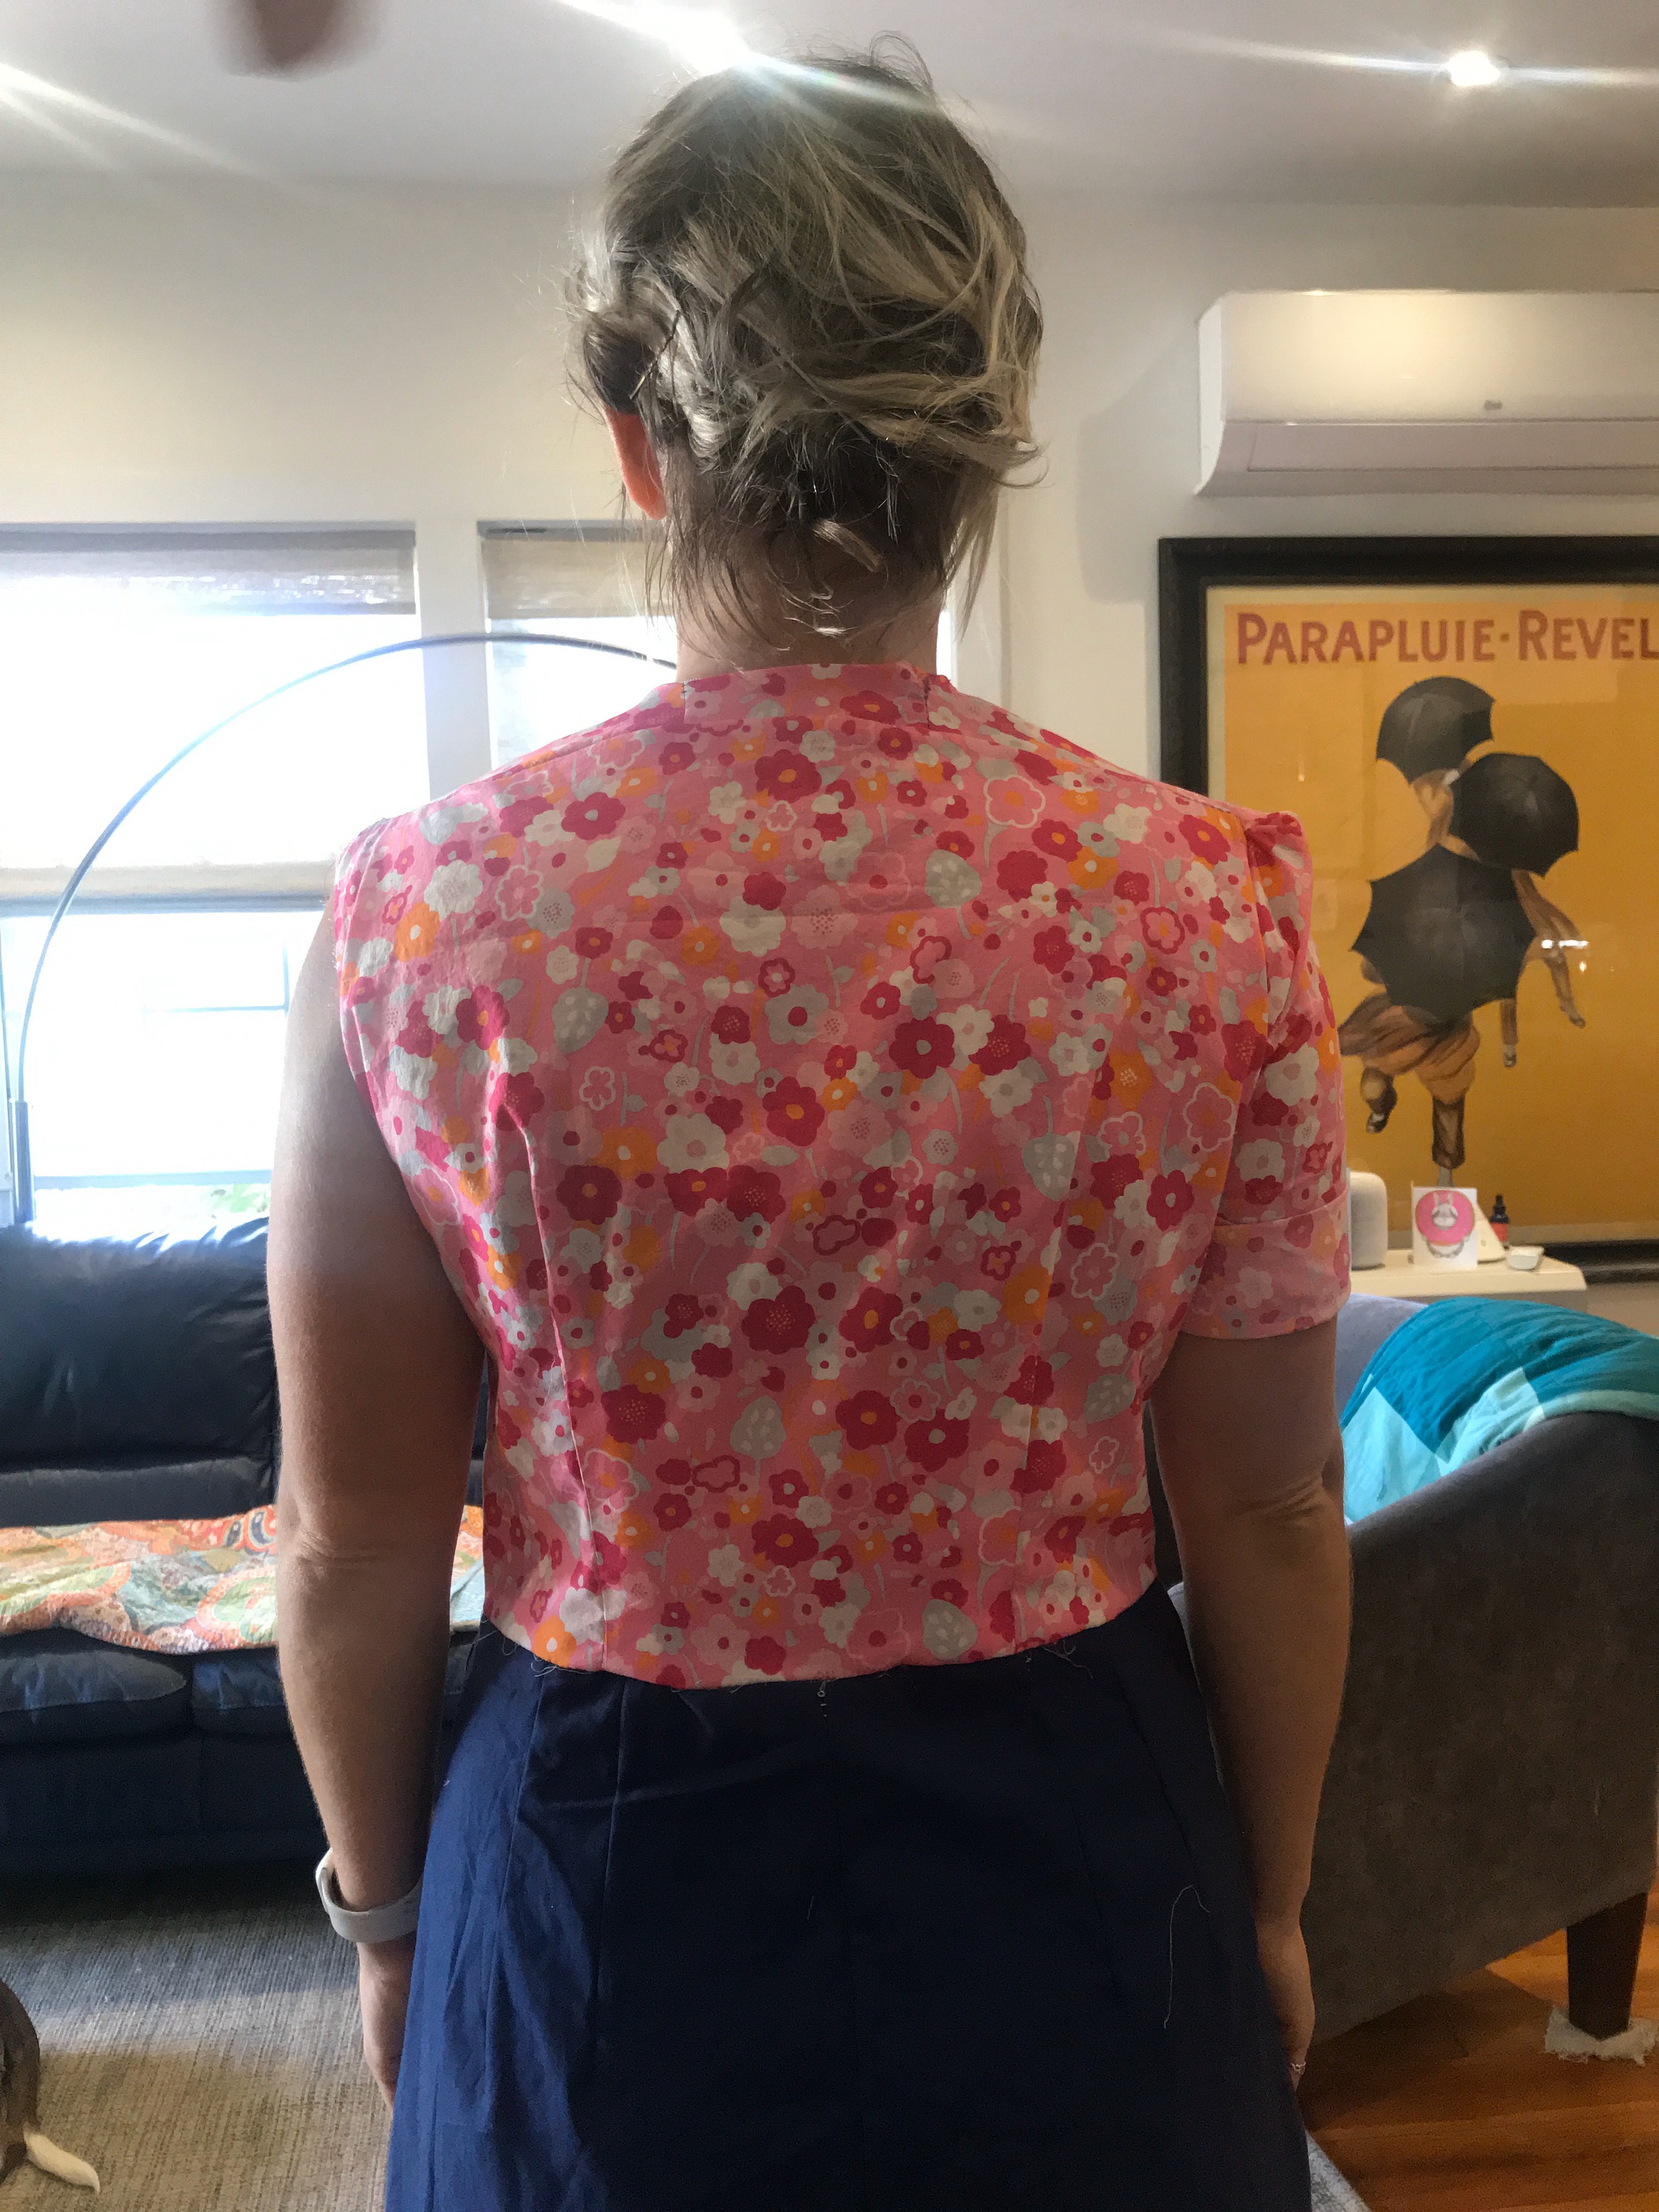
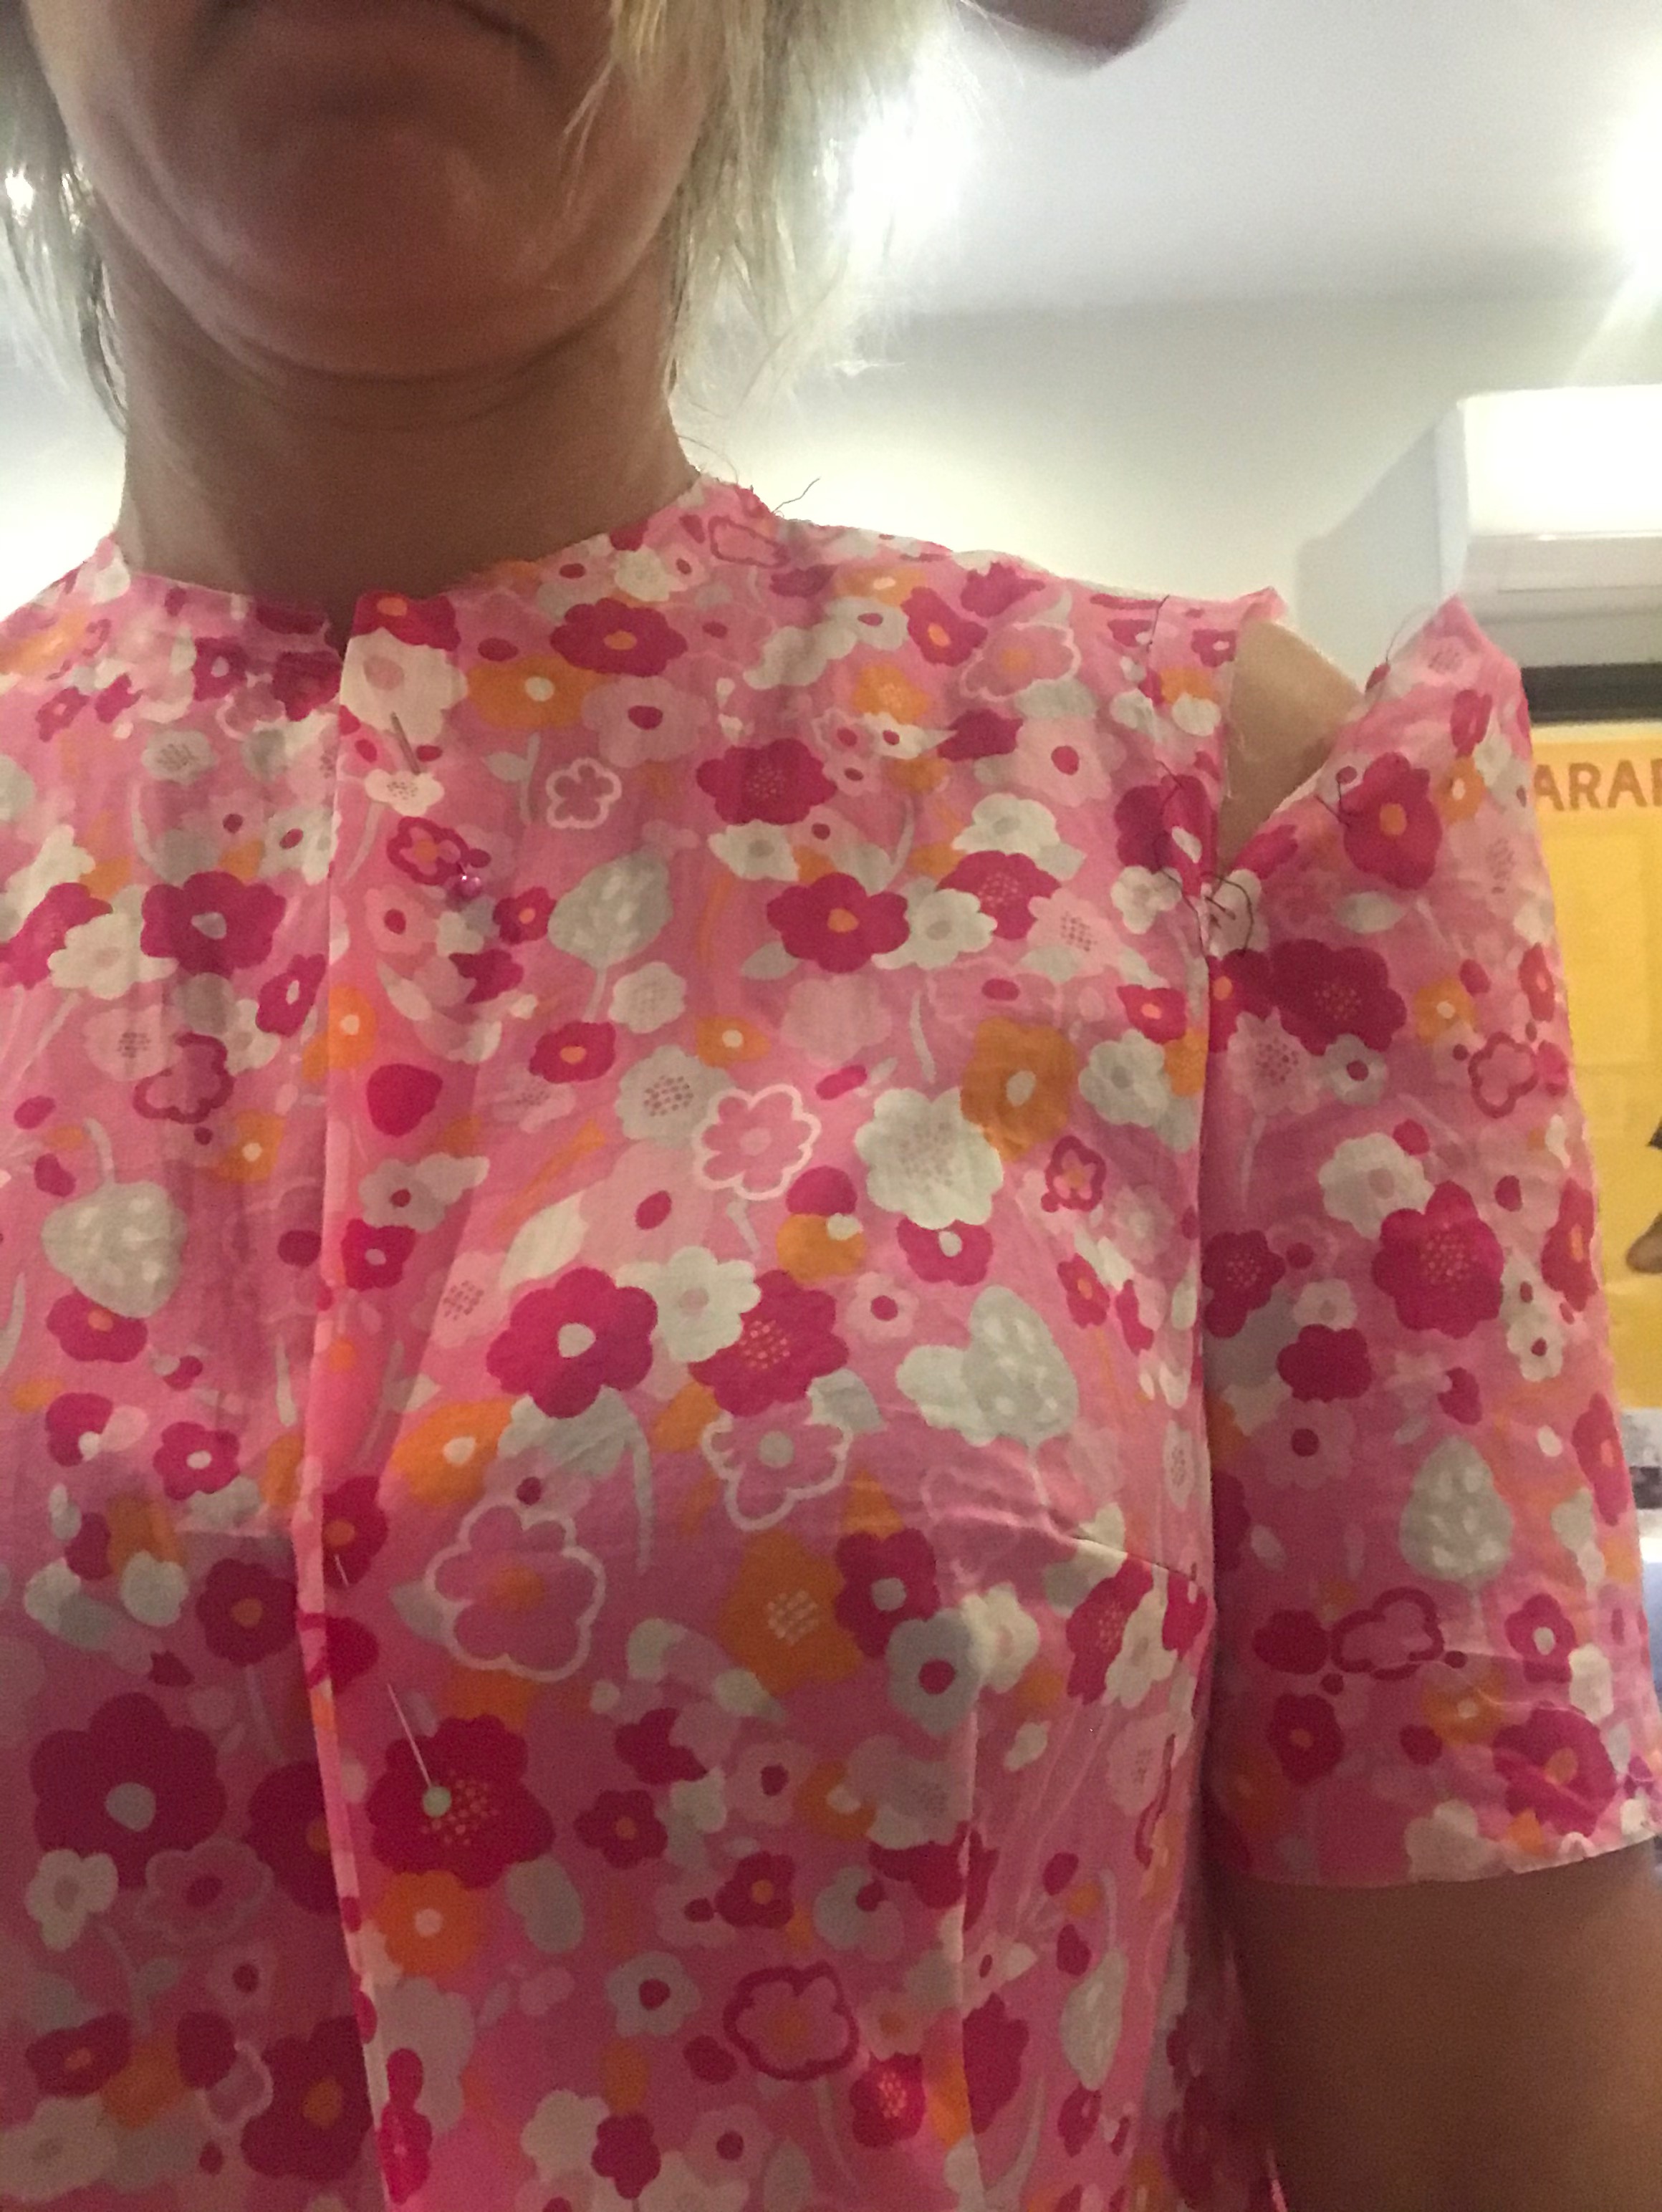
The size 8 fit in the waist but under the arms I could pinch out over an inch on either side grading to nothing at the waist, there was gaping in the armhole in the front, the shoulders were really wide, the bust darts were way too low and the waist darts way to far apart. The upper back was definitely too wide and the neckline did the thing it often does on me where it “peaks out” (i.e stands away from the neck, indicating how wide it is.) It just really didn’t fit so I decided to size down and do an FBA instead (my usual approach)
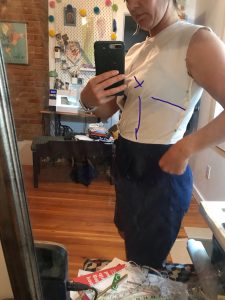

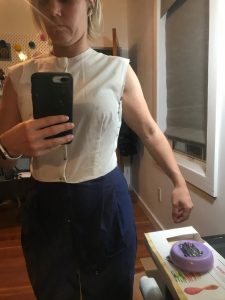
I changed to 2 which was my high bust measurement and did the Nancy Ziemann FBA method (pivot rather than slash). I raised and shortened the bust darts and moved the waist darts inwards towards center front and shortened those too, but then graded out to 8 at waist as that fit great.
This worked well but I went a little too high with the bust dart and seemed to need more intake at the waist darts as like my bodice to fit relatively closely but how to do that without taking in waist??. I also needed to narrow the shoulders still, despite being in a smaller size. I also needed to do normal my “pinching” out of armhole. You can see details of this in my post about my Gertie 1940’s shirt.
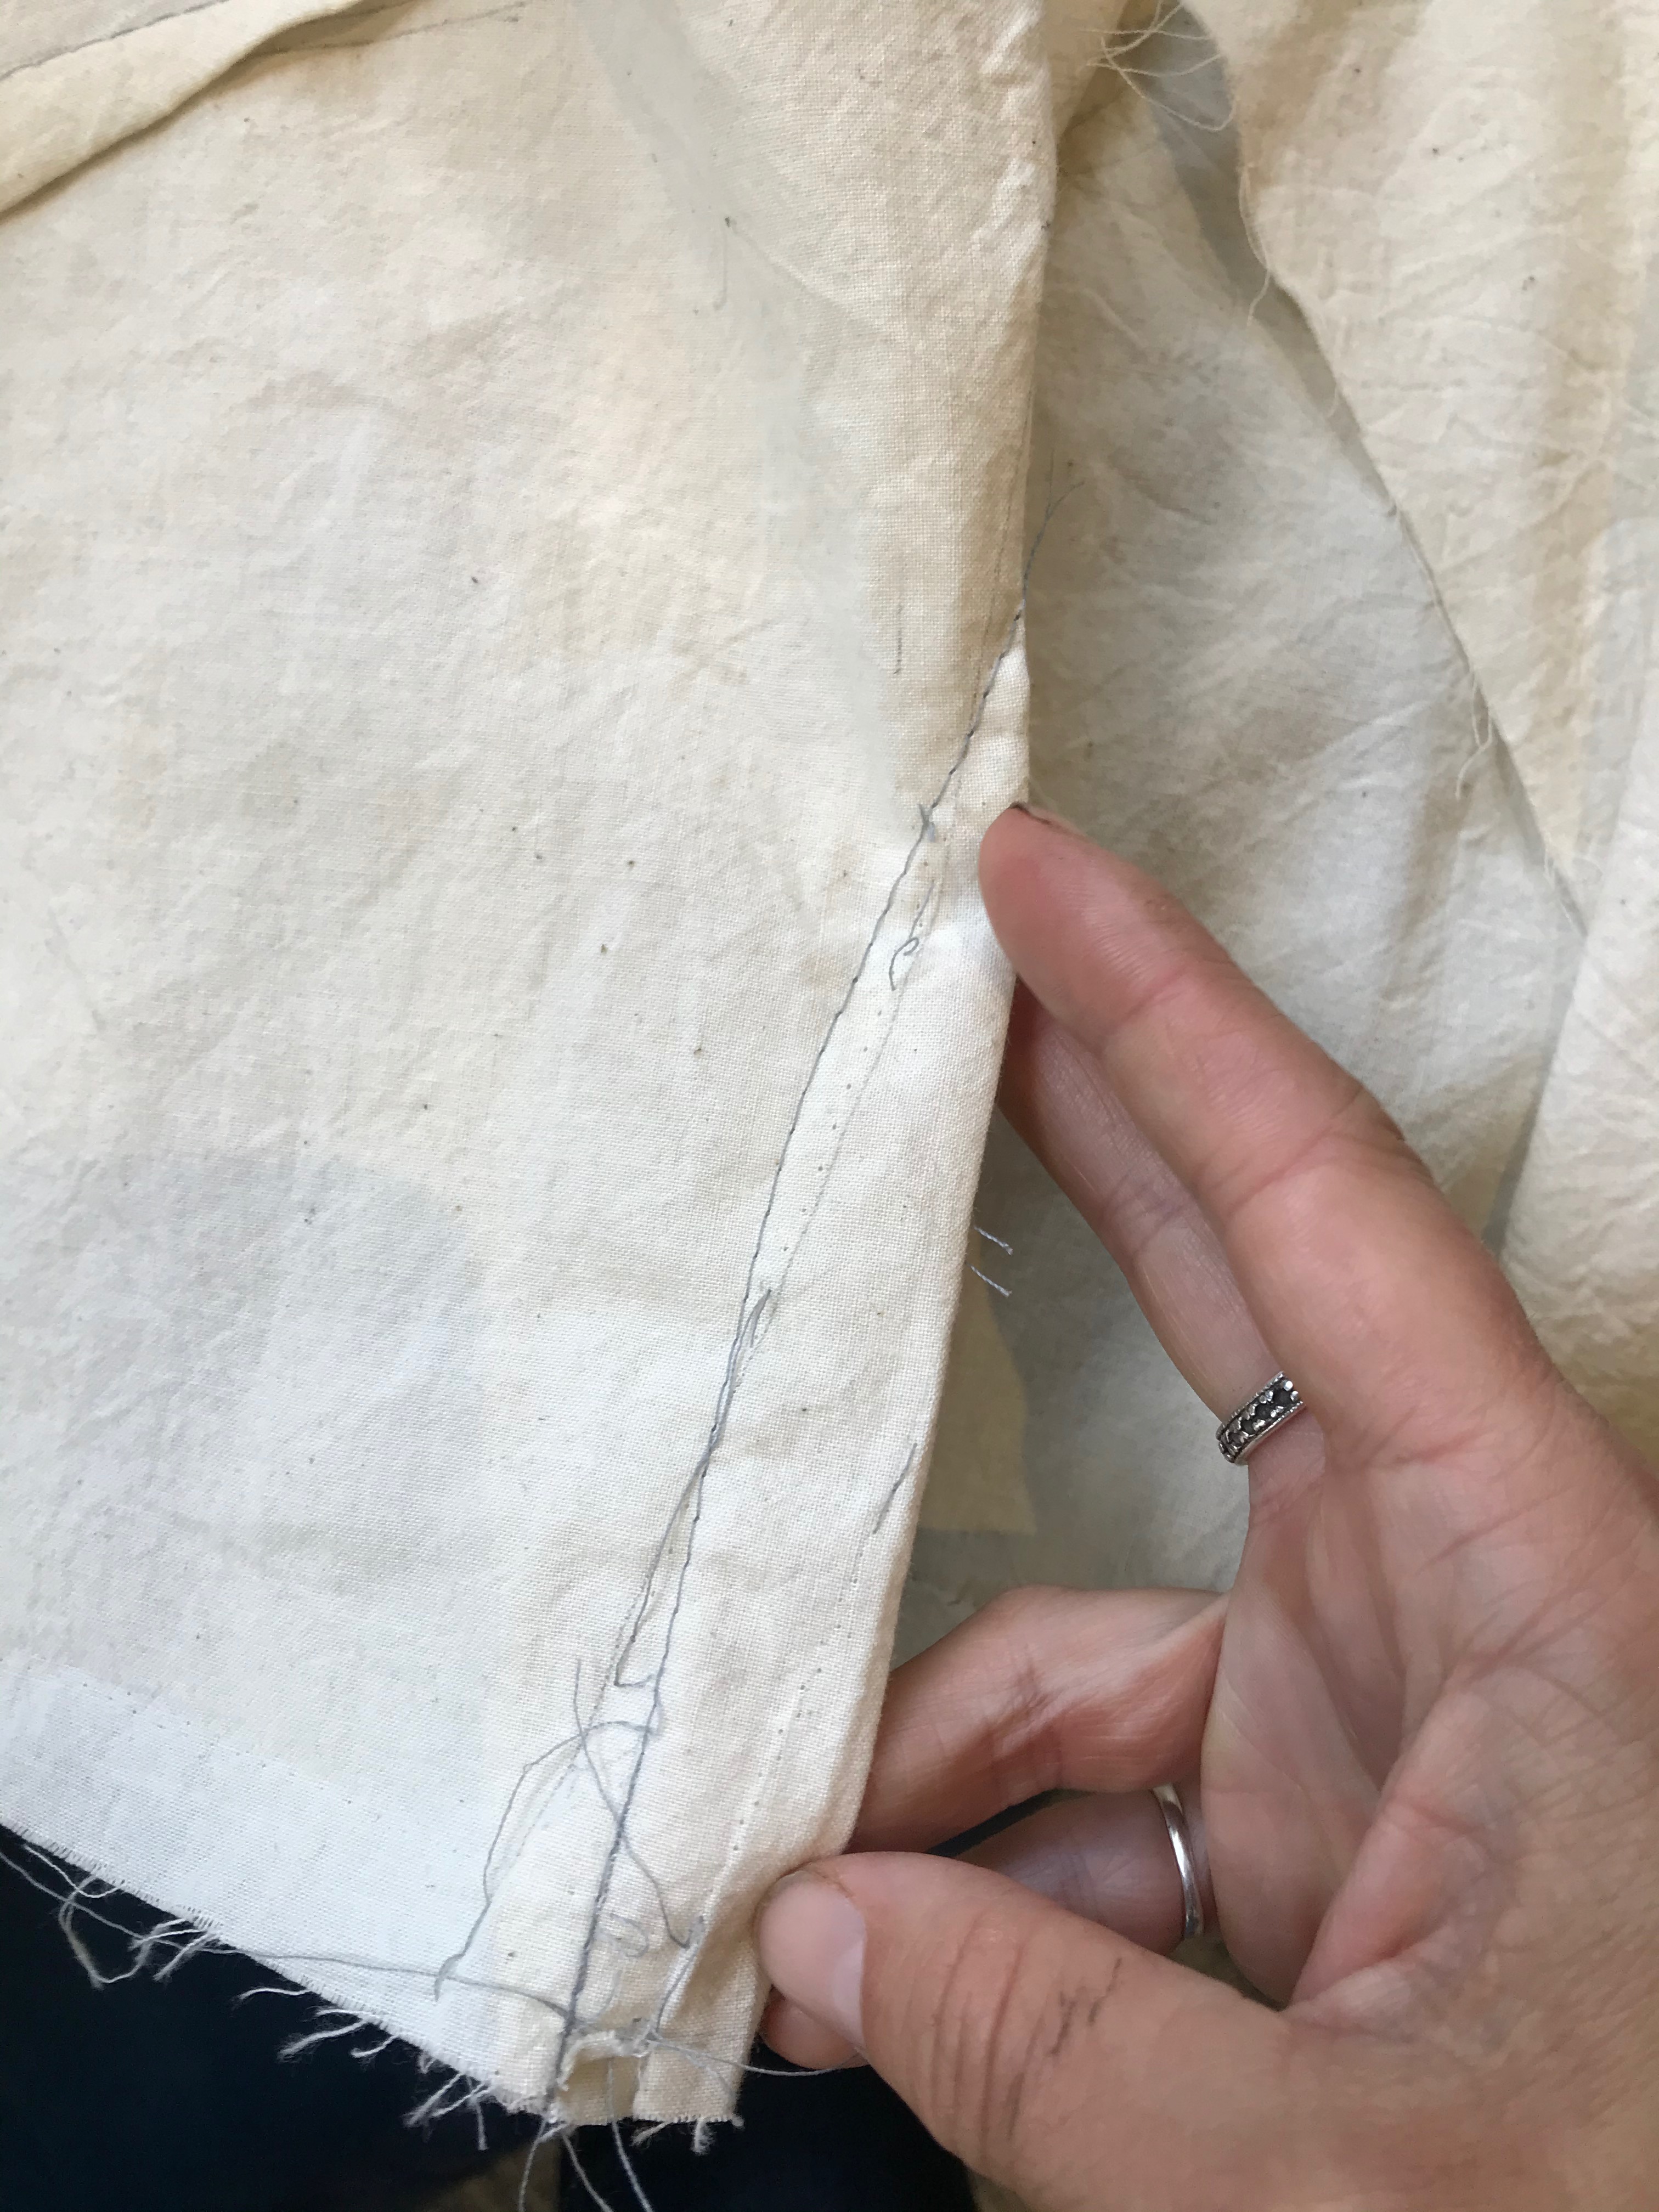
While I was happier it still wasn’t great, as well as the things mentioned above I was getting weird drag lines from waist at front to back arm hole. I added fabric to the back side seam which helped but didn’t cure the issue.
With all these things in mind and advice from a few sewists on Instagram I decided to just focus on the shoulders to see if that would affect the drag lines/armhole issue.
So yet again I cut the size 2 with FBA and instead of basic narrow shoulder adjustment I usually do (just chop off the outer shoulder) I used the method taught in By Hand London Bodice Fitting Guide which also narrows the neckline. 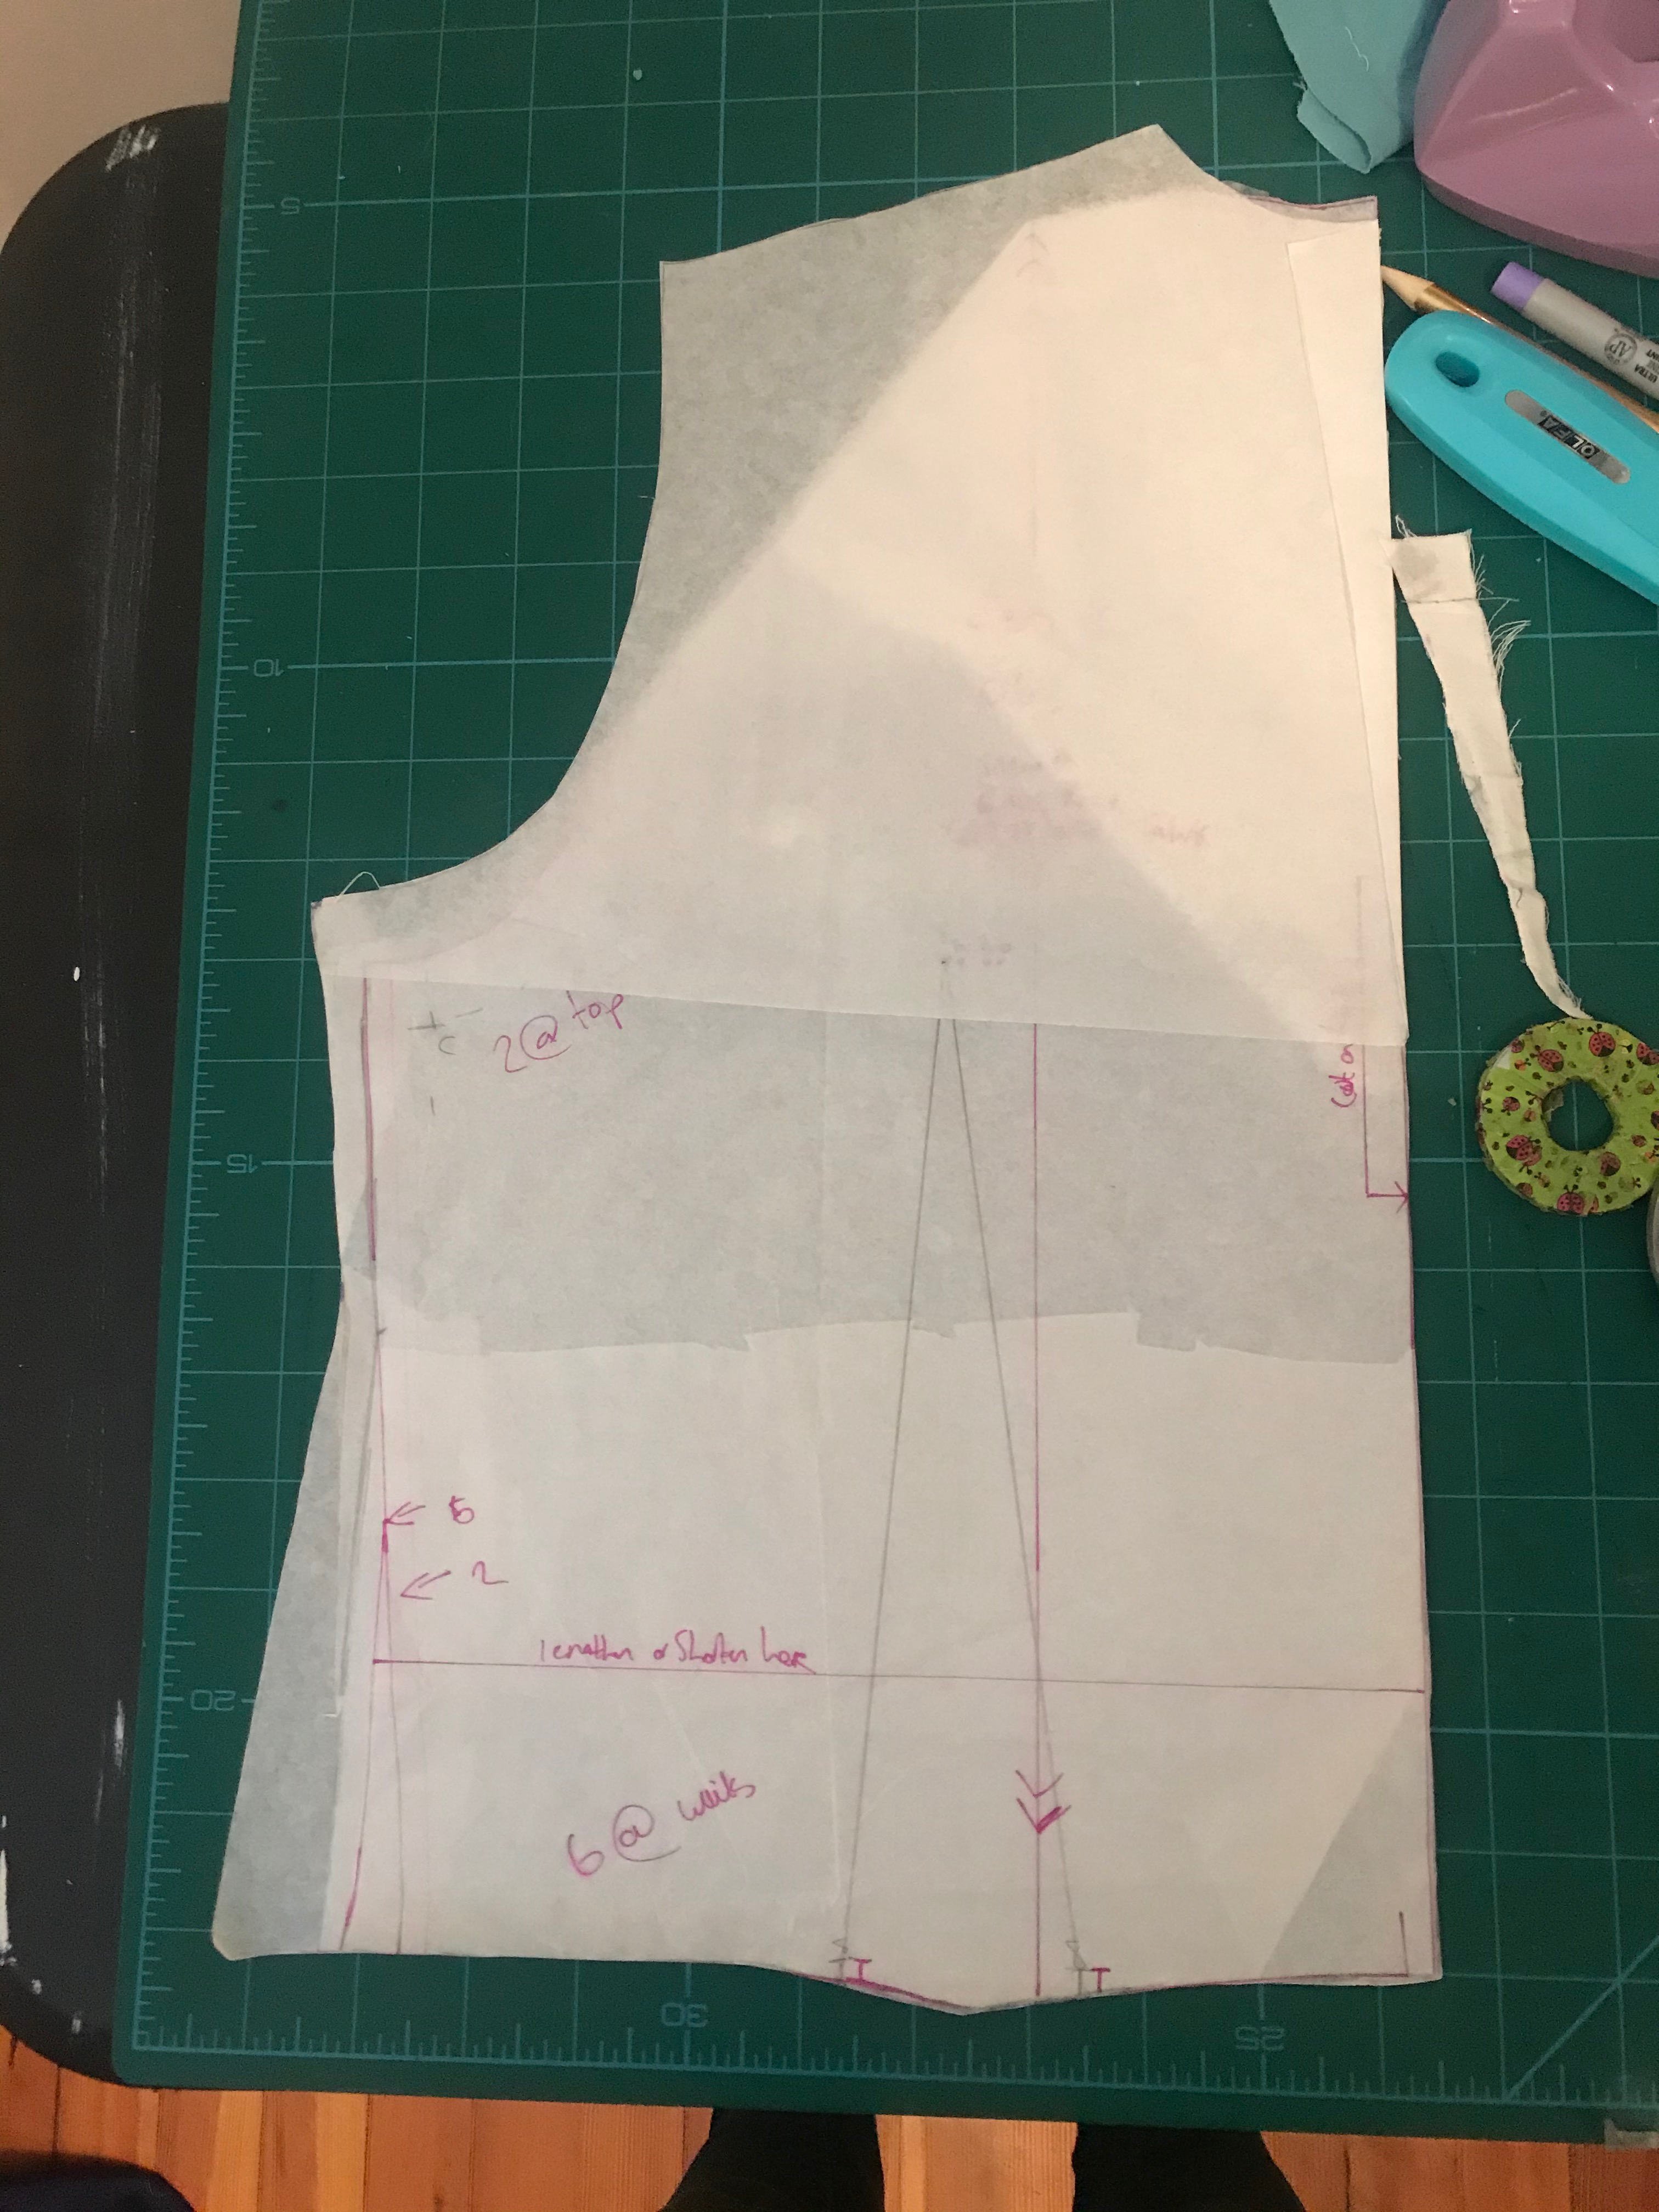
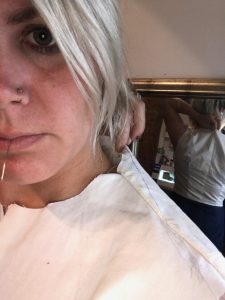
This helped a lot! I had to narrow the shoulders by 1.5″ to get them in the right place on me – crazy – no wonder it wasn’t fitting before! Not only did this sort the shoulders, the peak in the back neckline disappeared. It became a bit snug in the front but that could easily be scooped out. There was still a little excess in the armhole at the front so I pinched that out and rotated it into the bust dart on my paper pattern. I also pinched in the side seam slightly under the armpit as it was a big gapey there.
 With the shoulders good I focused on the darts. I put the bust dart slightly lower so it was inline with my apex. For the waist darts, I put them back where they were originally but rounded the sides to bring the bodice in under the bust but which left waist the same width as that fitted well. I found the idea of rounded darts in this Threads article.
Here’s the general idea though:

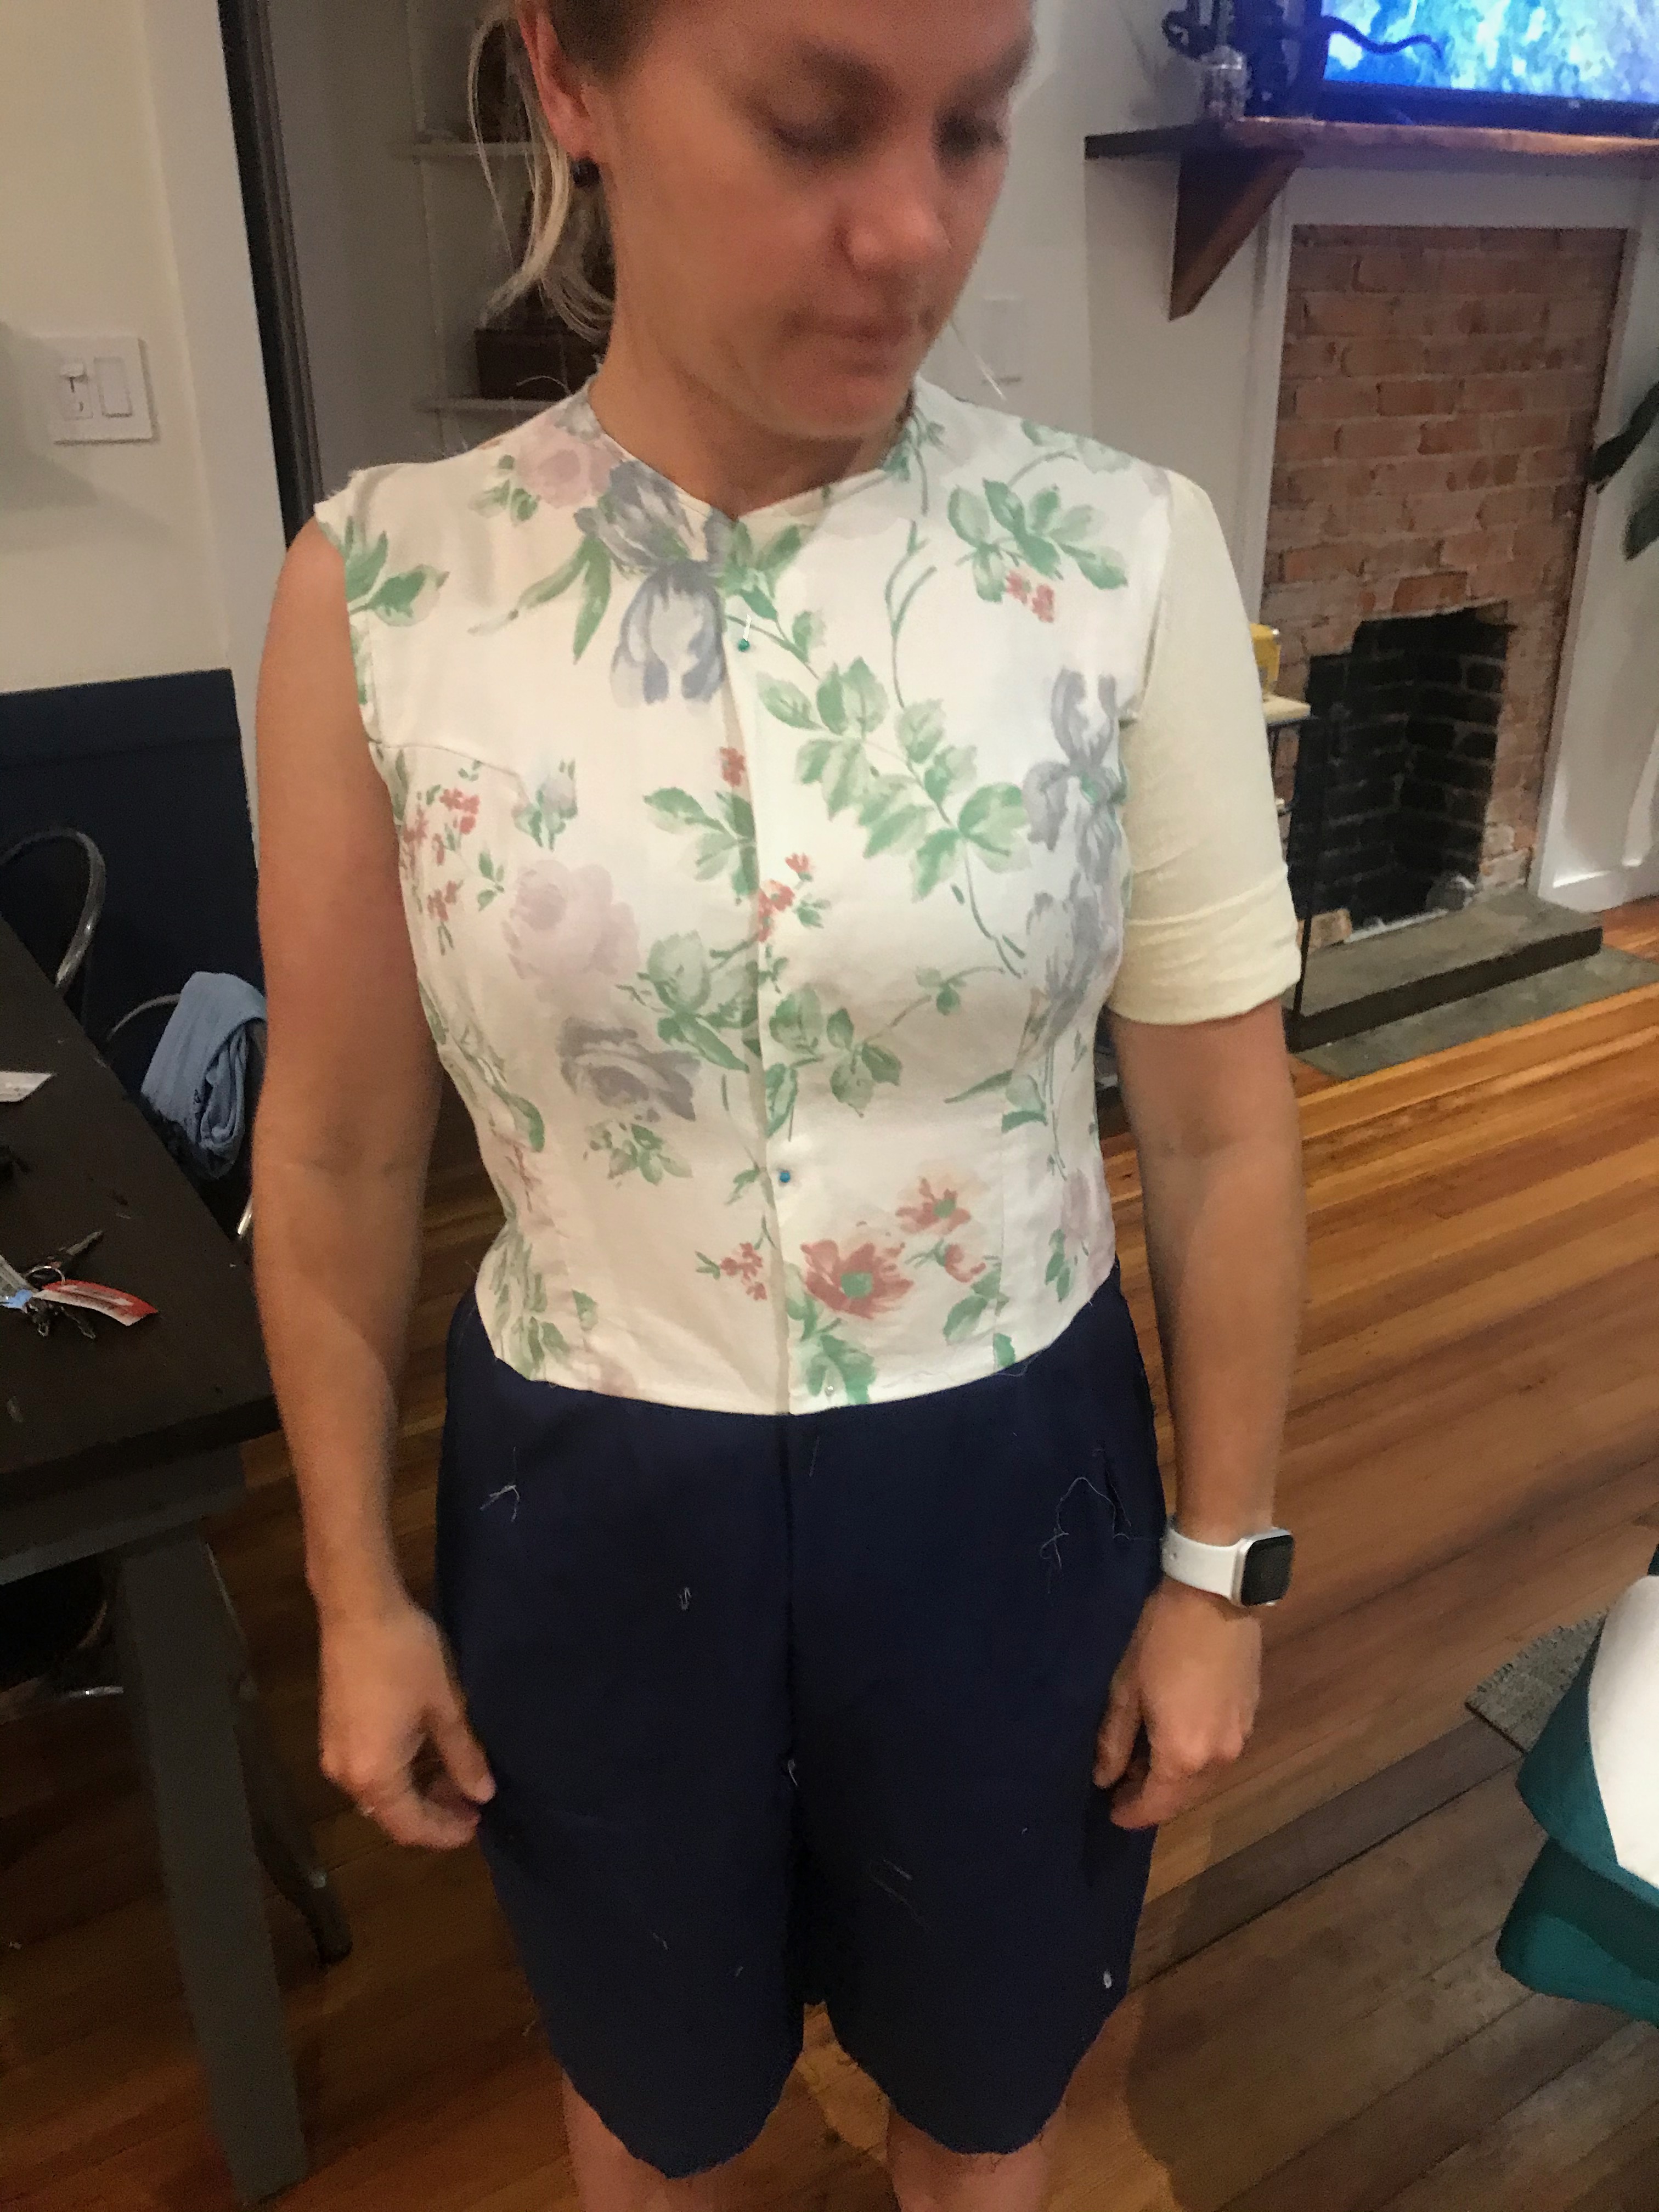 With the front looking pretty good I decided to sew the bodice back onto the trousers as I knew this would affect some things.
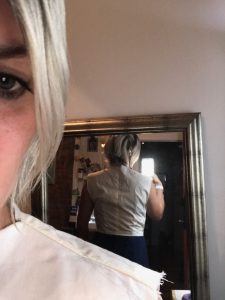
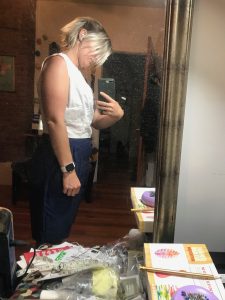
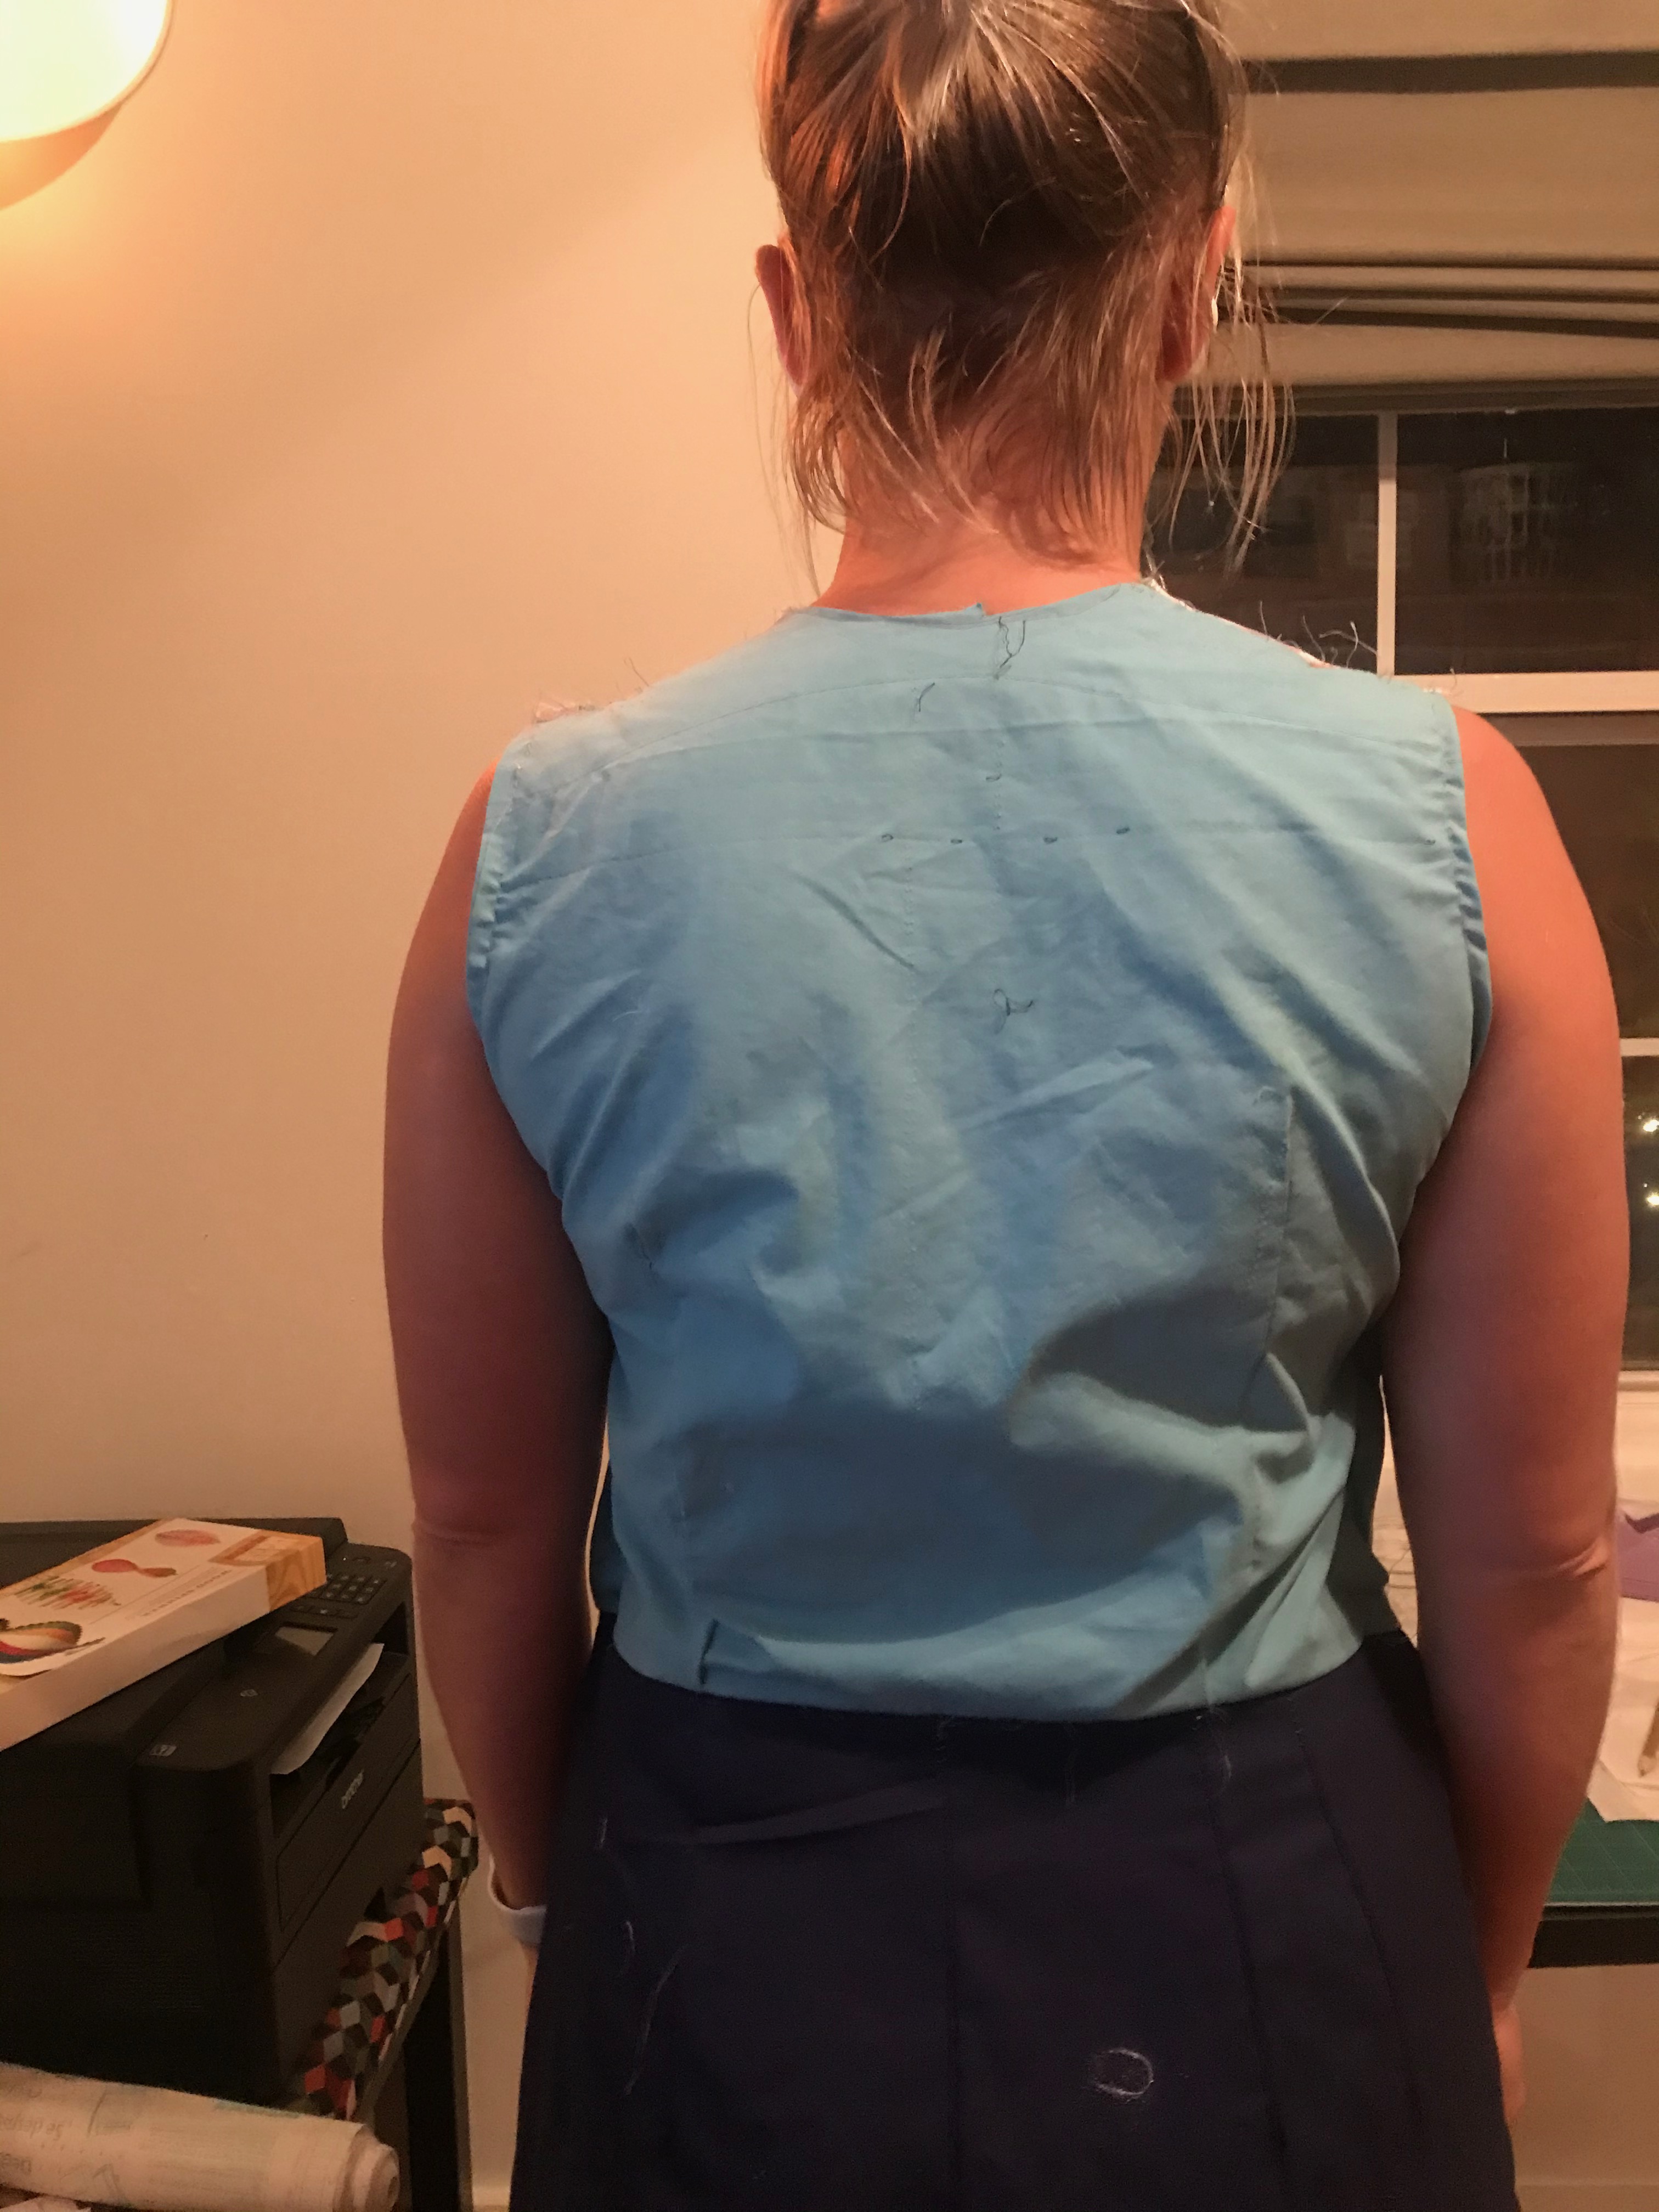
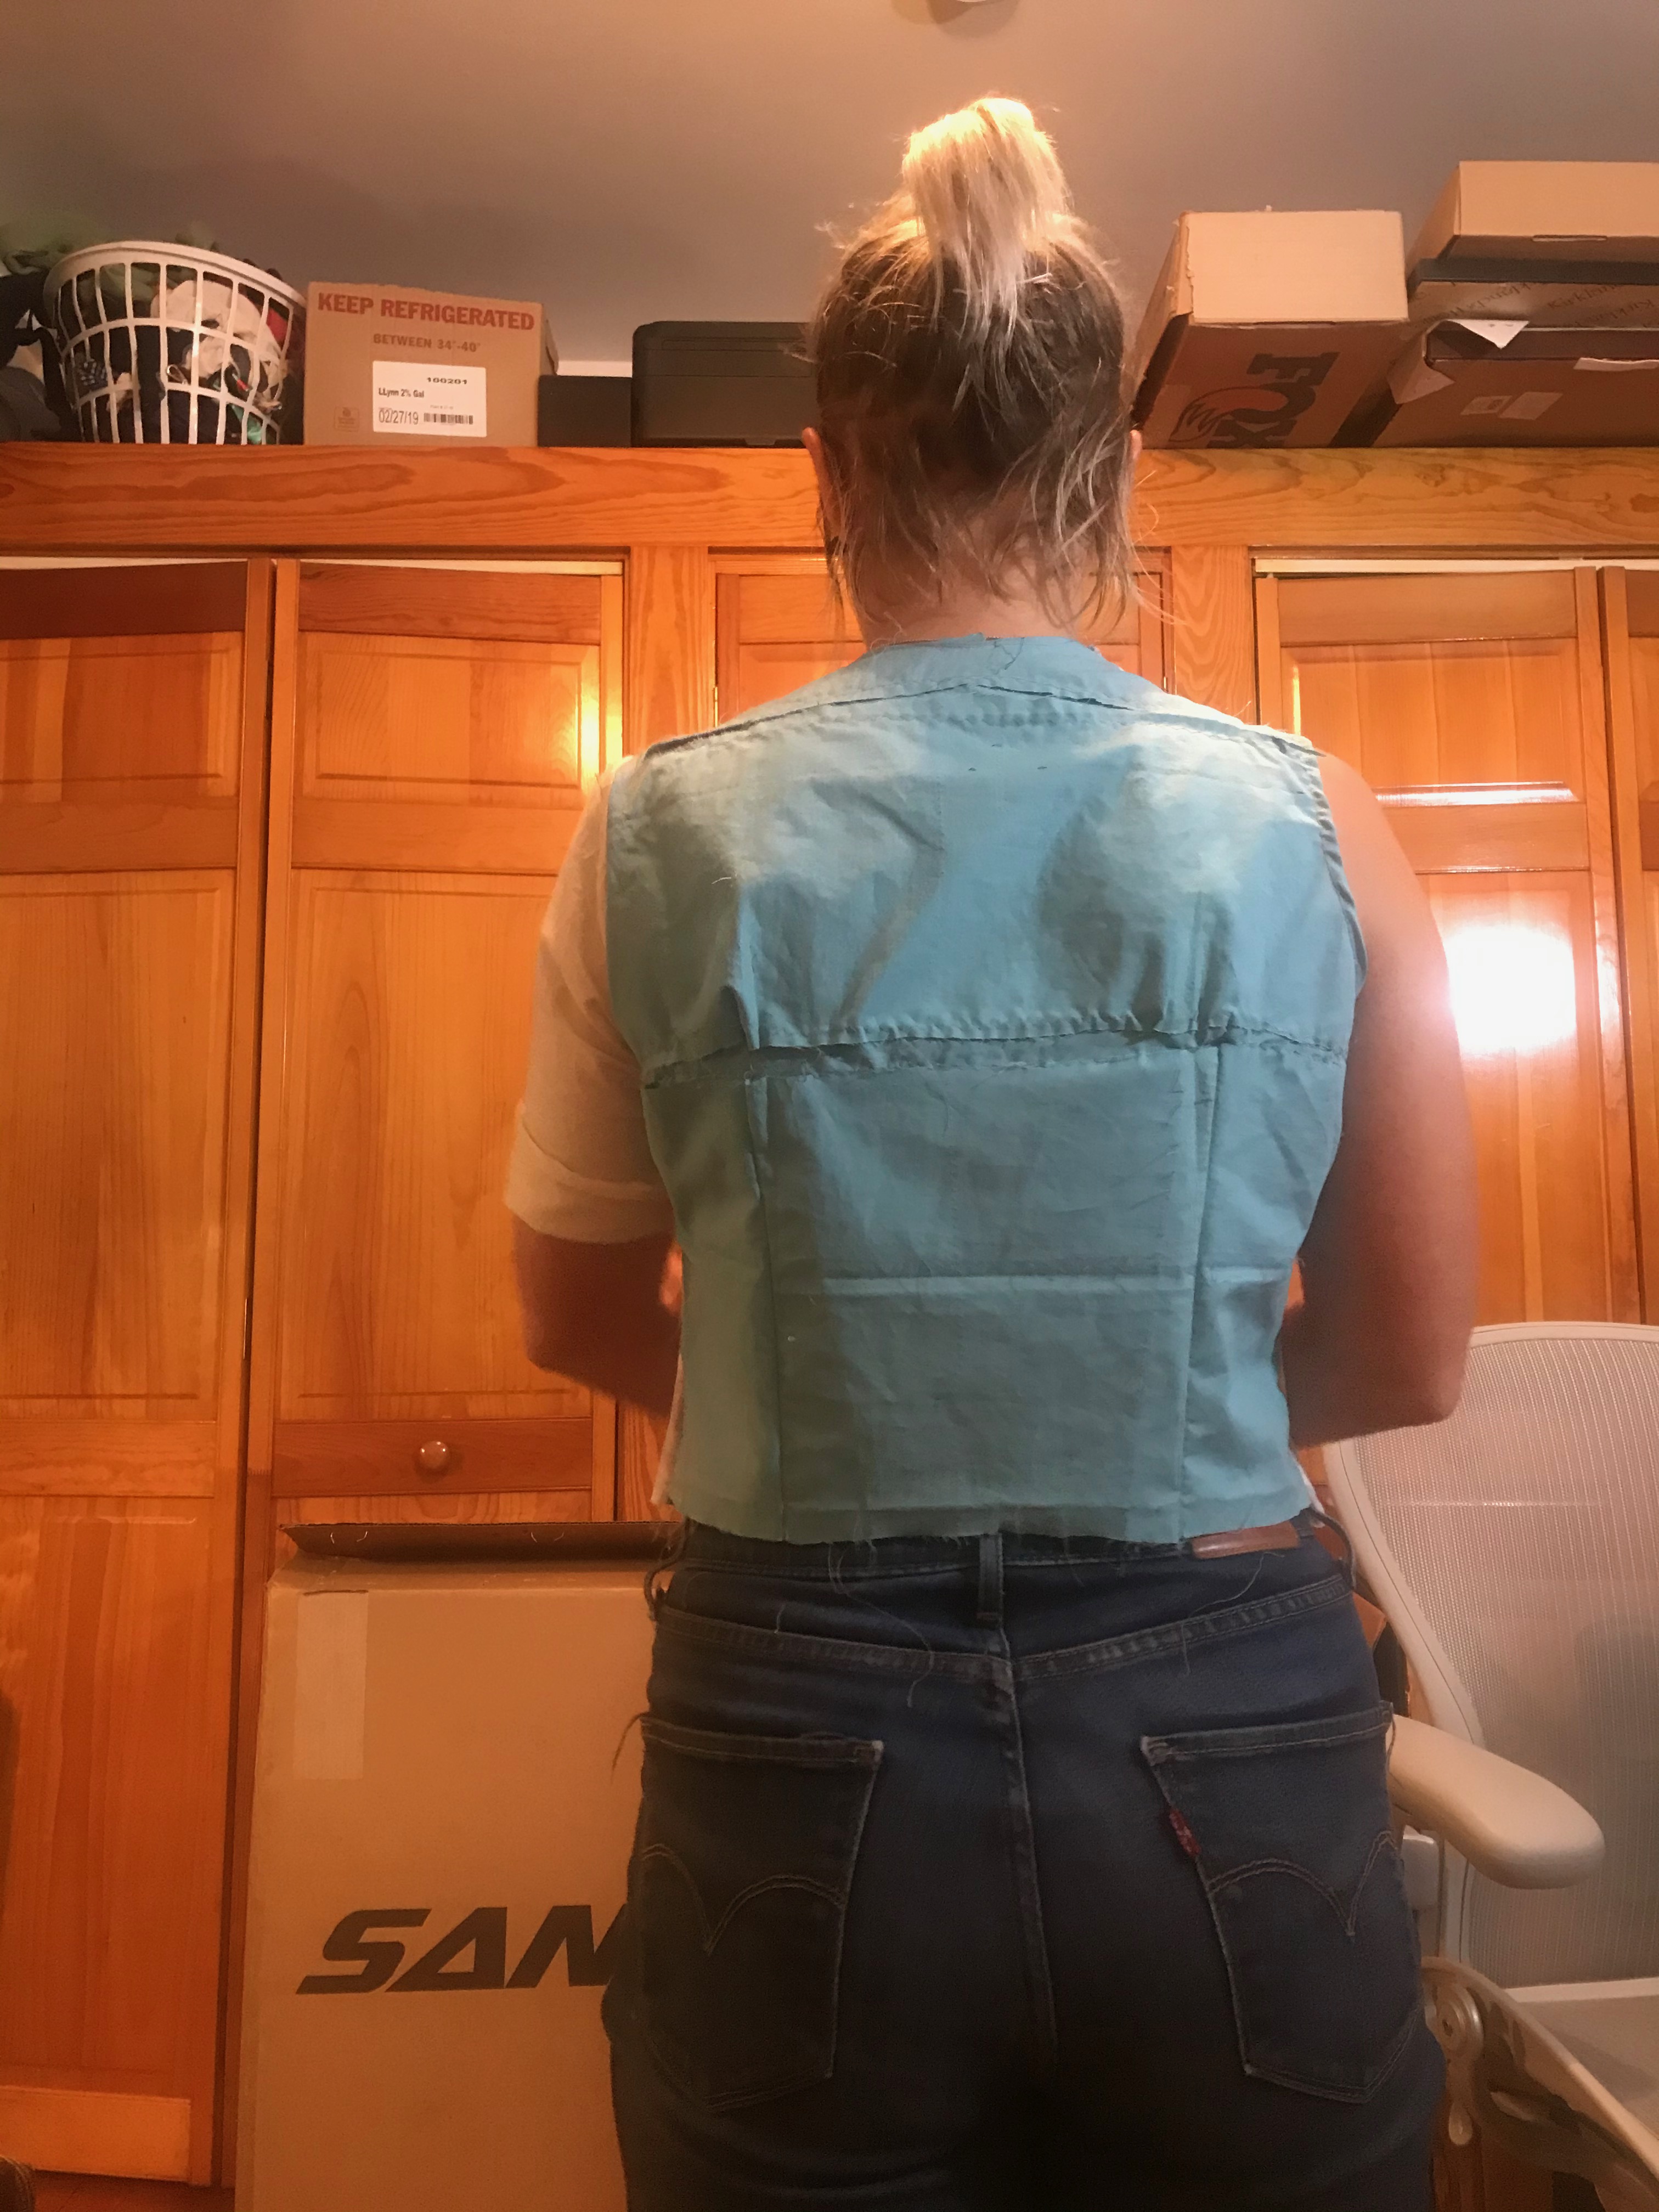
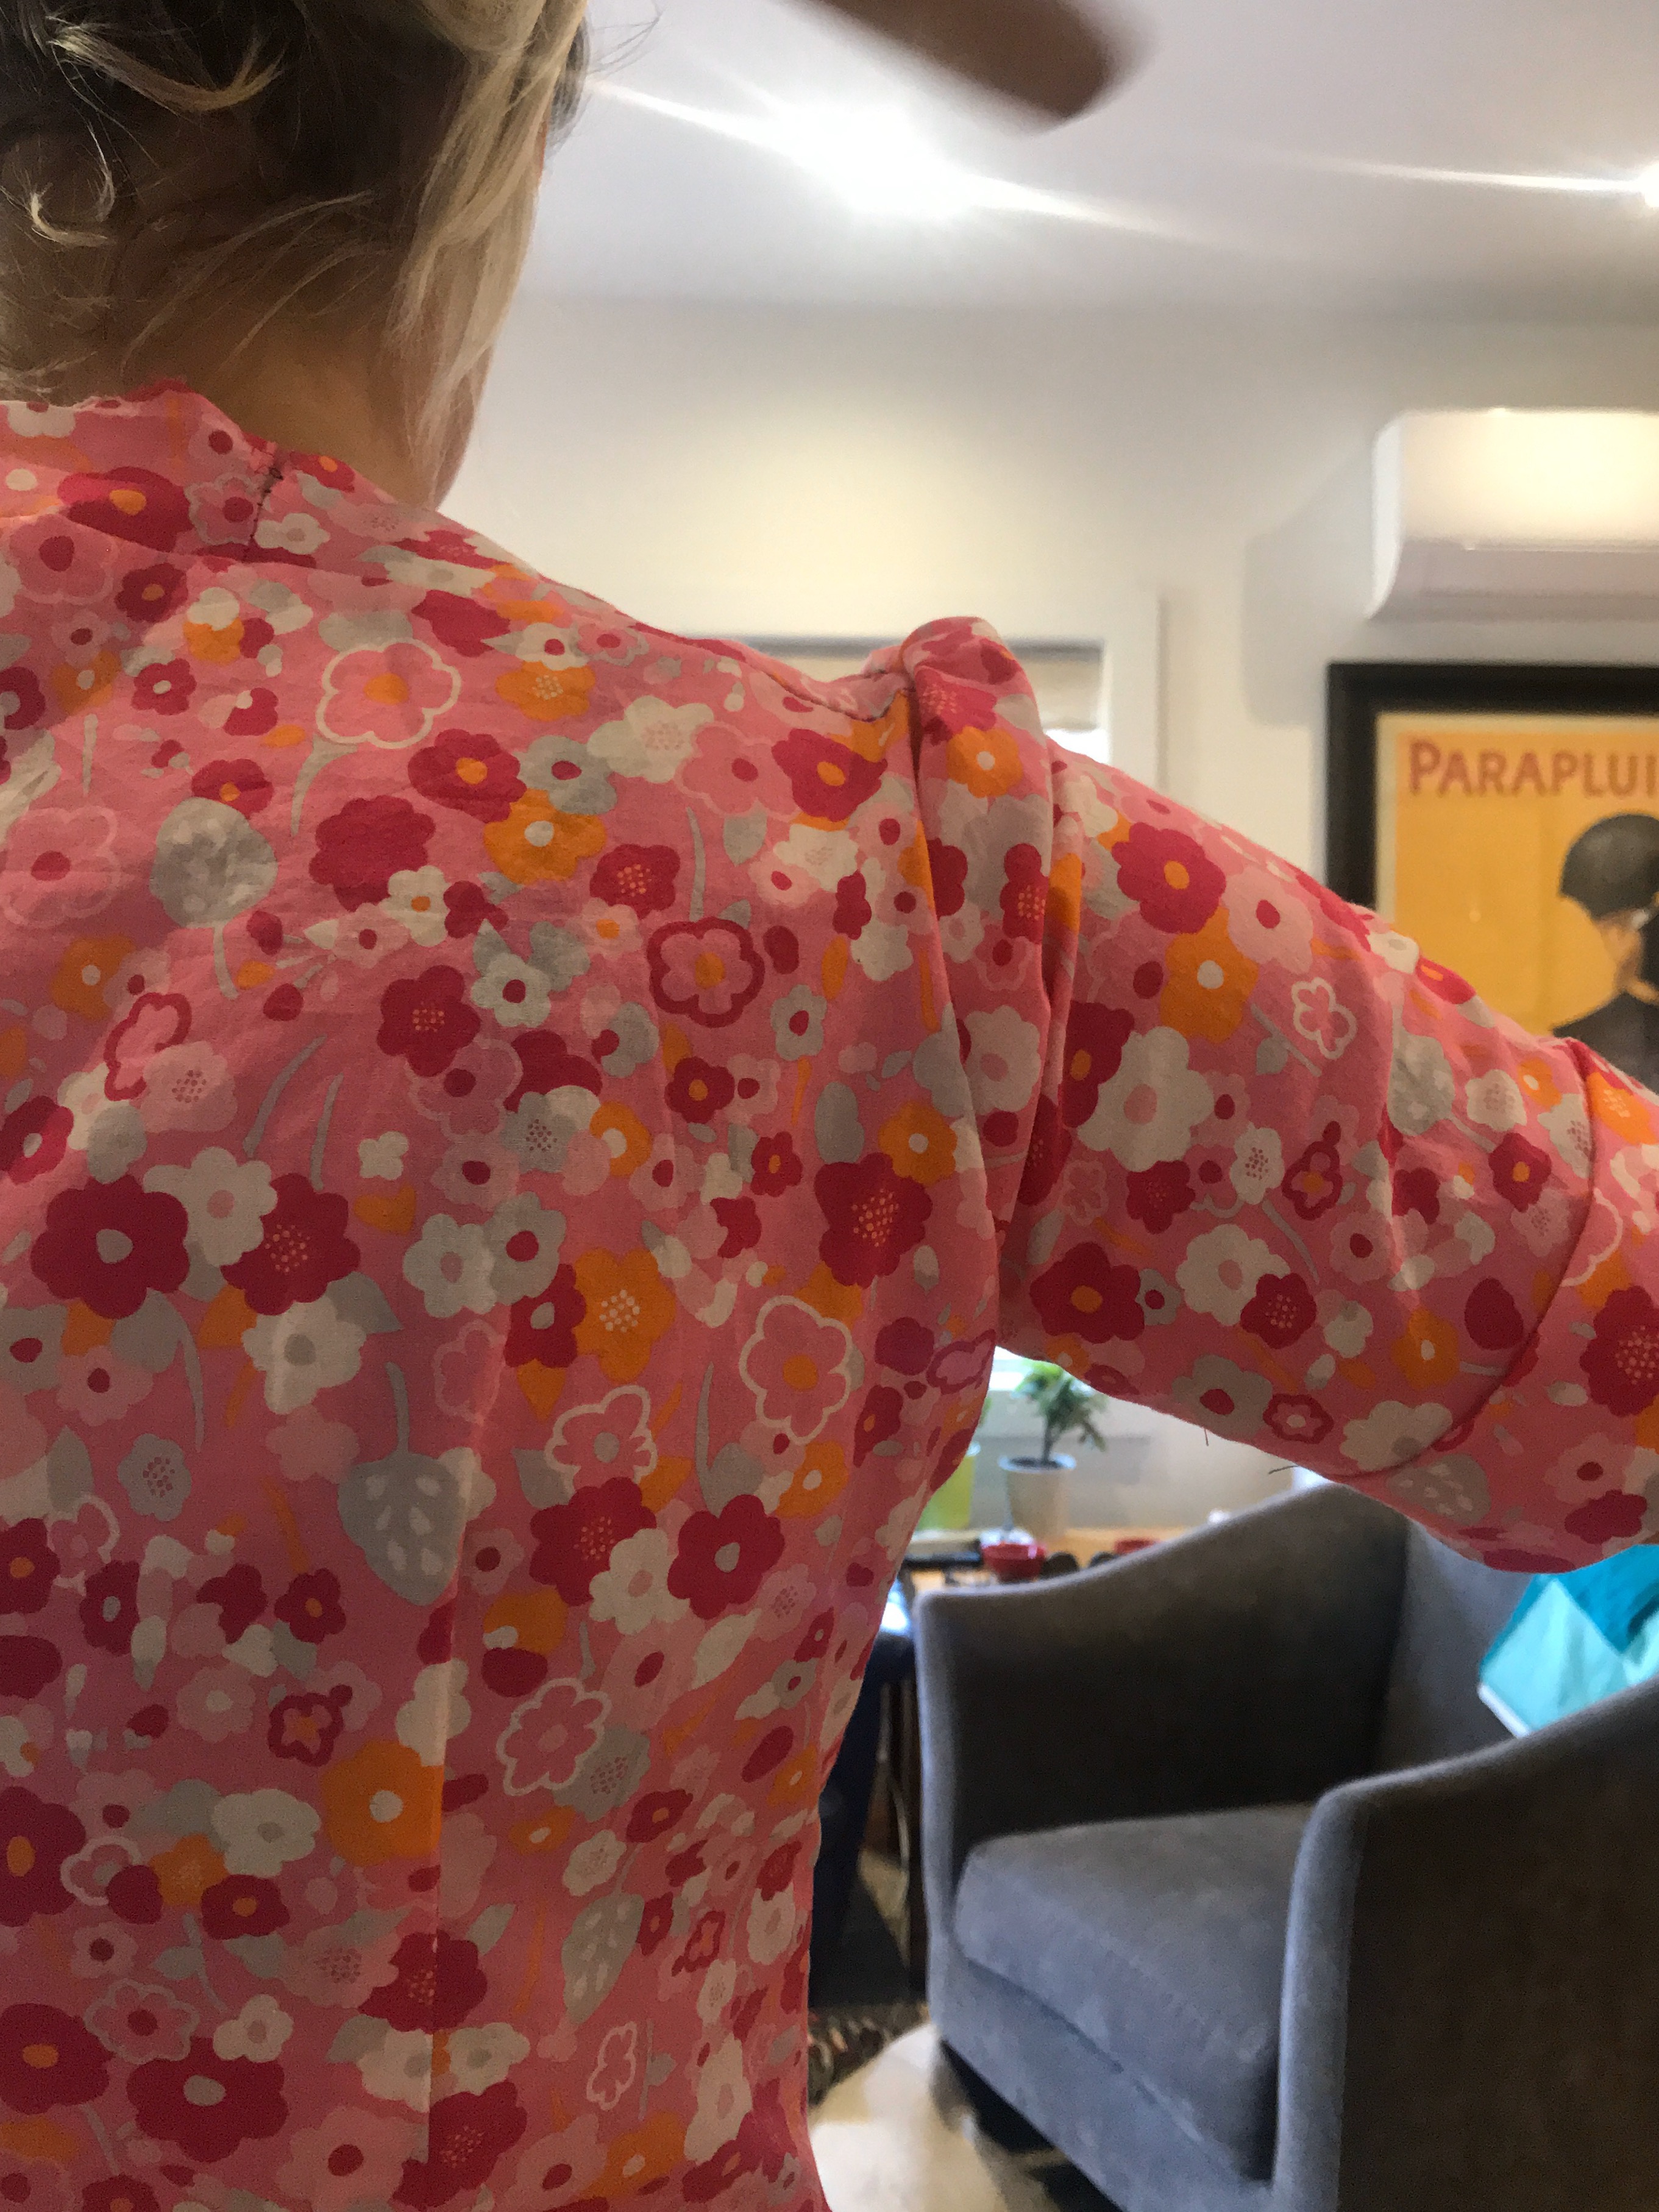
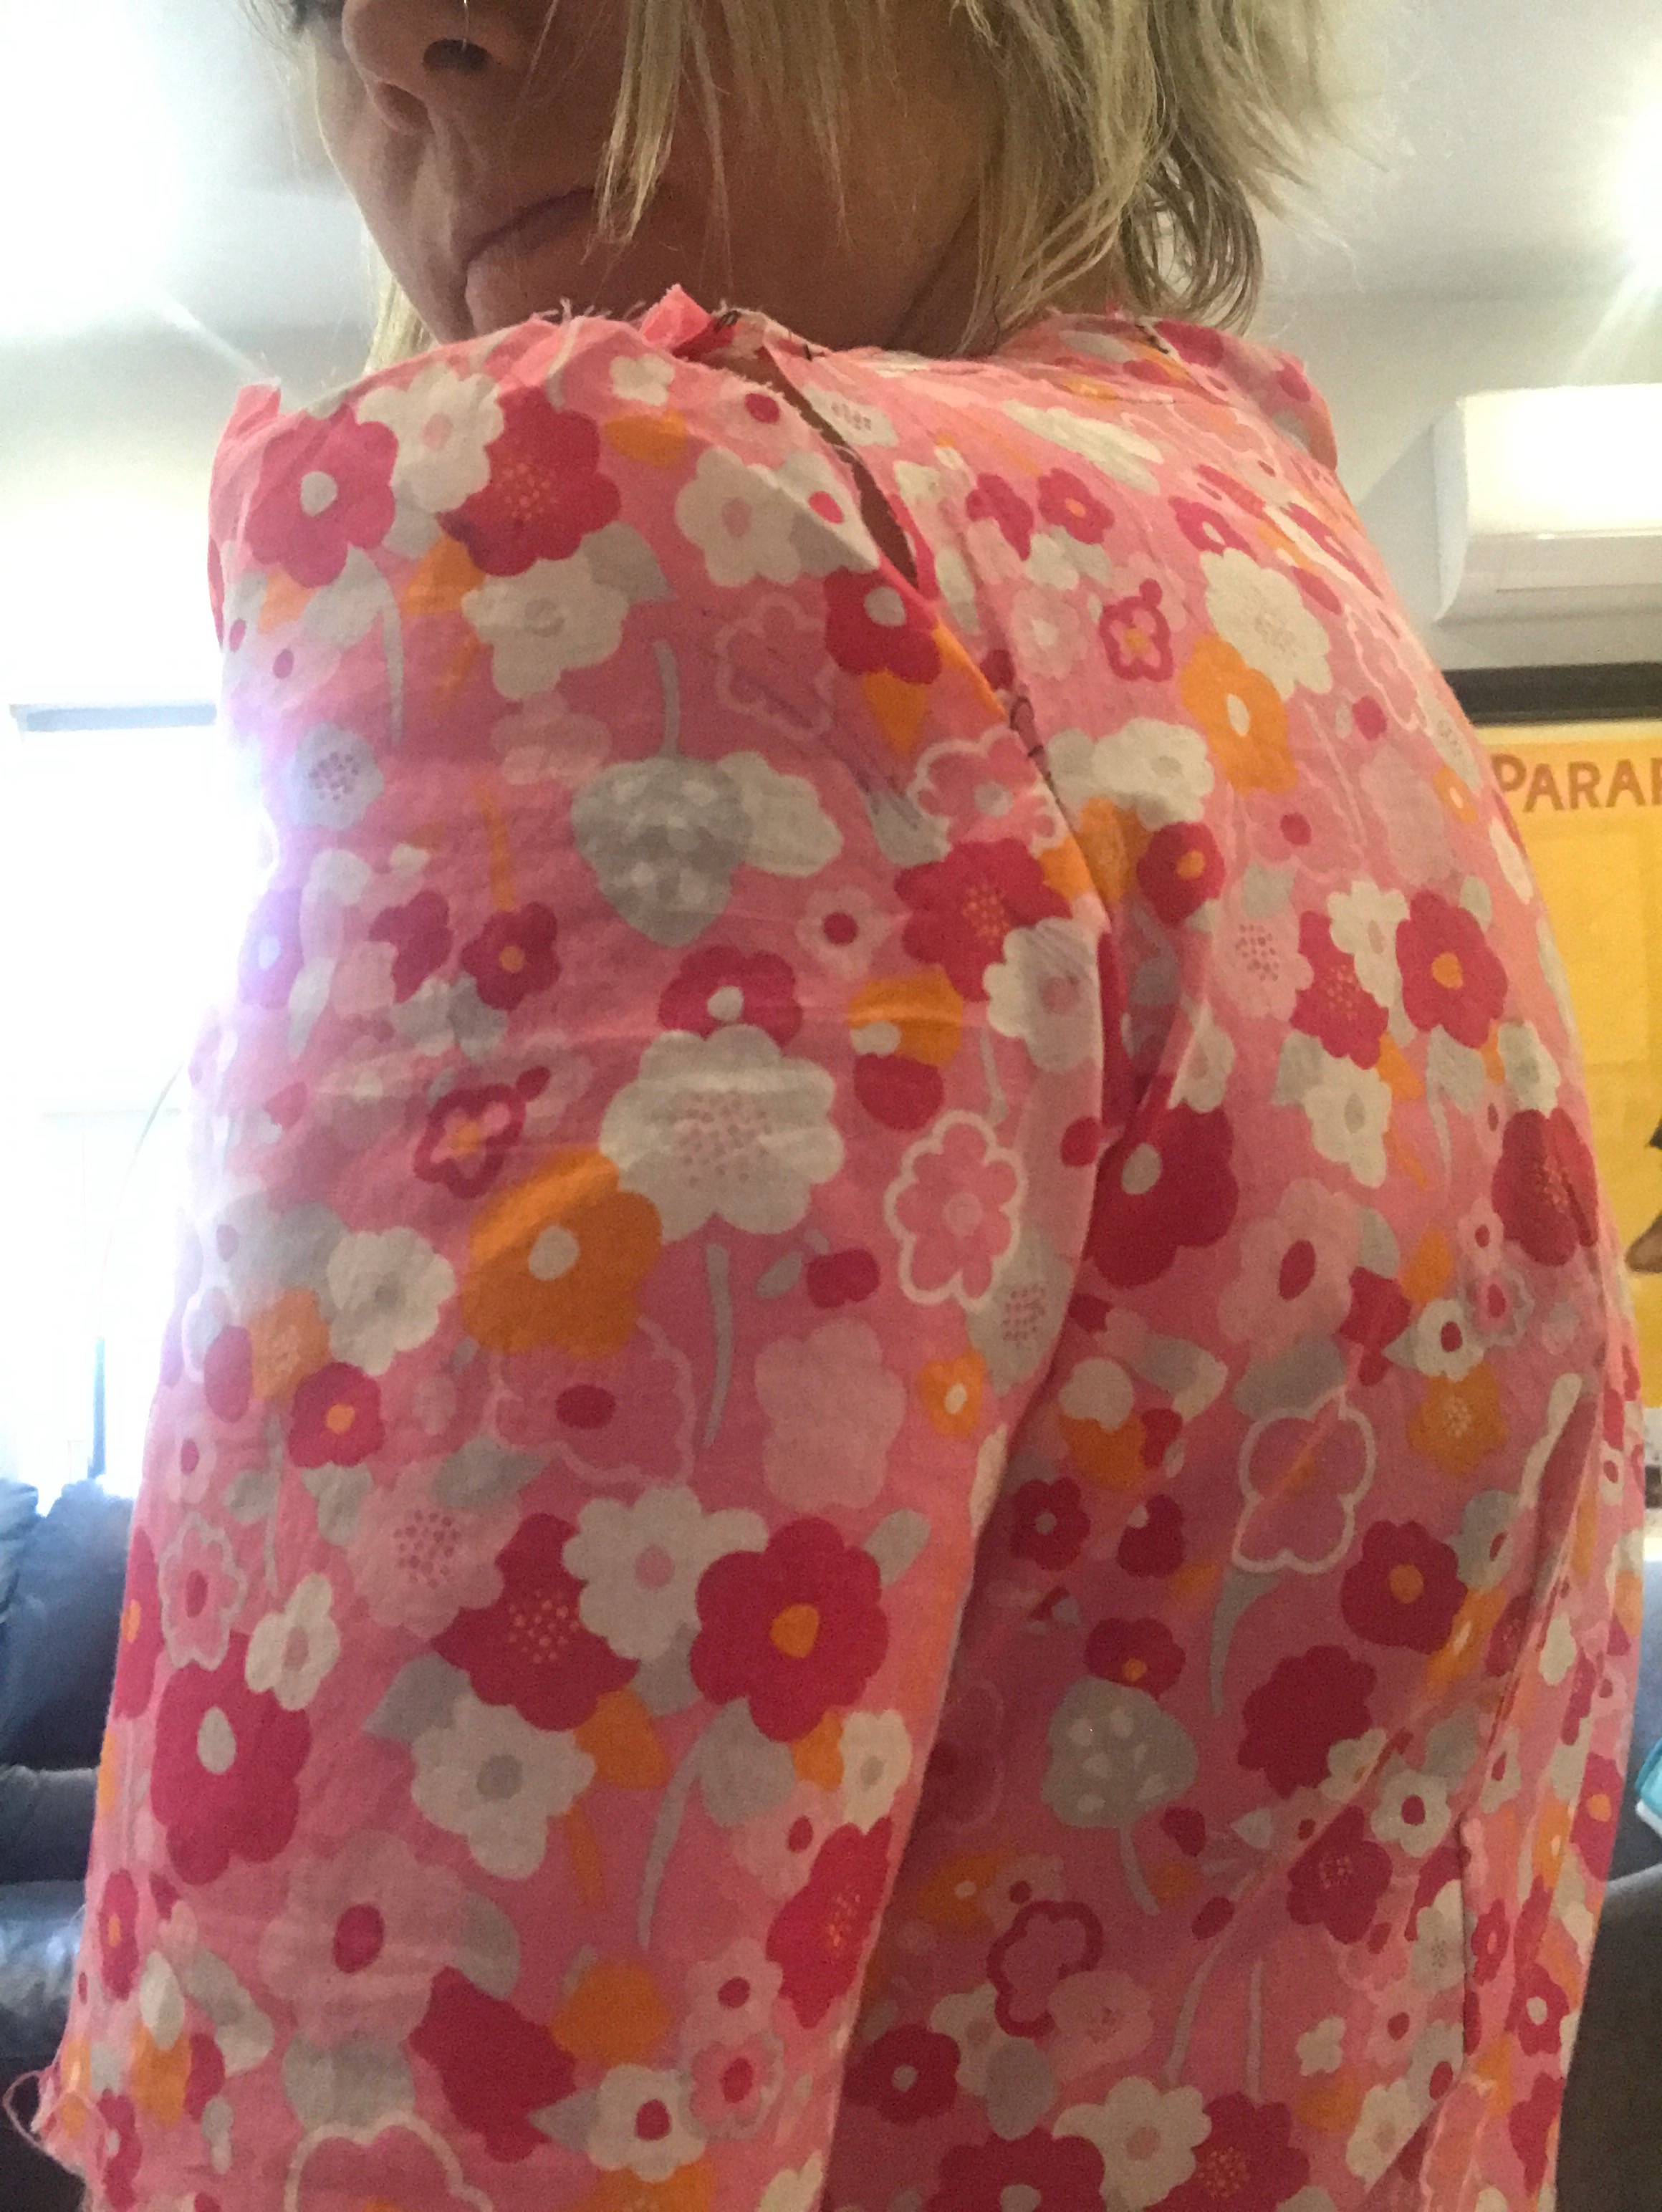
The fabric was pooling at bottom of my back but there were drag lines at arm hole across my upper back – WTF?!
The front was now okay but the back was a mess – yikes! I’ll admit I had to walk away and have a G&T at this point!
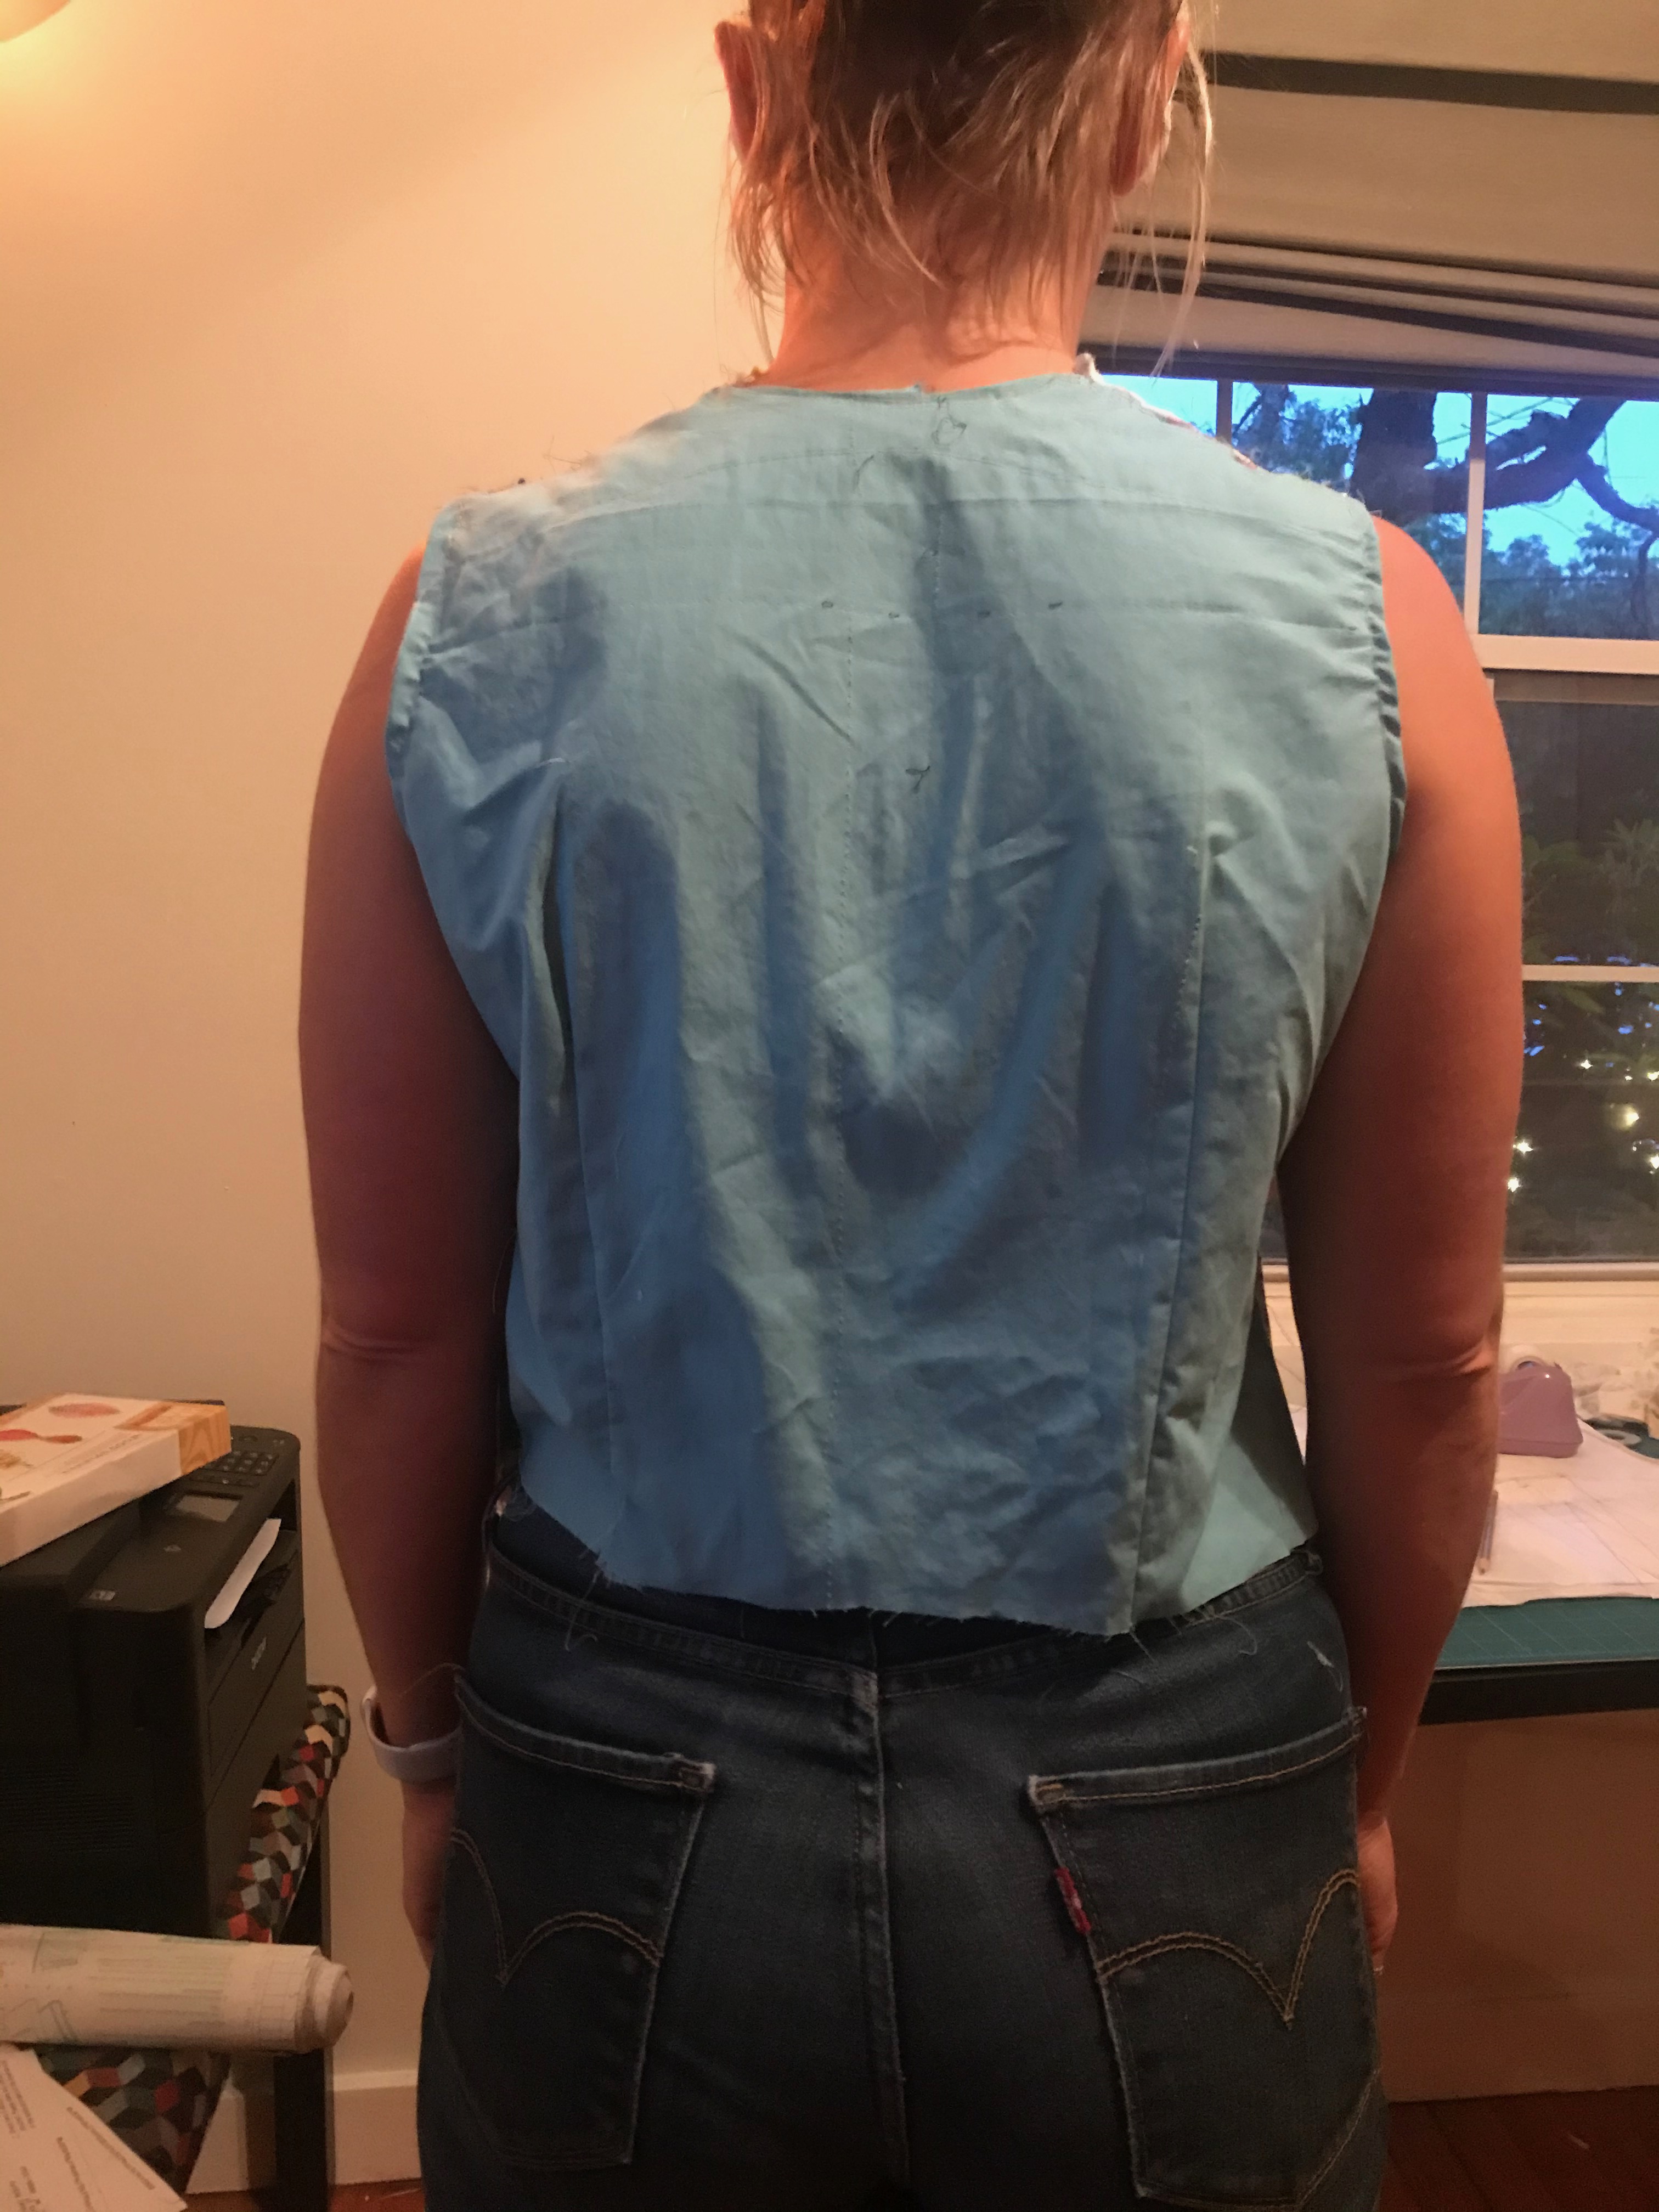
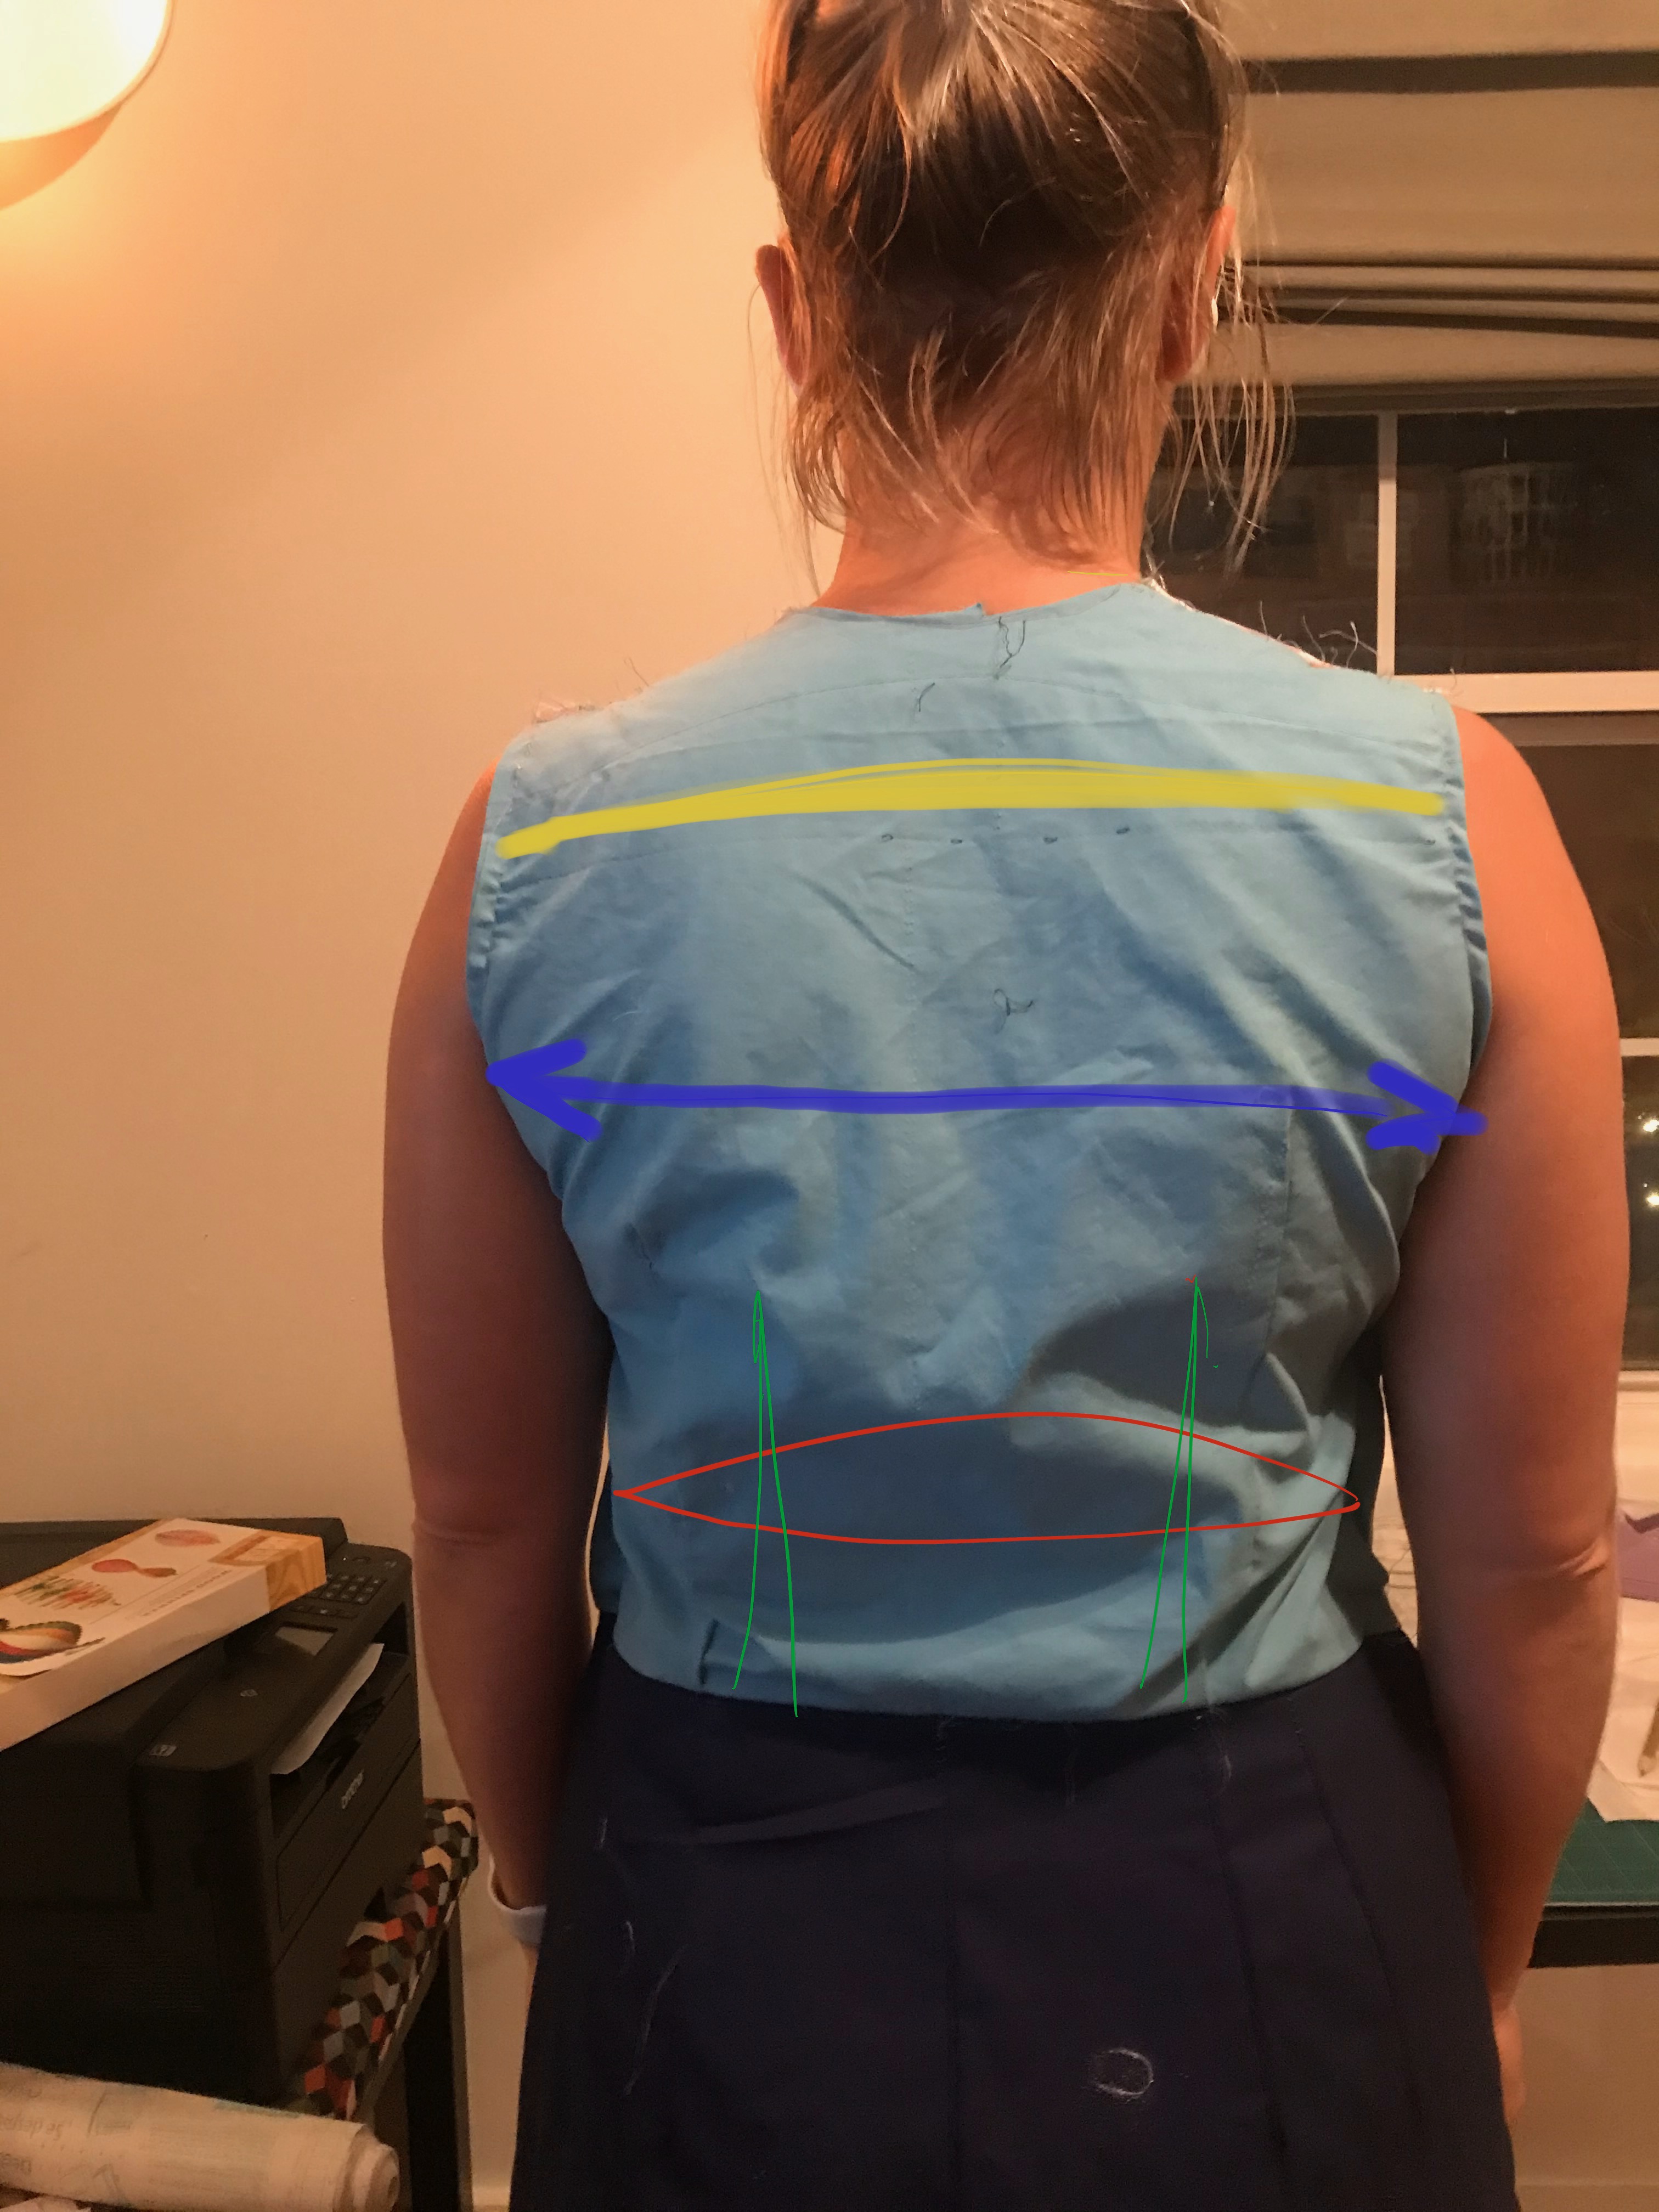
 First I tried a sway back adjustment – essentially taking out a wedge of fabric horizontally across my back but it made the waist too high and just didn’t look right so instead I decided to play with the back waist darts -I tried moving them in closer to CB, that didn’t work so I then put them back and used the same concept as the front and curved them to bring in more fabric at the bottom, I also shortened them as the were up over my shoulder blades.
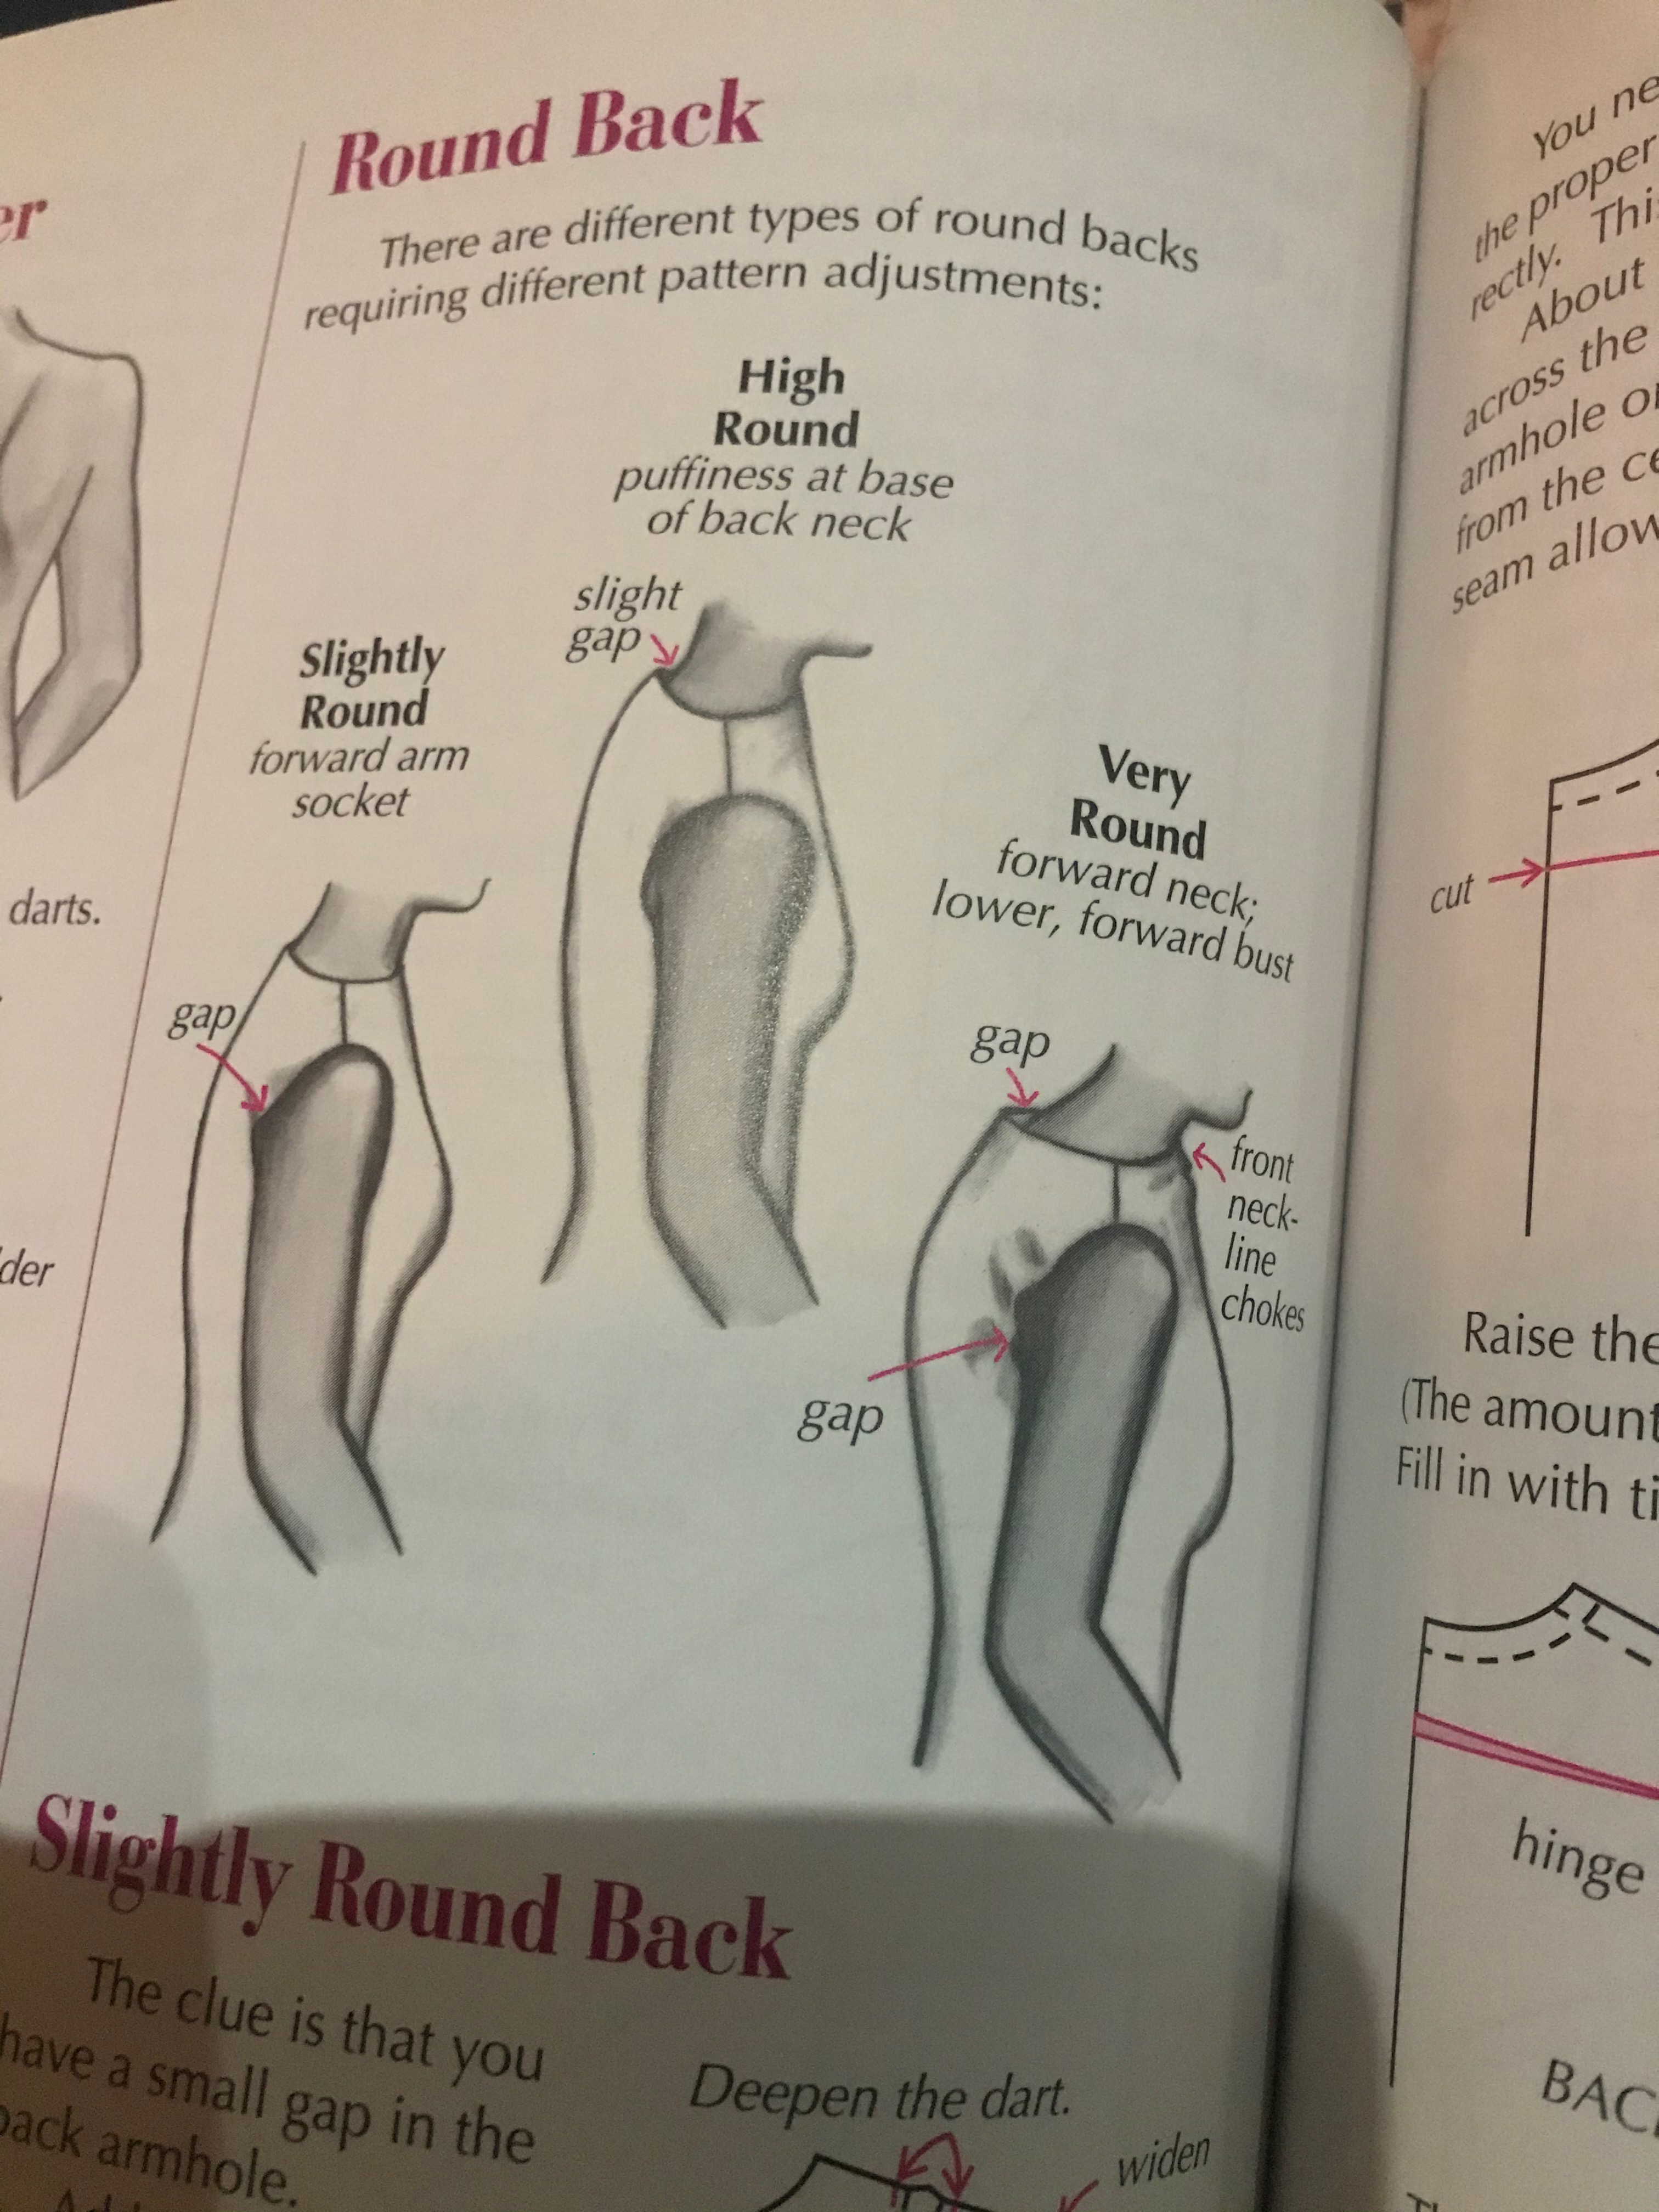
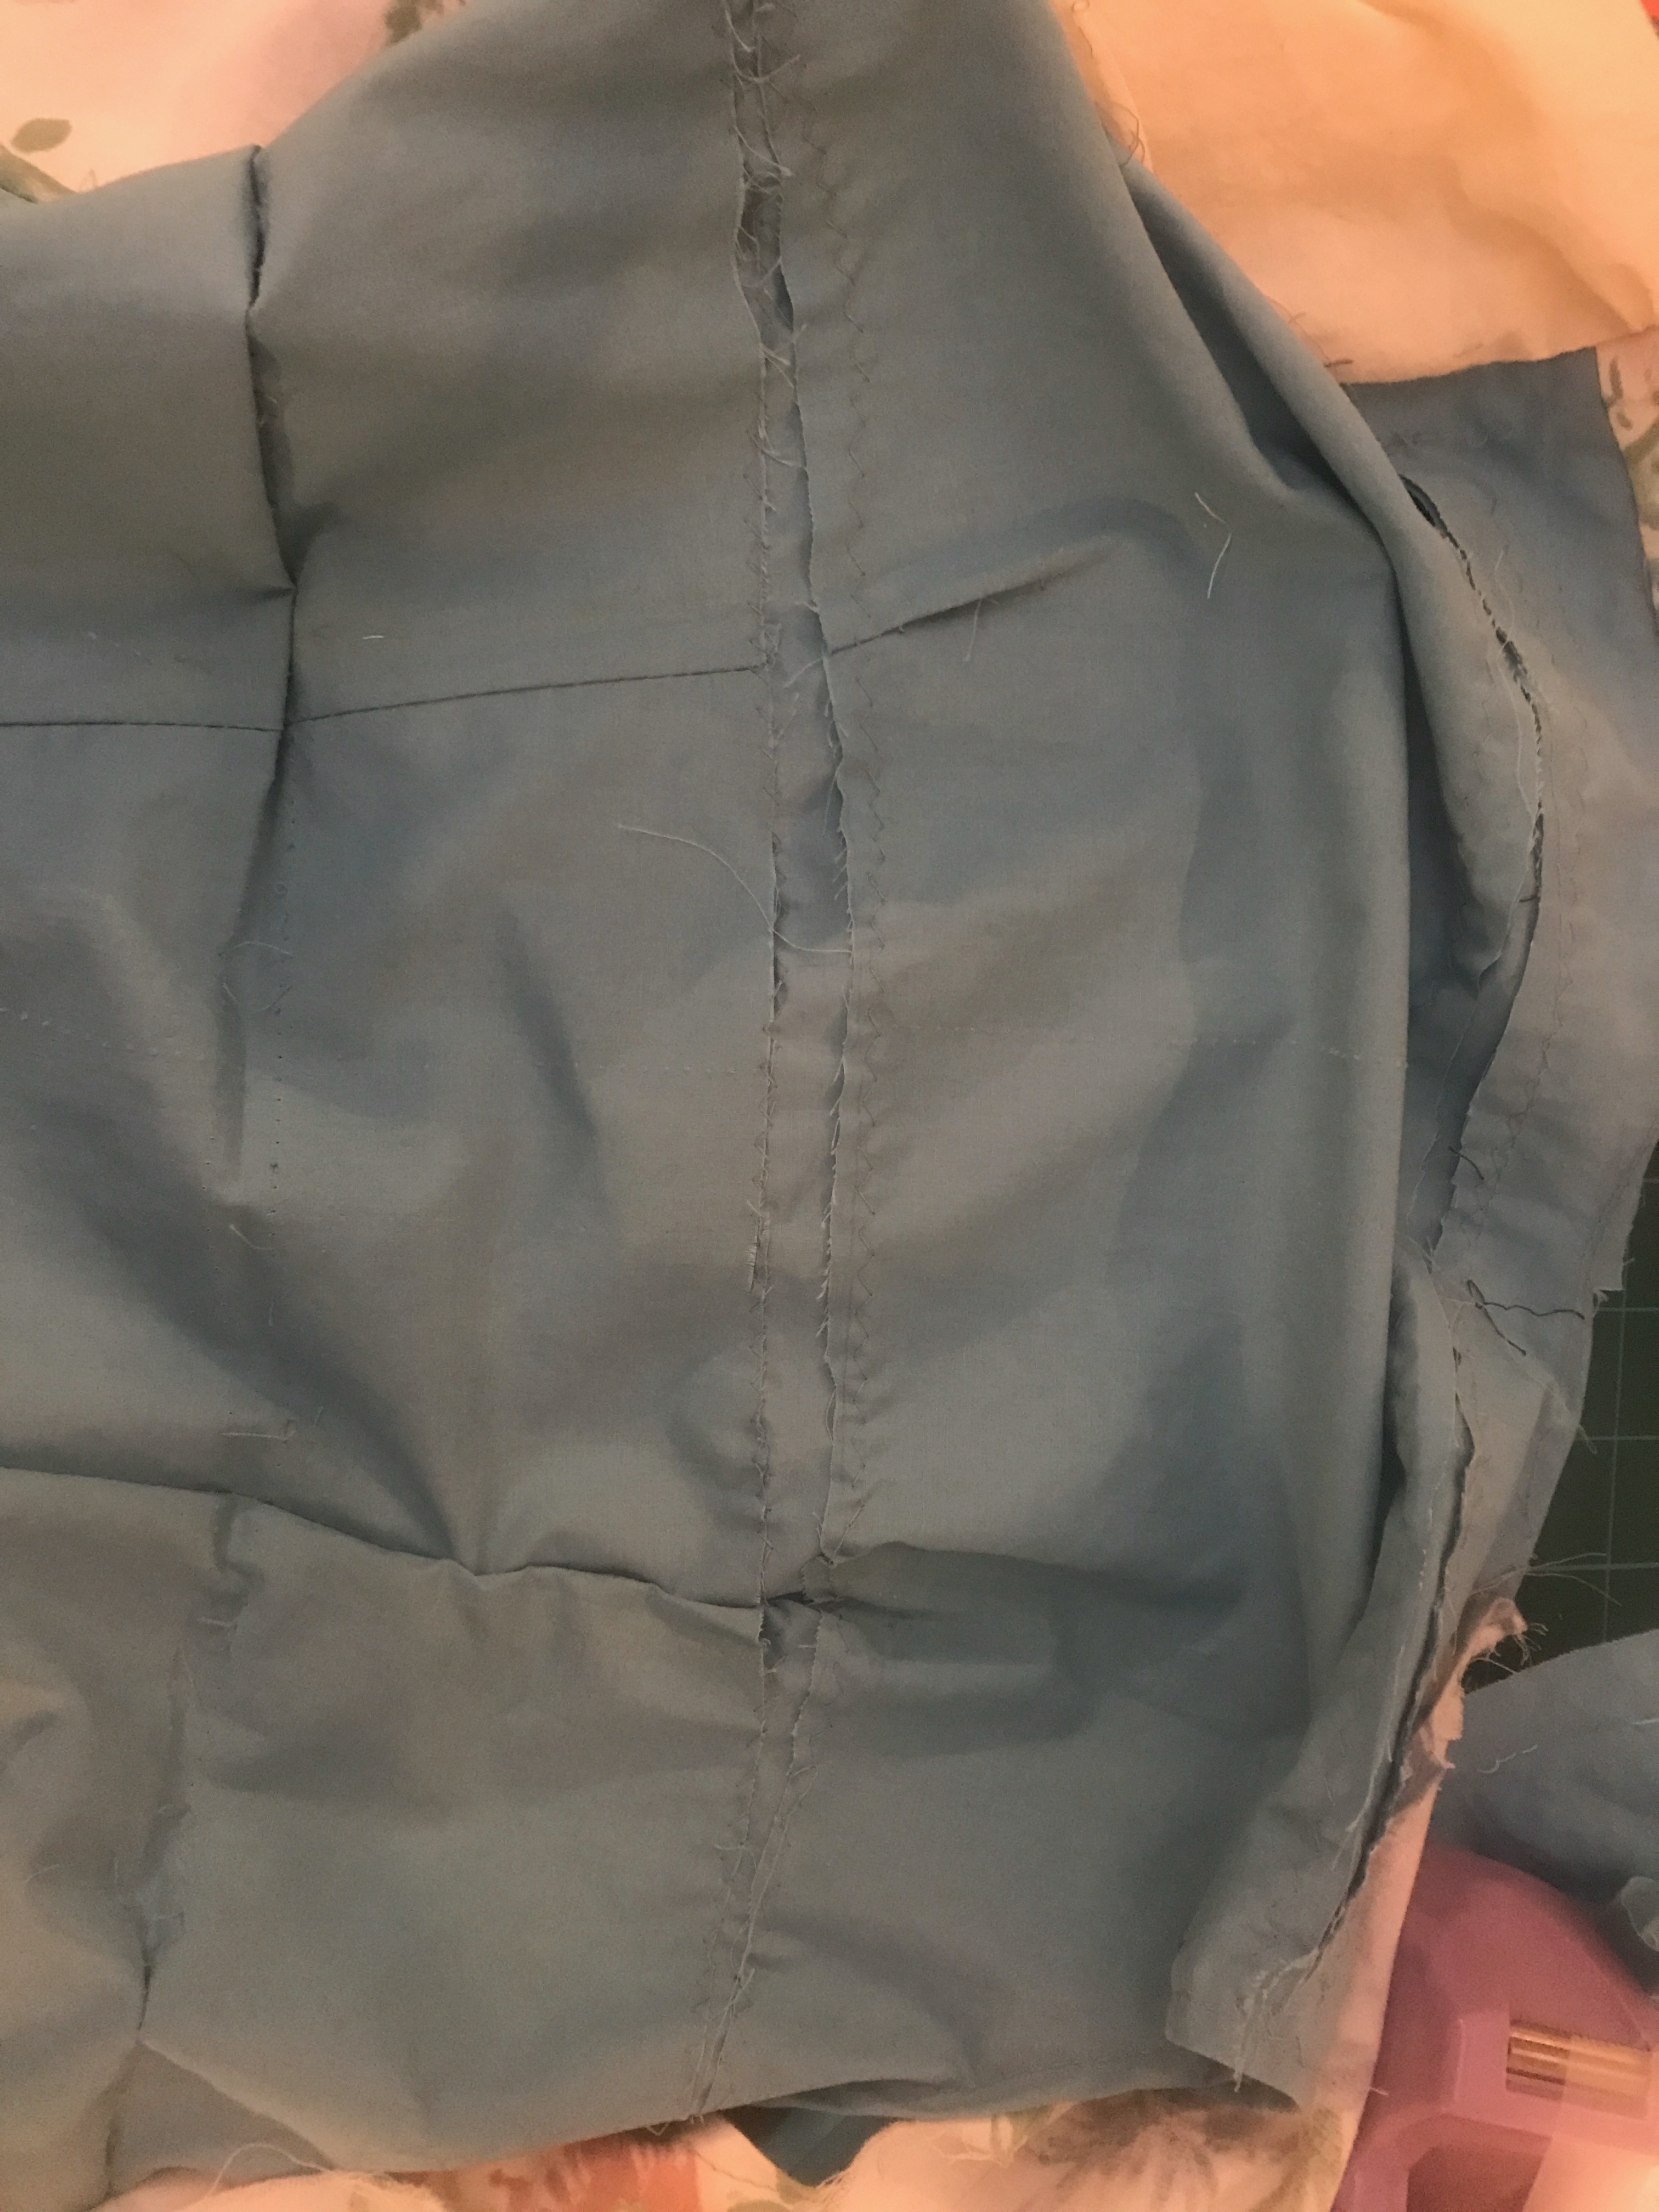
For the upper back I had suggestions of a rounded back adjustment plus bringing the shoulders out a little, just in the back as it was great in the front. . I tried this by slashing into my fabric – essentially a horizontal line where the drag lines were. I ended up doing it in two places – one across my shoulders just under my neck and one between my shoulder blades. It looked good so I drafted that into my final toile pattern, along with all the changes I’d made to the front. I wanted to make a new toile as the old one was getting super messy and confusing.
 With the new toile that reflected allllll the changes I was super happy with the front but seemed to have made too big of a rounded back adjustment so I had to pinch some of it back out!! (Would you have quit by now???).
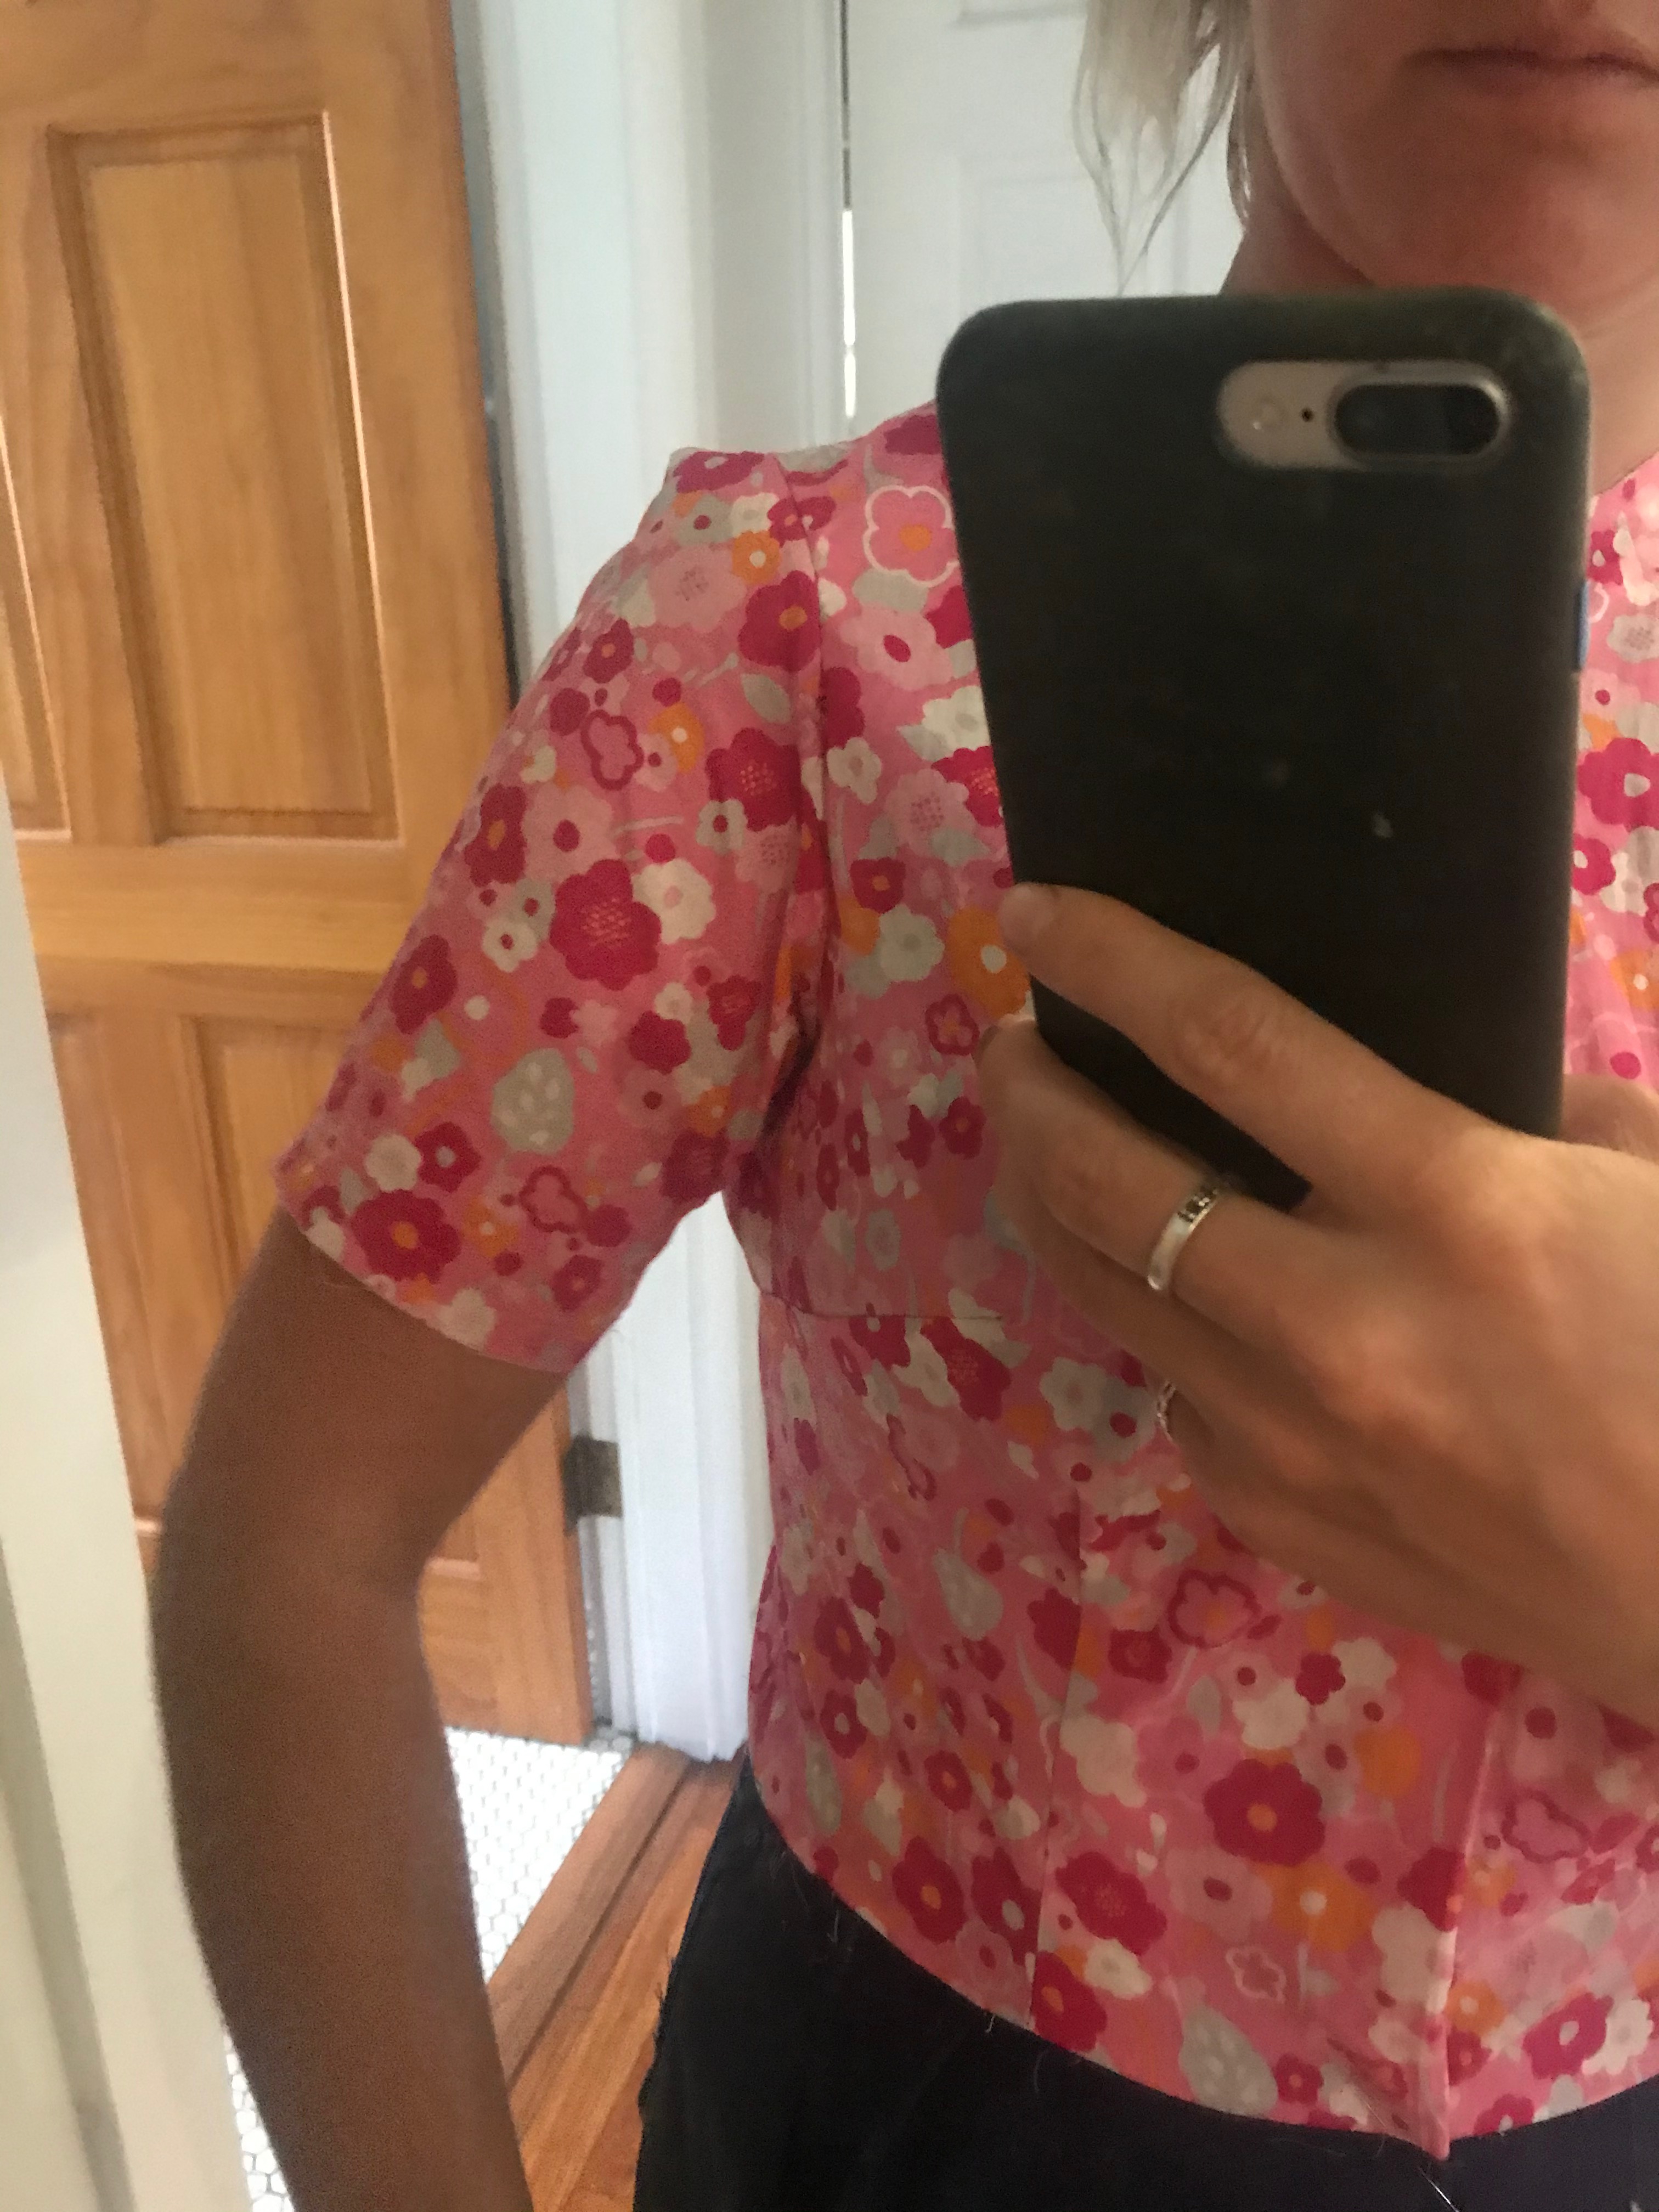
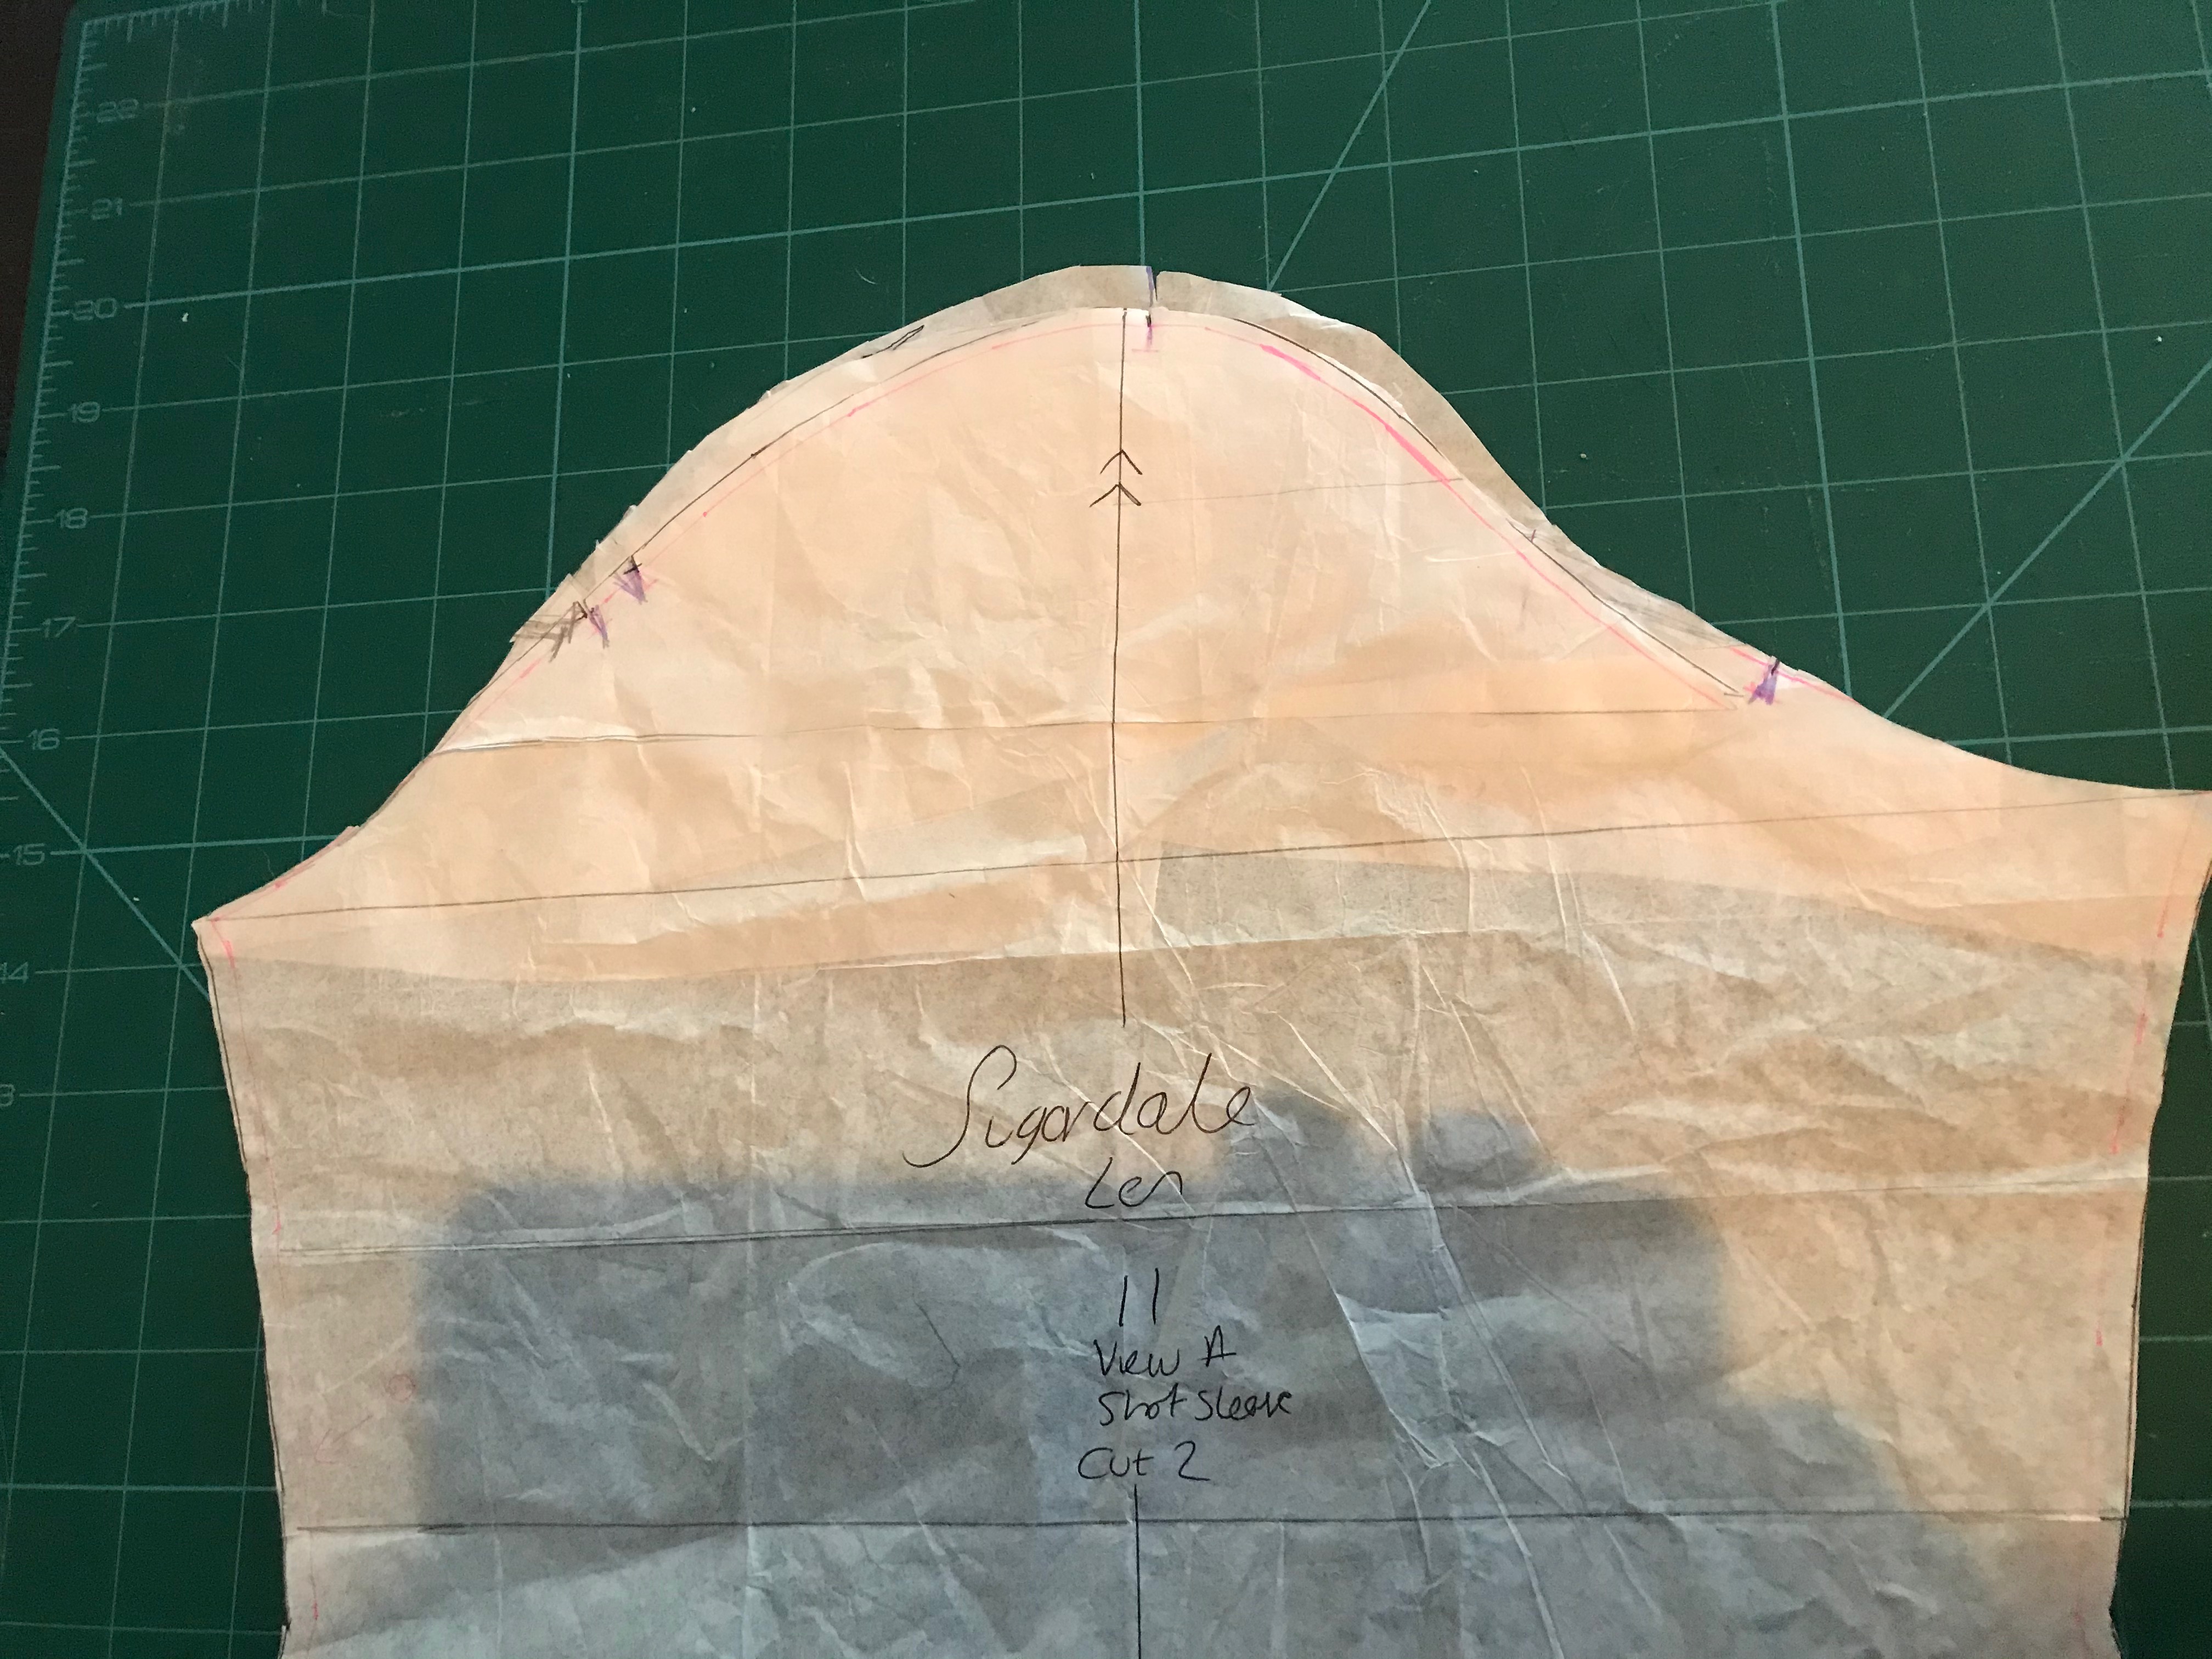
With the bodice fitting well it was time to attempt the dreaded sleeves! This is always a nightmare for me as I have to change the armholes so much with all my adjusments. Suprise suprise they were weird. The had this odd poofiness at the top plus weird drag lines around my arm creases.
 I tried slashing the sleeve horizontally to see if it was a sleeve cap height thing and when it had more room it was better but still bunched weirdly at the back armhole.
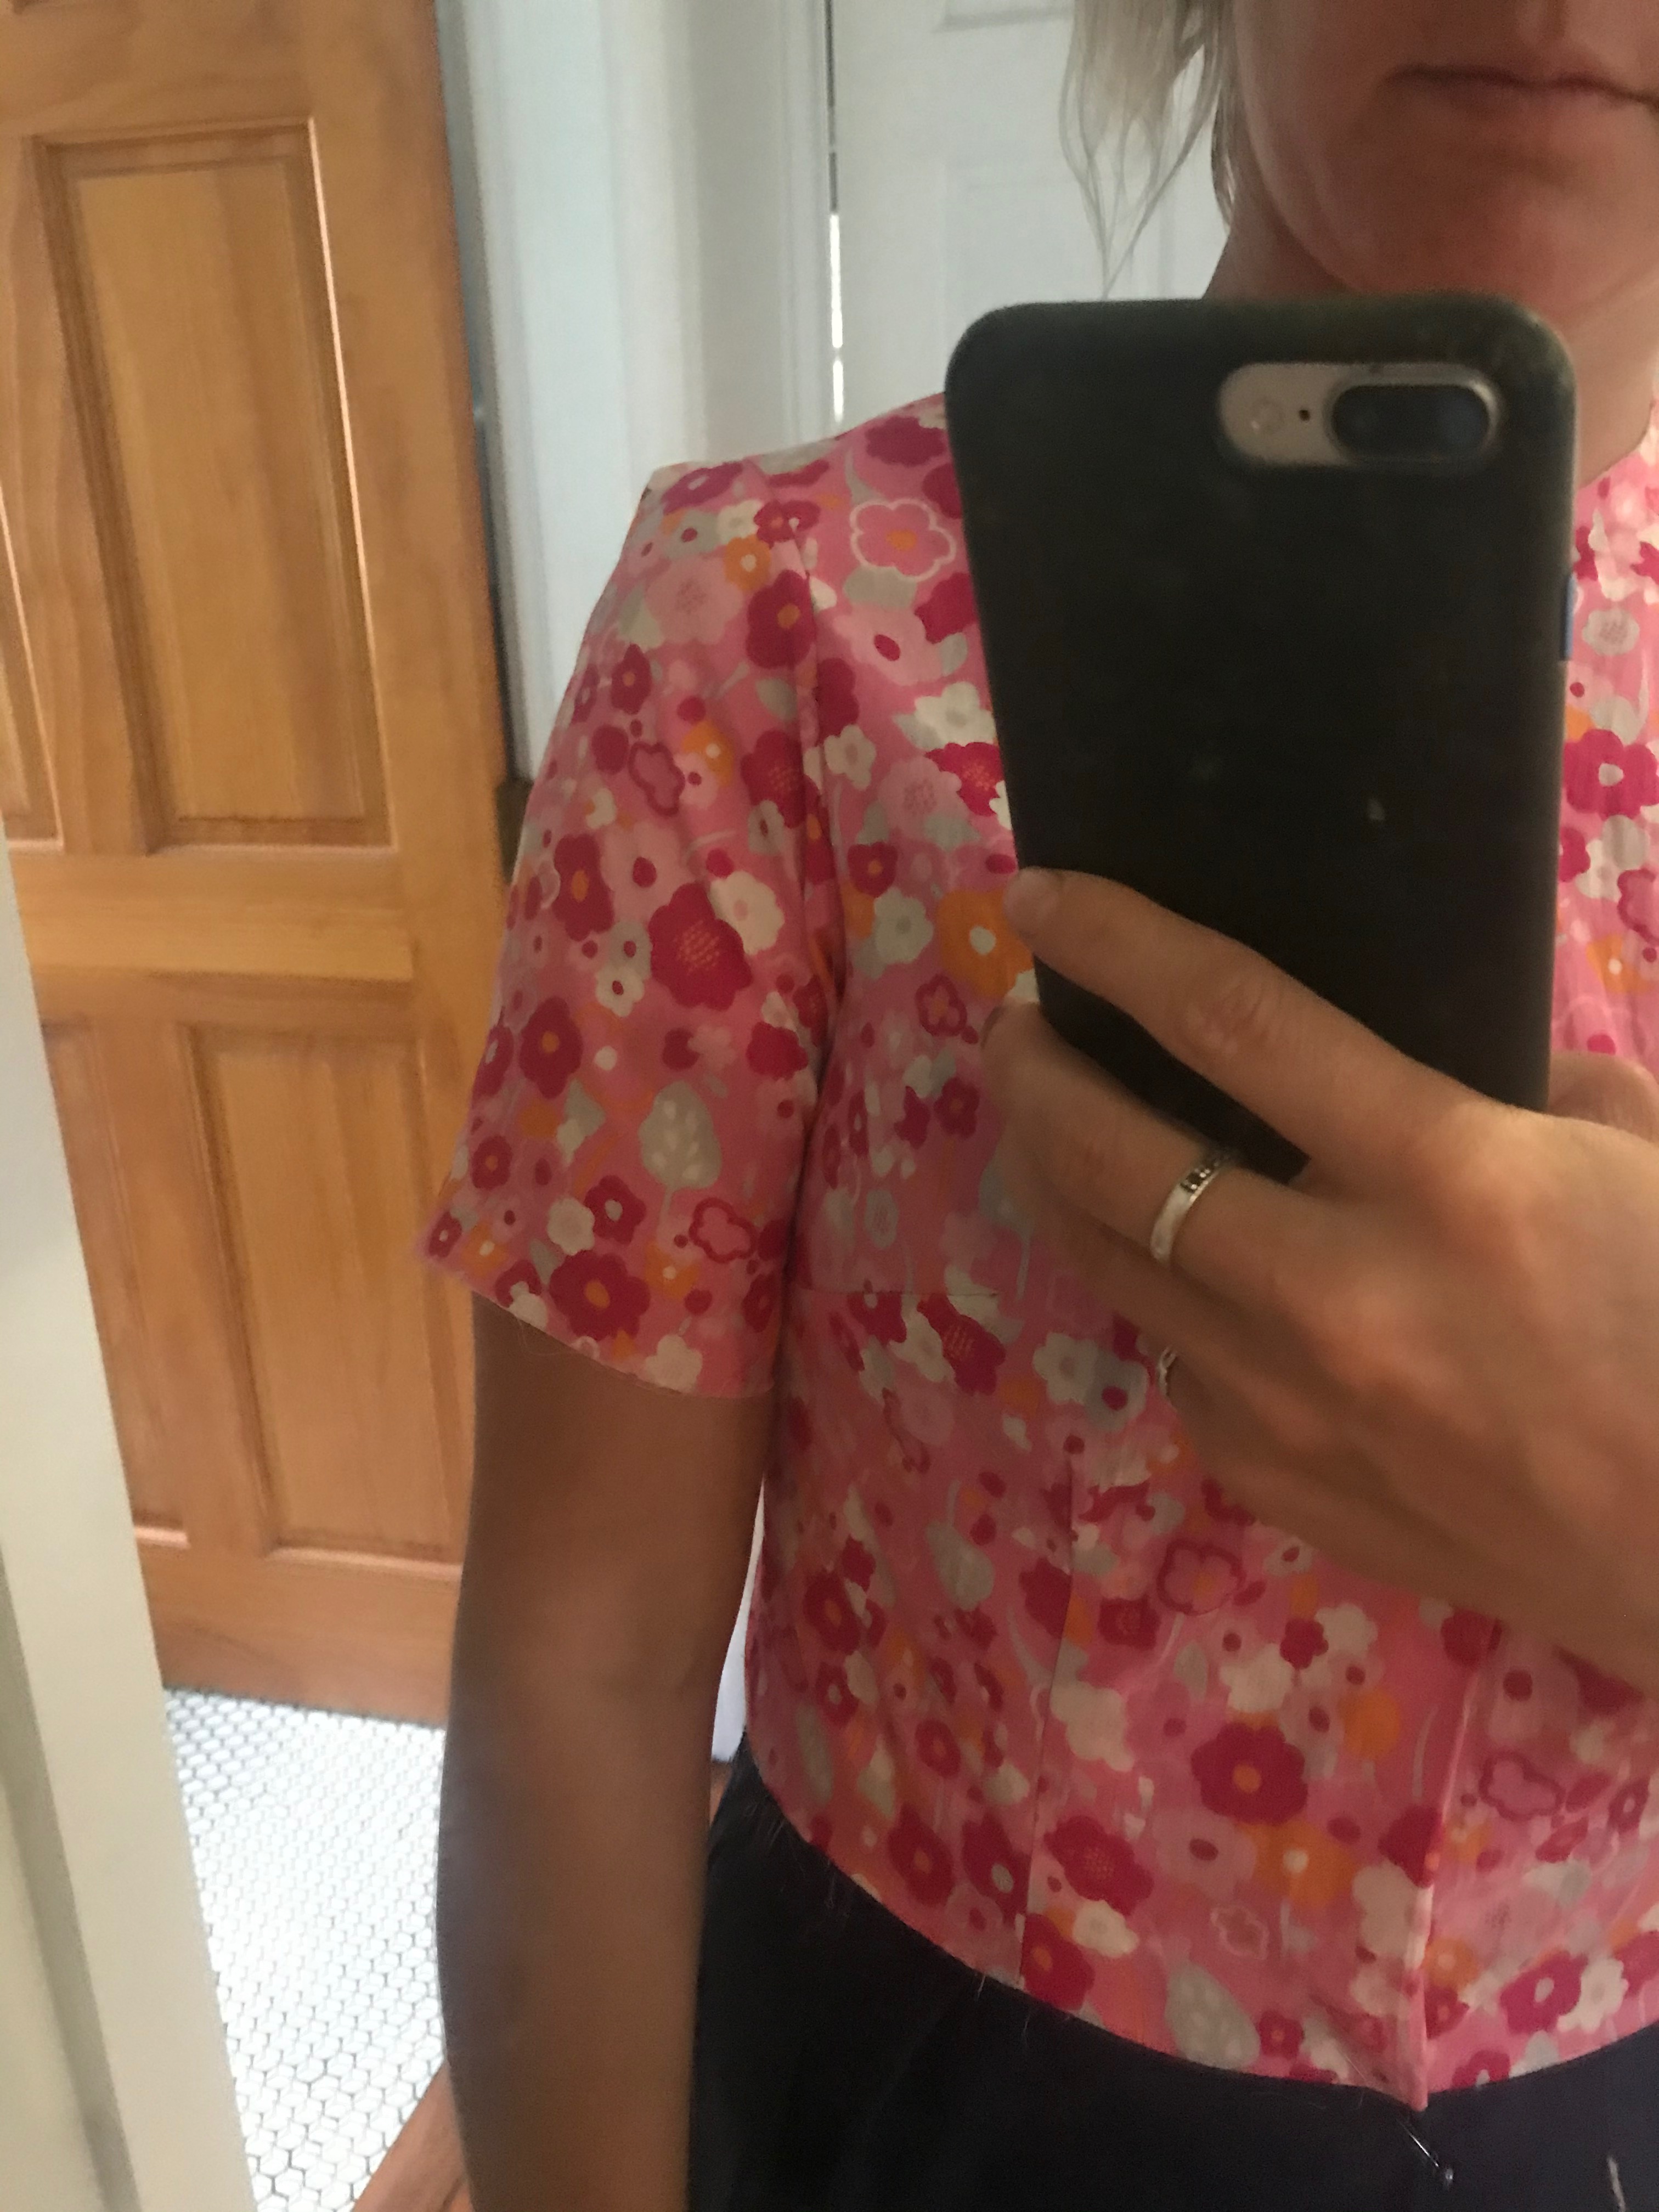
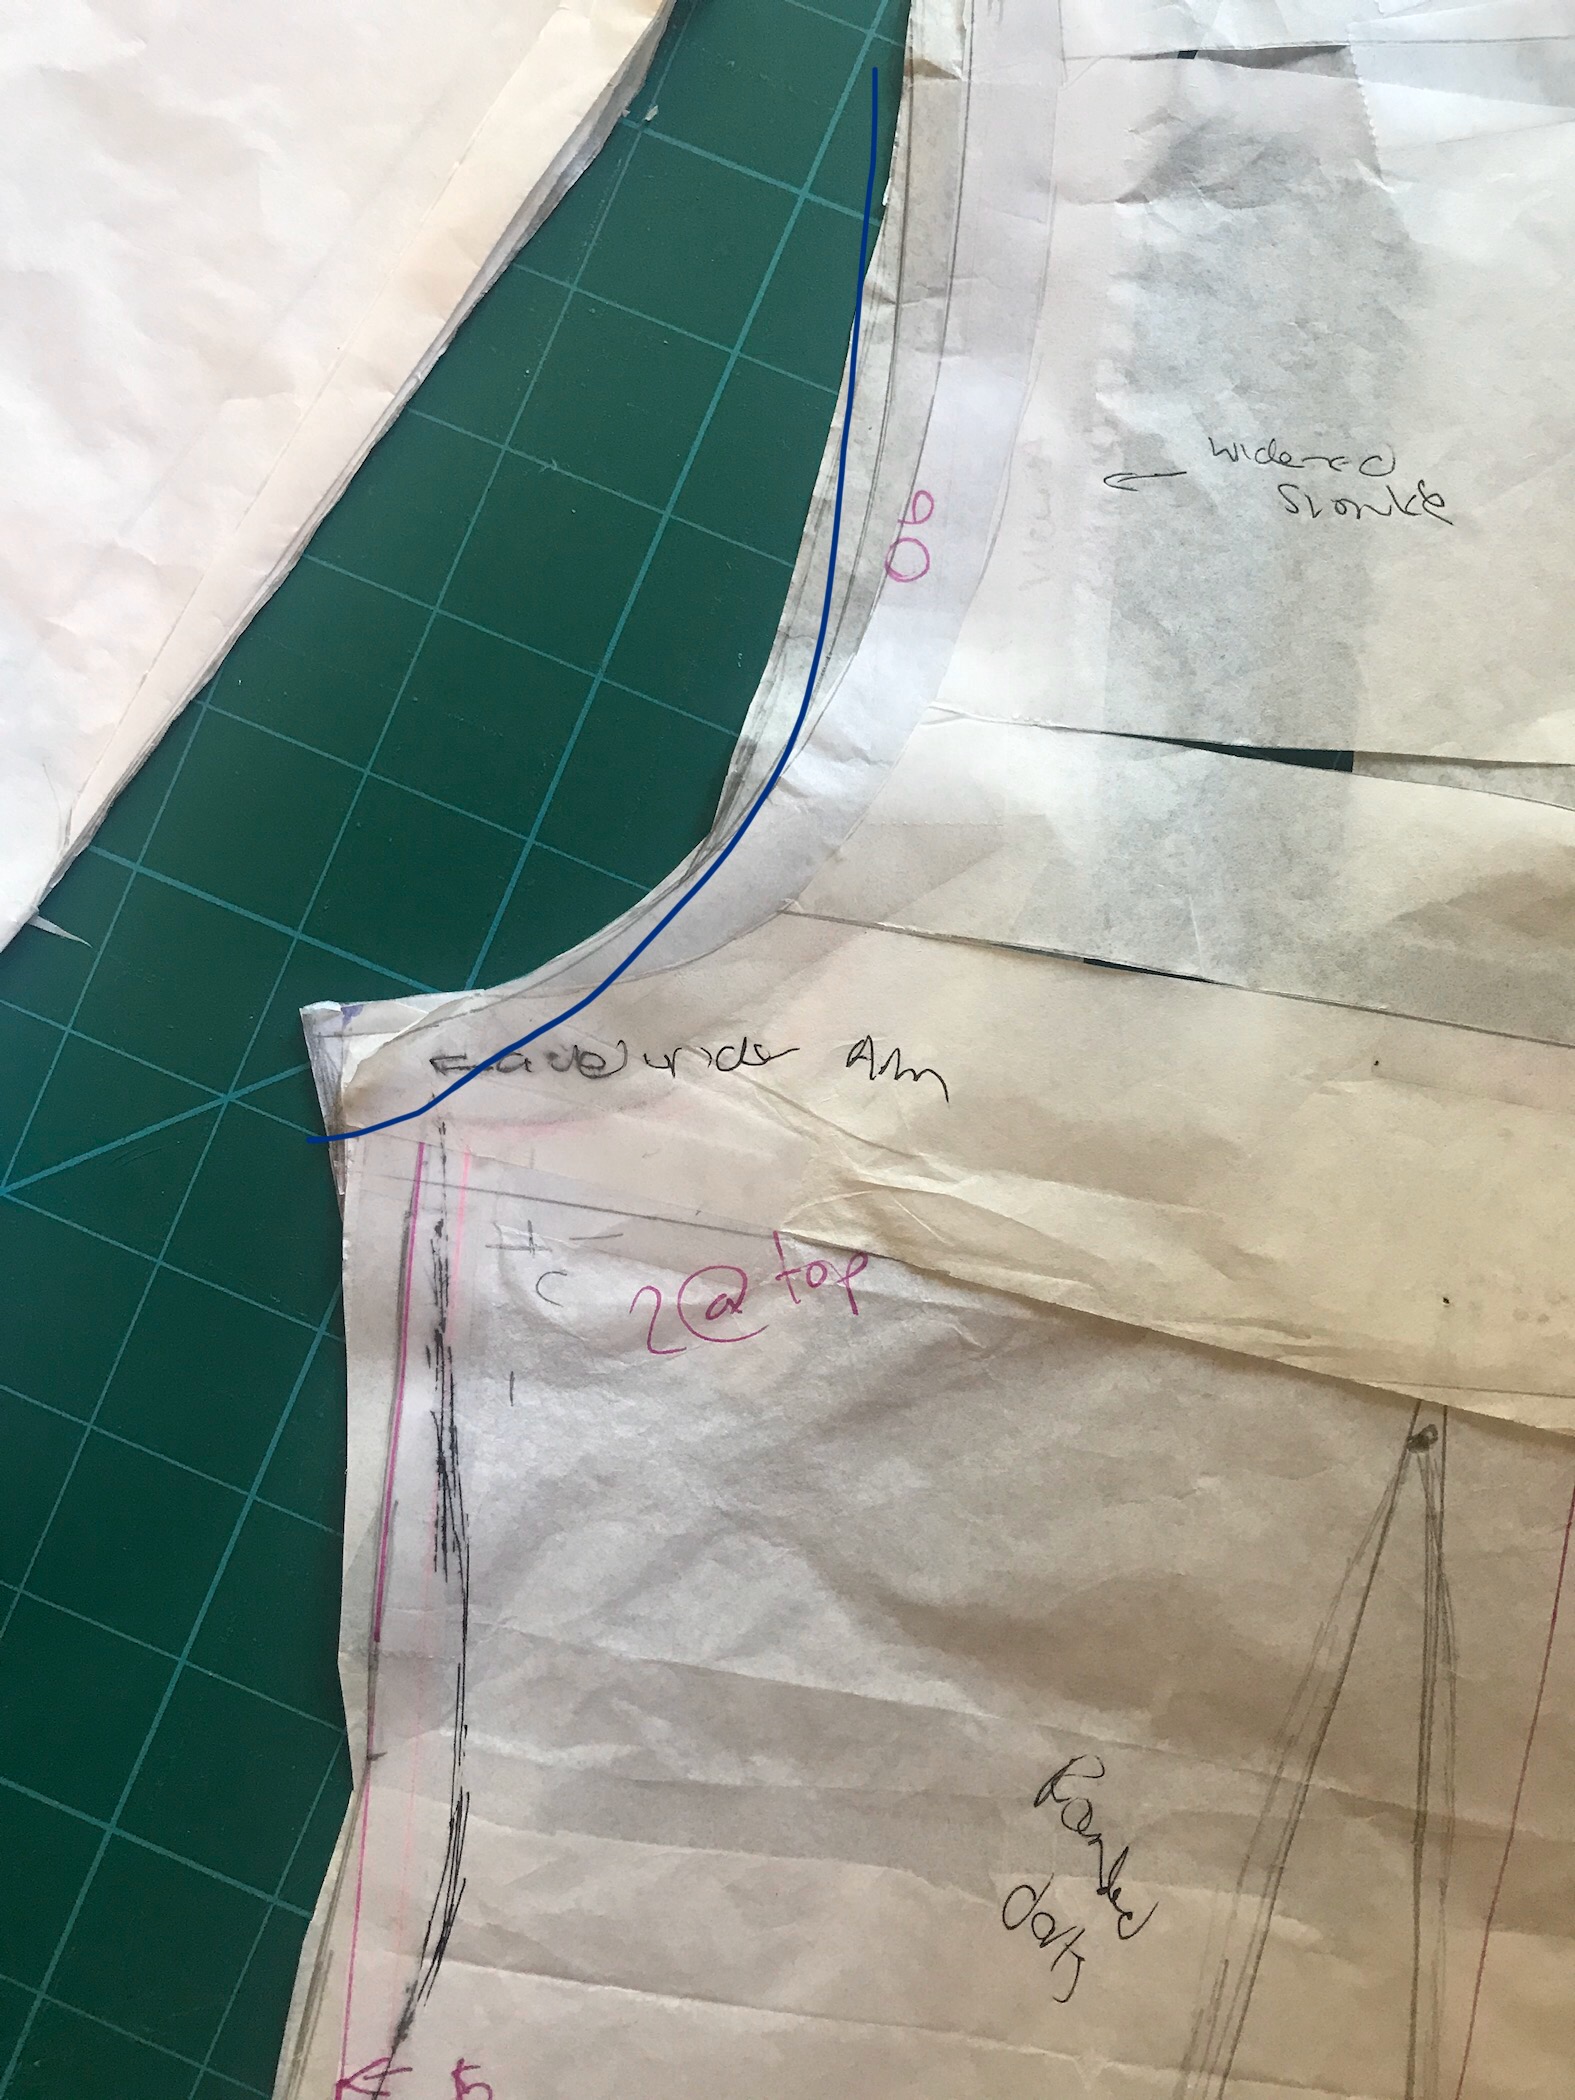
So I went on the hunt for the solution and stumbled across a series of videos called Sleeve Fitting Armhole Sleeve Connection by Alexandra Morgen. I also had some advice from @msjennmakes which reflected what the videos said, in that making sure the curves of the armhole match the curves of the sleeve; mine didn’t so after some reshaping both the armhole and the sleeve head I was finally happy.
It definitely wasn’t perfect but I get to point where I ask myself “would I buy this like this in a shop” and if the answer is yes I go ahead. It basically stops me from over fitting and sending myself nuts.
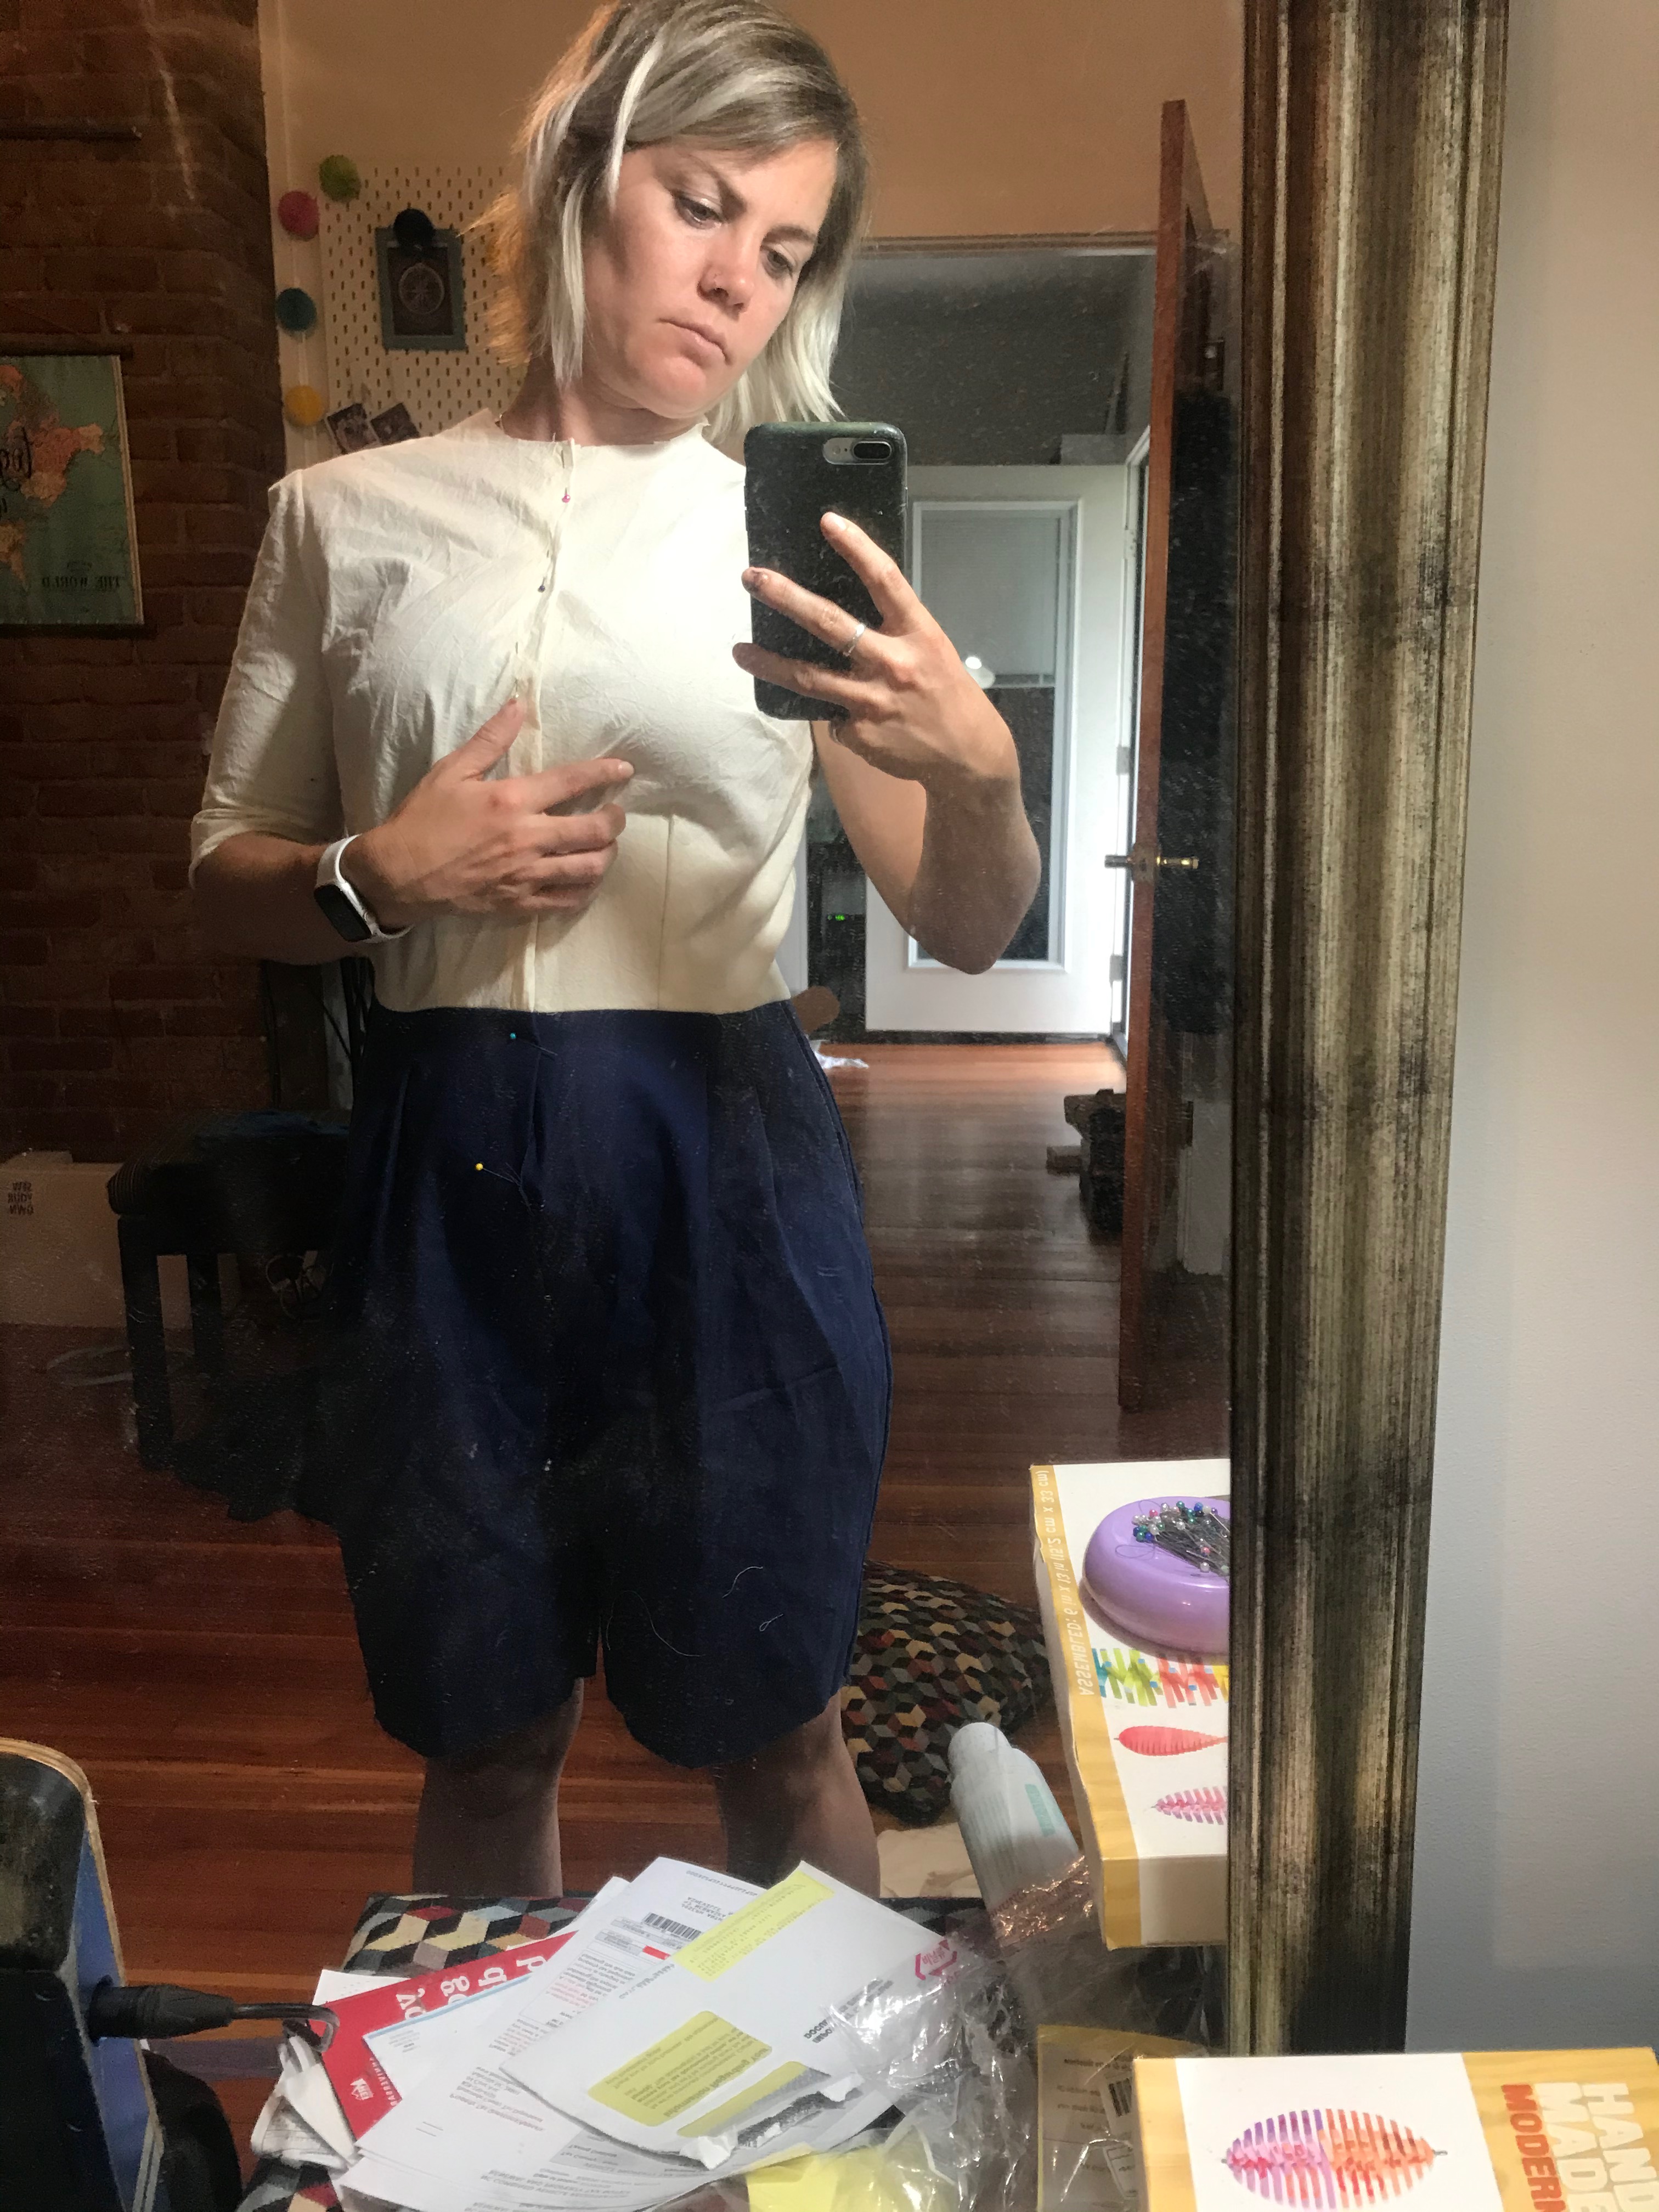
 Before I was willing to cut my actual fabric I reconsidered the trousers again as I hadn’t paid them any attention since first sewing them. The pattern doesn’t mention the height they were drafted for which I found a little odd, at 5ft 2″ I ALWAYS have to shorten everything and having the height drafted for included in the pattern helps me know by roughly how much. I reached out to the designer, plus some people on insta who’d made them. The general response was they’d actually shortened the rise and the leg. The designer got back to me stating the fit model was 5ft 8″!! Definitely needed to shorten. I decided to try folding out an inch in the rise of my muslin and making sure to sit down! This seemed fine so transferred that to pattern, plus I took another inch from the lengthen shorten line in the trouser leg, so 2 inches out overall. The trousers bunch up a little weirdly in the crotch when I sit but if I’d have shorted the rise any more I wouldn’t be able to sit down!
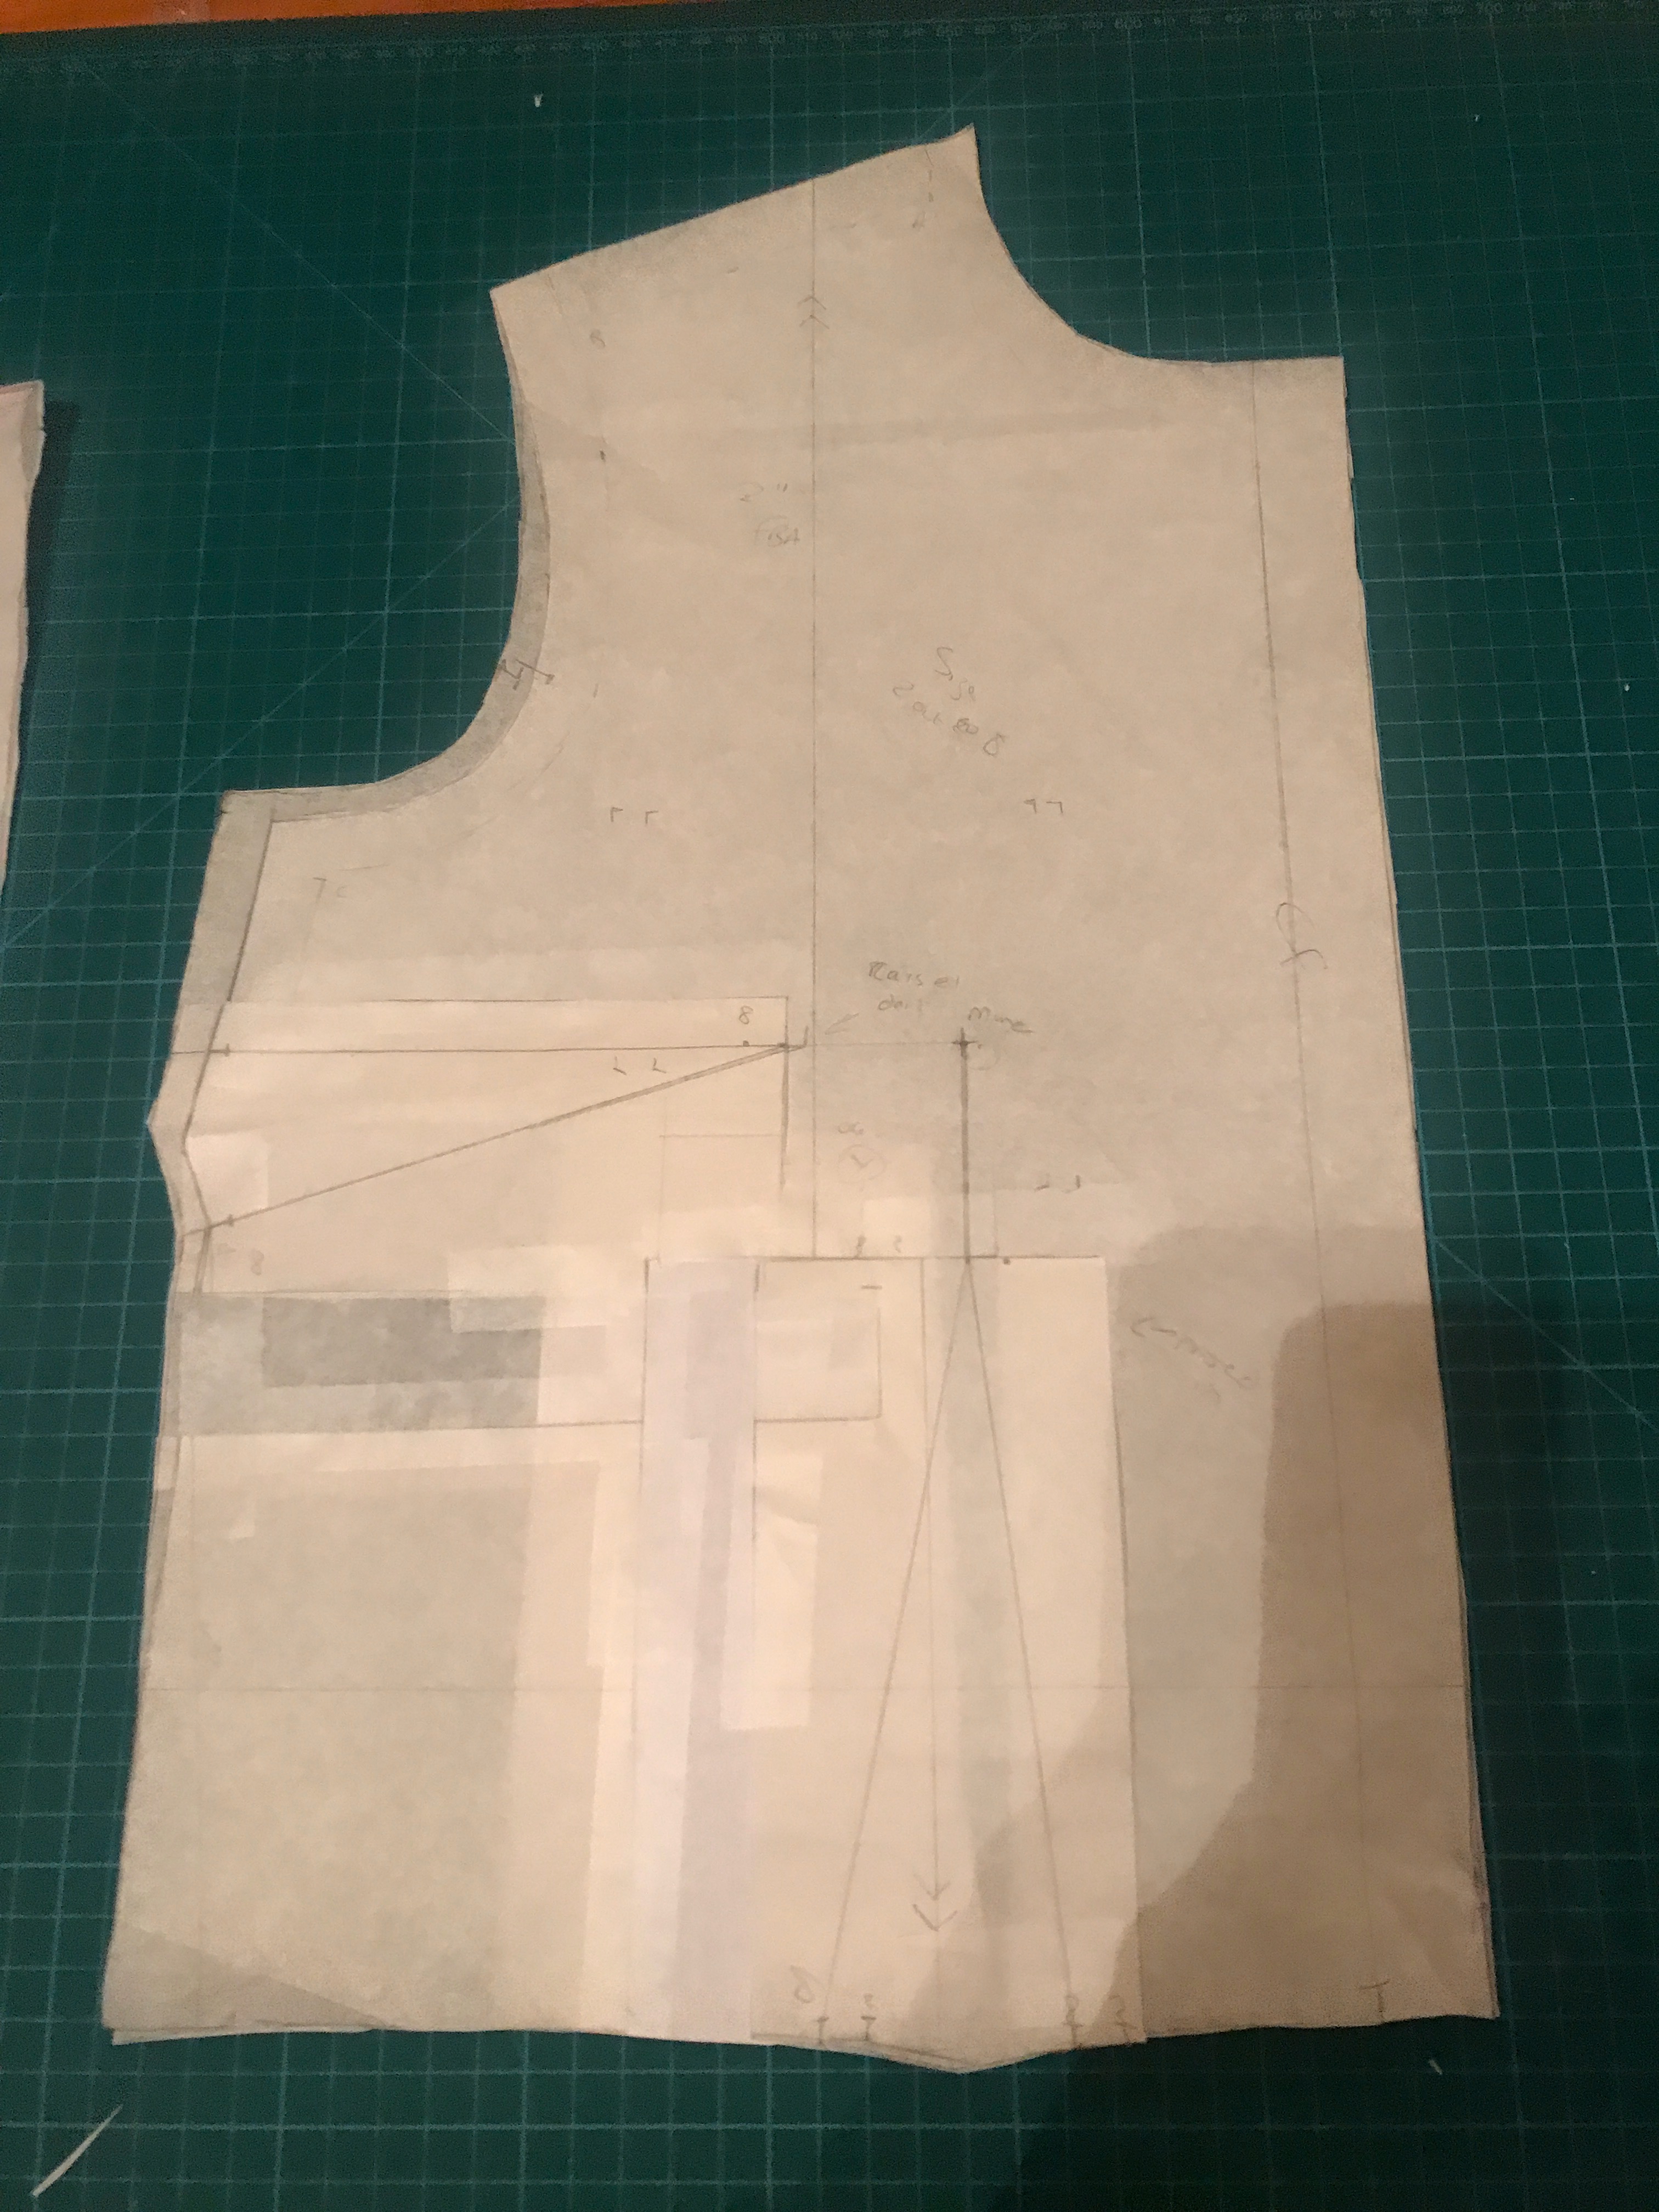
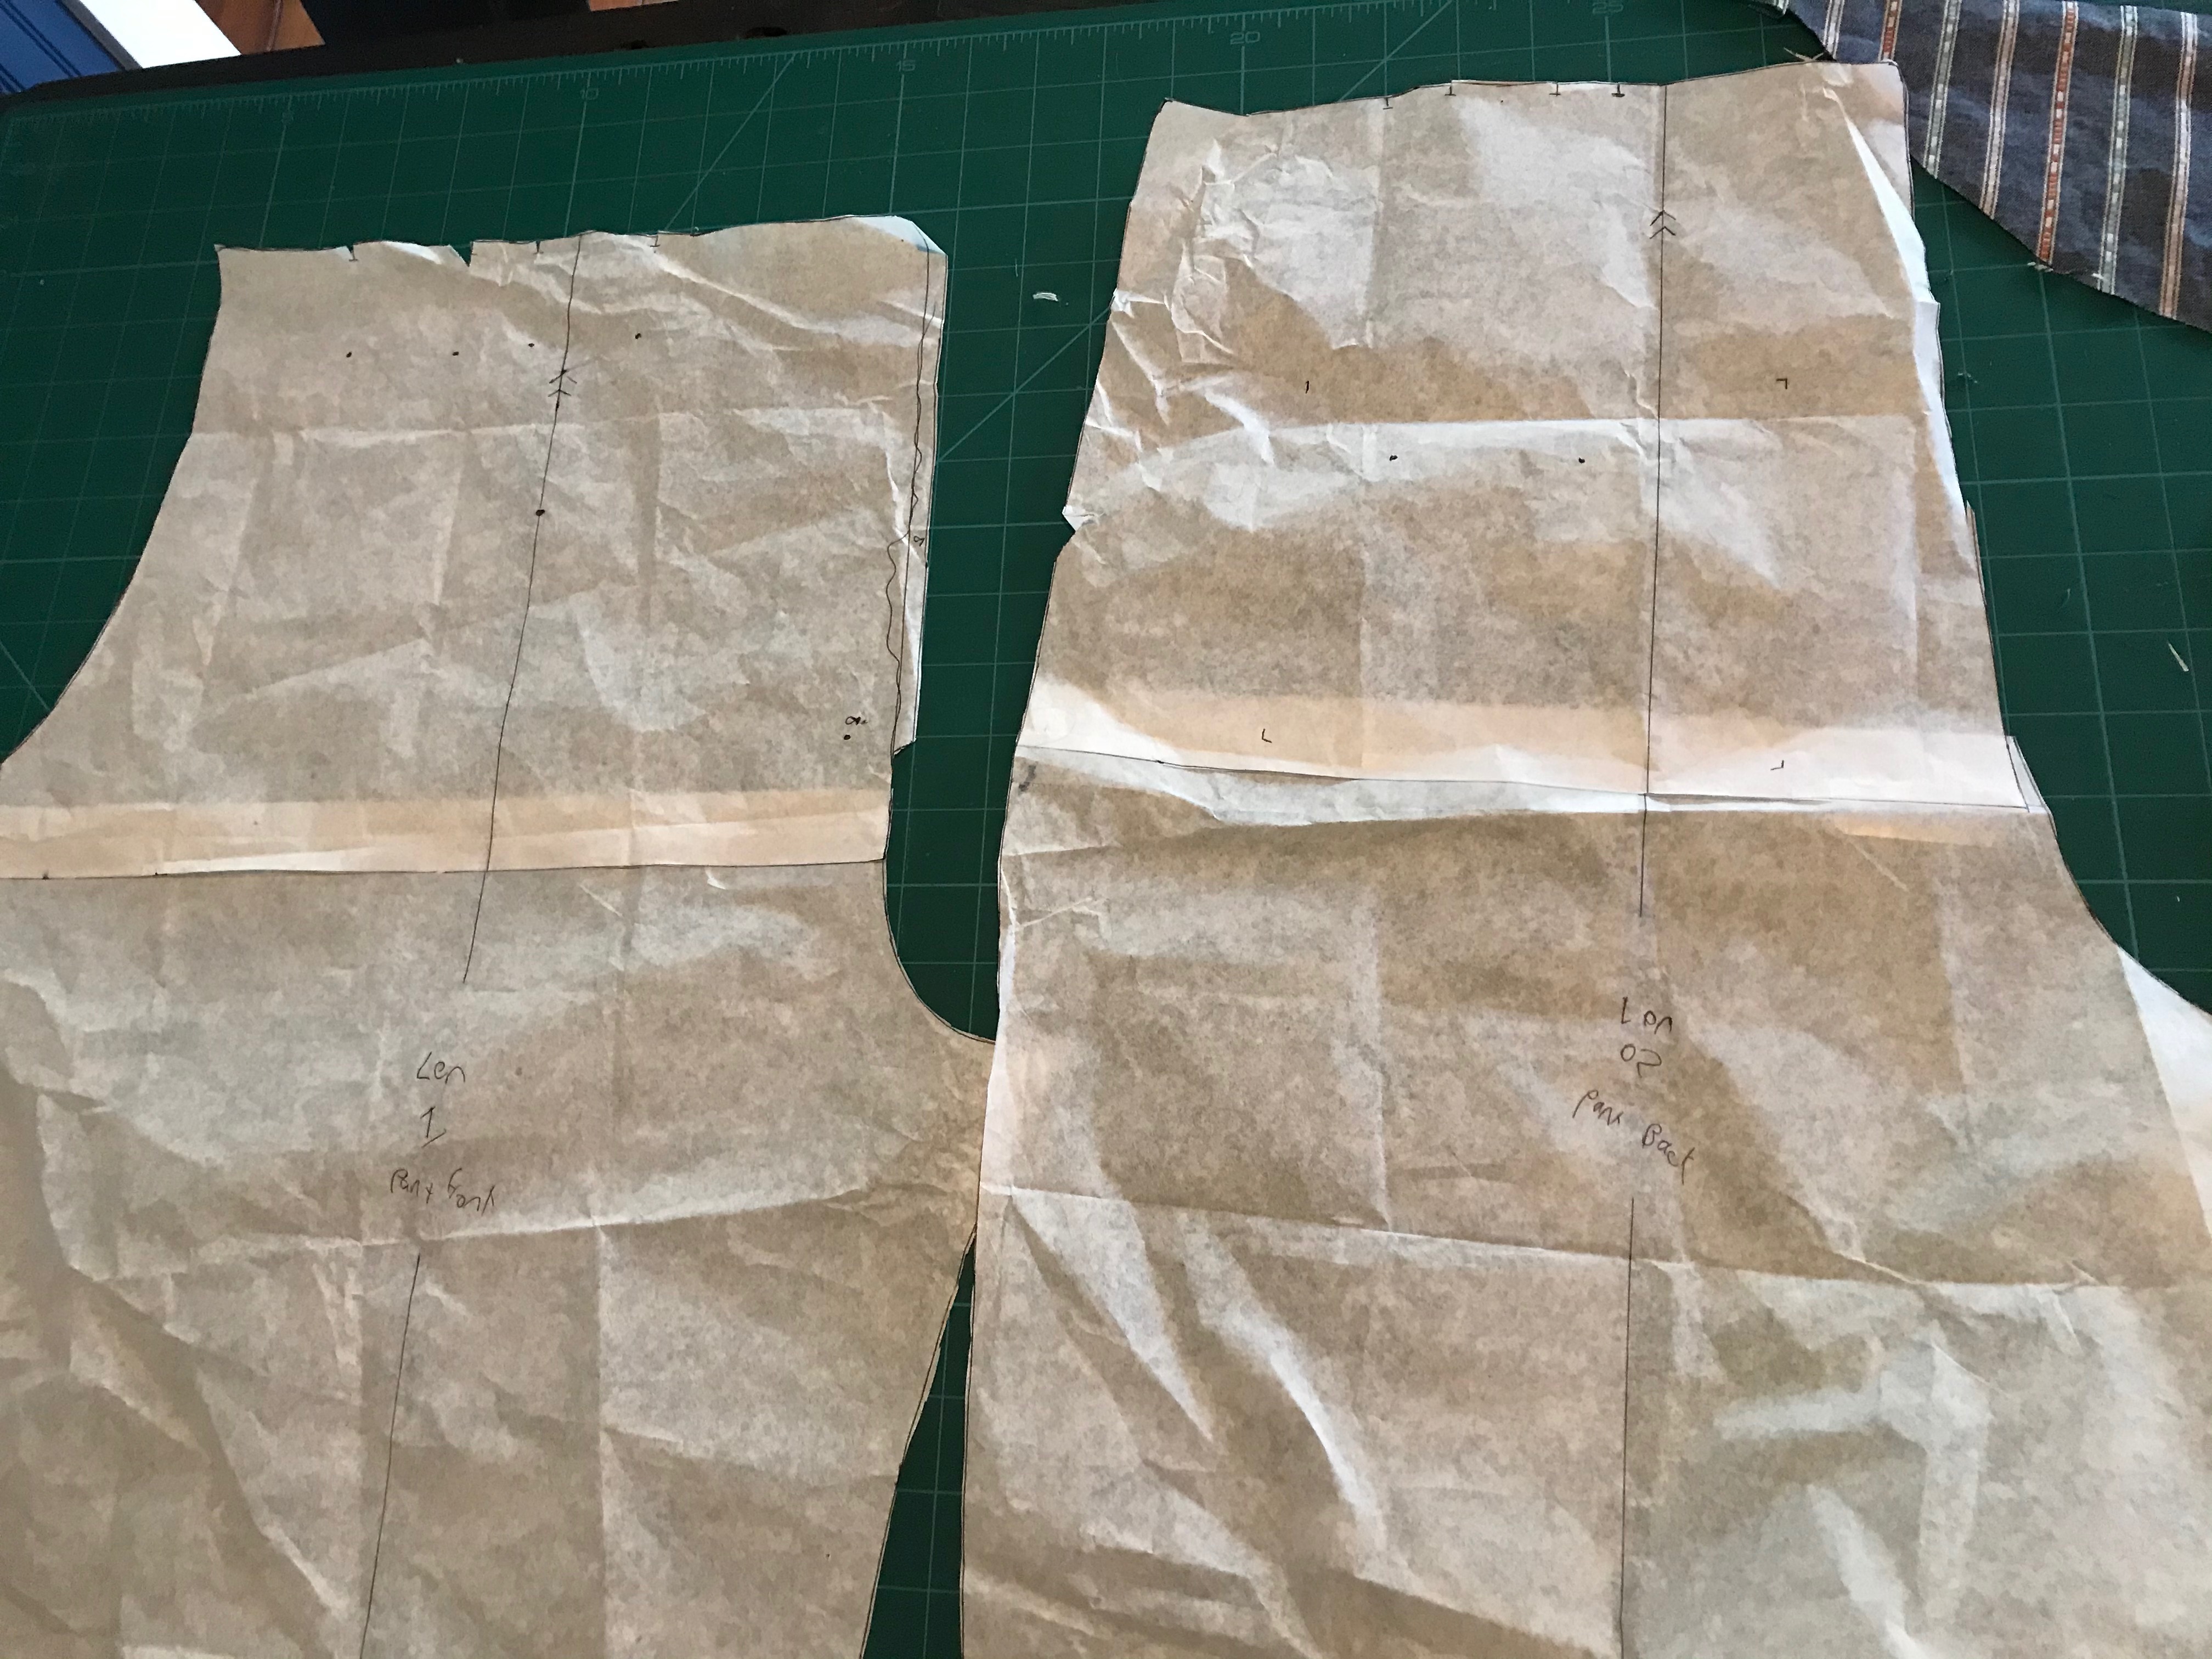
Here’s the trouser pieces after shortening the rise:
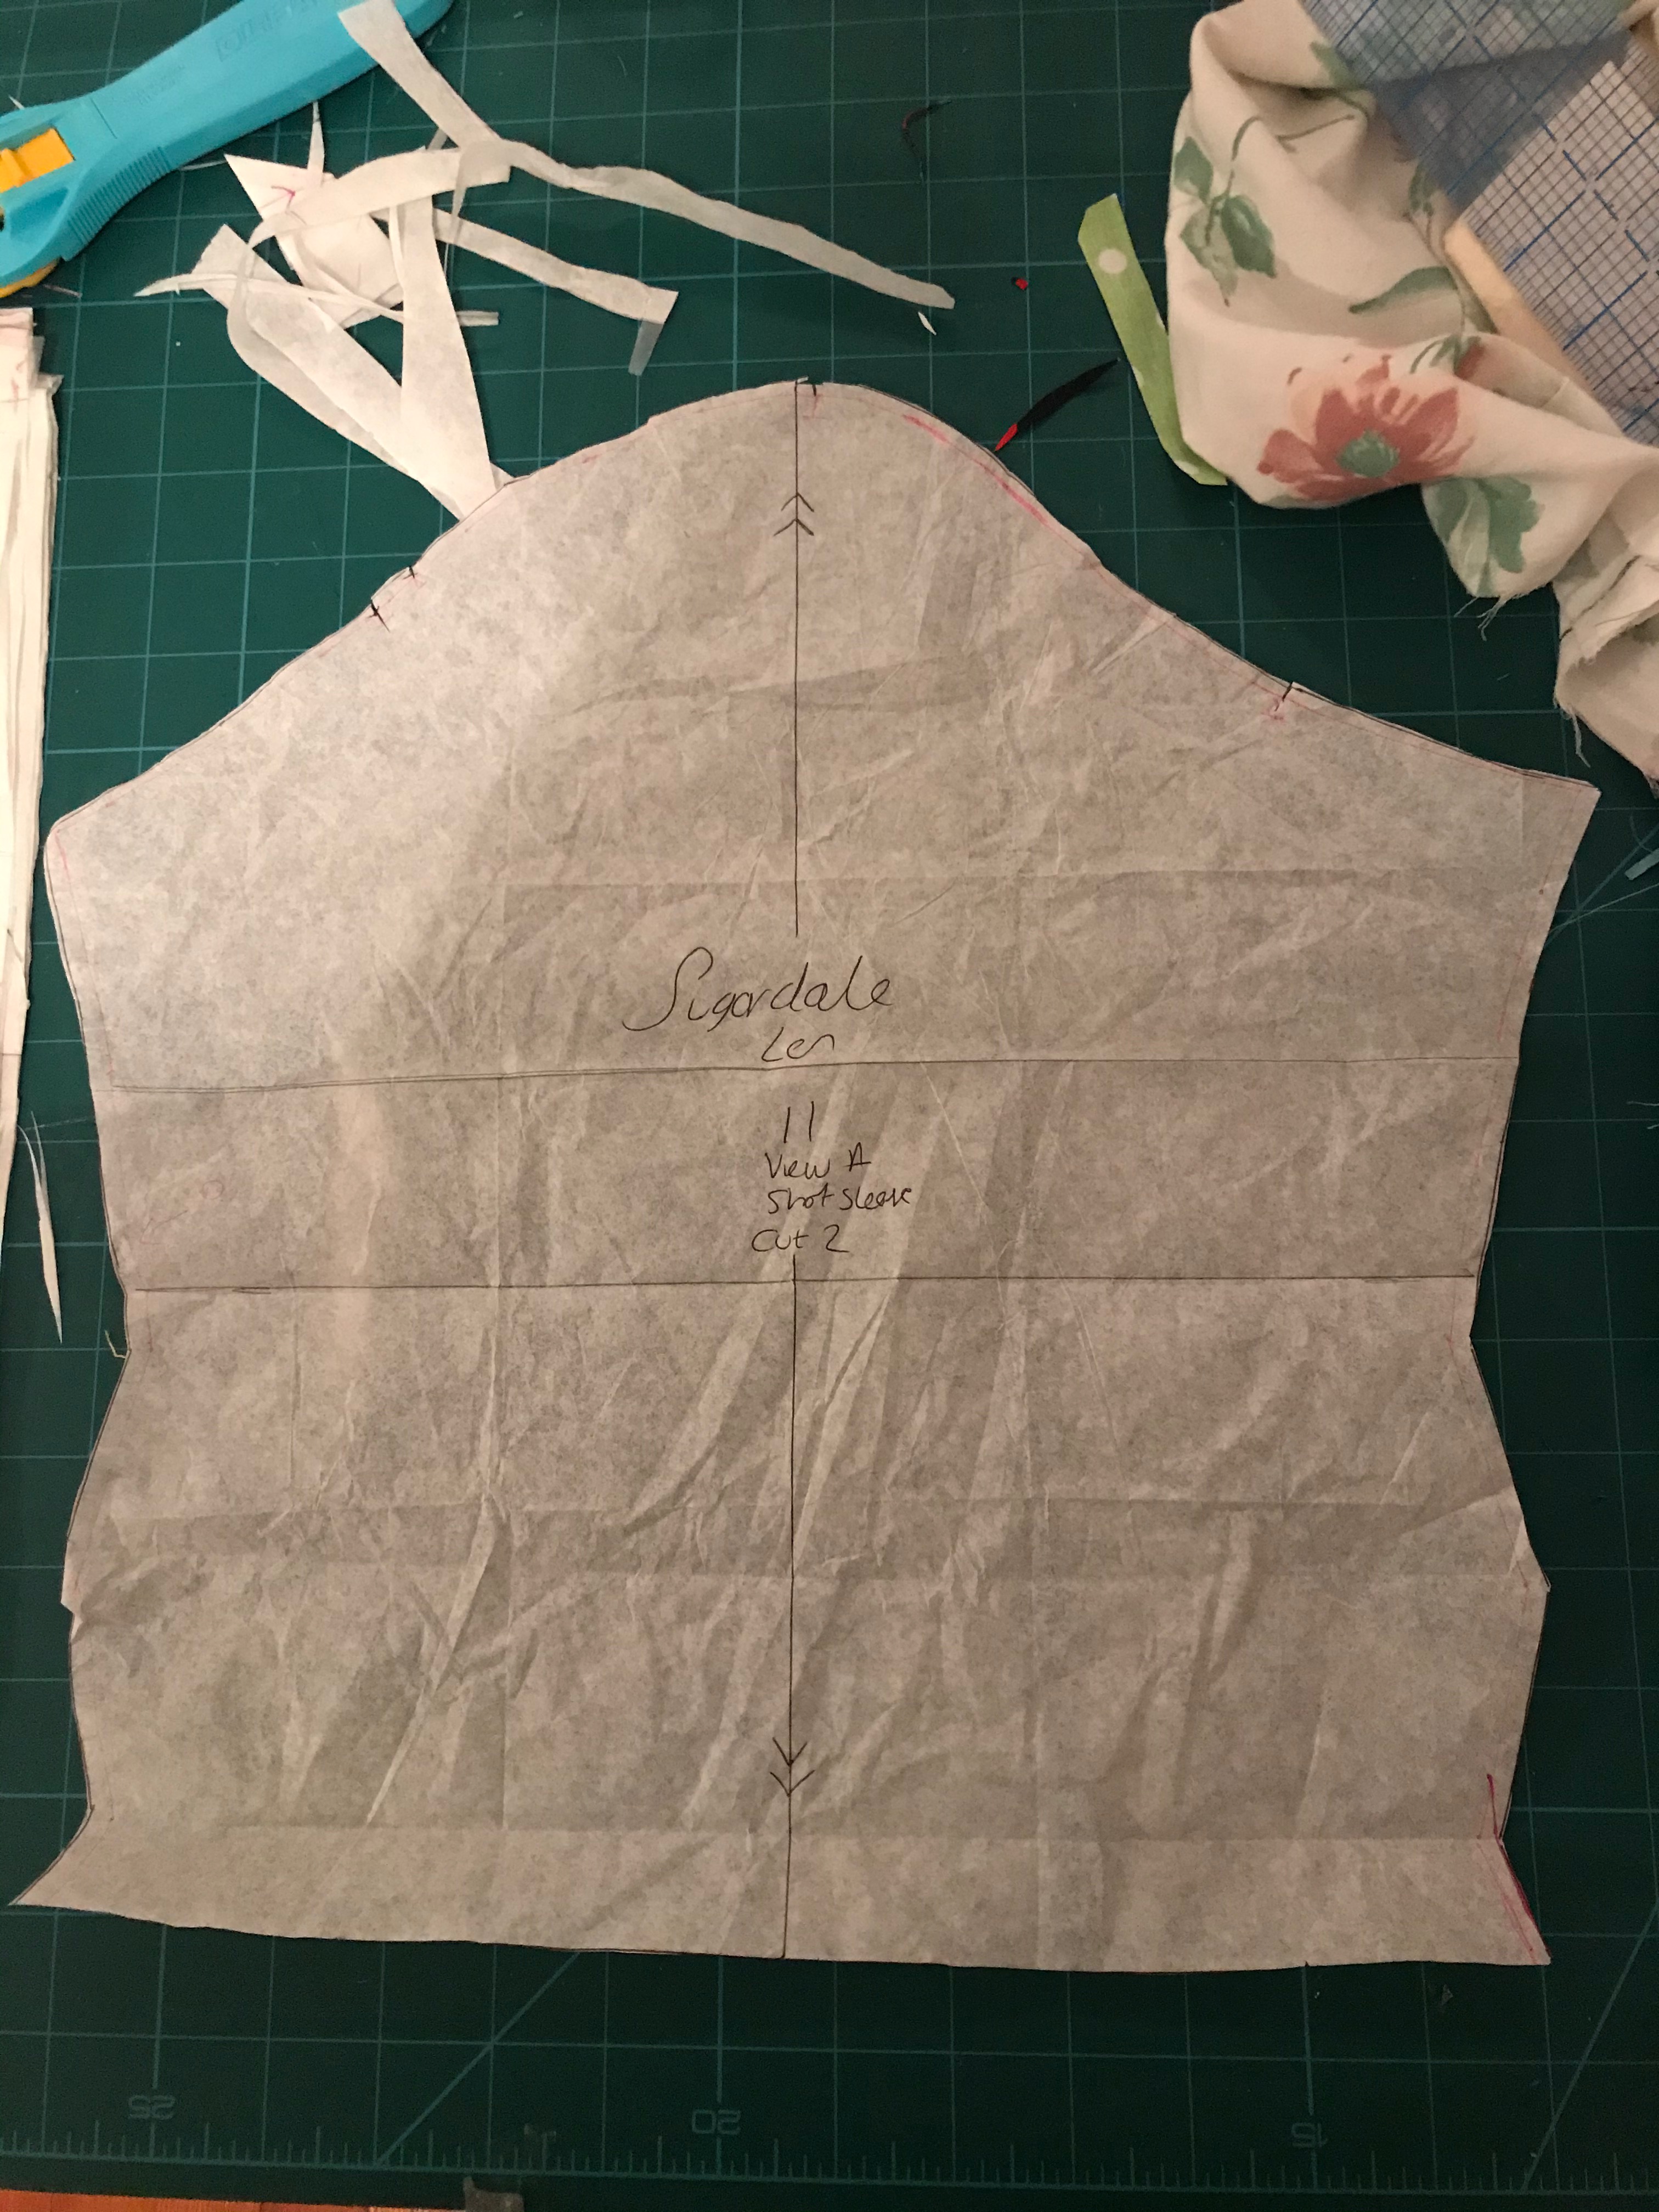
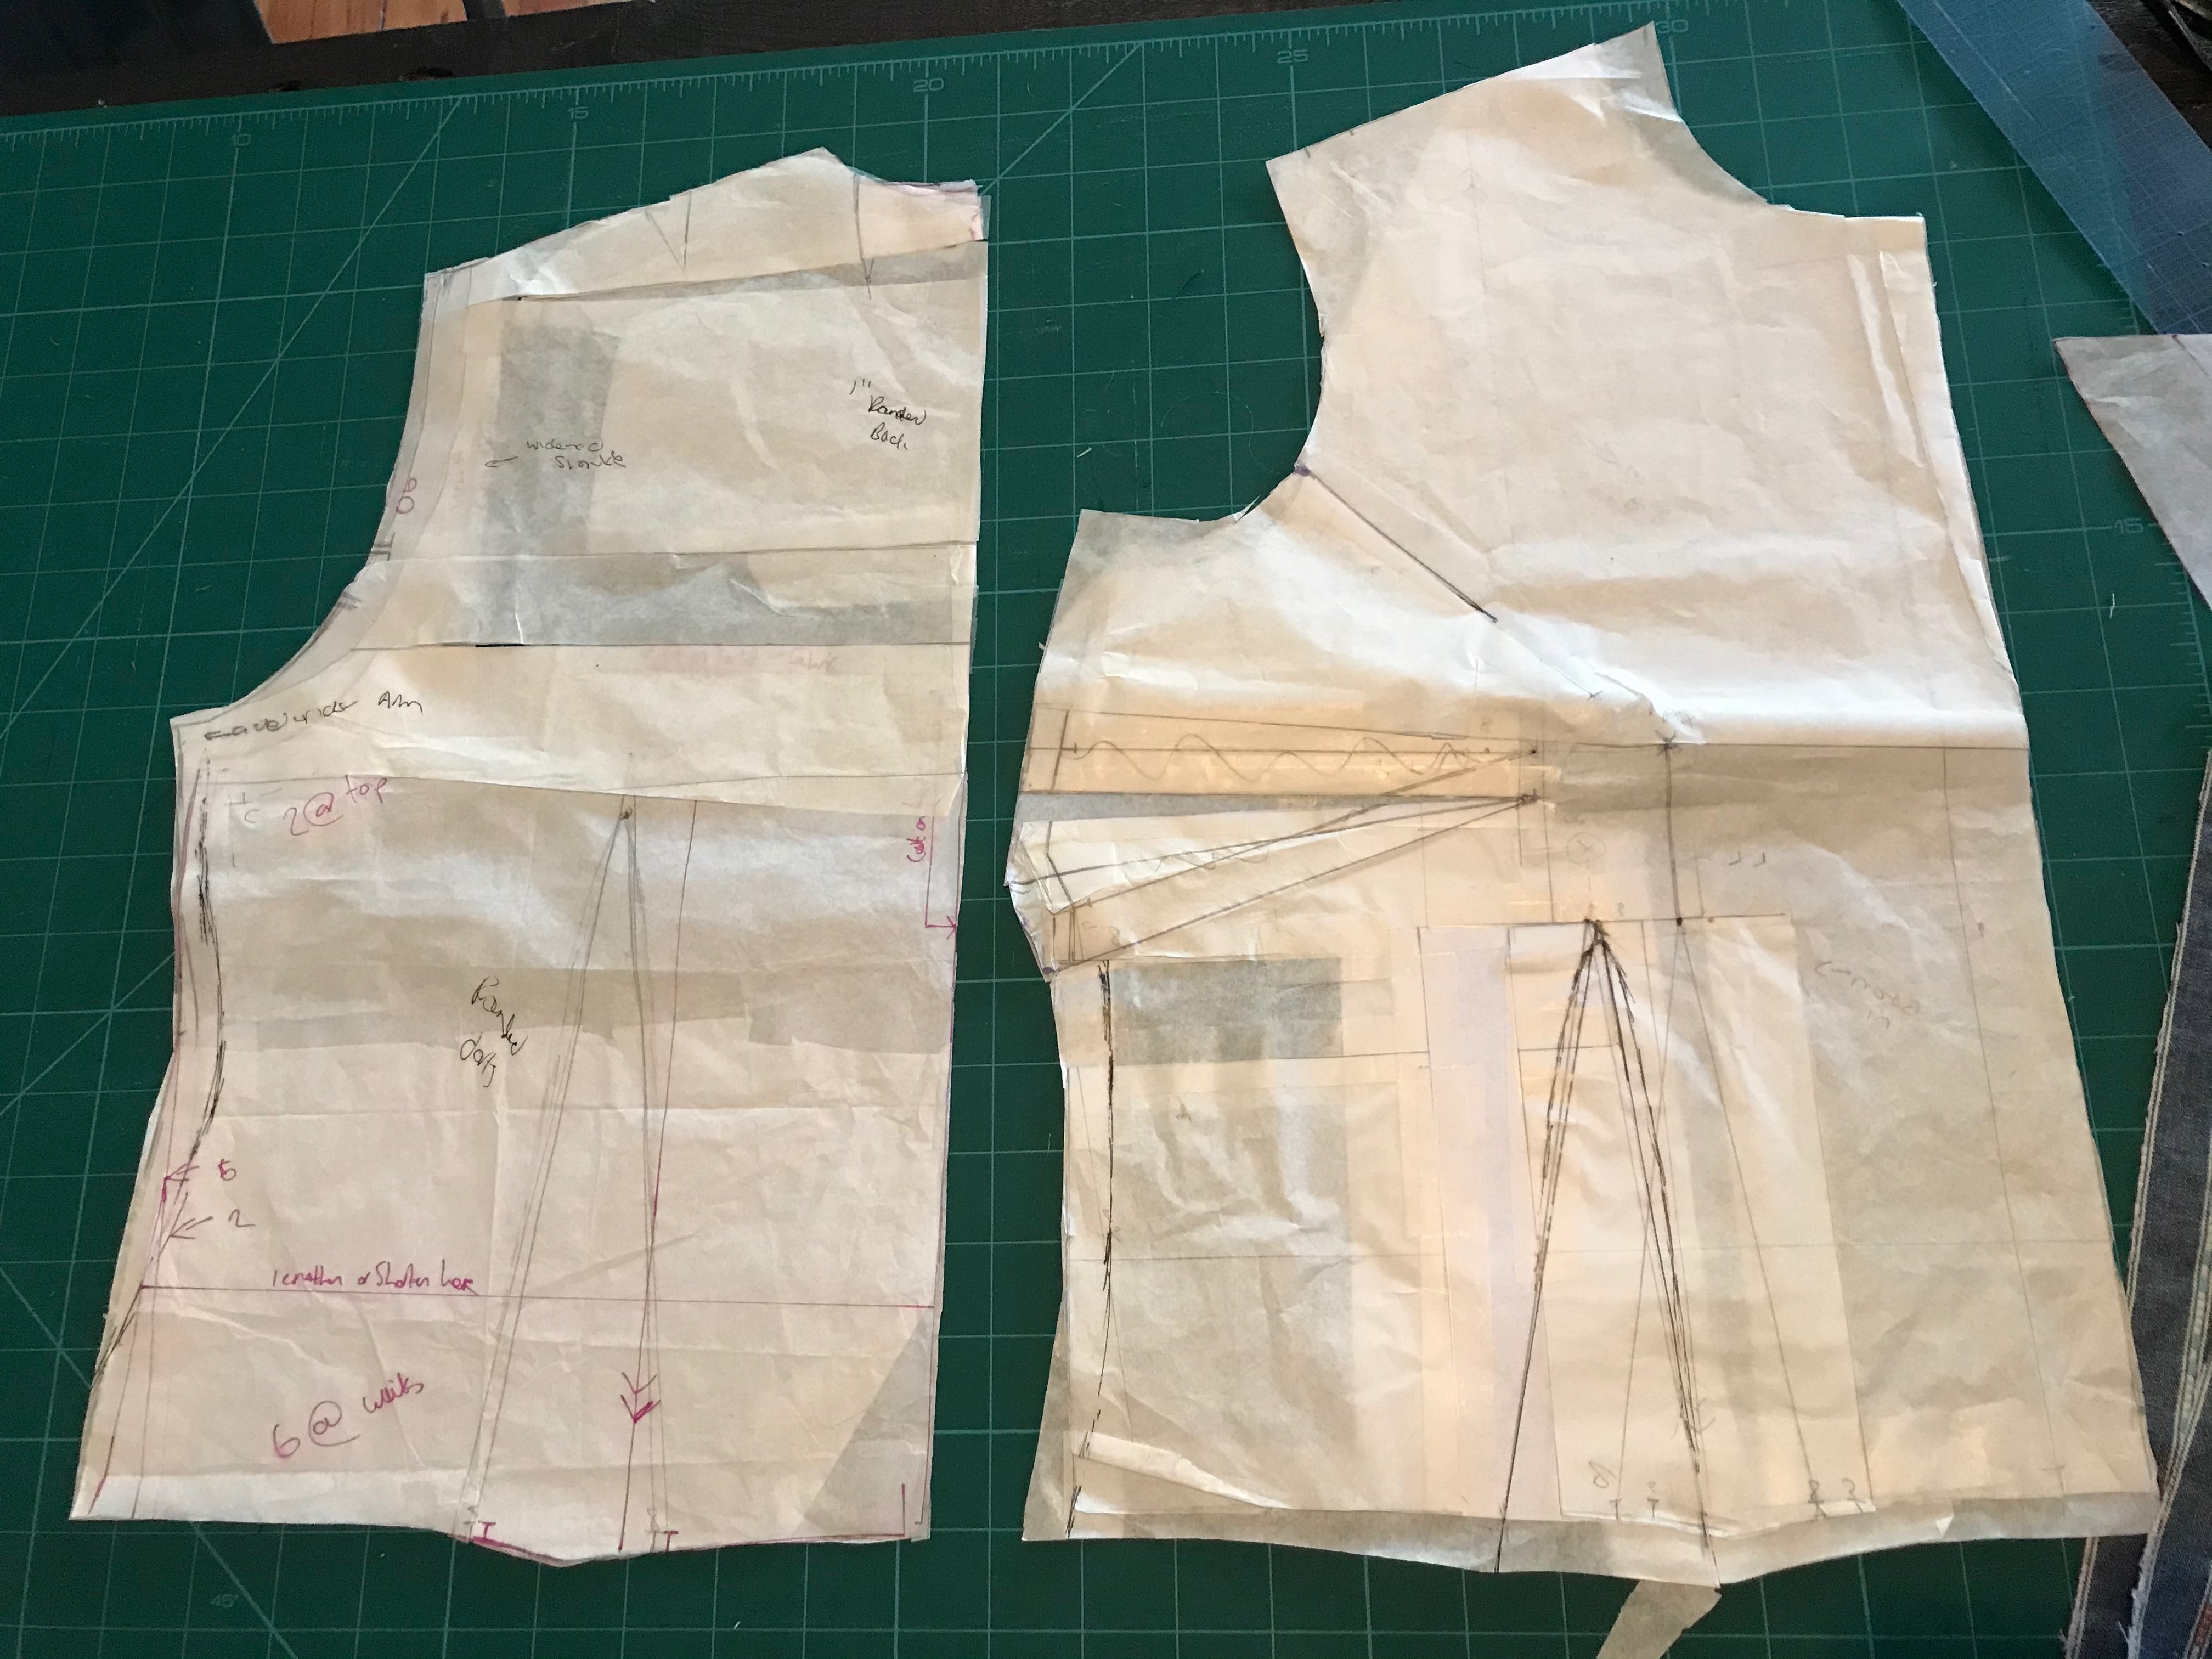
And here are the final bodice pattern with alllllll the changes
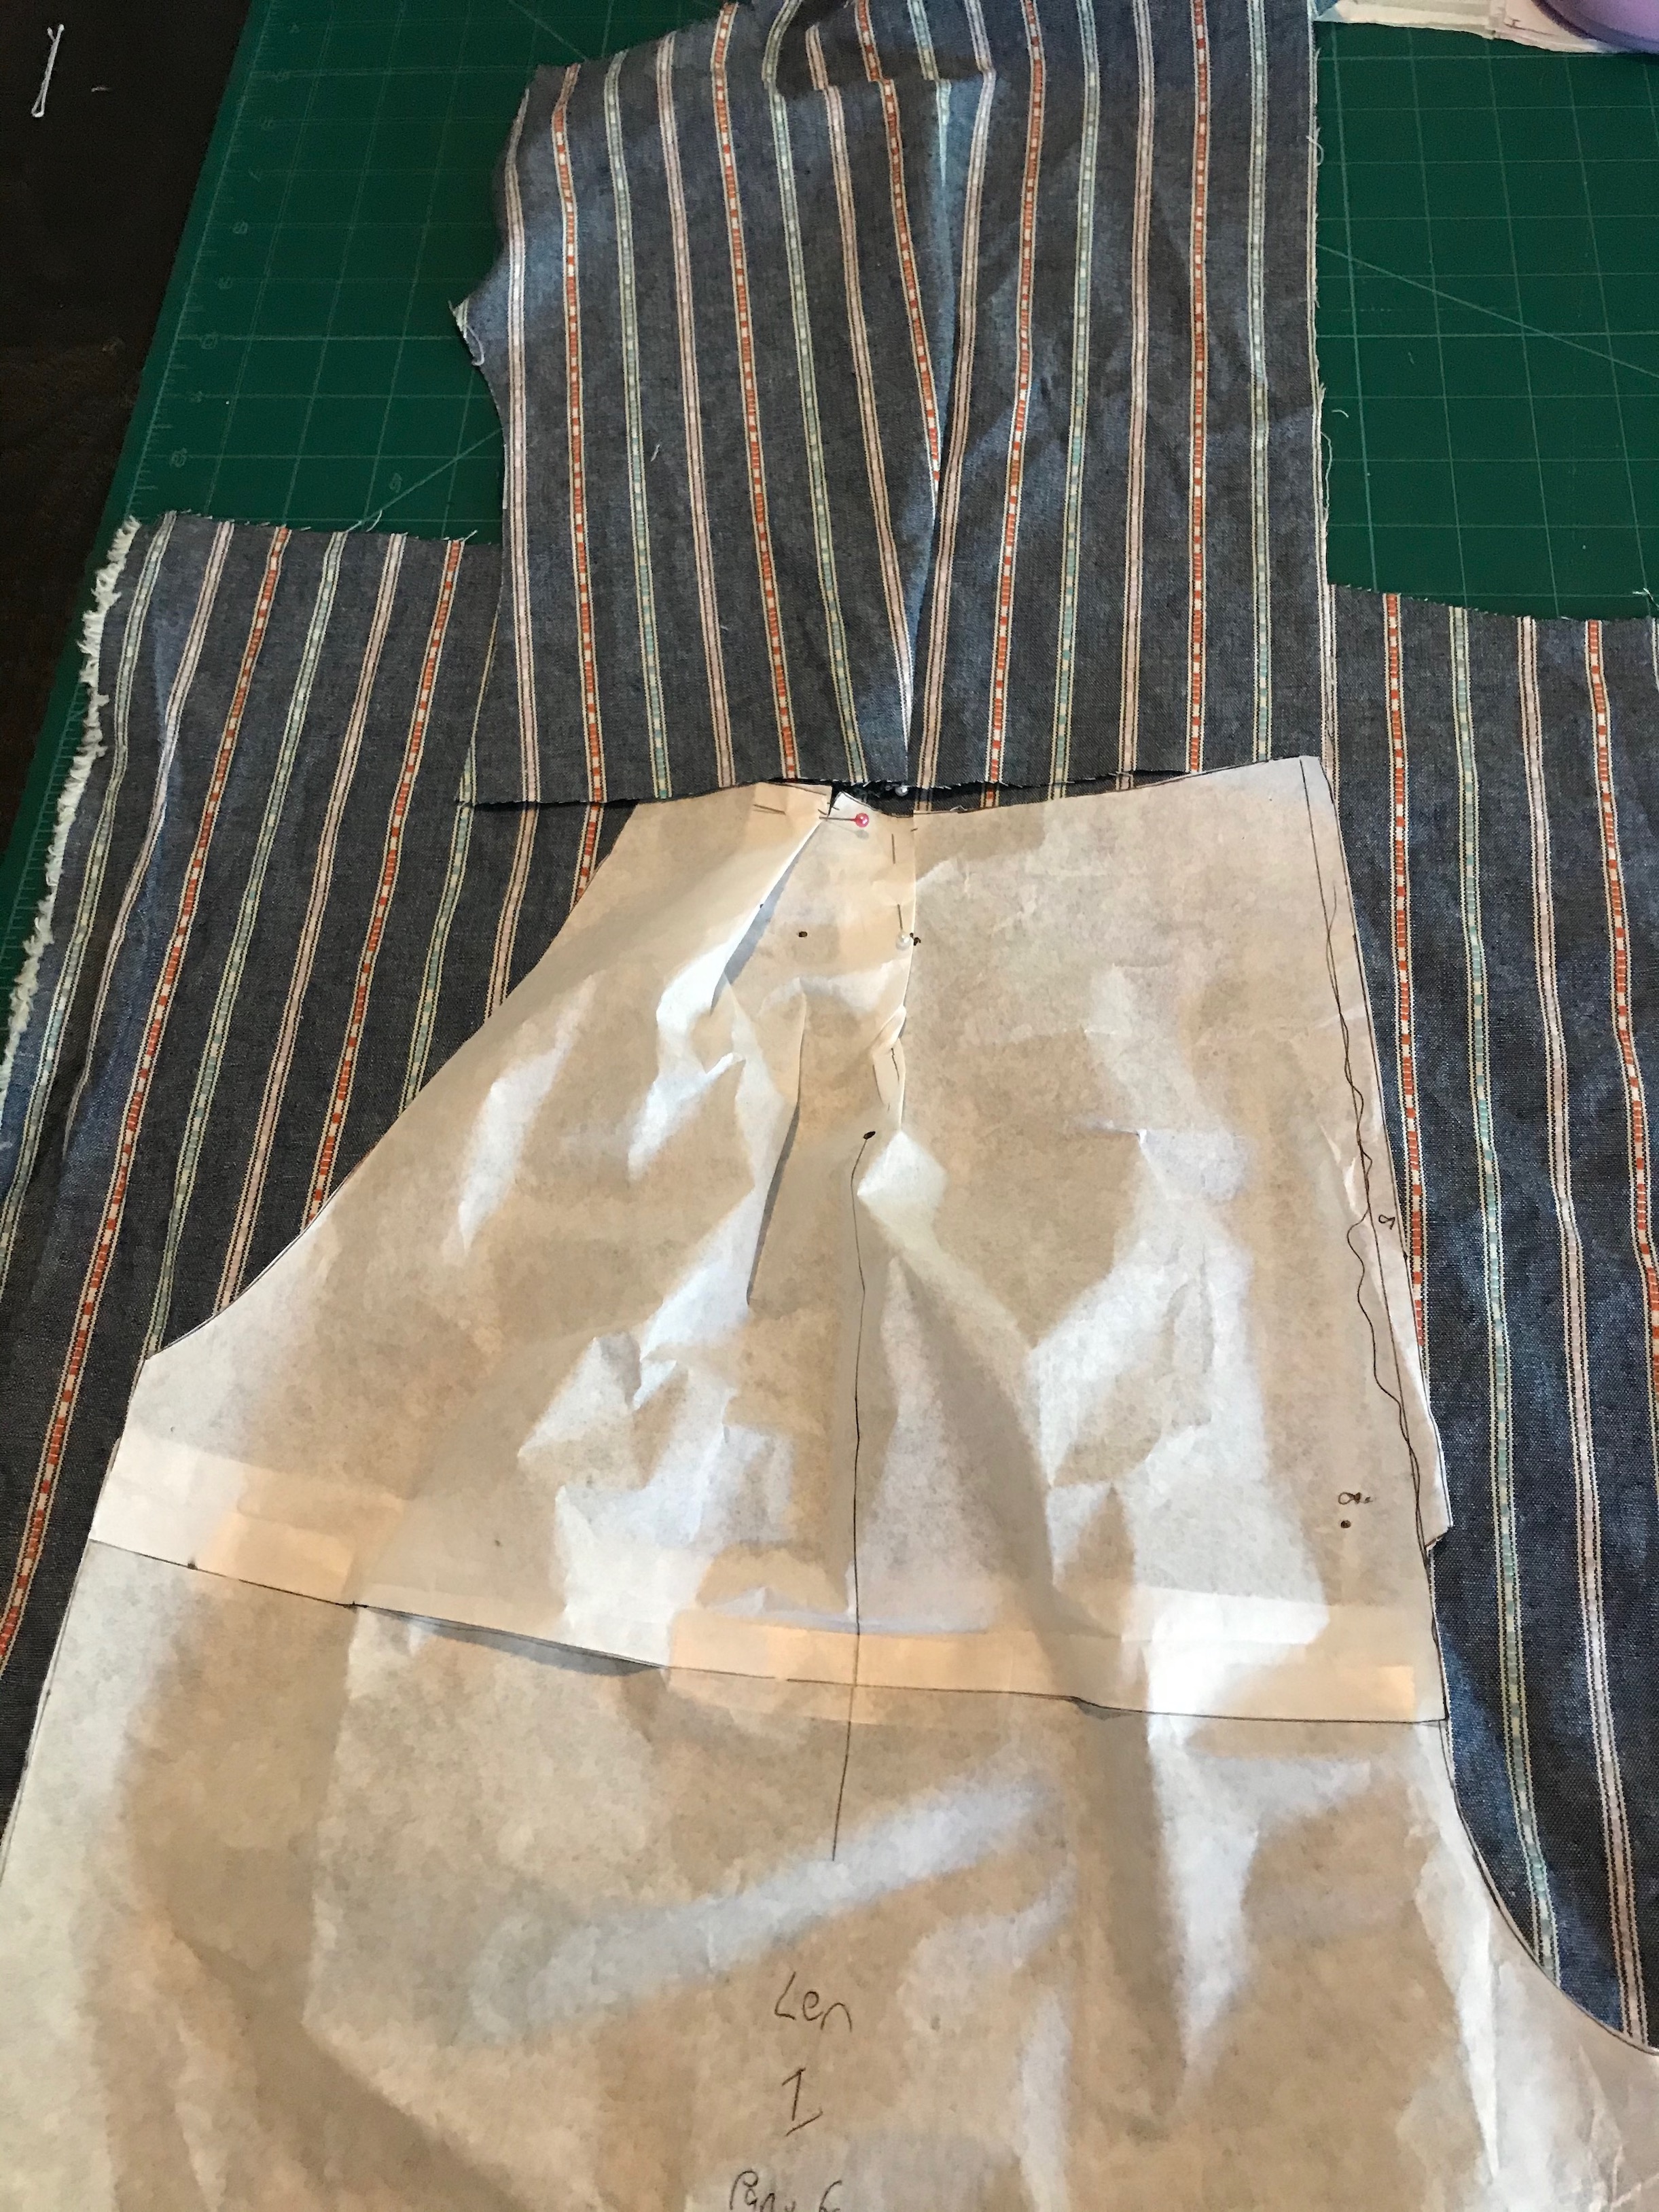
Time to cut out – urgh bugger – in the fitting fog I’d forgotten about pattern matching!
I spent AGES cutting, trying so hard to pattern match – especially hard with the pocket style and all the darts.
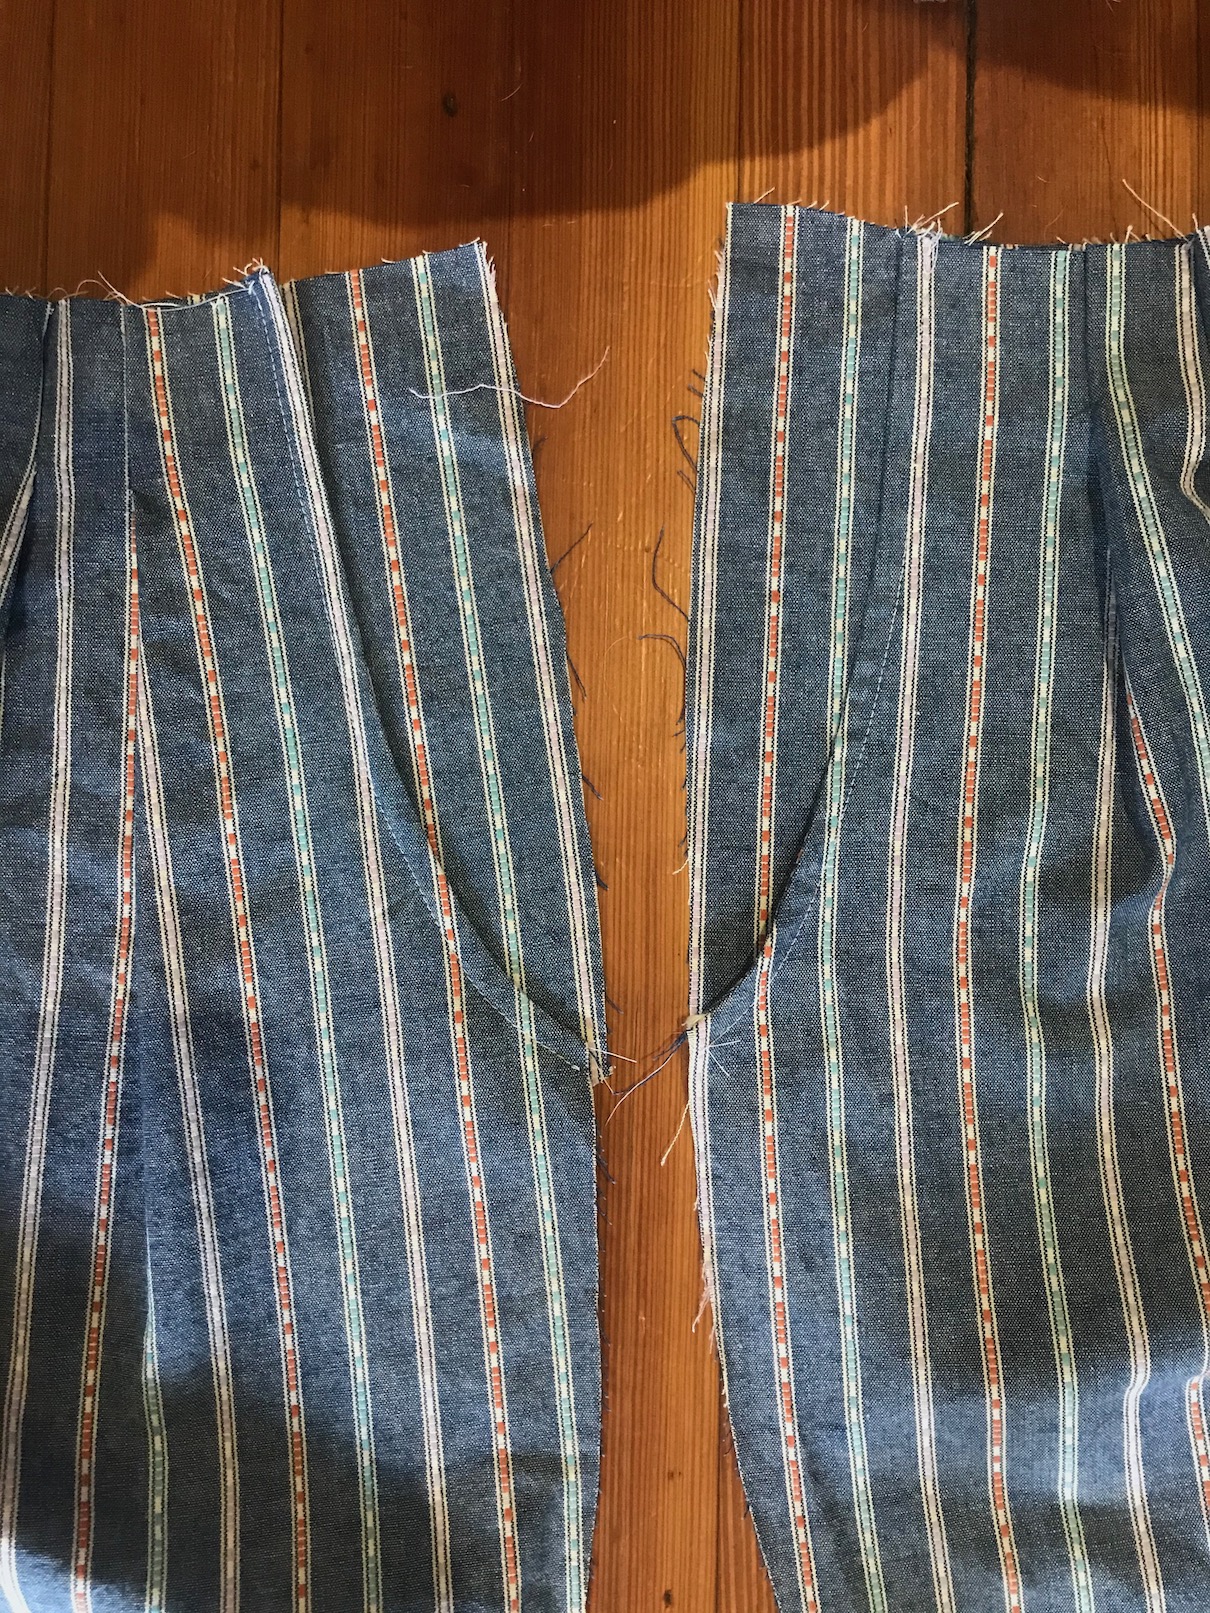
I did pretty well in places, not so well in others – here’s my win with he pockets though!
During the final construction I ended up tapering my seam allowance at the waist – giving more room for my stomach and also played with the sleeves a little – trying to get rid of the ease where possible.
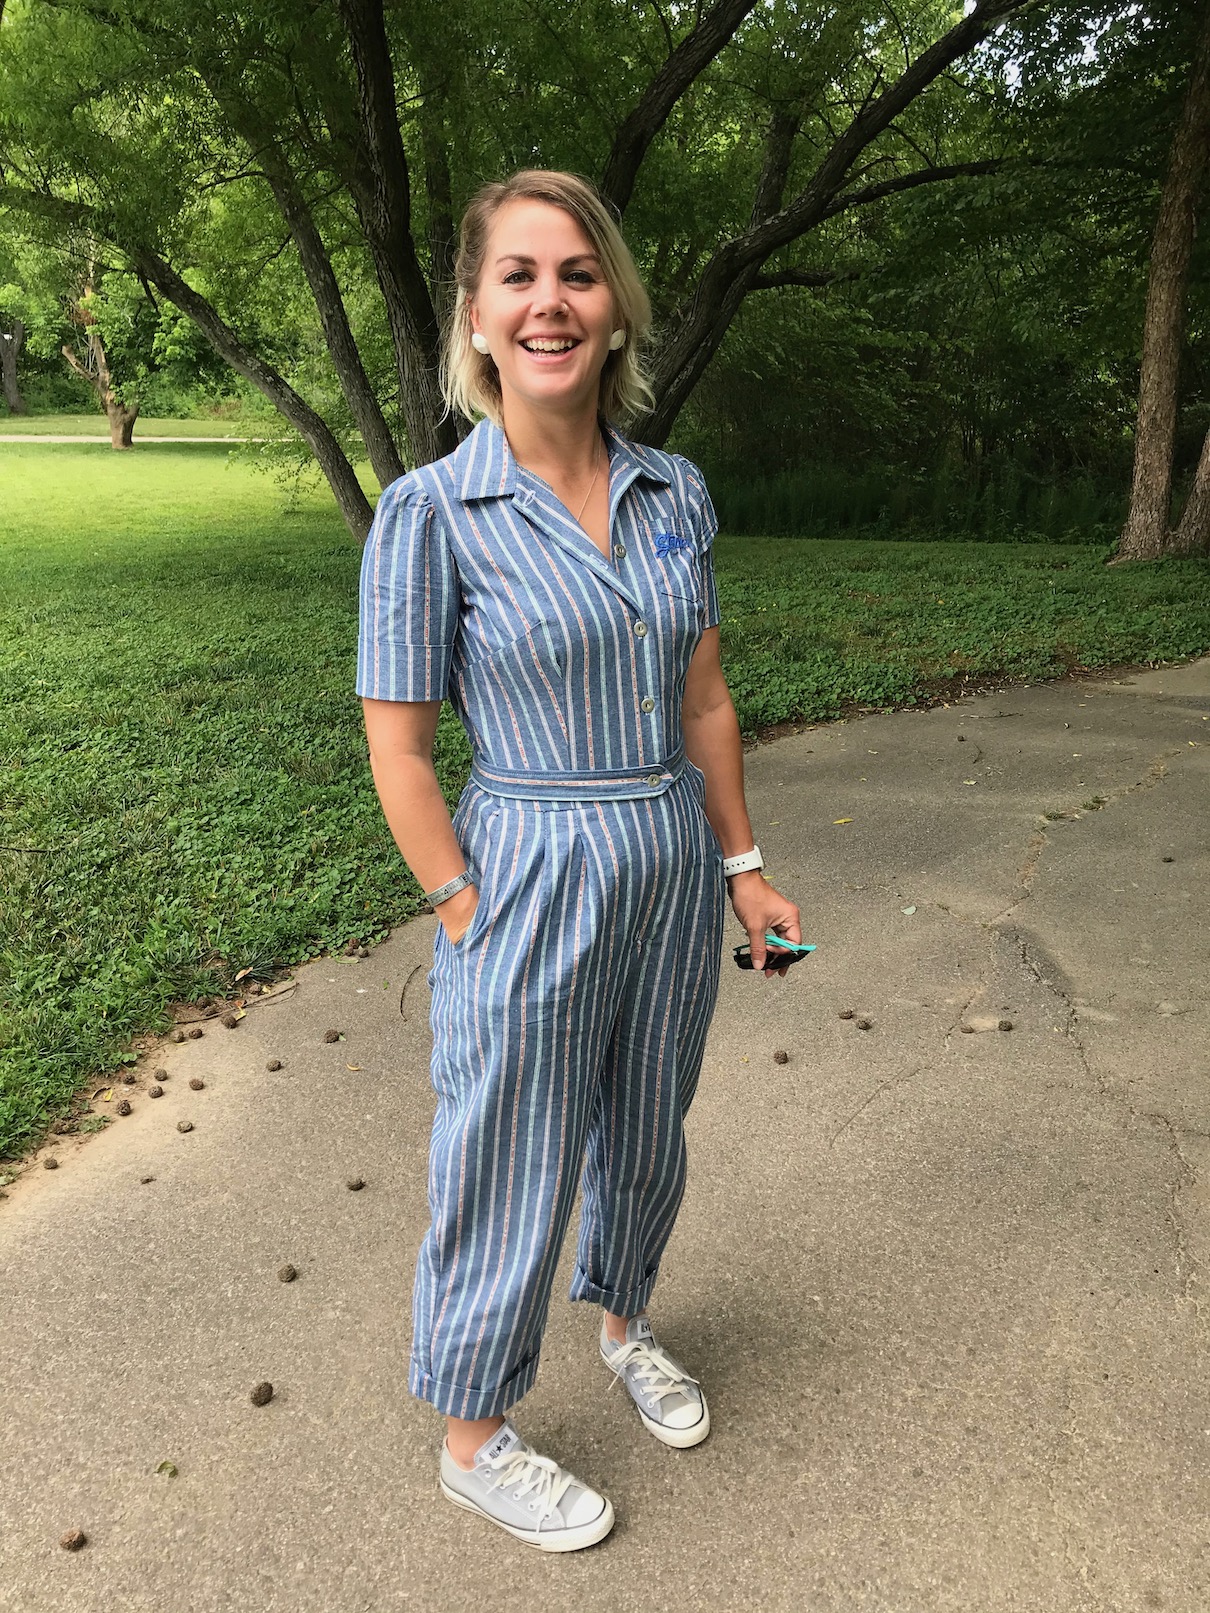
While I was making them I was a little worried I end up looking like a) a prisoner b) a train driver or c) I was wearing pyjamas.
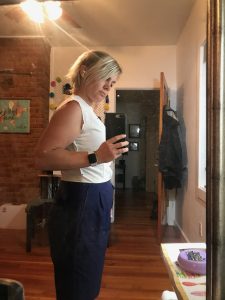
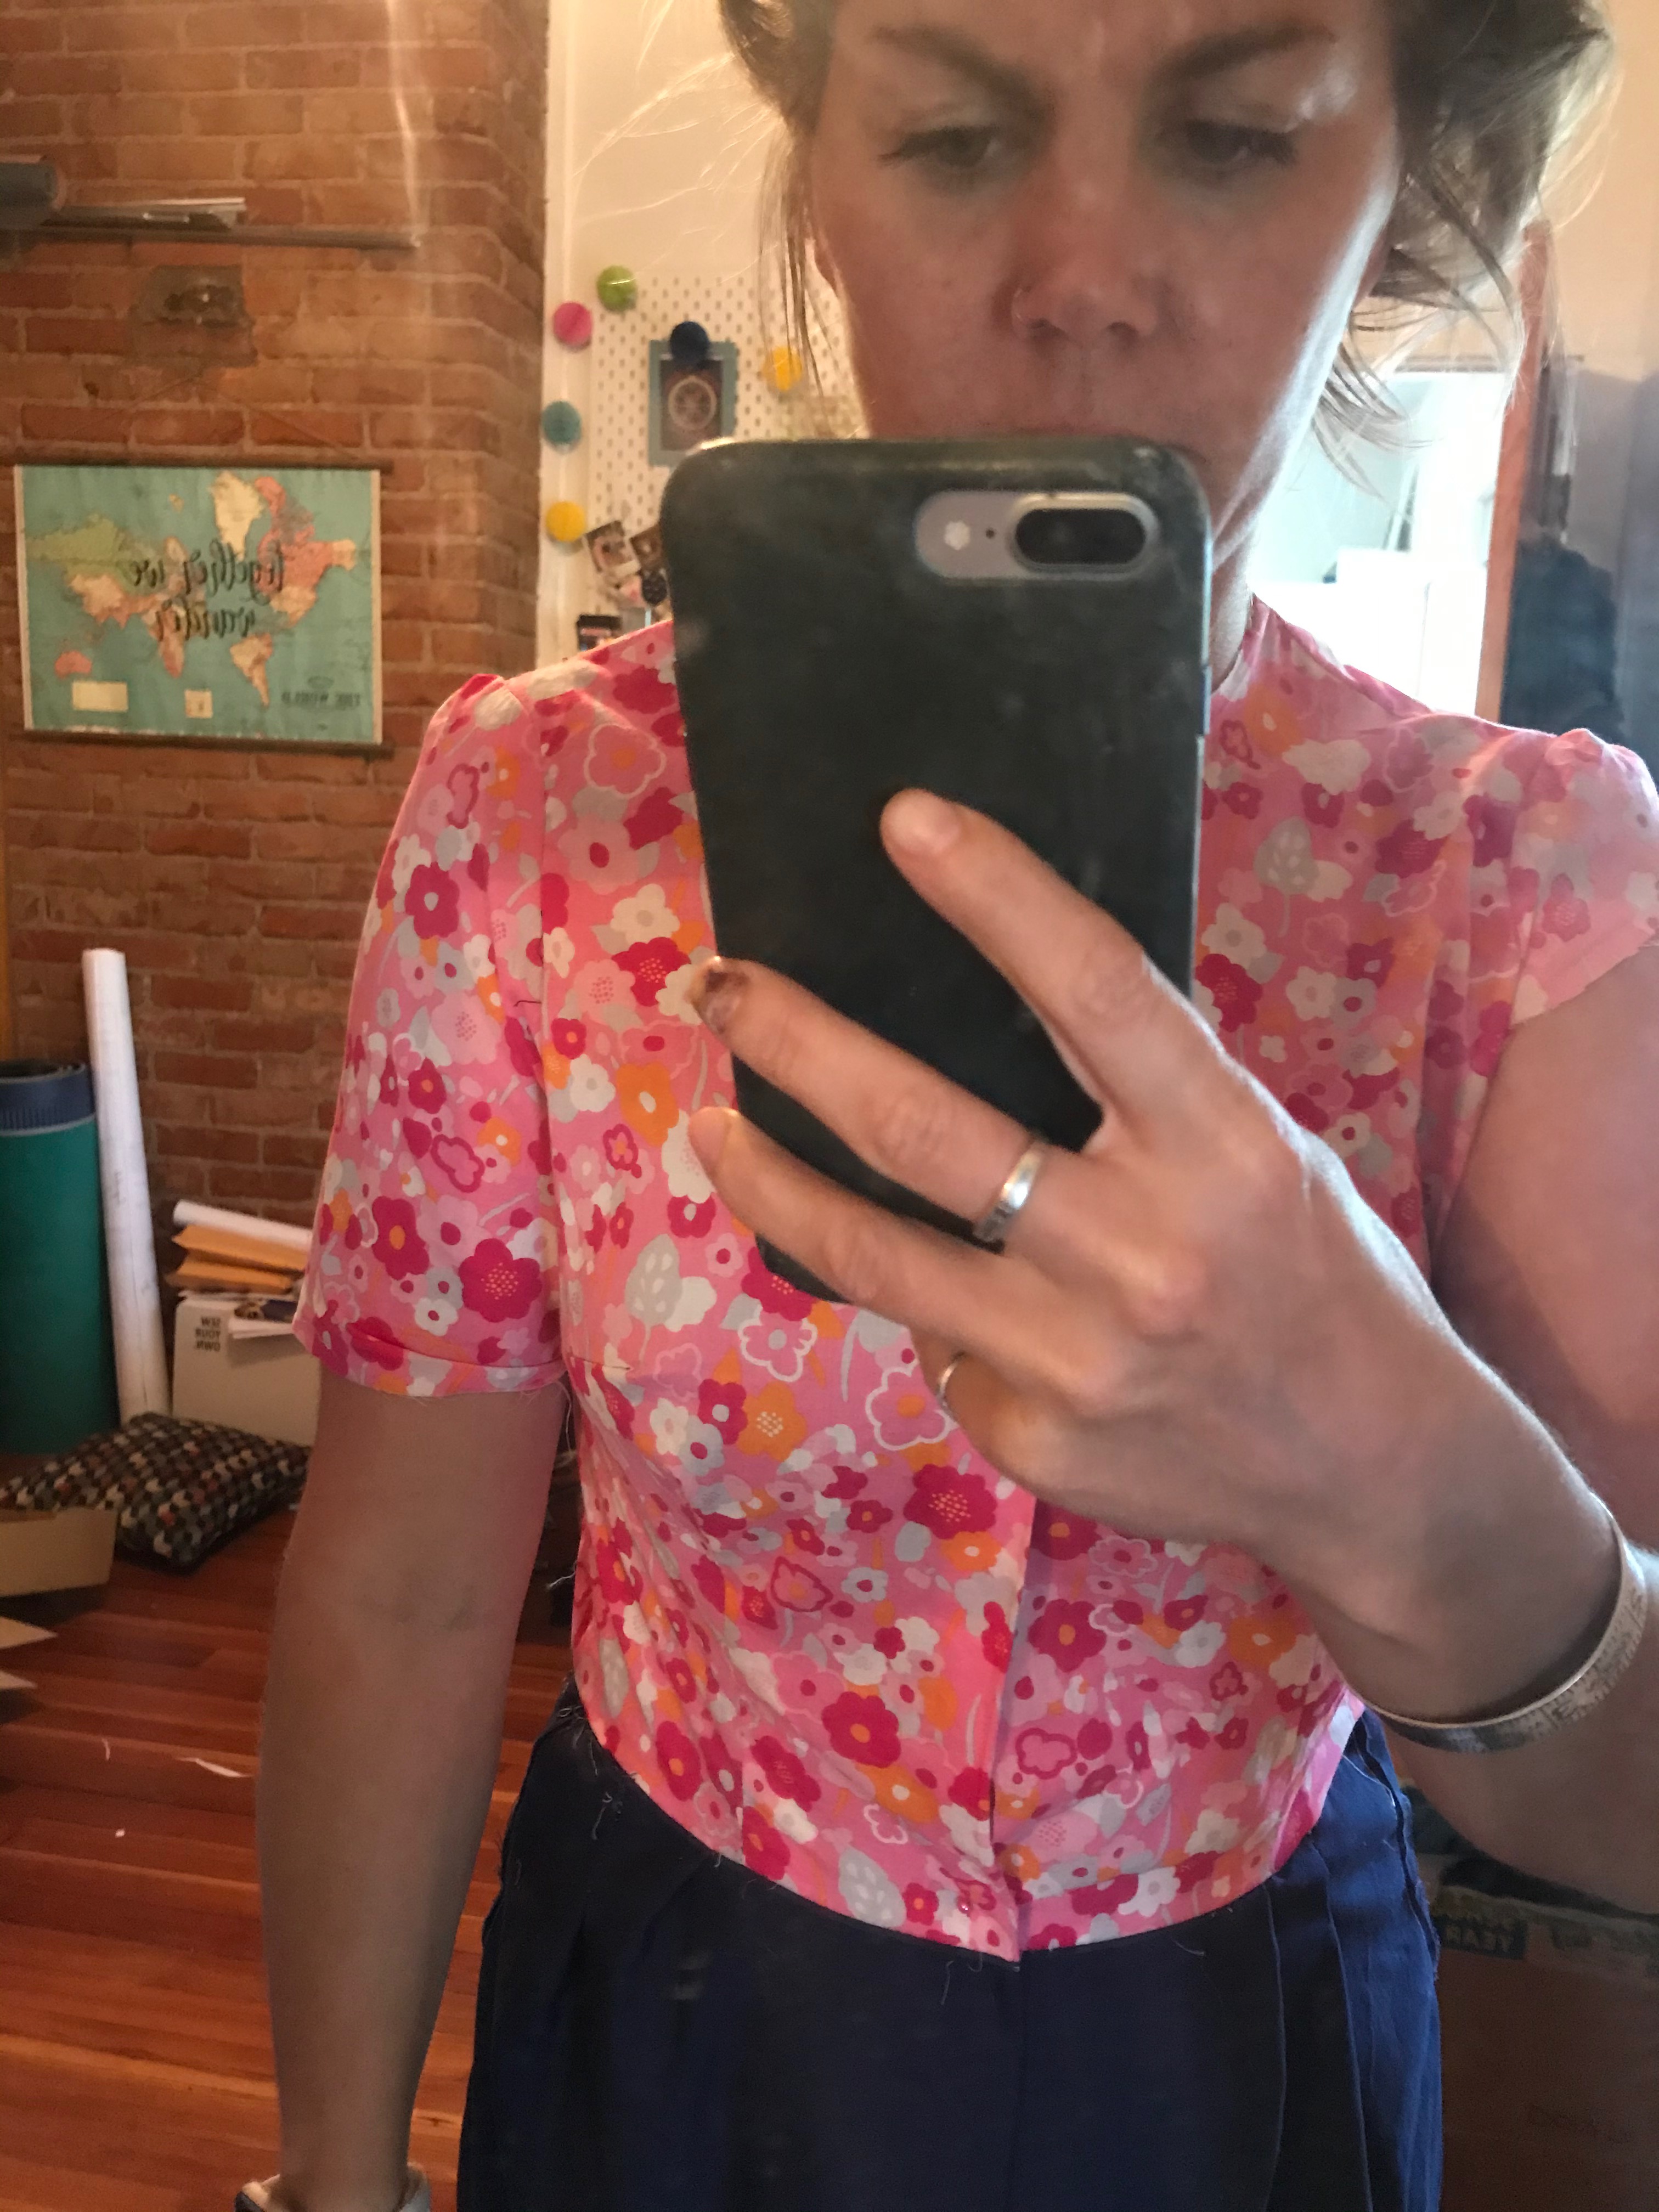
Once I tried them on however, I was completely over the moon with them.
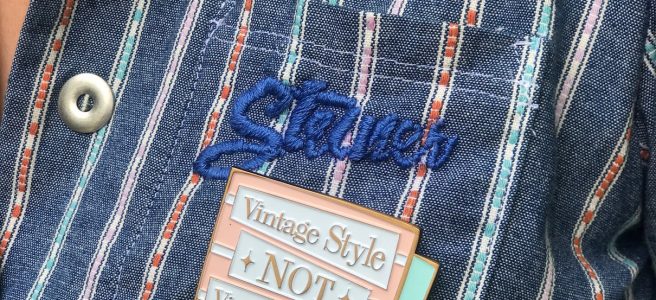
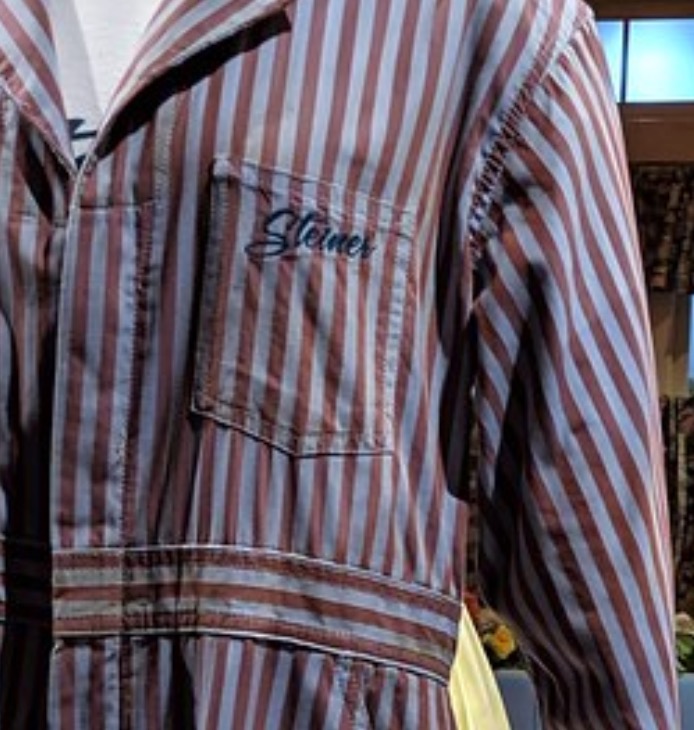
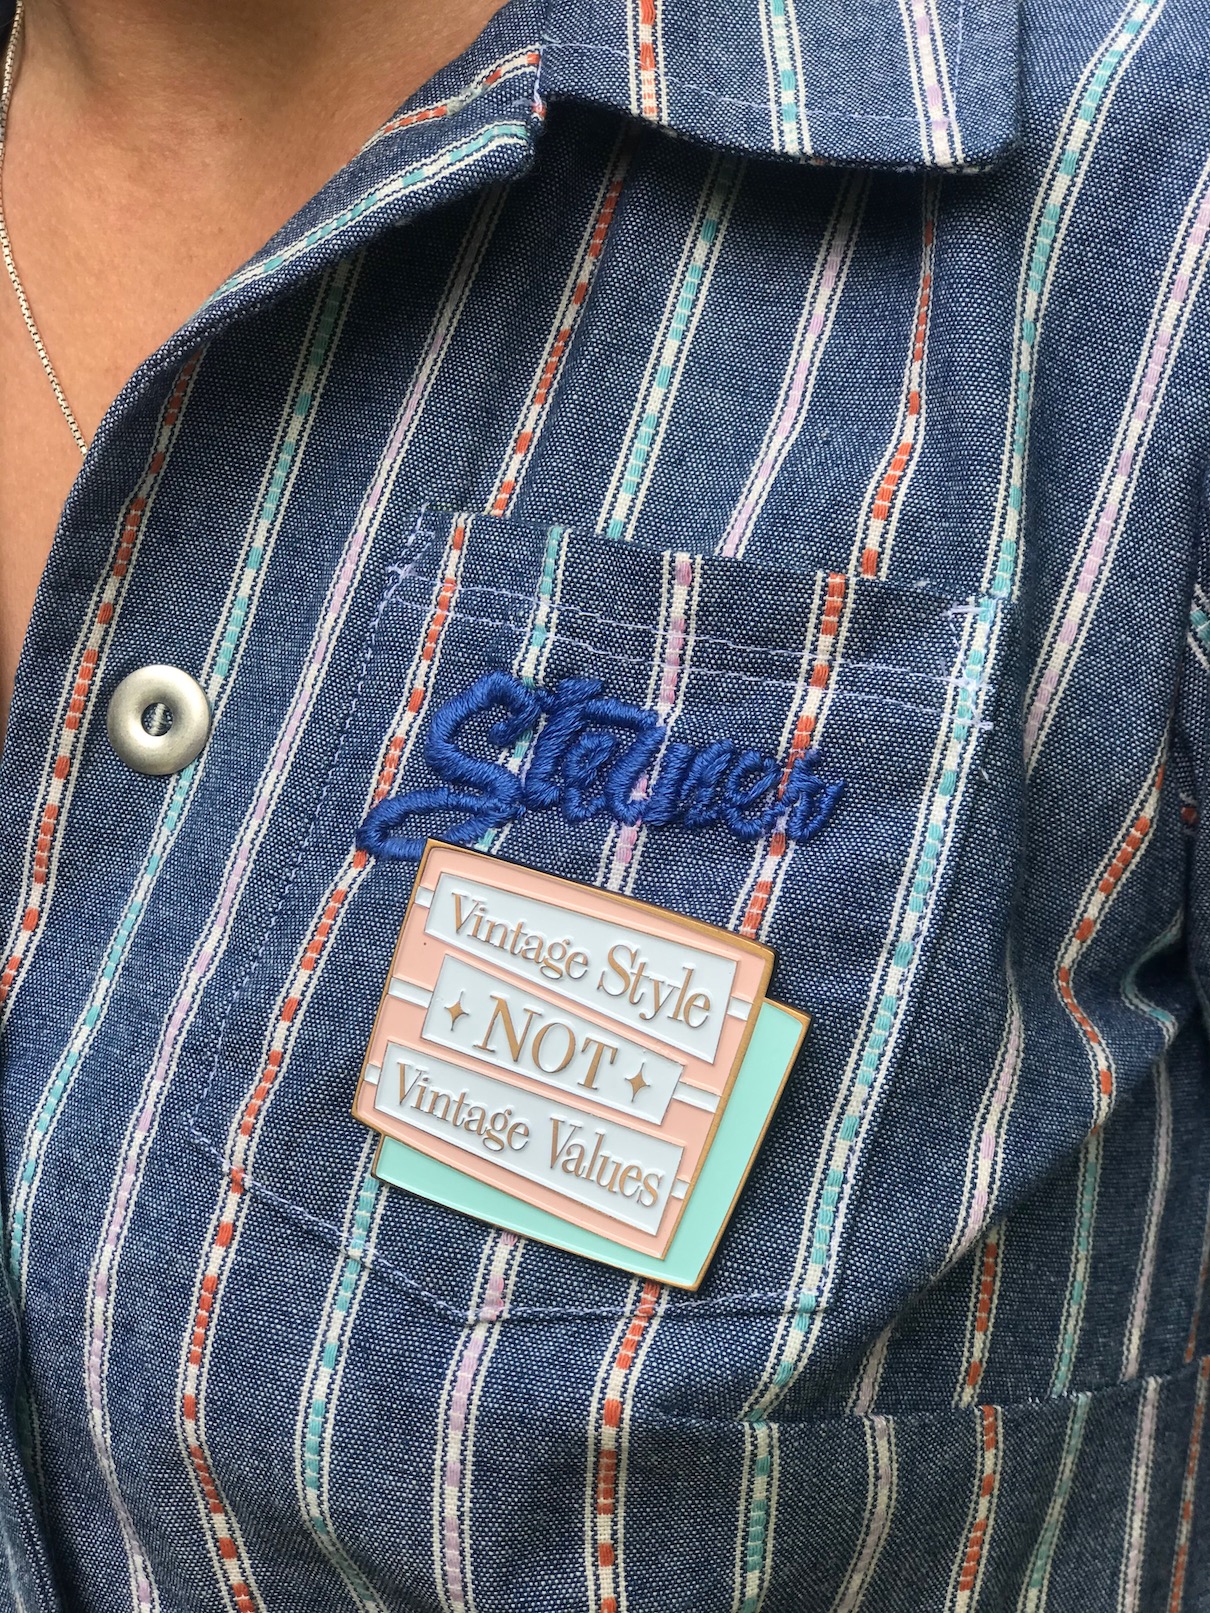
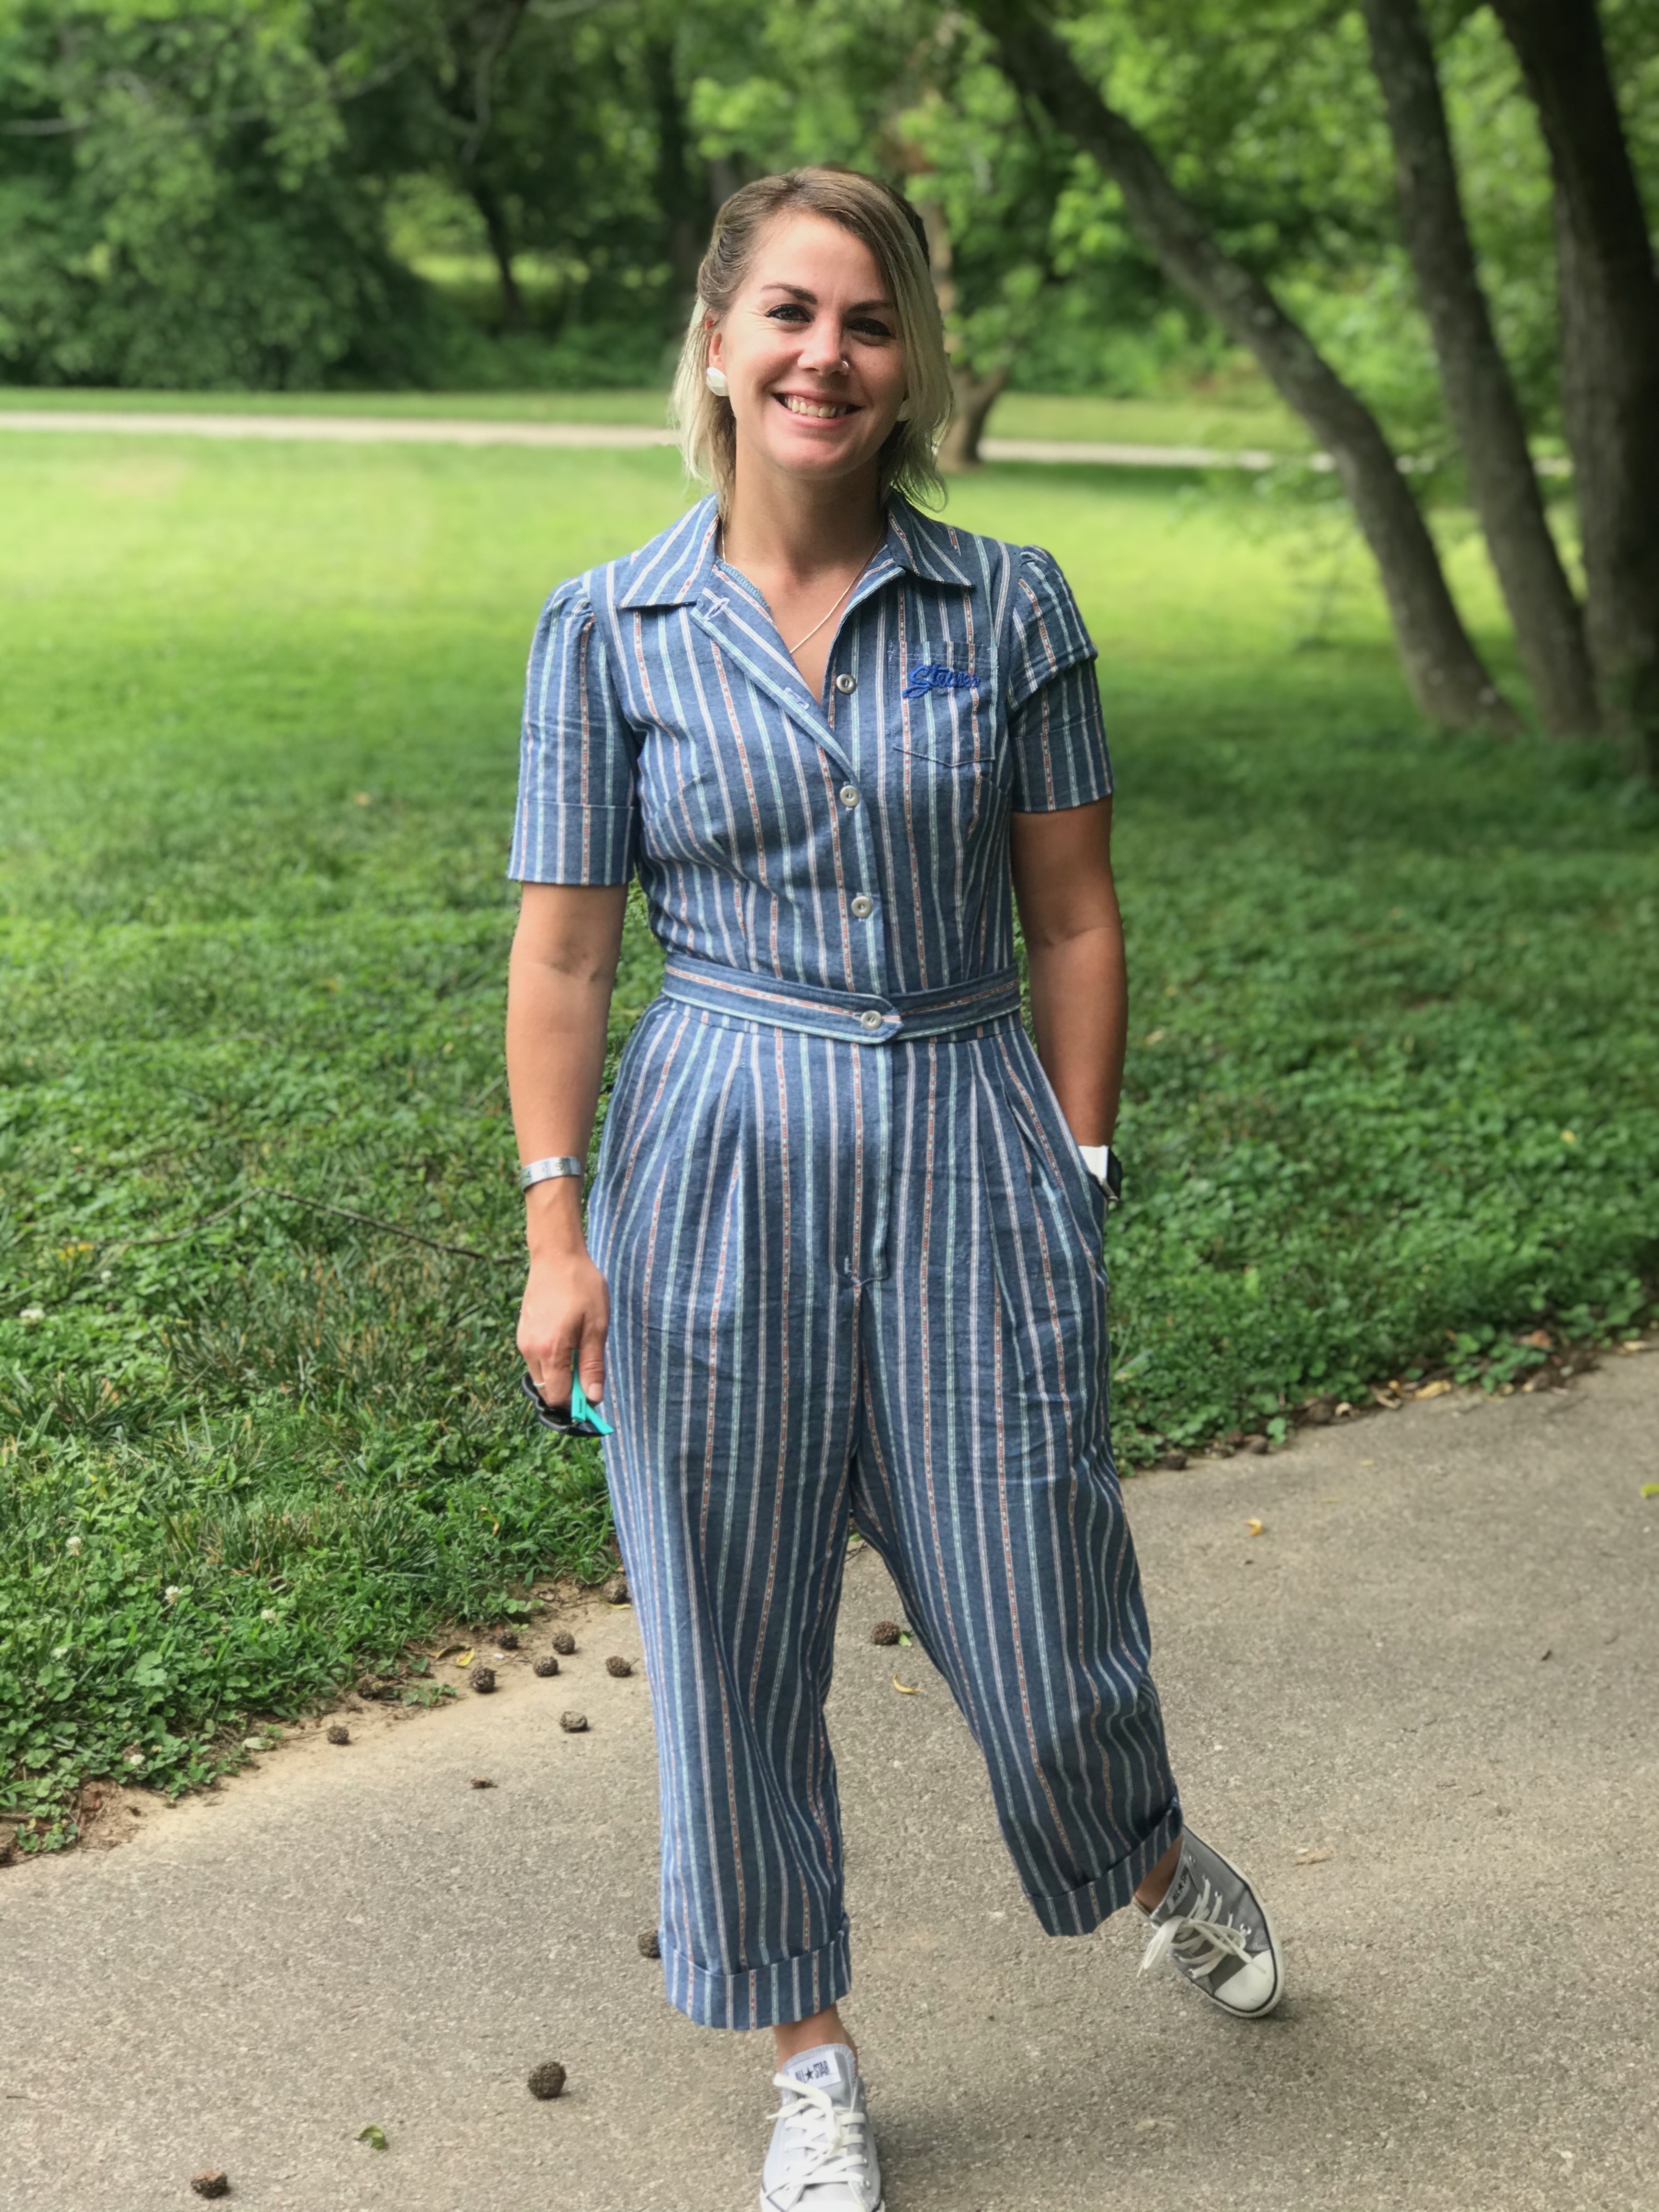
As this was my entry for #madelikemaisel I decided to add a little something extra and copied the Steiner logo from Susie’s version. I imported the photo to procreate, traced the logo, printed it, cut it out and traced around it onto my pocket. I then used satin stitch to fill in the letters – the ‘n’ is a bit odd but I really like what it adds.

I also had a lot of fun with @msjennmakes recreating shots from the show.
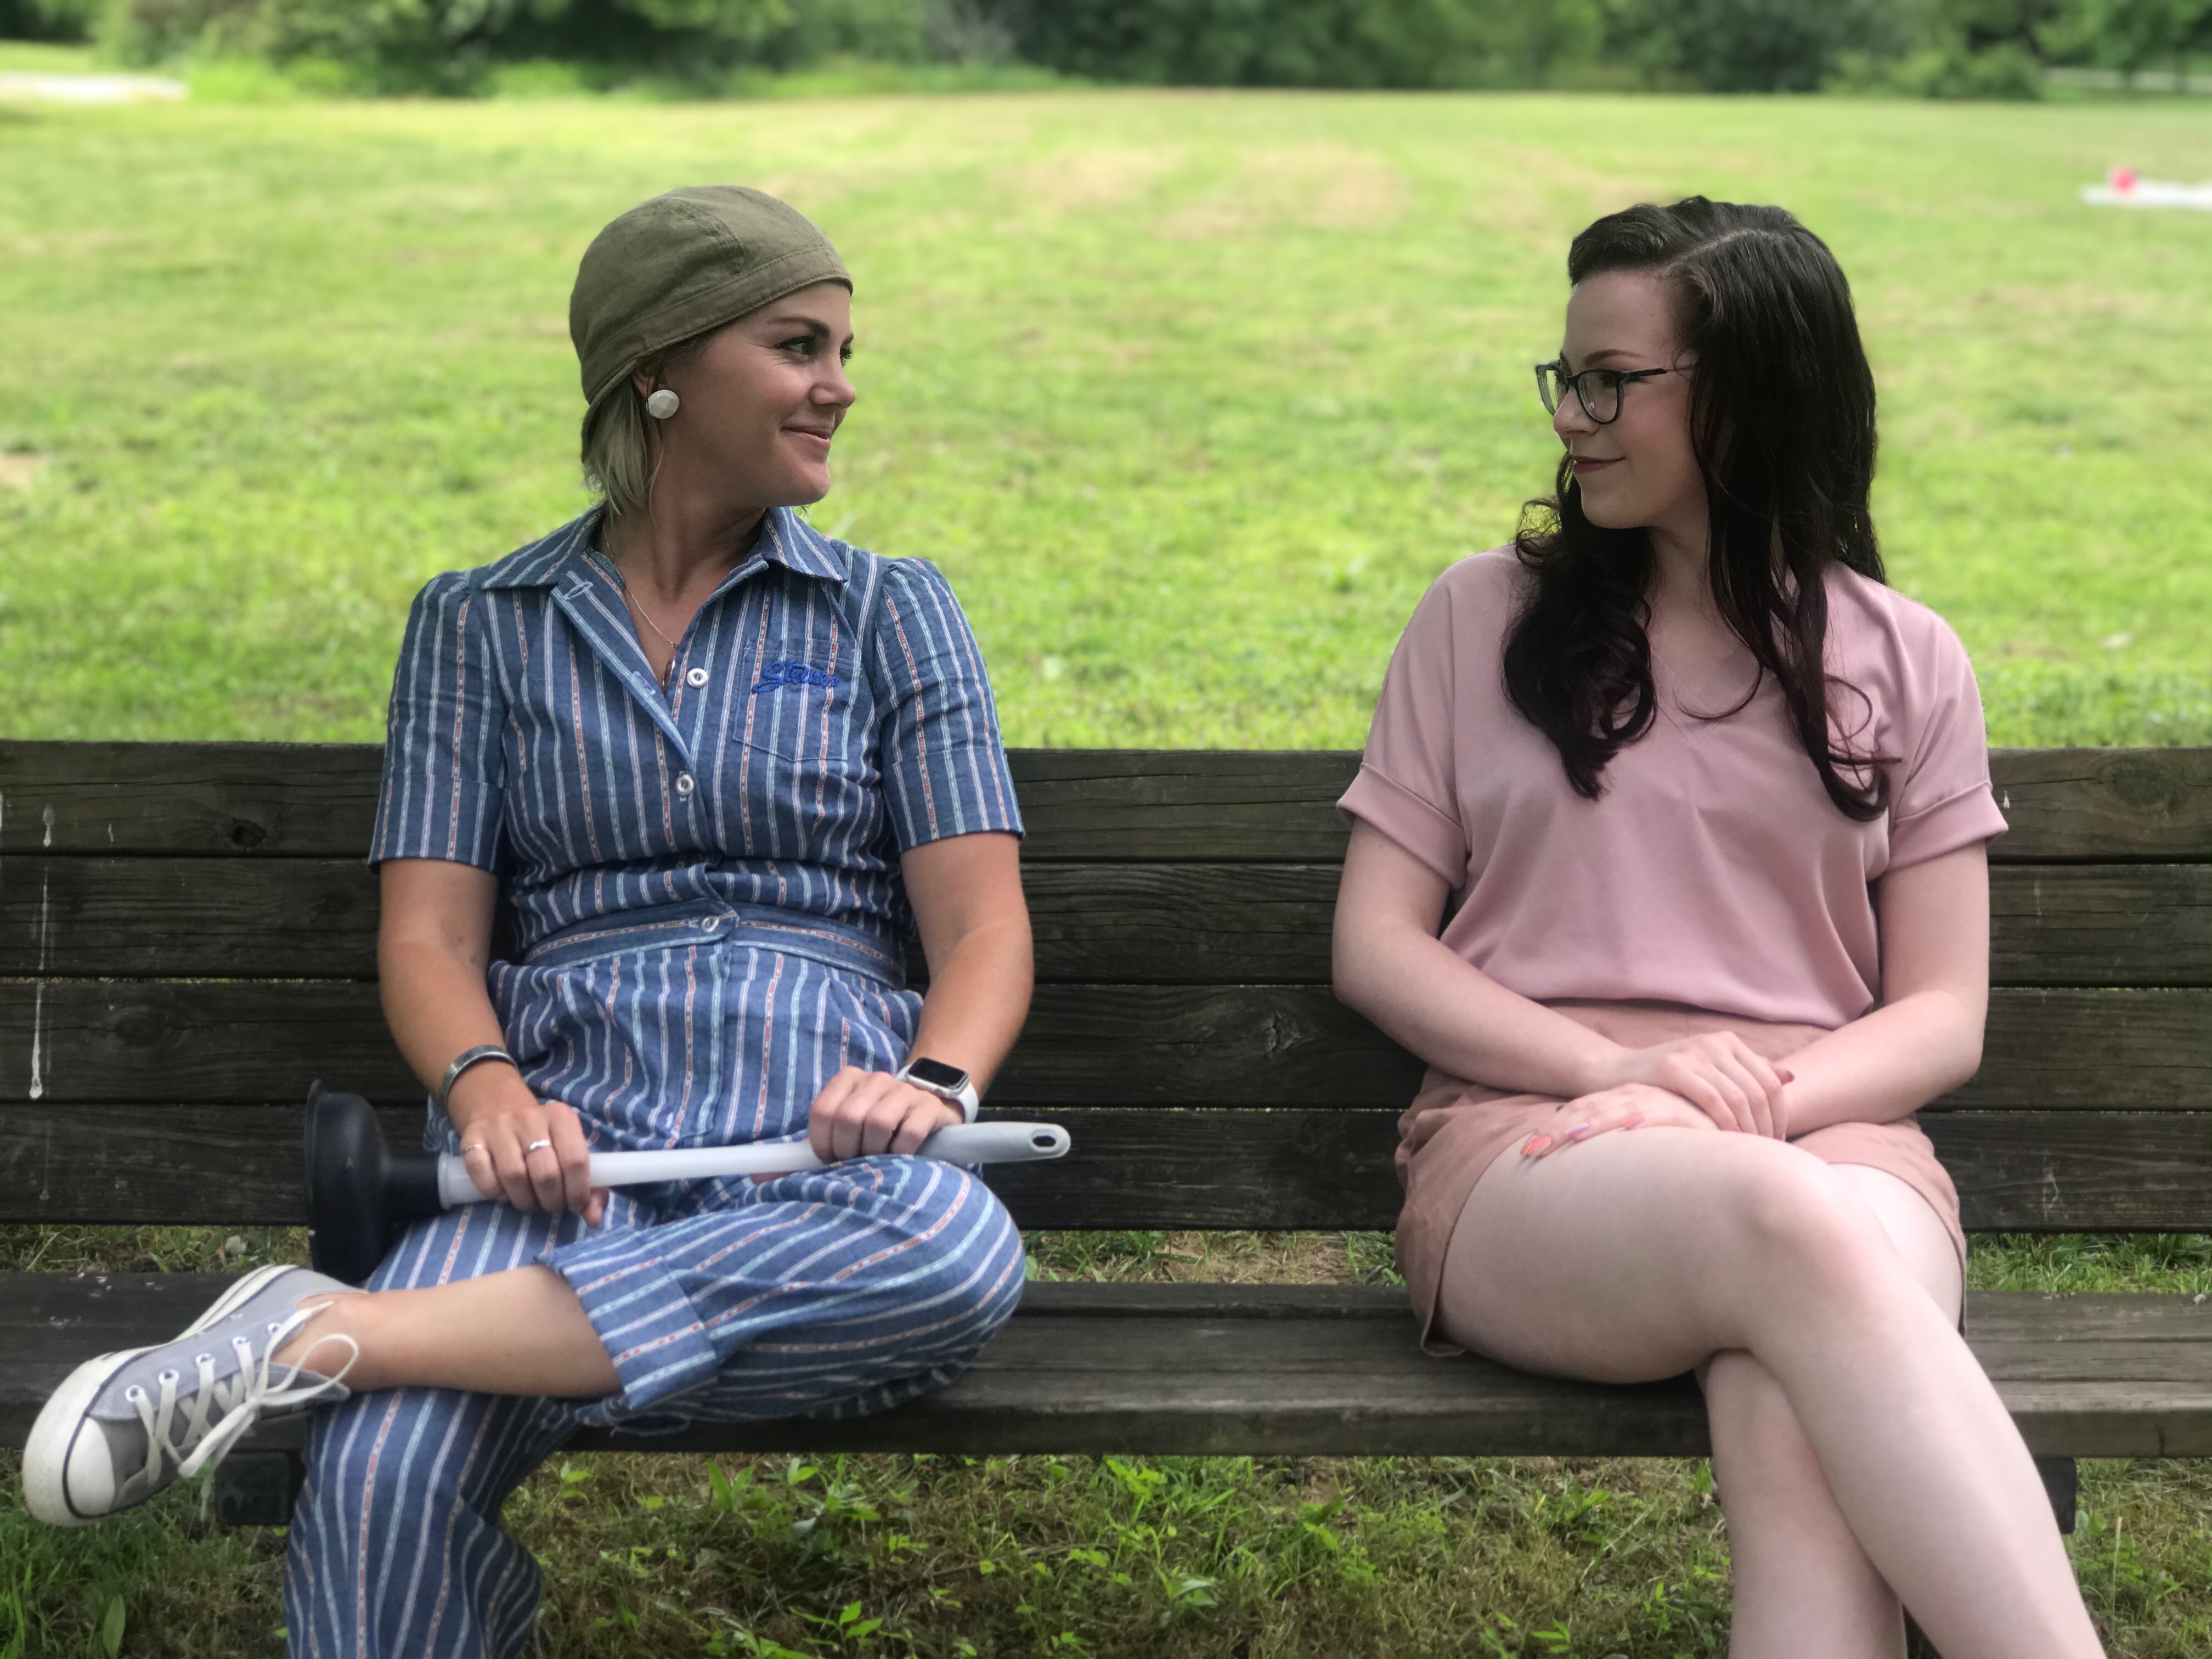
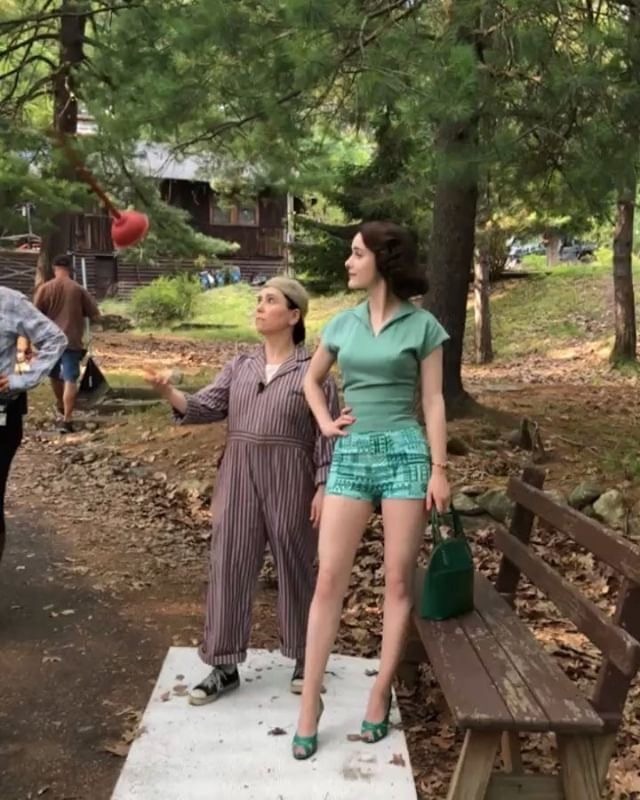
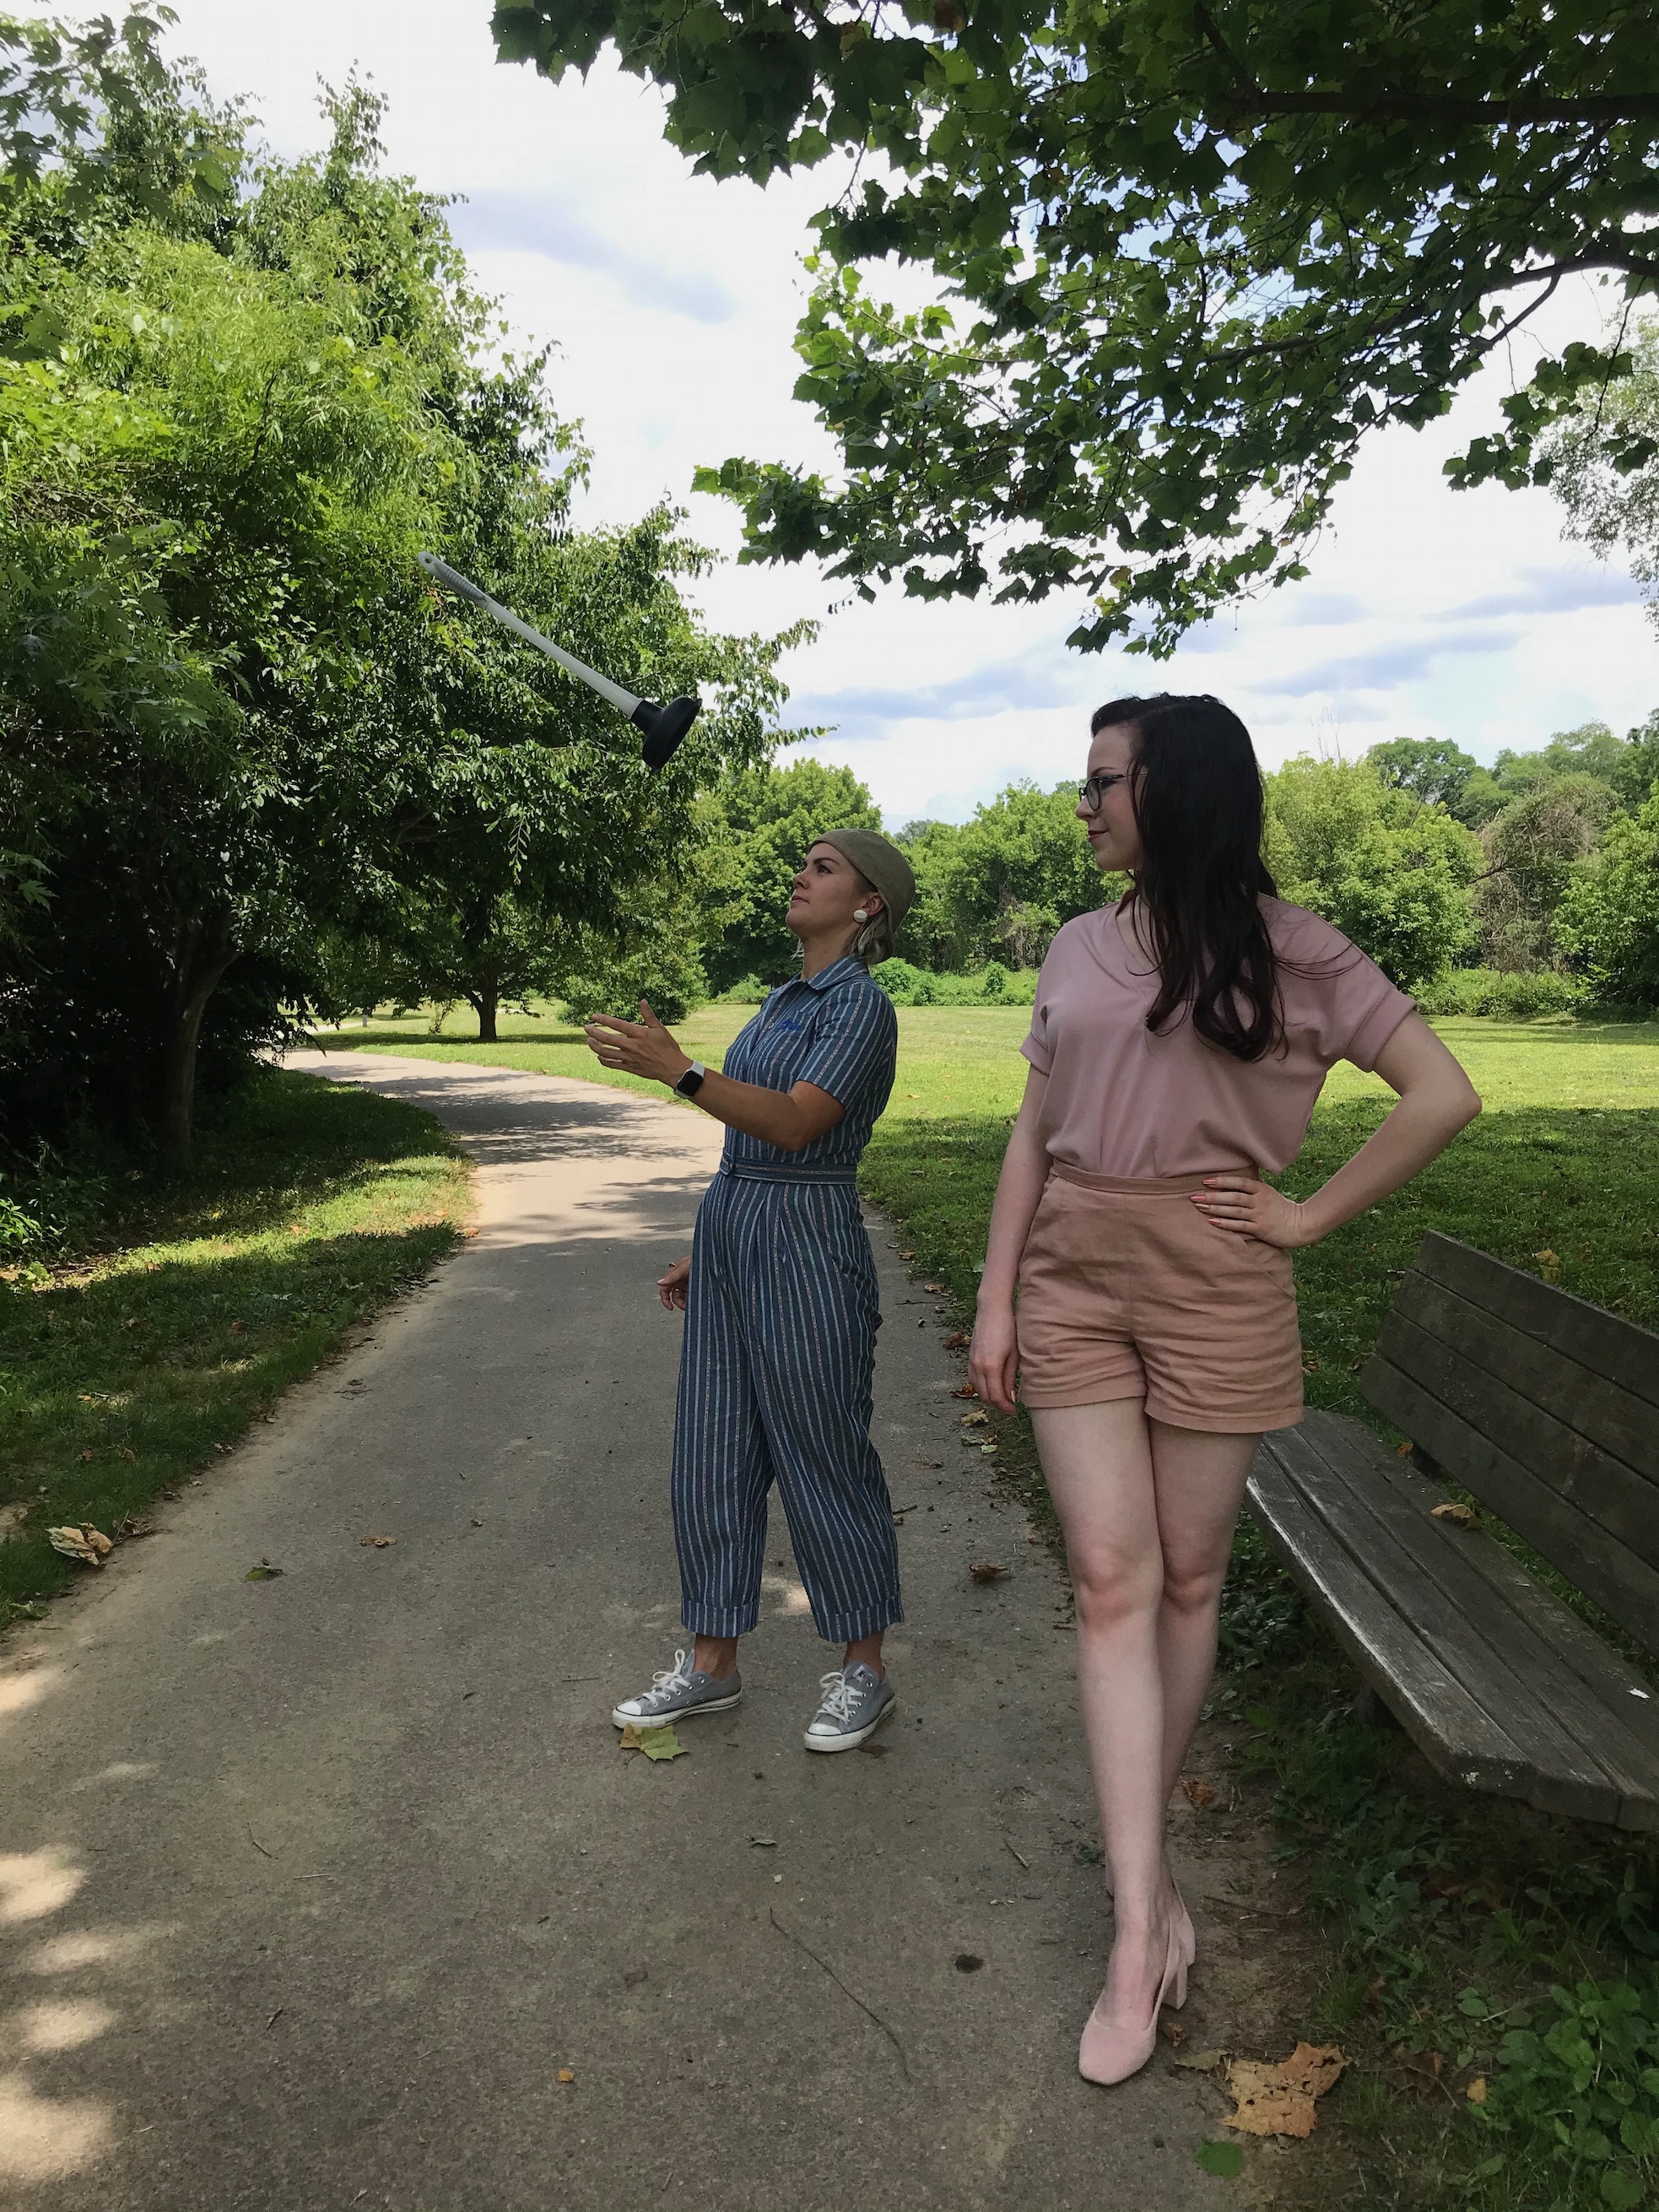
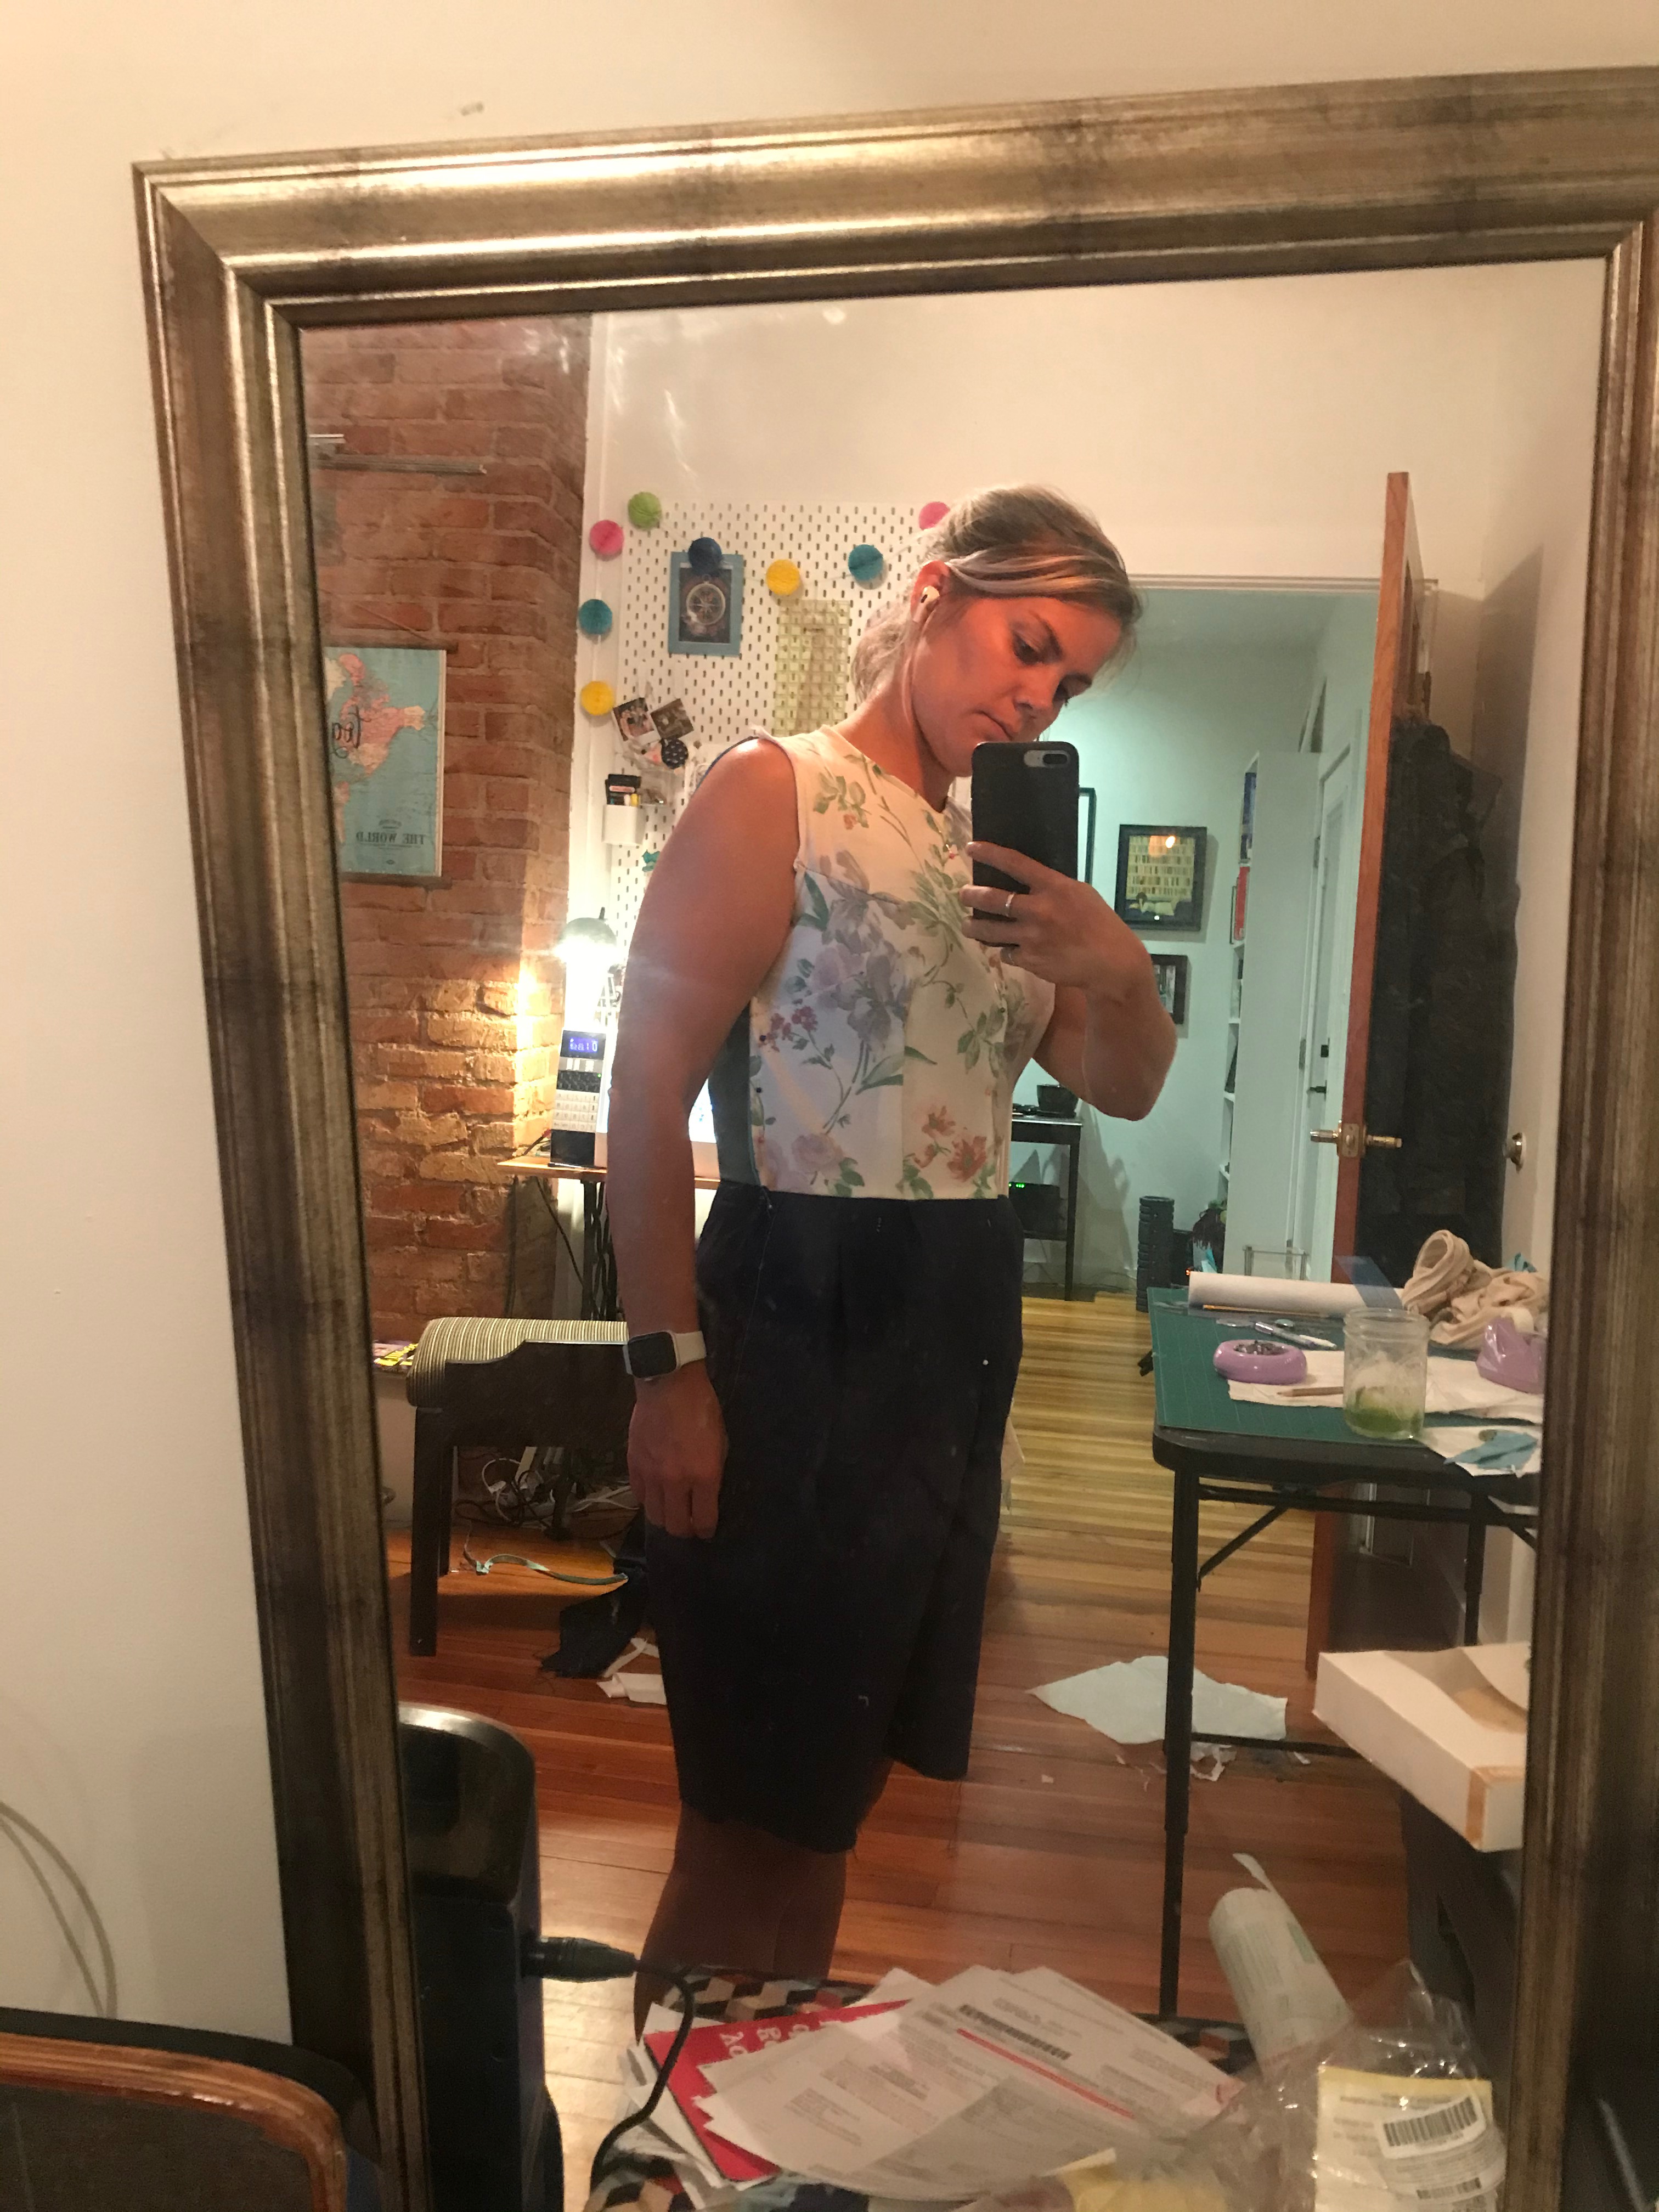
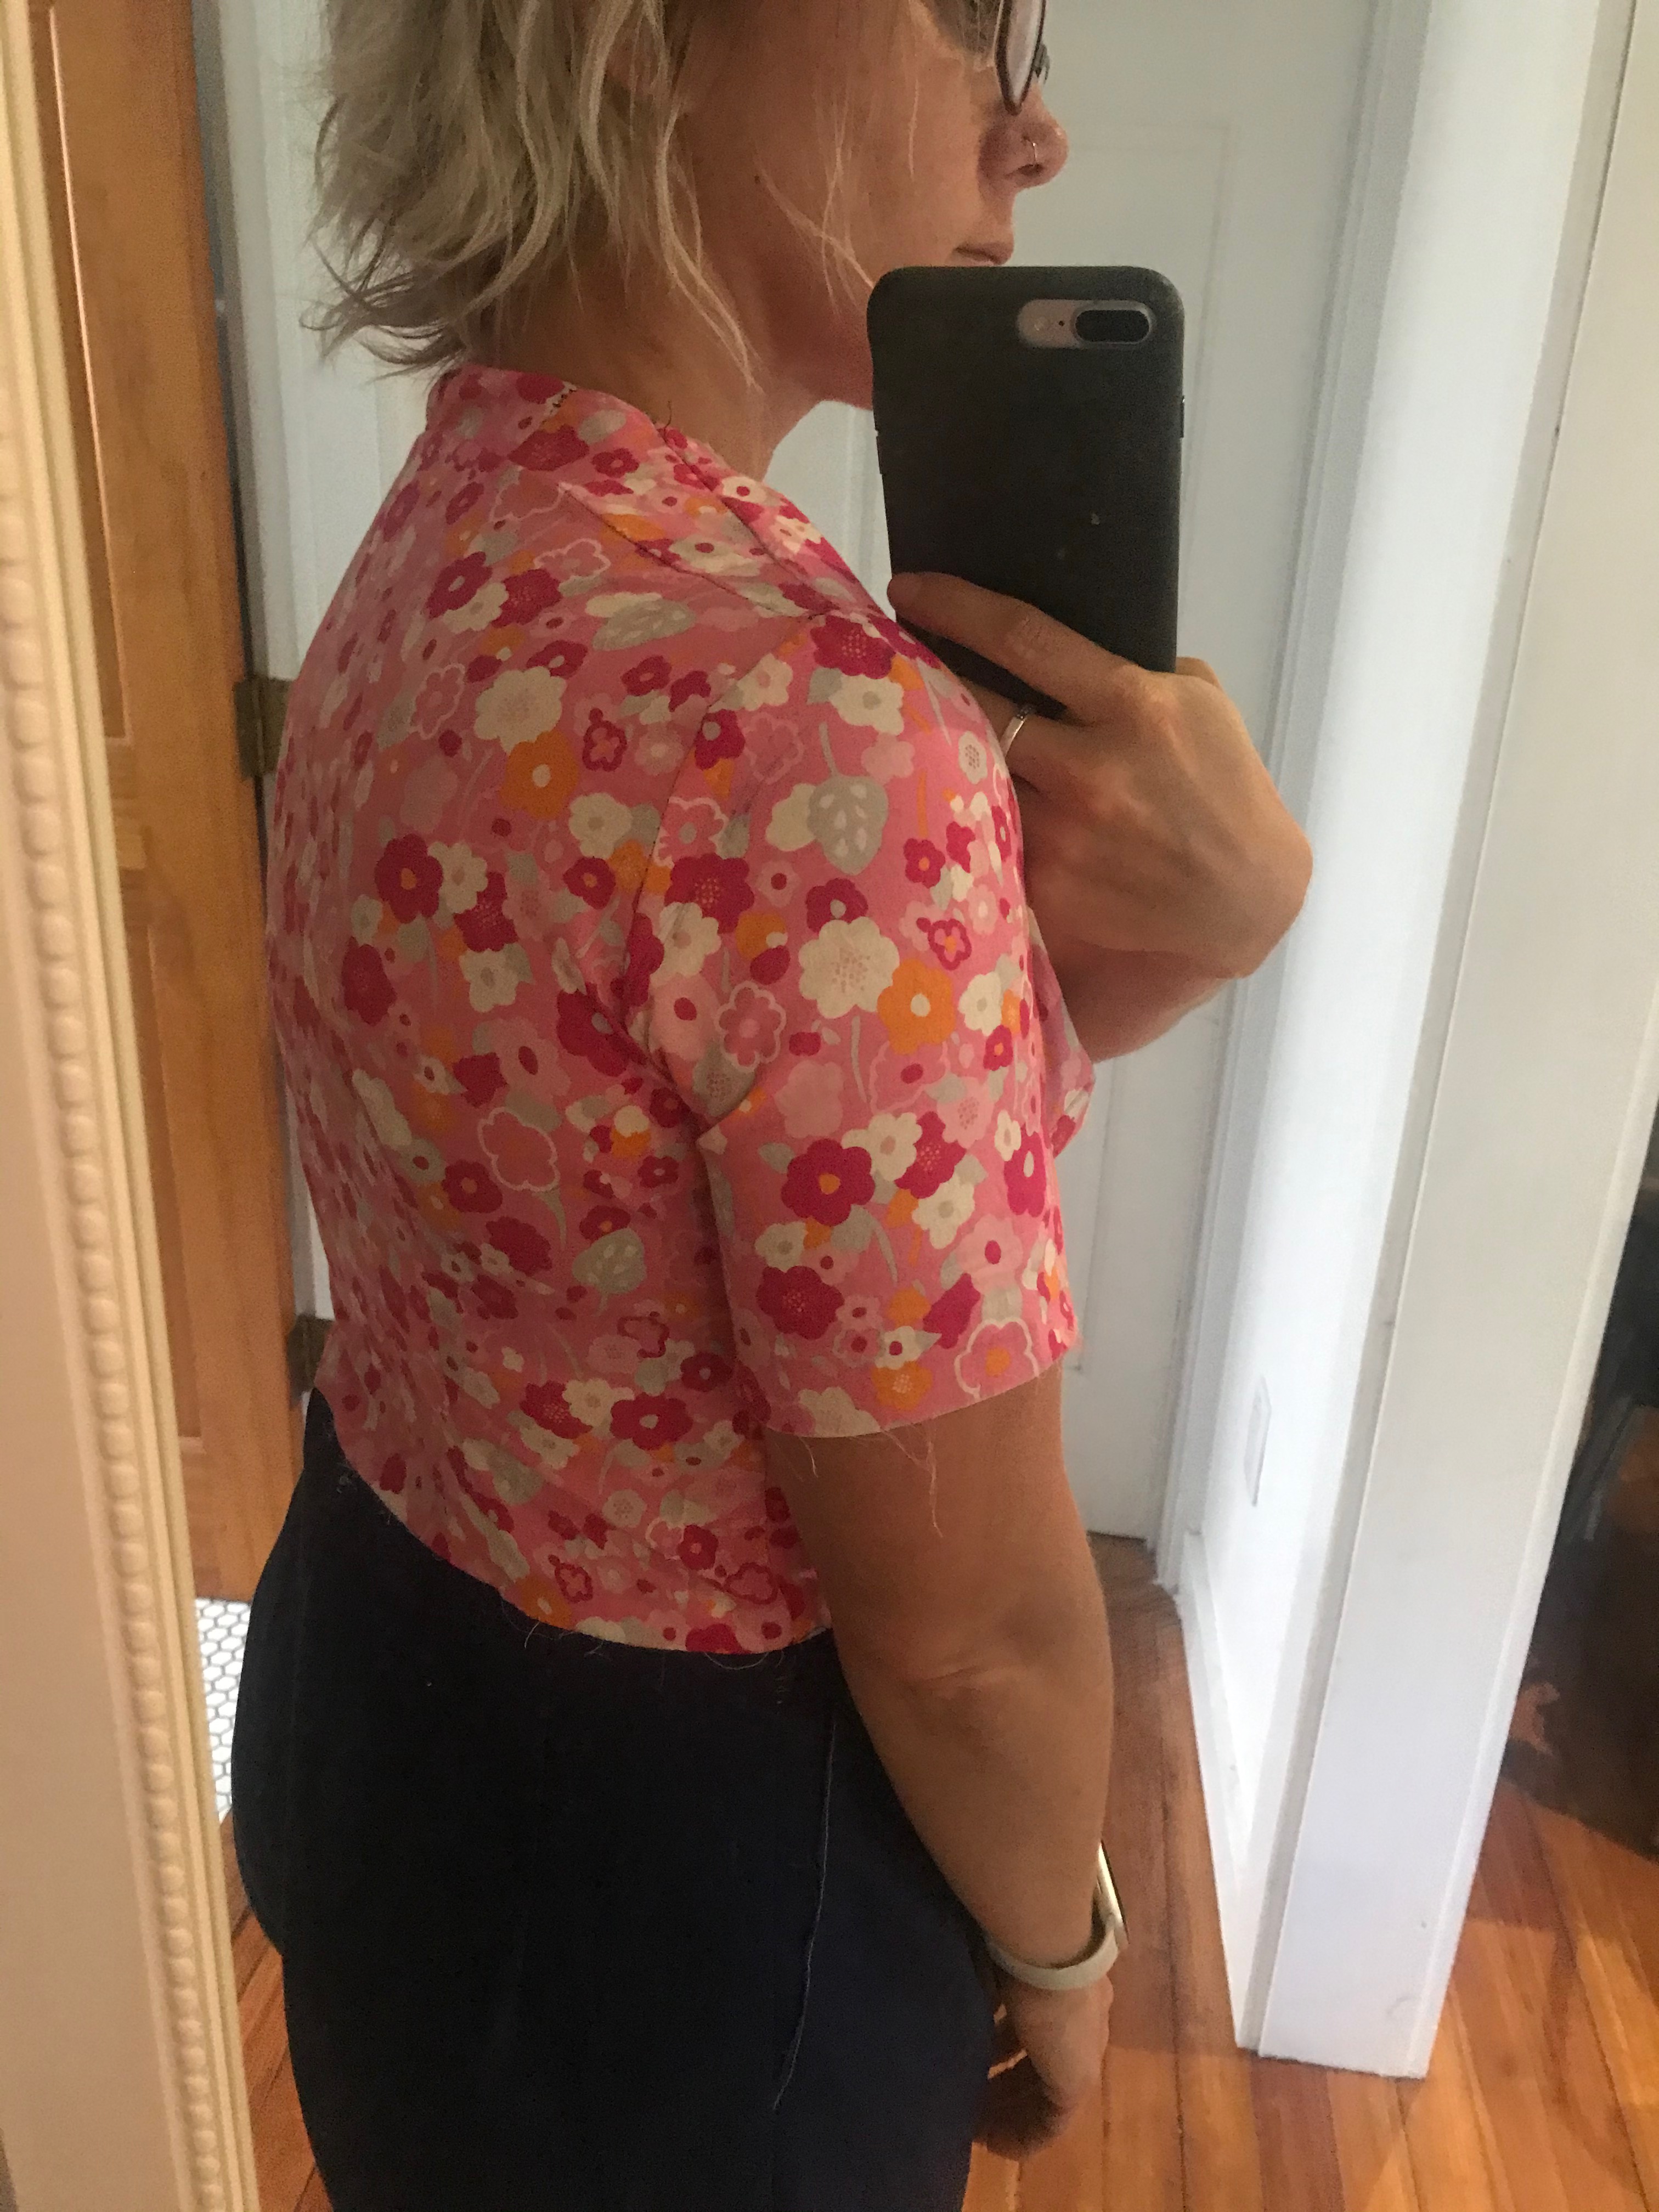
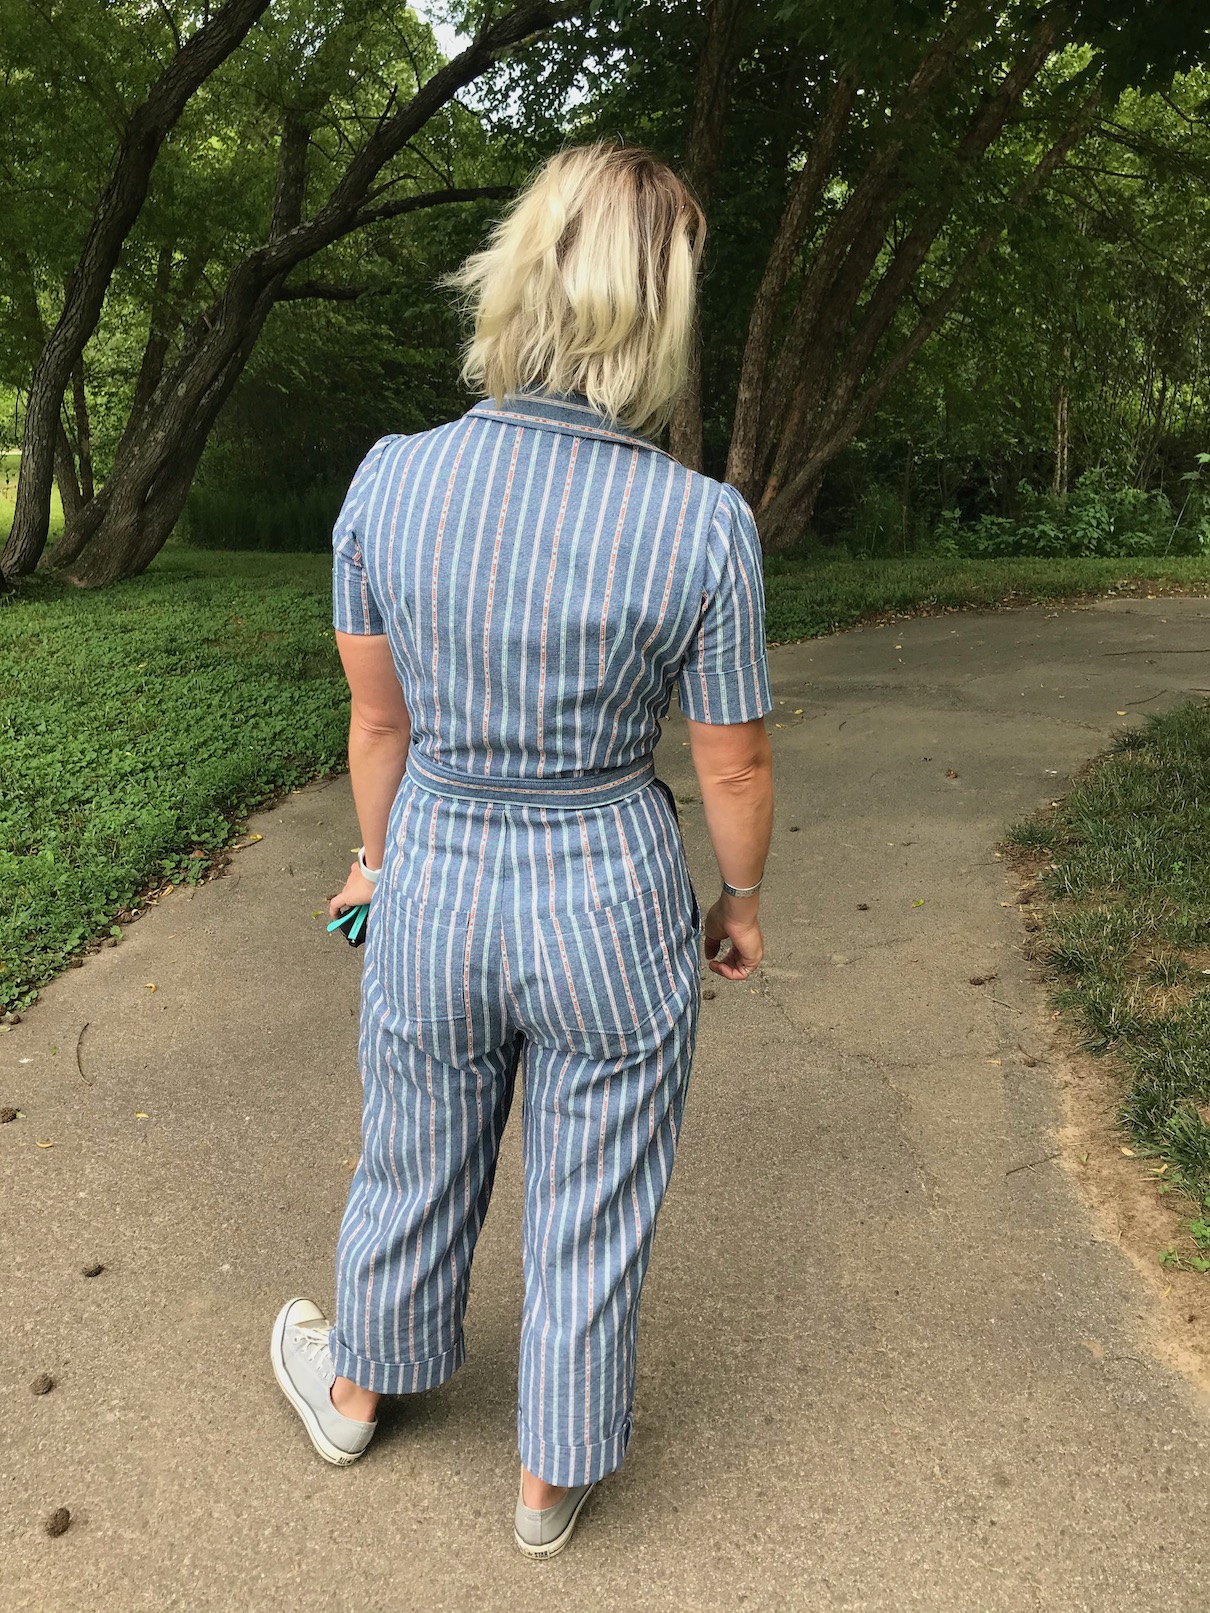
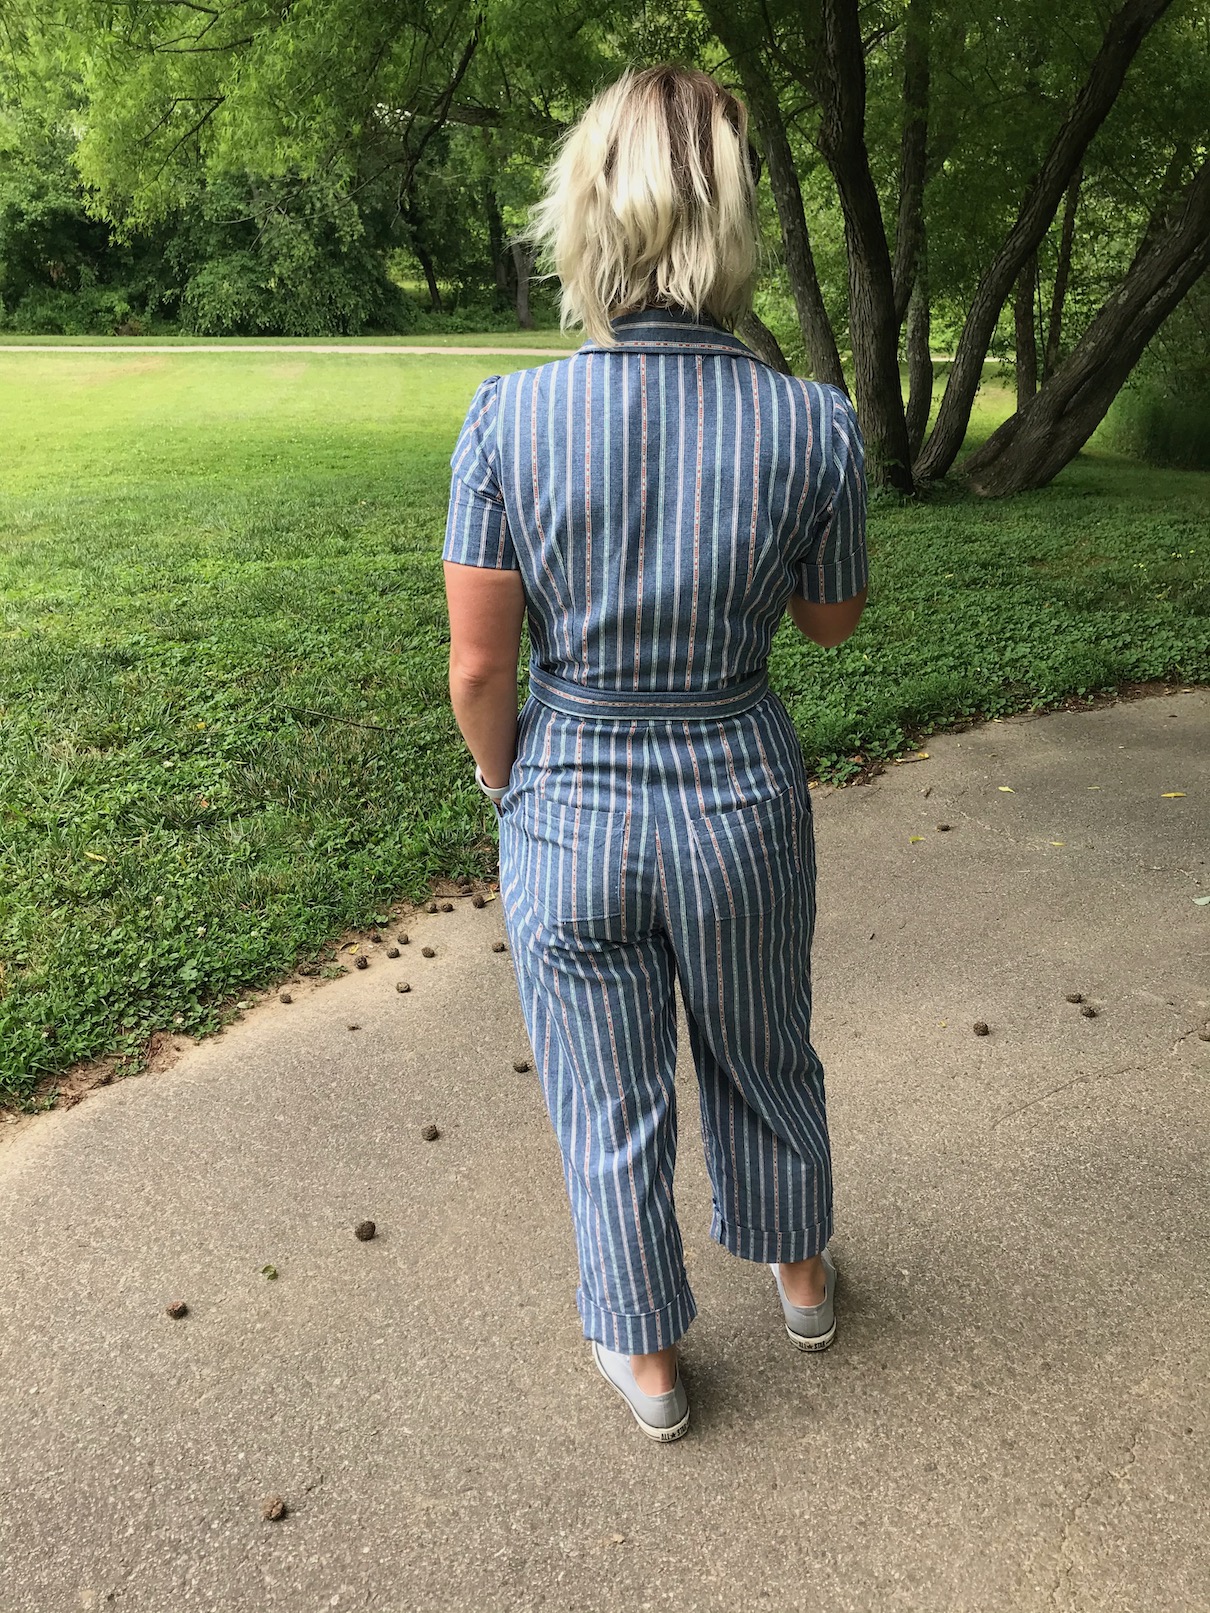
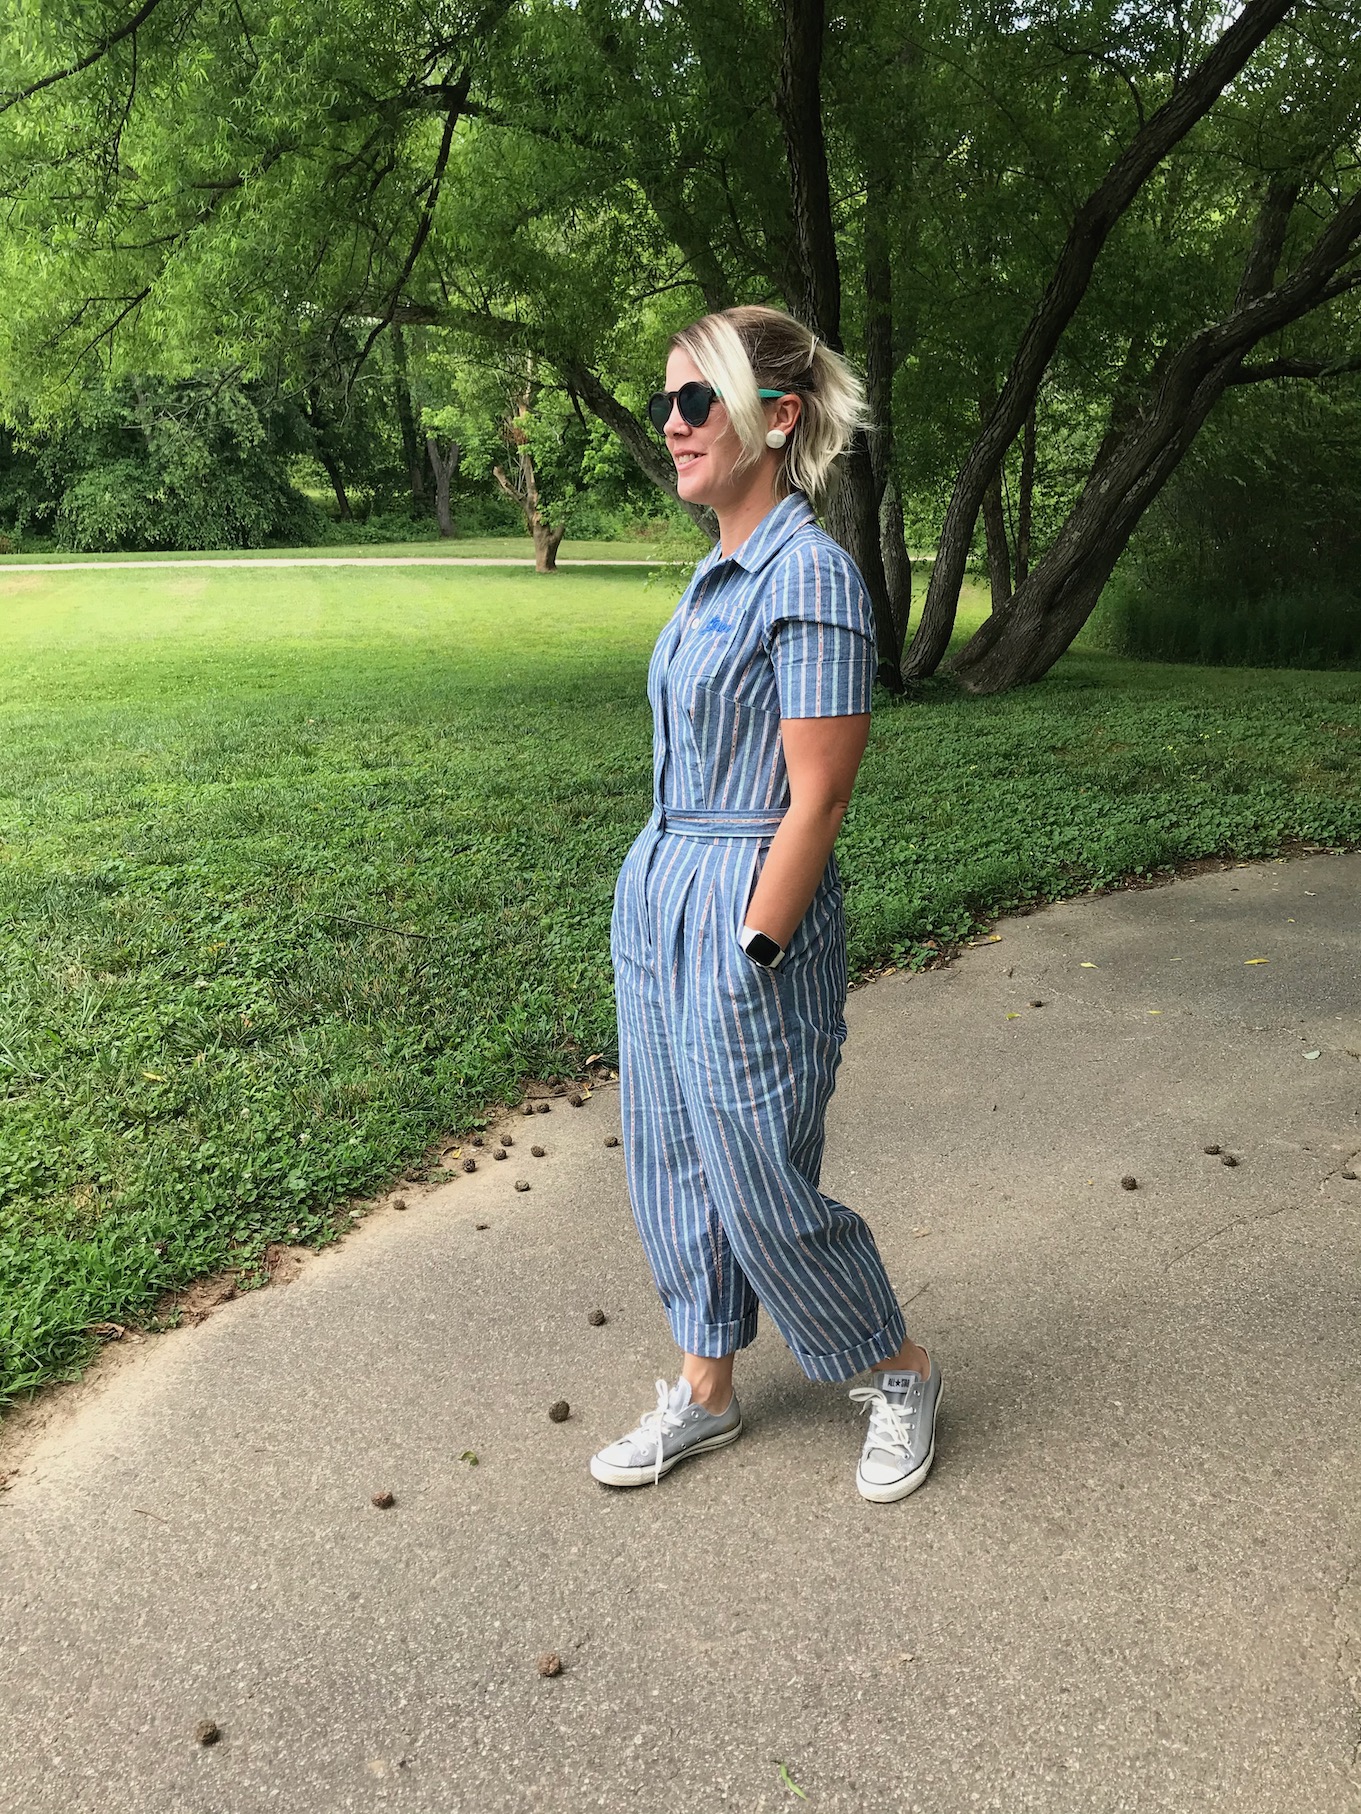
Here they are modeled a little less Susie, a little more Sam, plus some views of the back which I am so proud of!

While I really do love them and will wear them to death, I’m sure there are still a couple of things I’d change in my next pair (already got that planned out – shorts and capped sleeves!)
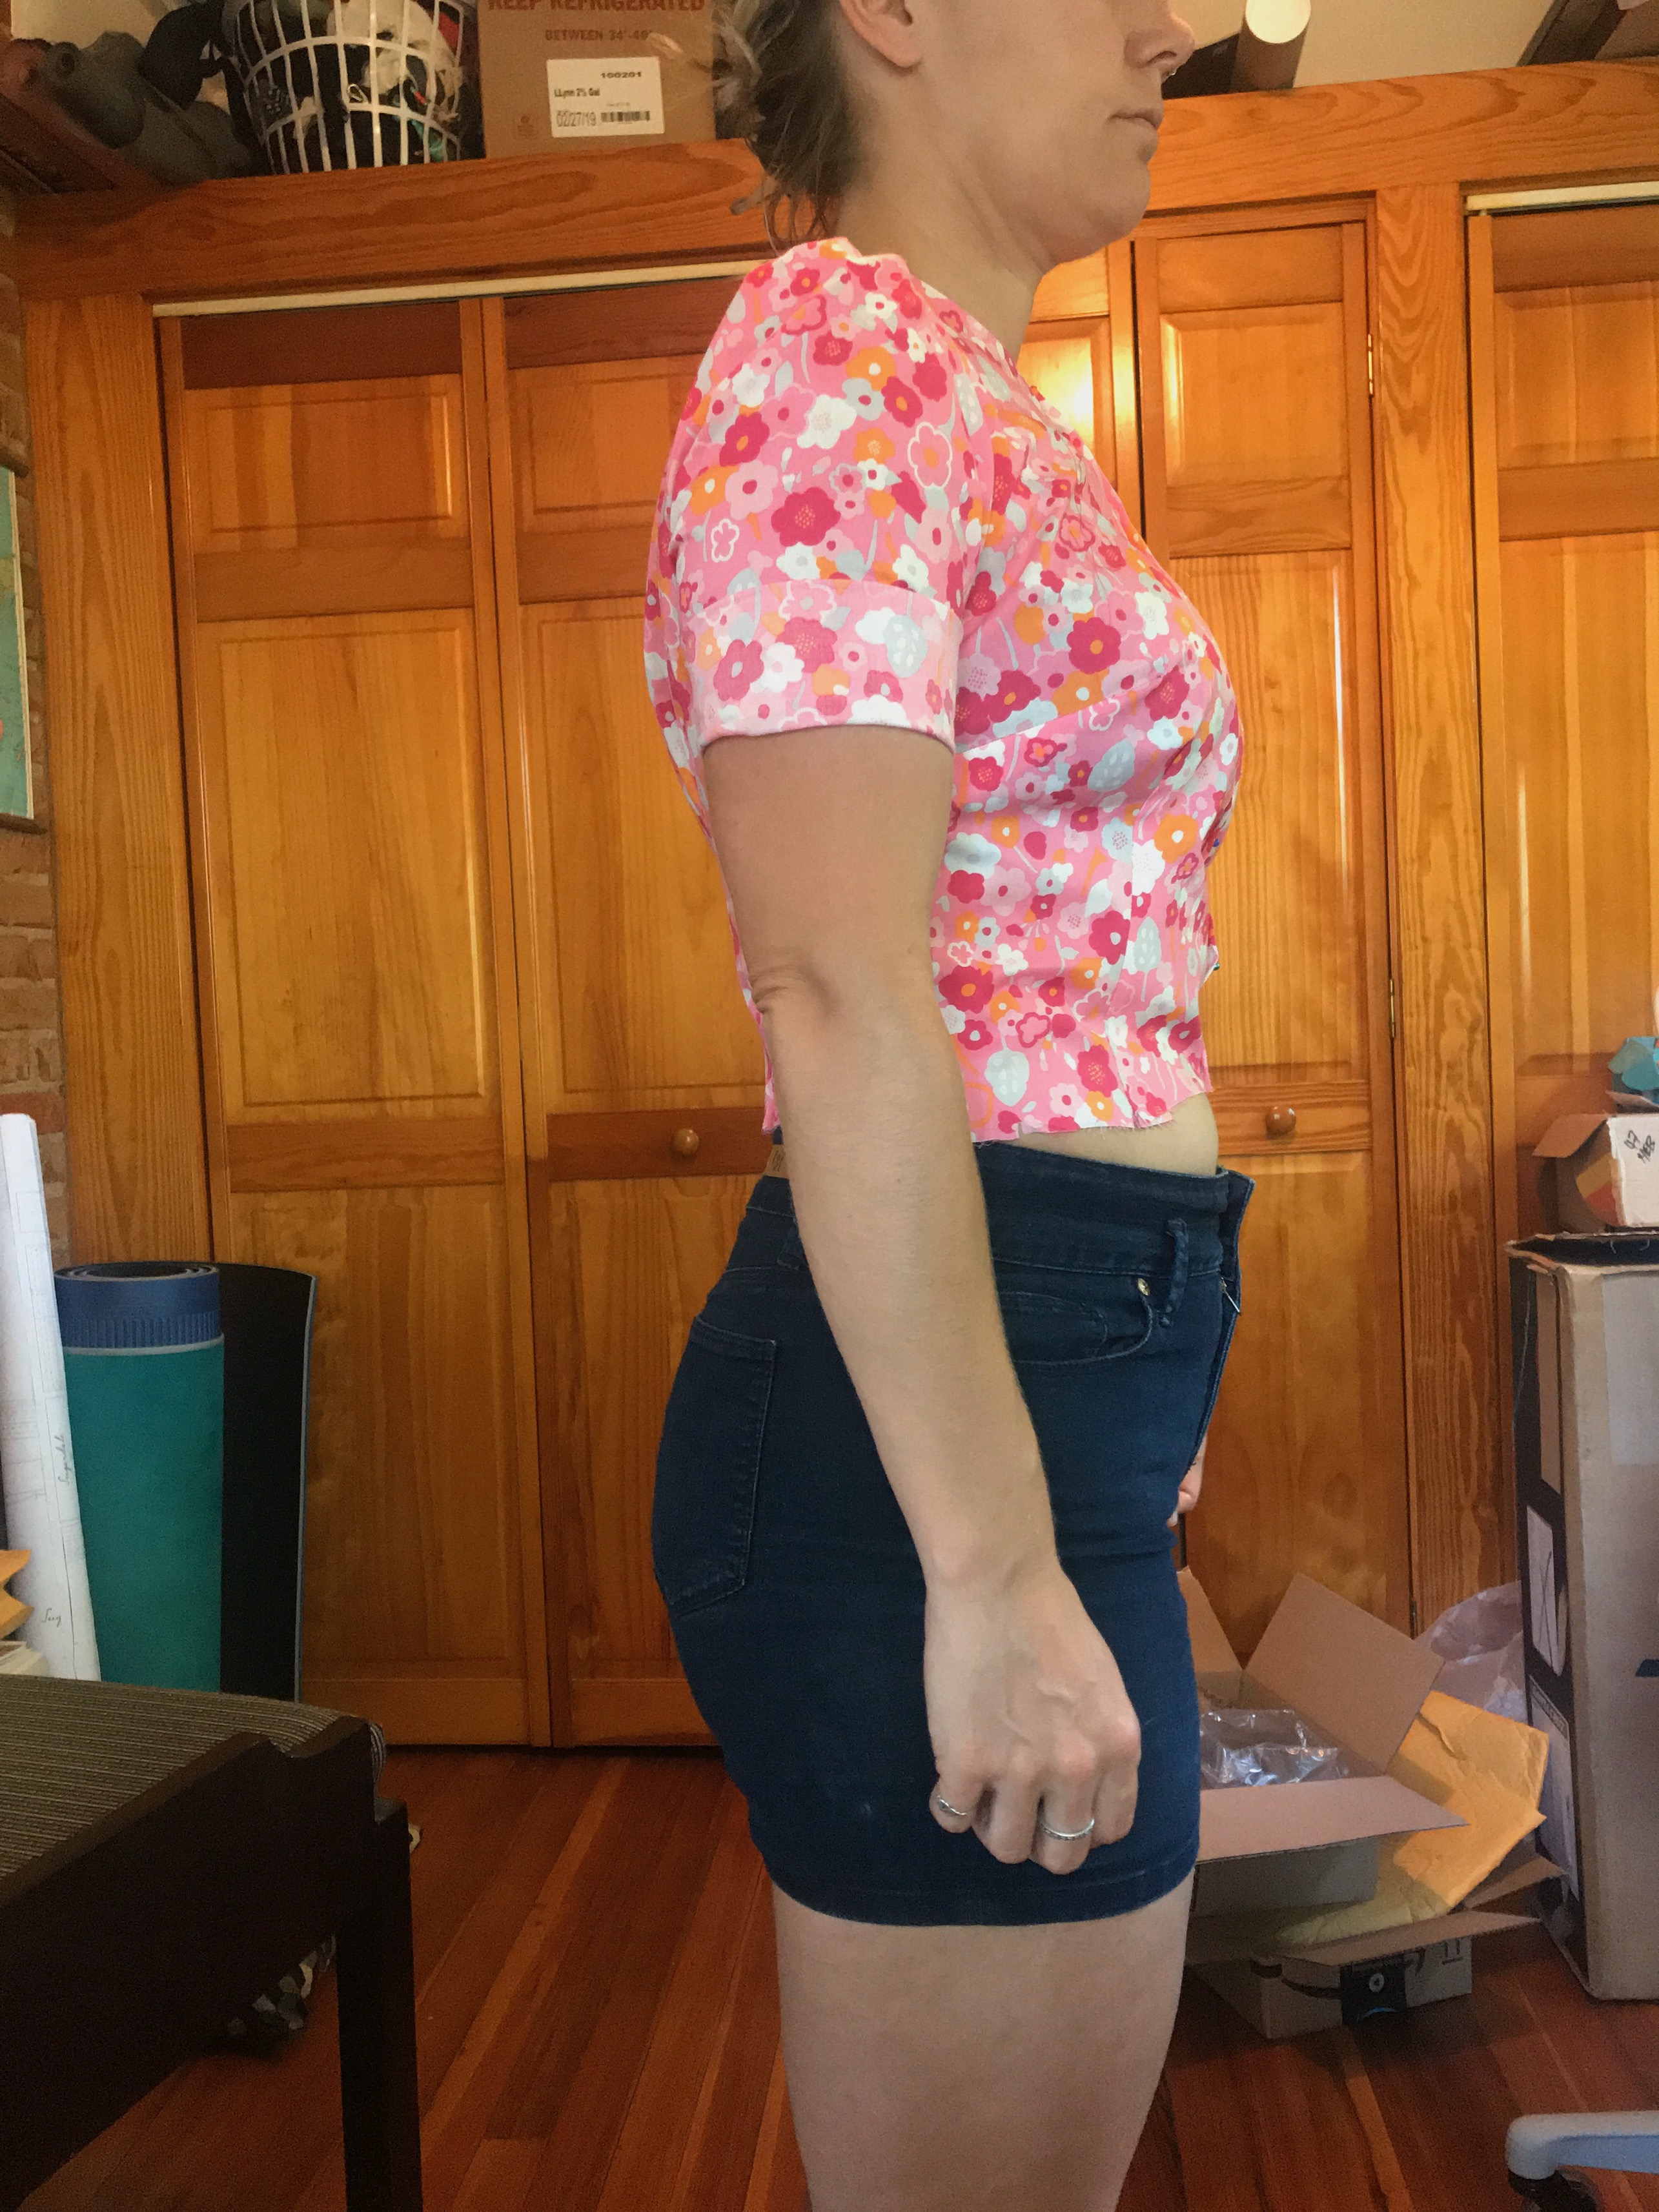
I think I’d make the sleeves about 1.5 inches shorter and maybe do a tiny full bicep adjustment. I can wear them and move but its hard to pull off as they get a little stuck on my bicep. I think if they were shorter I wouldn’t have that problem, due to my petite-ness and the height for which they were drafted, they probably just sit in the wrong place on my arm.
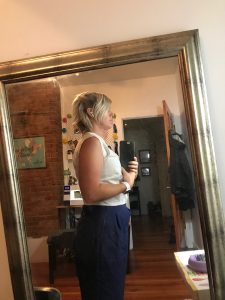
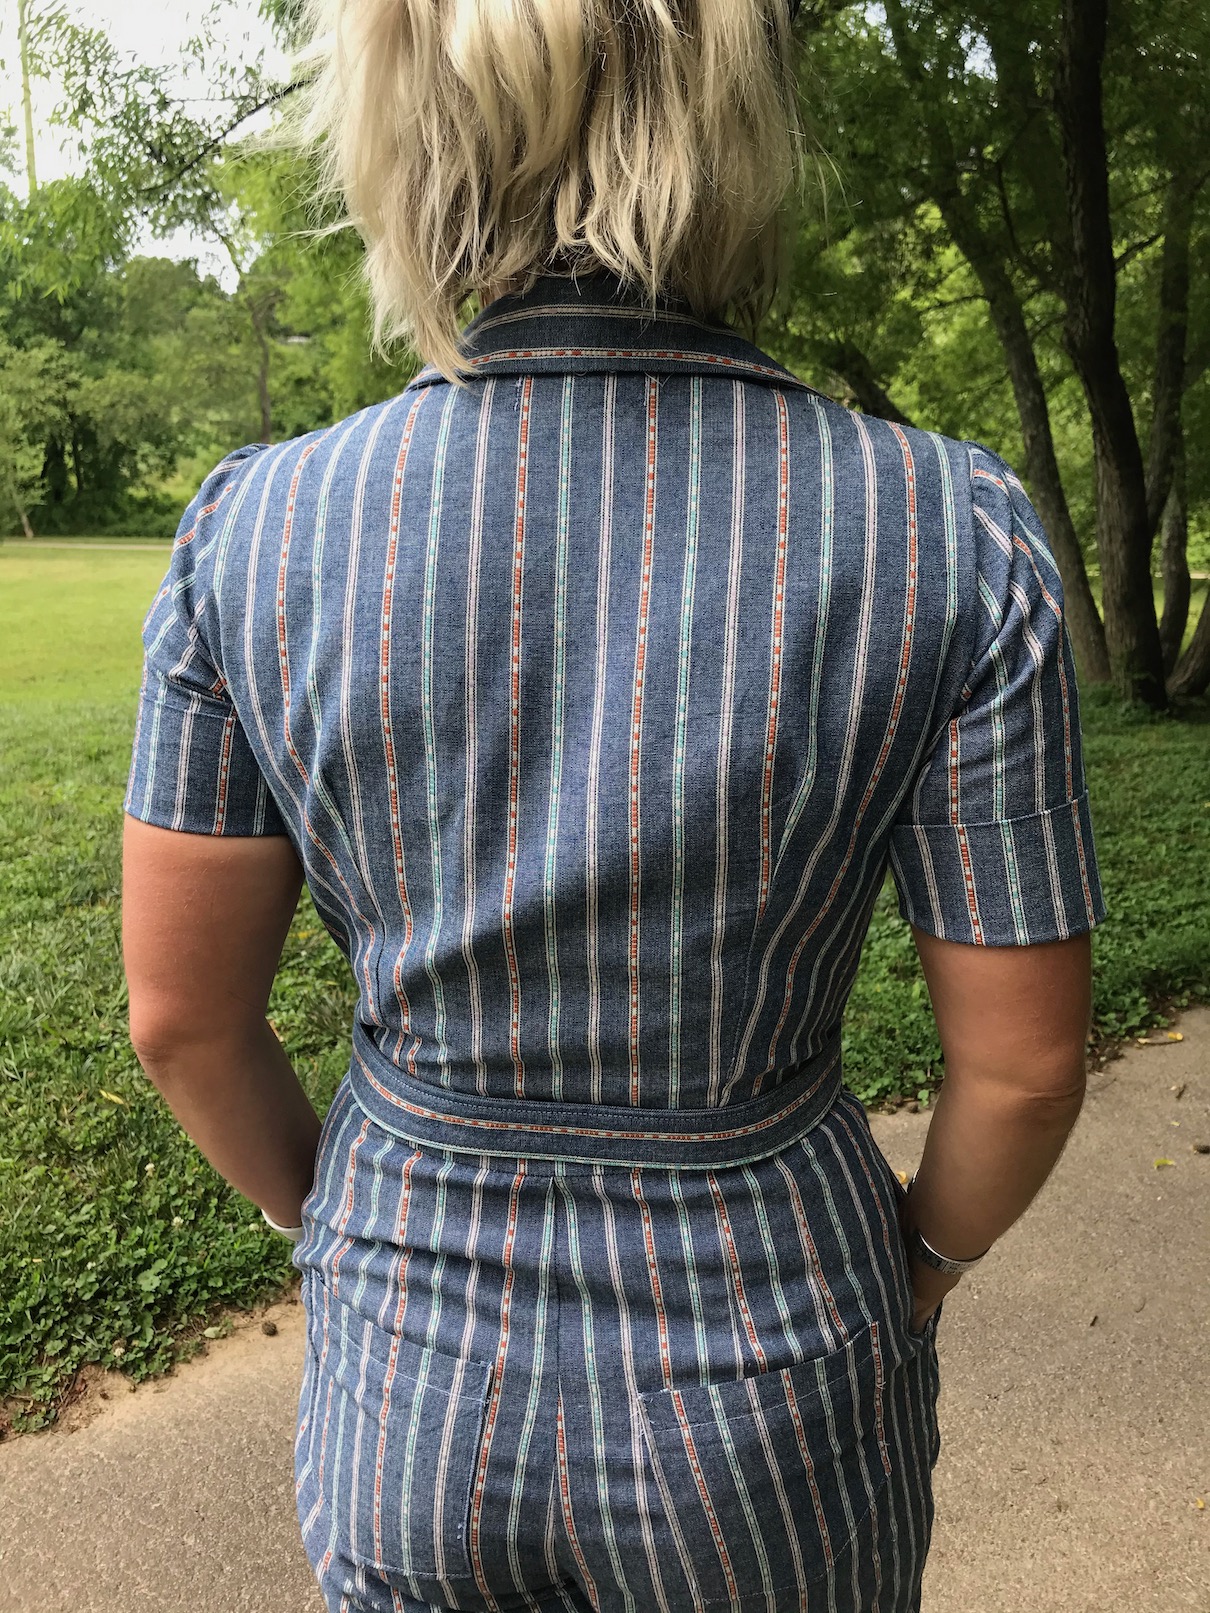
The only other thing is I’d try and figure out why the belt doesn’t sit on the waist line of the garment – I’m thinking it rides up and sits at my actual waist, meaning perhaps I need to change where the bodice joins the trousers? Not sure if that’s the right diagnosis – totally open to suggestions if anyone has any? You can see what I mean here:
Overall I think this was a battle hard won and I have an awesome jumpsuit as a reward. What do you think? Worth the hassle?
![]()
xxx
Wow. You did so much work on fitting and it shows. These look fantastic! Amazing work!
Thank you so much!