Good day to you my fine sewists.
Today’s #sewbackthen is about yet another first, my first Closet Case Pattern! Most certainly not going to be my last.
Everyone had been raving about the Kalle Shirt Dress on Insta and while I wasn’t 100% sure the style was for me I decided to give it a go (it’s good to get out of your box right?) towards the end of the summer last year, and man, I’m sure glad I did!
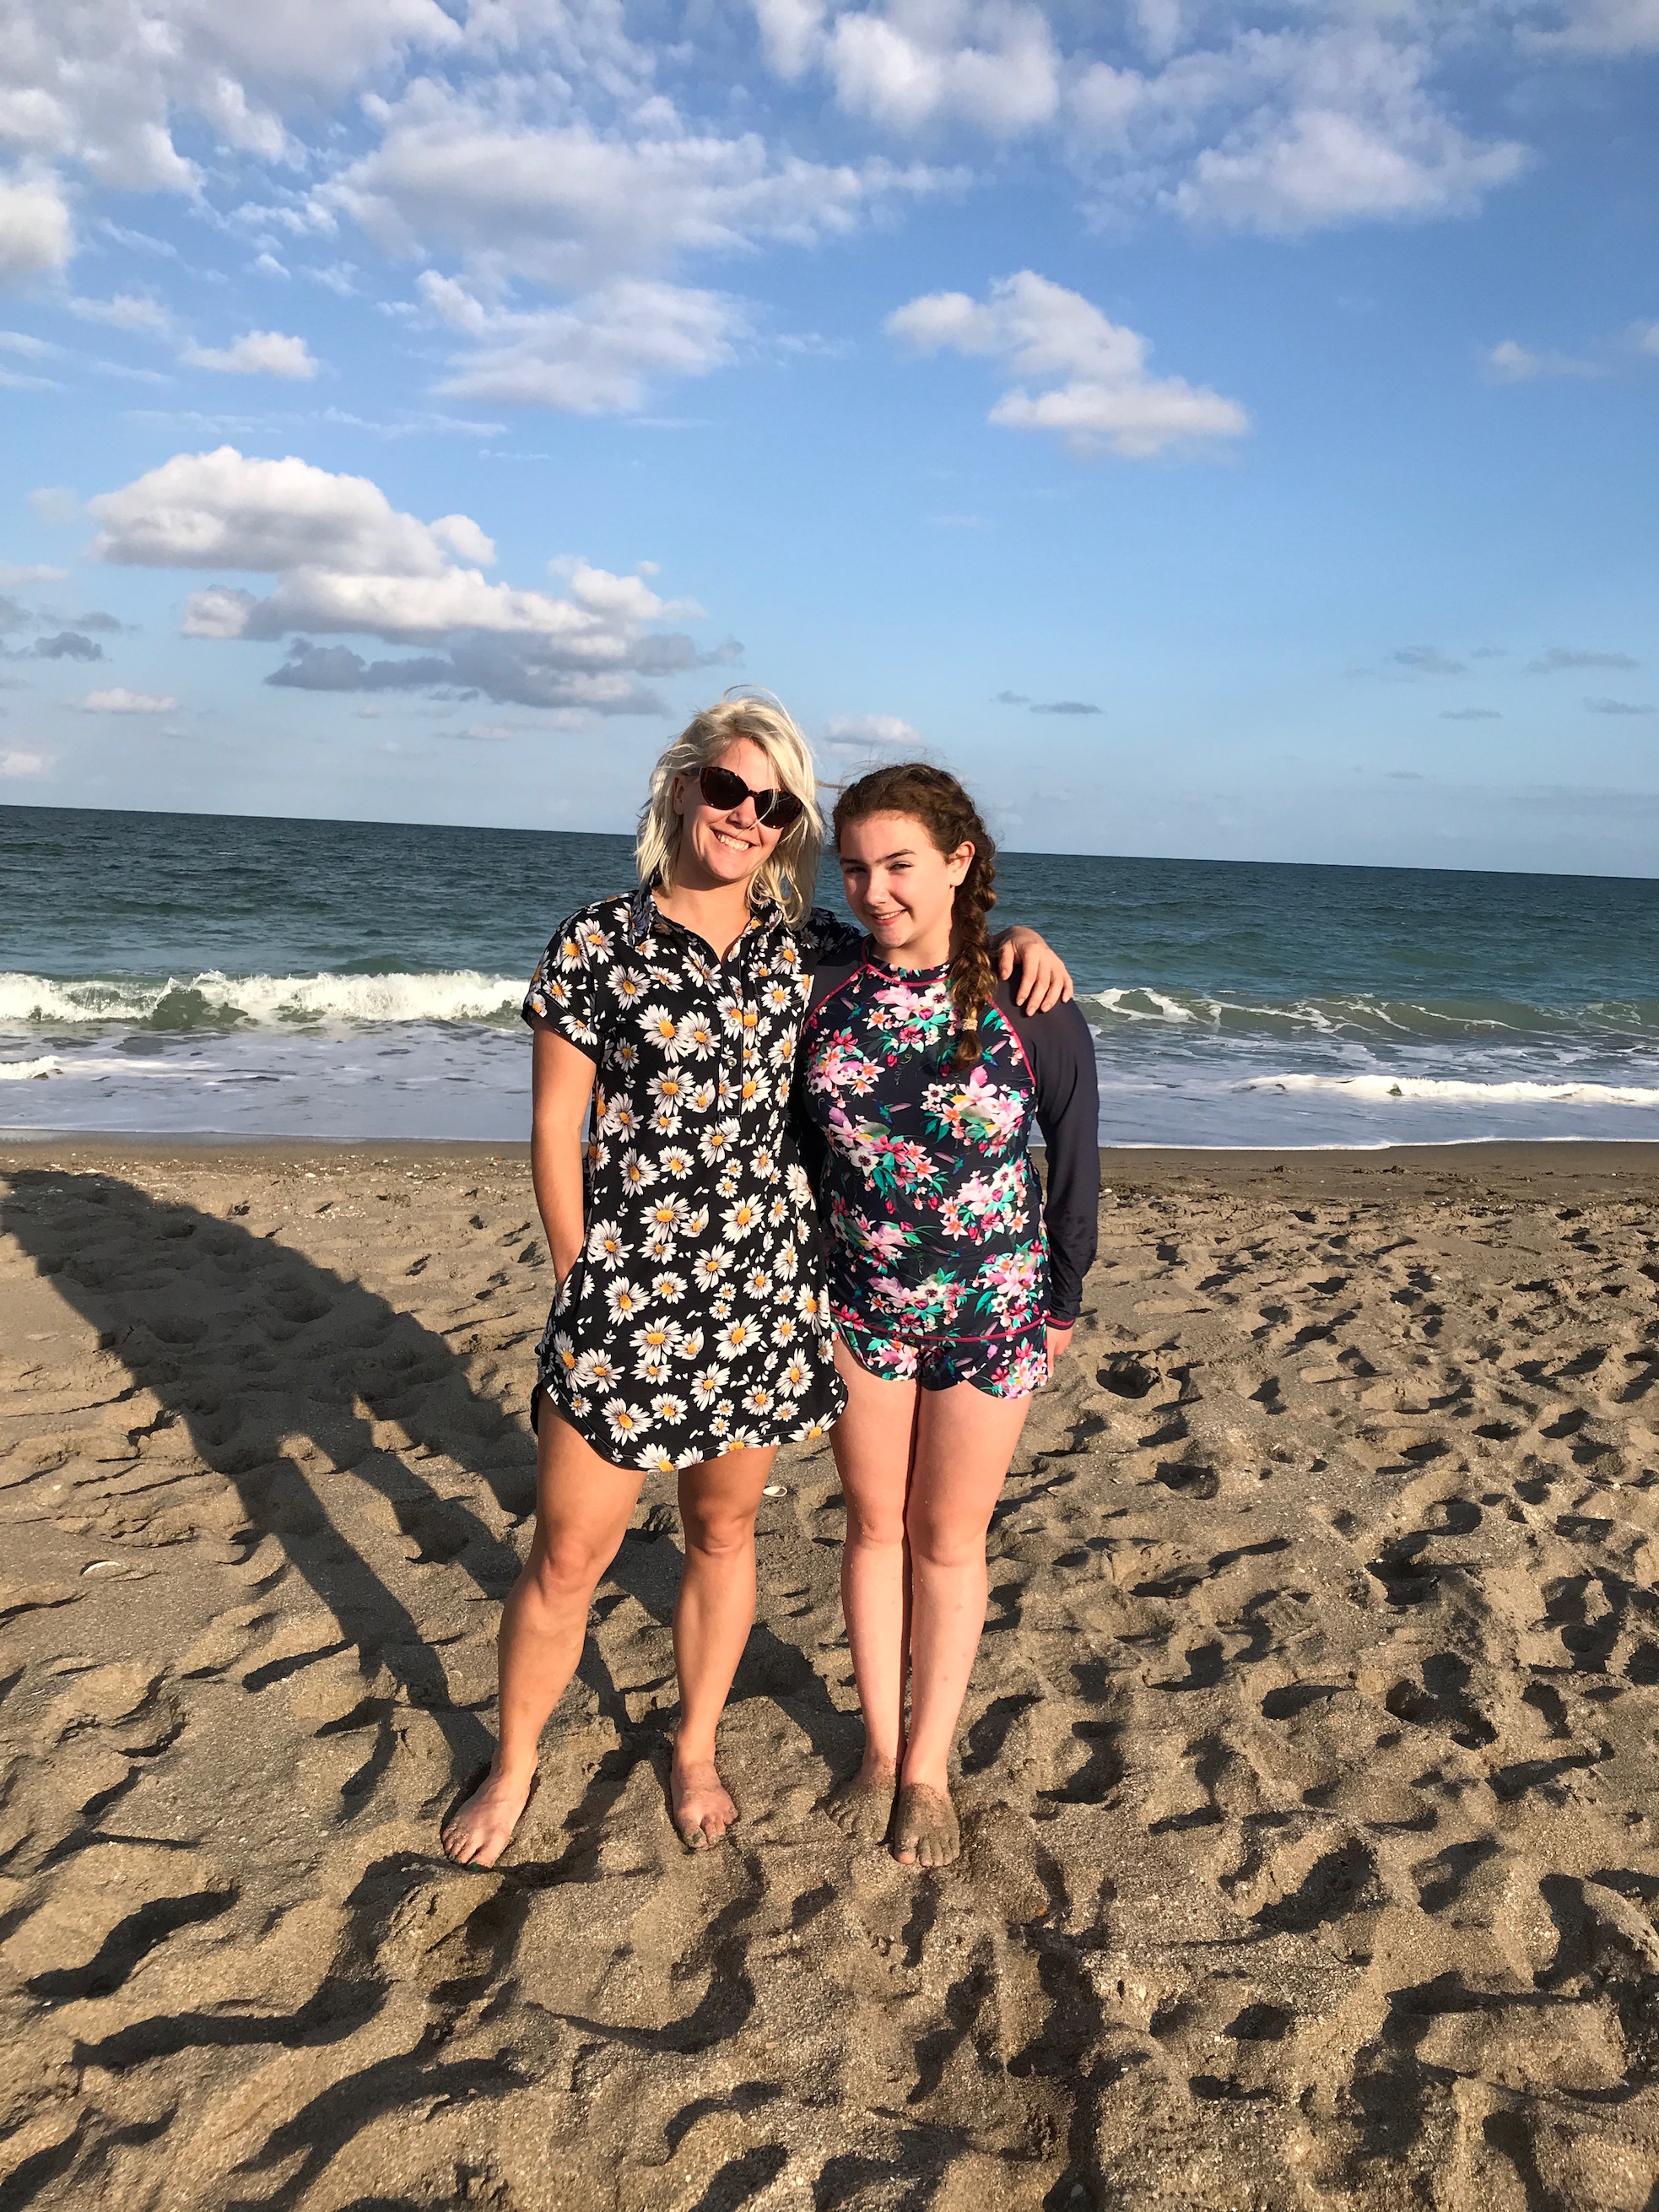
Let’s just start this post by saying after my initial uncertainty about the Kalle, it is safe to say I’m a full convert to this pattern. Since I’ve made it I’ve worn it in all different situations and weathers: to the beach, at a fancy dinner, in the mountains, you name it.
So first up, the fabric:
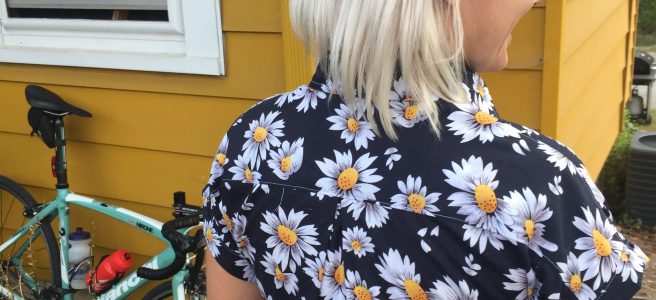
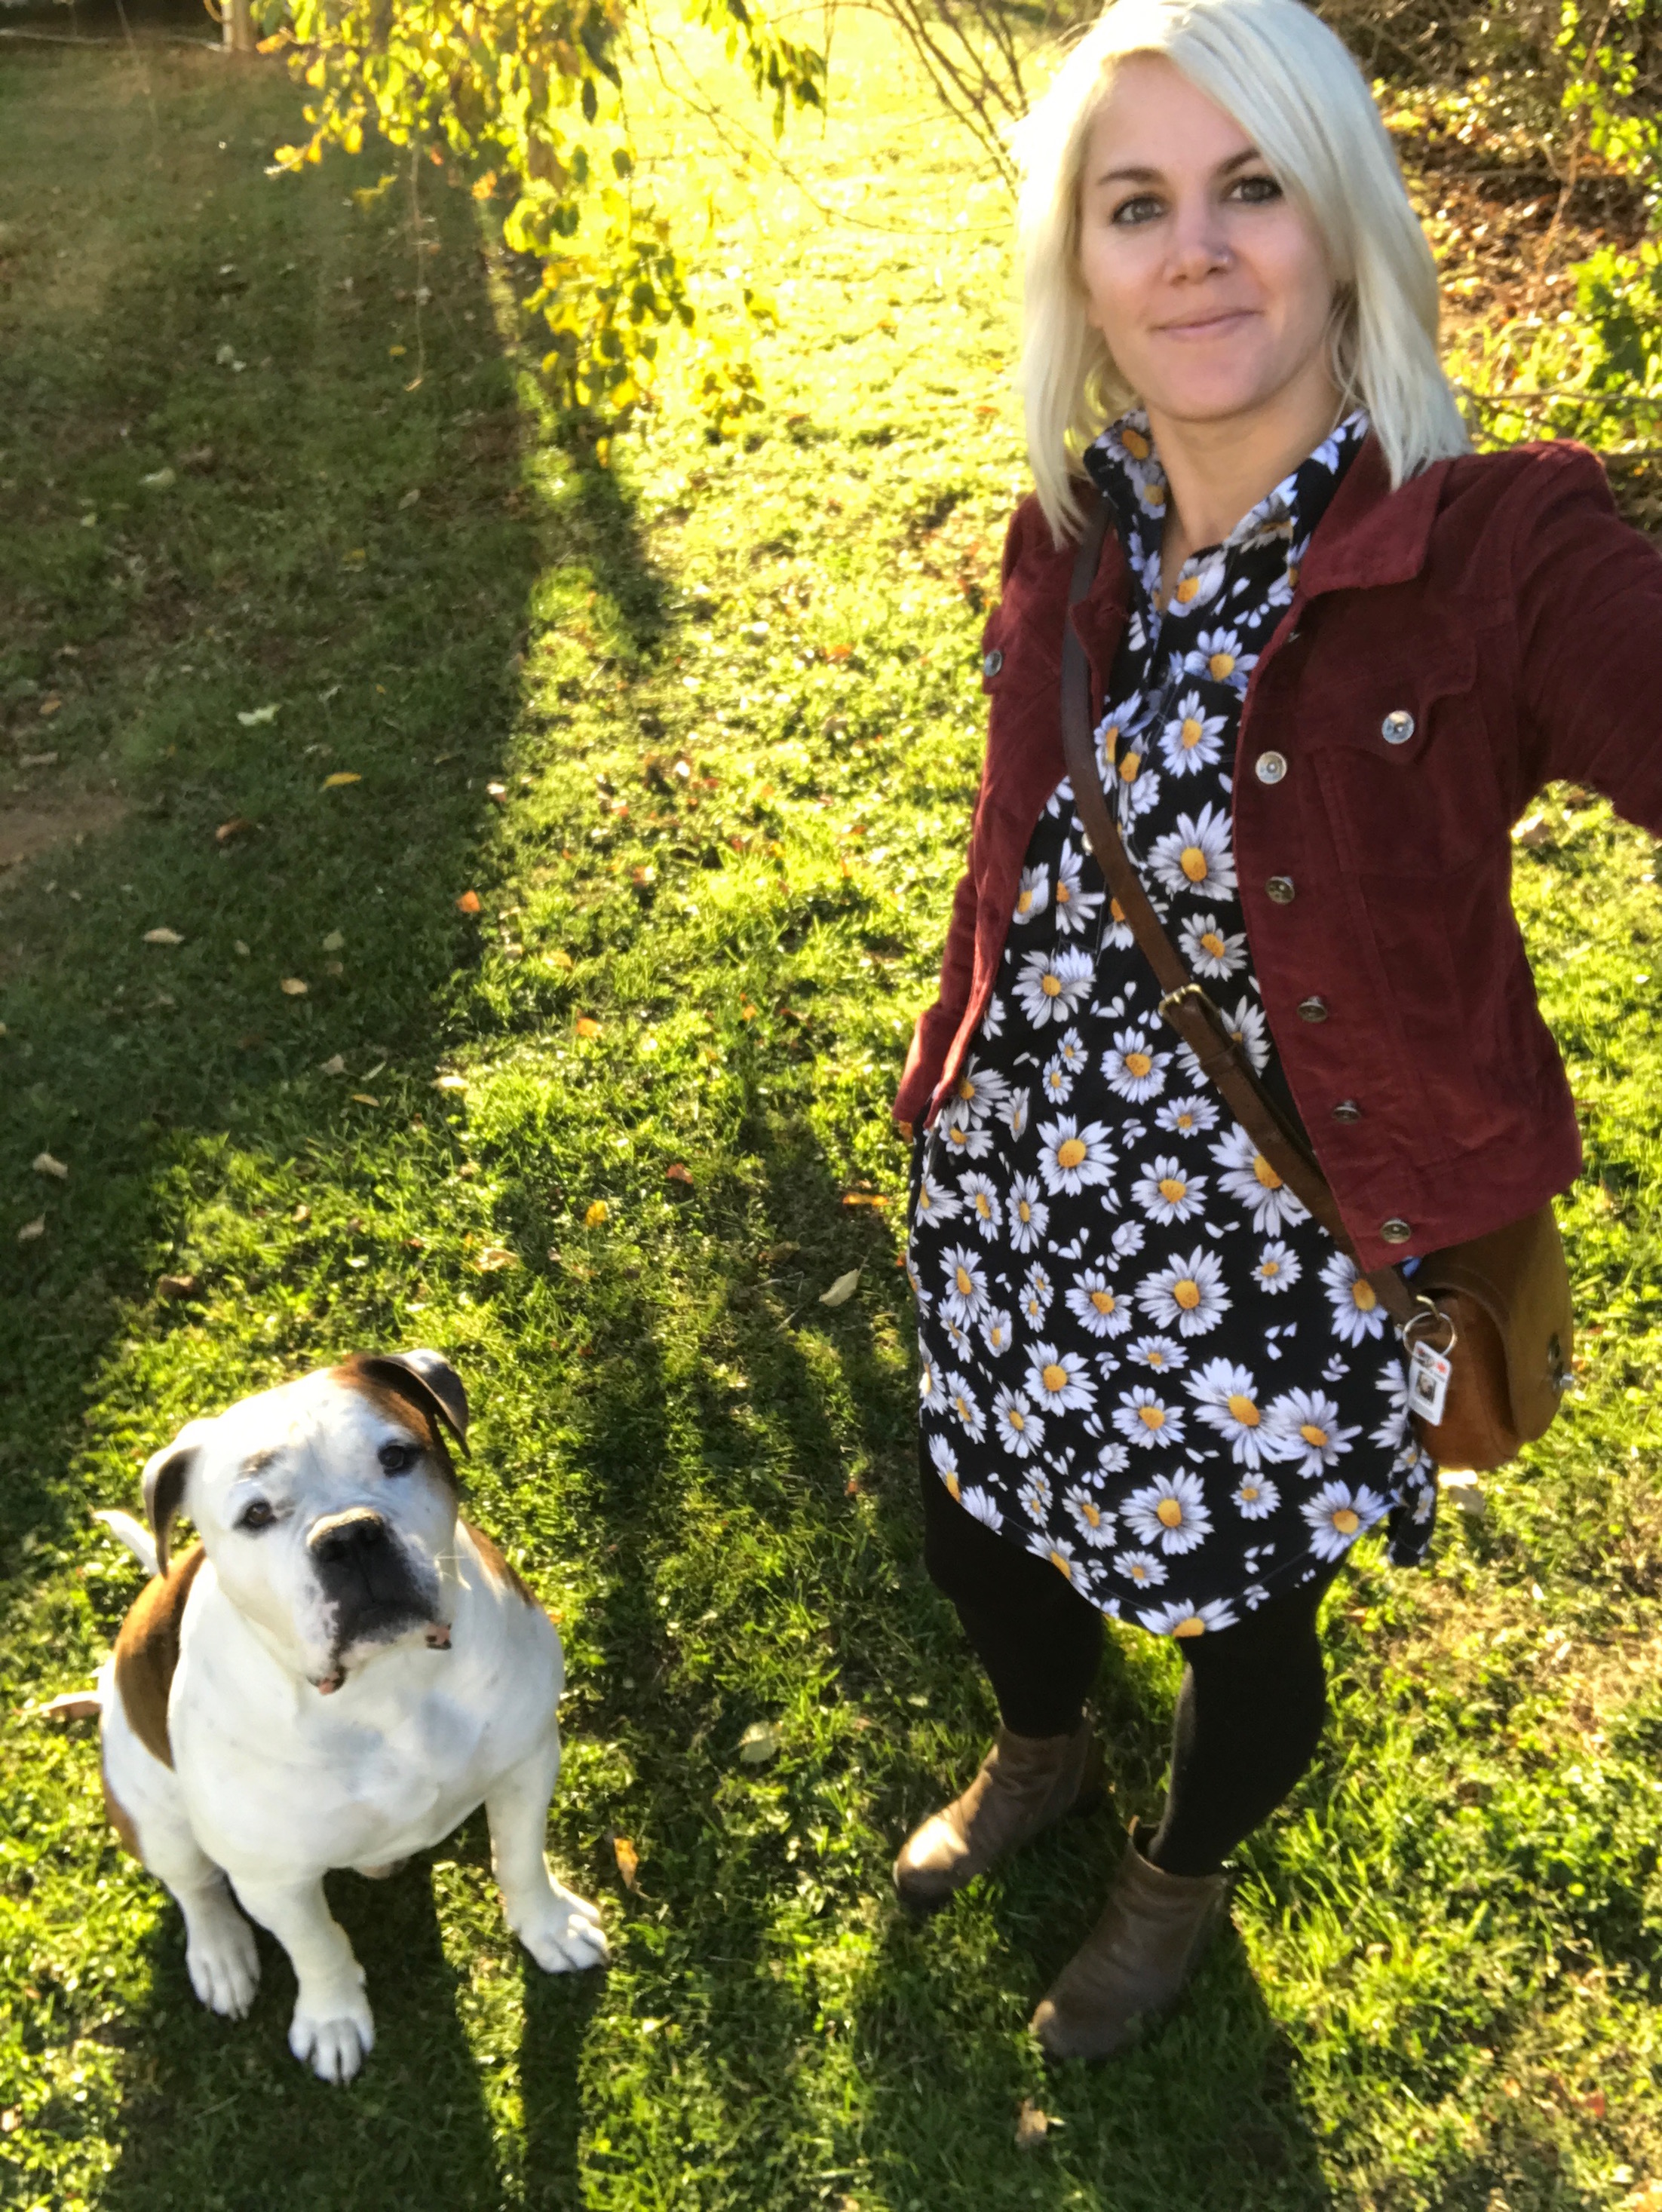
My usual approach to sewing is to have the pattern and then look for fabric. I find that generally the right fabric will jump out at me. I had the Kalle printed, stuck together and my size cut out for over a month before I found fabric I liked! I don’t know what it was with this one but nothing was speaking to me. Then I discovered Blackbird fabrics (something my bank balance will never forgive me for!). At this time I was getting deeper into the sewing community and had listened to the first Love to Sew Podcast and decided to check out Caroline’s shop. There right on the very first page was some amazing daisy print shirting cotton in the end of summer sale. I instantly knew it was the one.

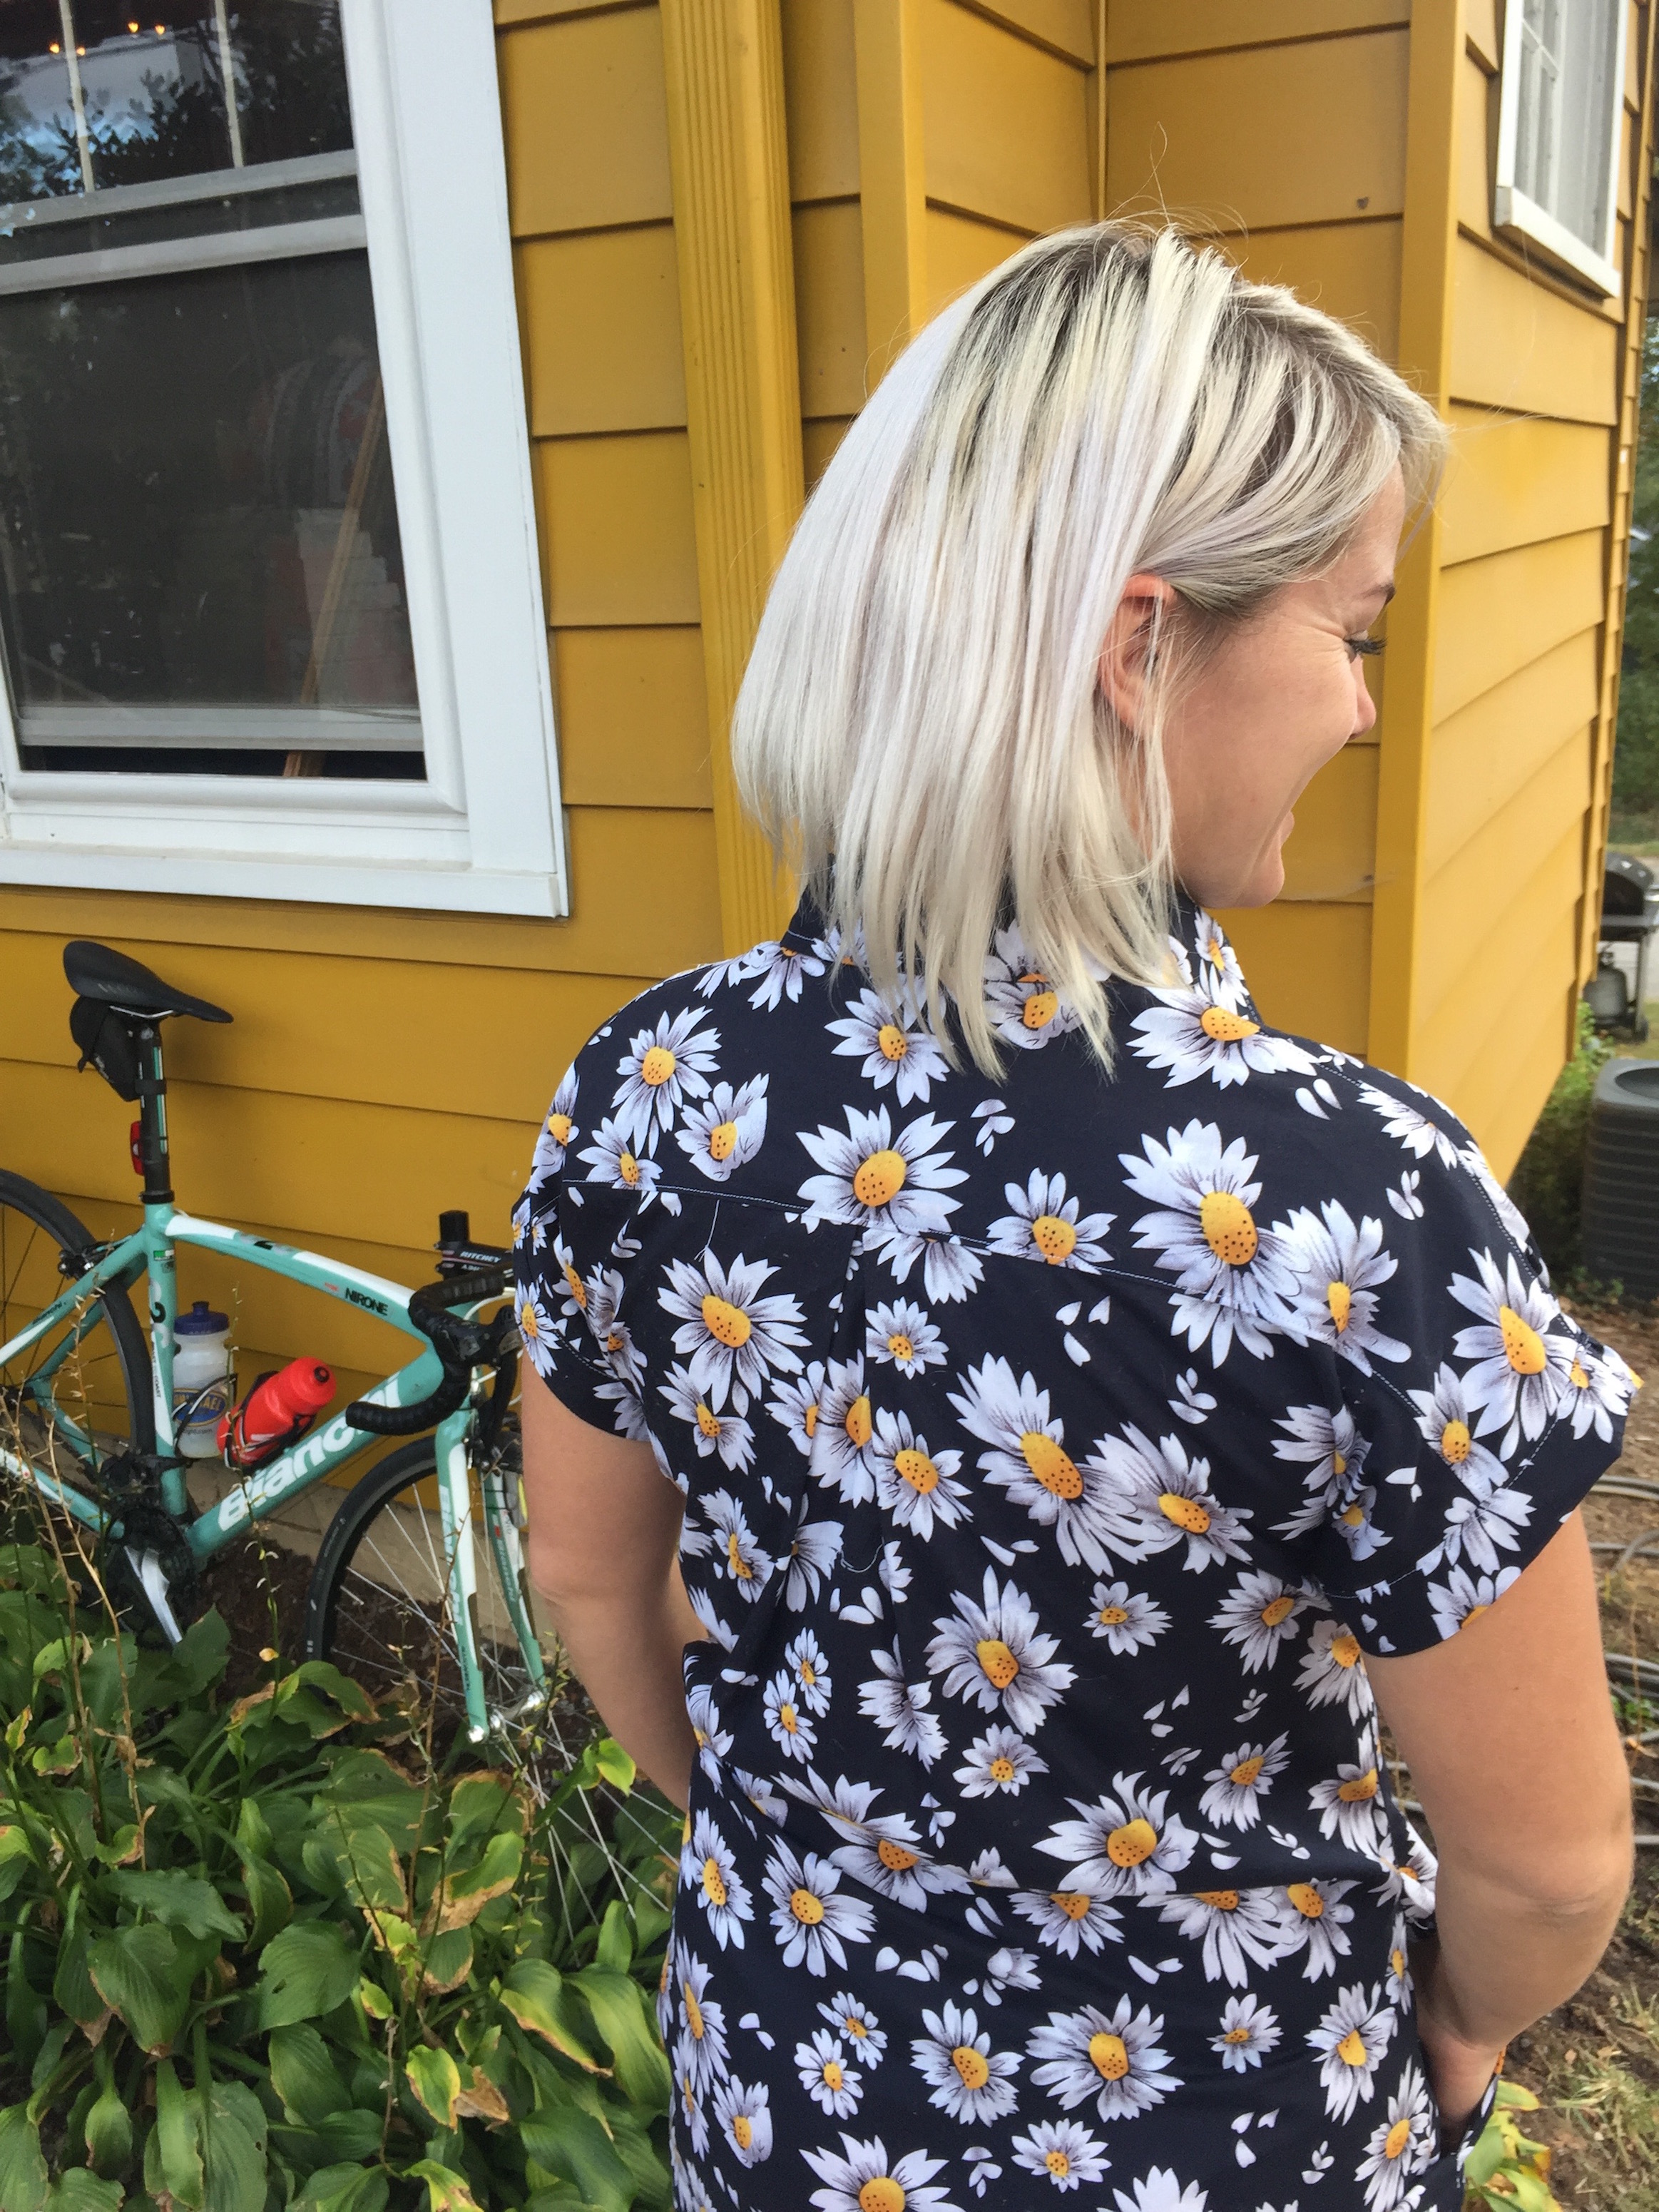
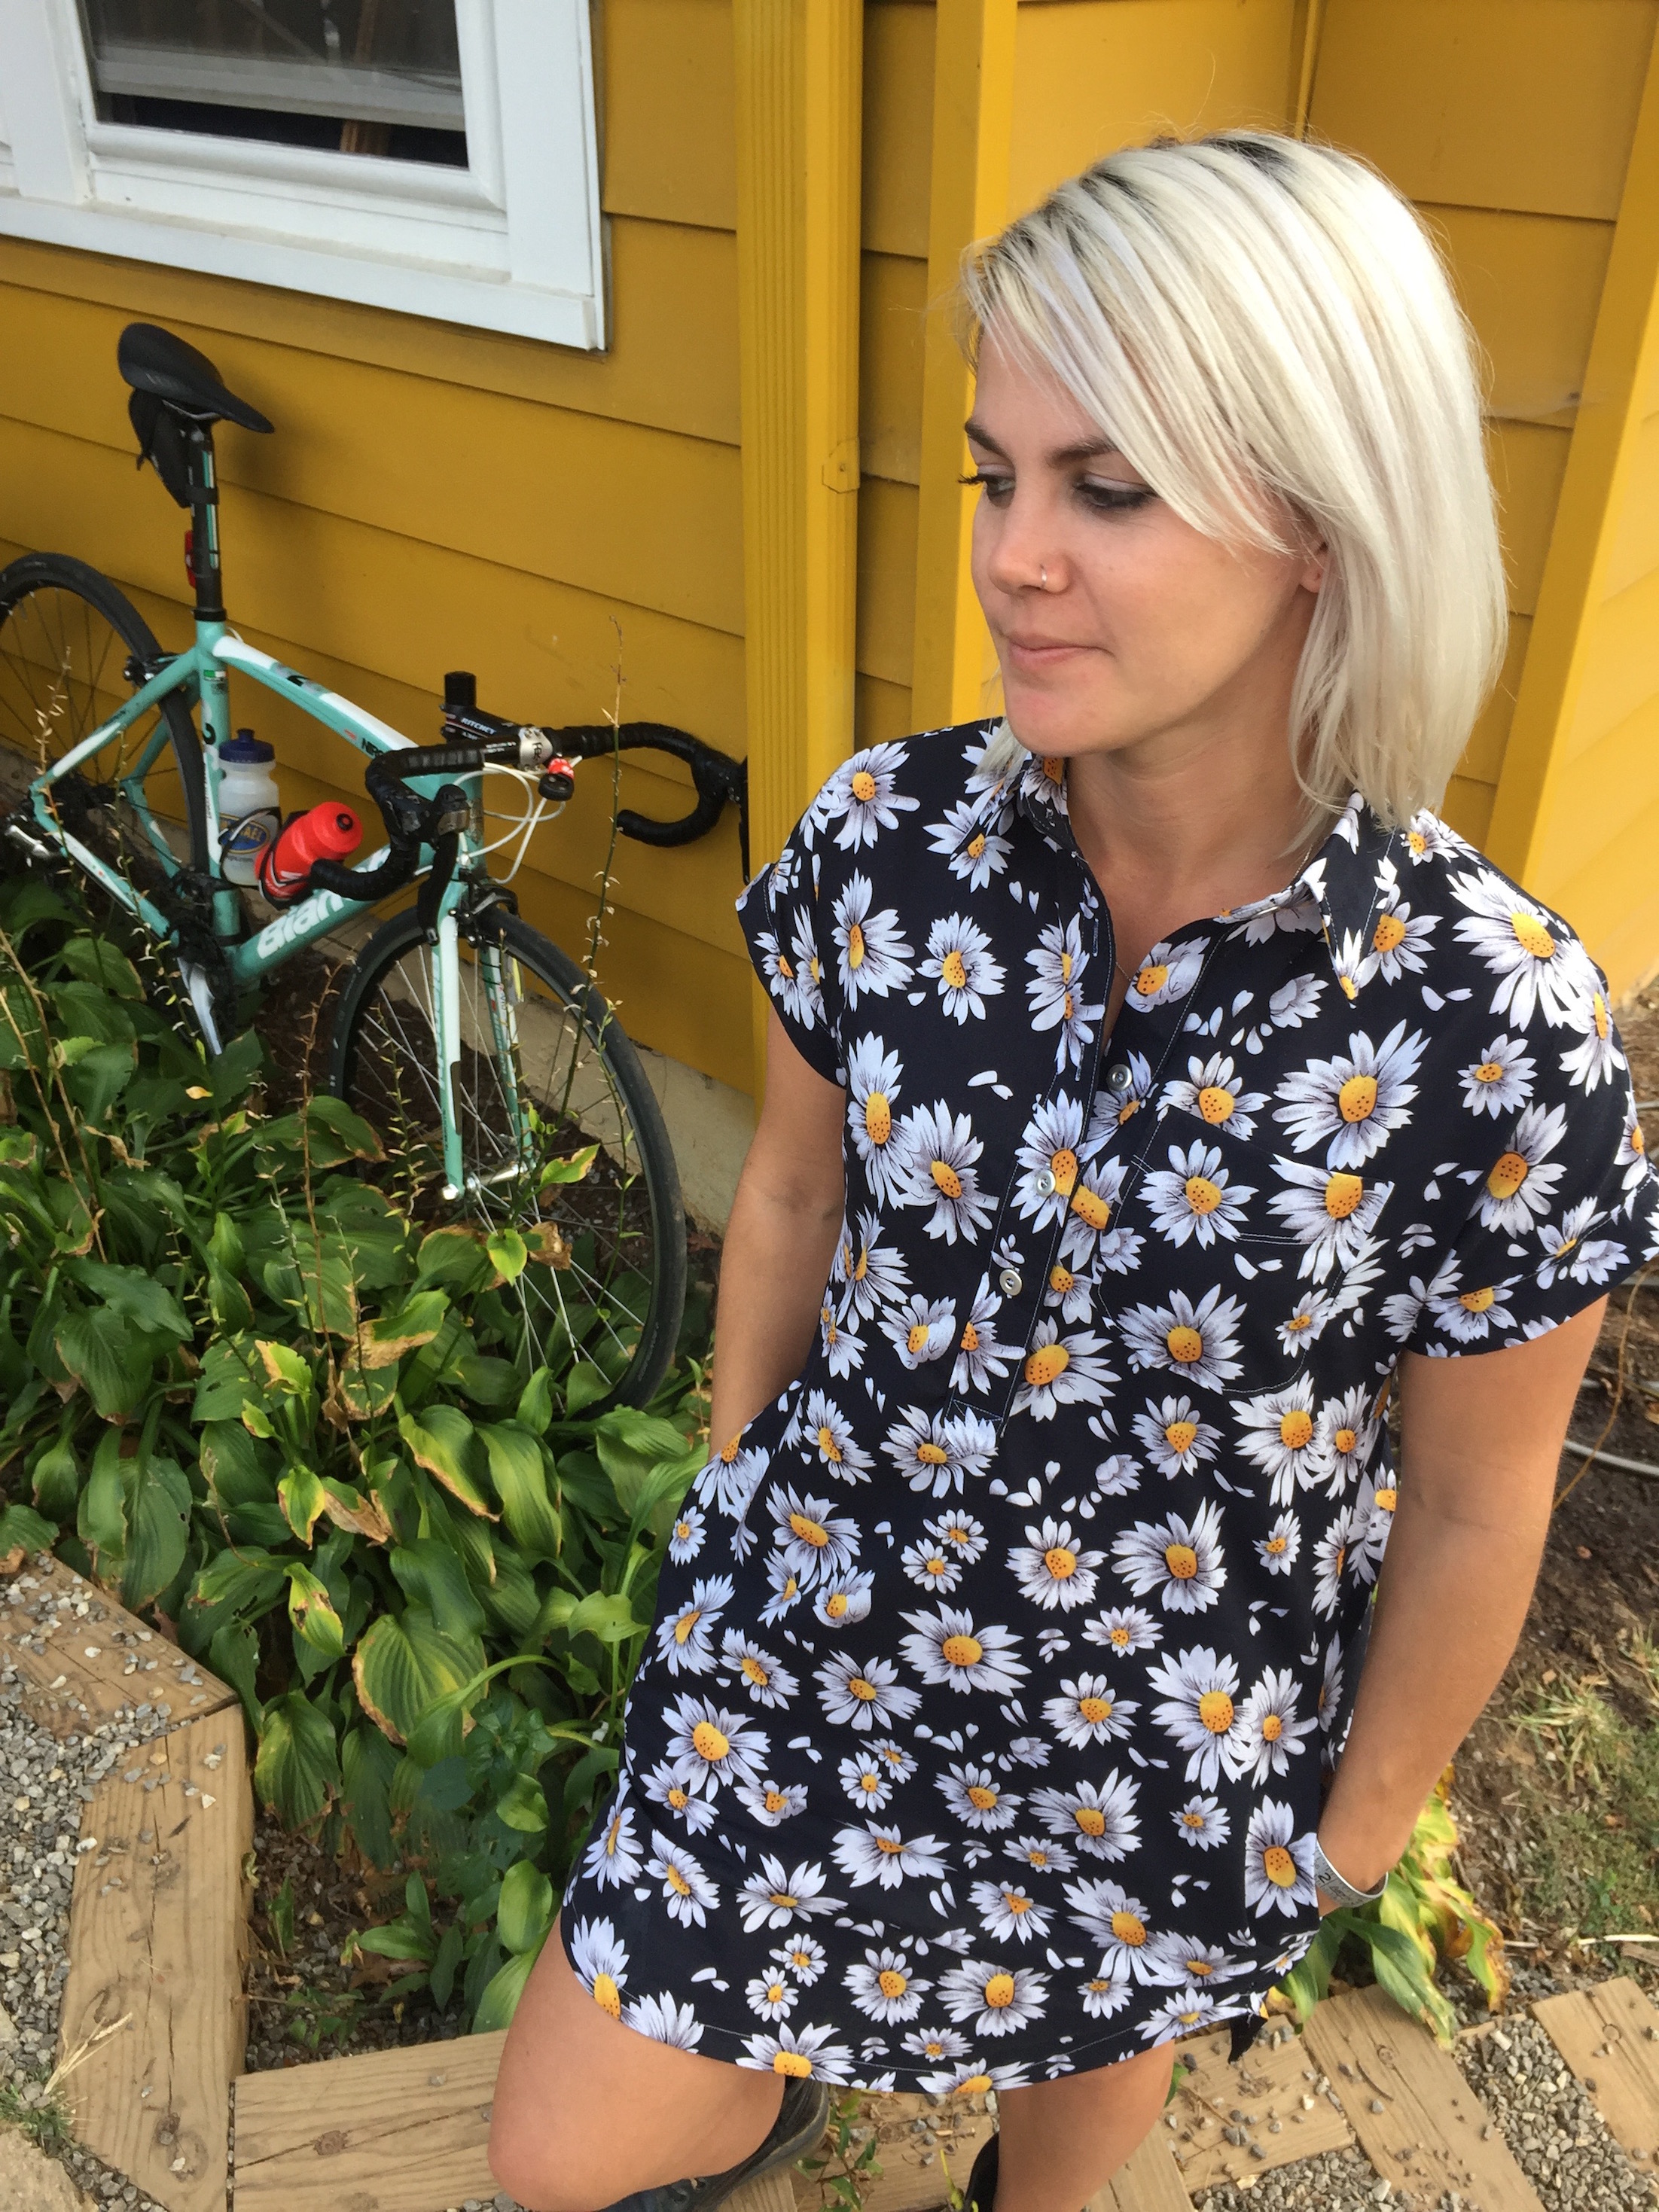
As soon as it arrived I got to cutting (after pre-washing of course!). I decided to stick true to size having made a few indie patterns now and seen that there was a lot less ease than Big 4 patterns and the vintage patterns I’ve always used. The only change I did make, which I make on pretty much everything, was to shorten it an inch. I originally wanted to make view C with the full button placket but somehow I’d not ordered enough fabric so I went with the popover placket. I was actually pretty excited about it as I’d not done one before, so it all worked out.
I began the construction and loved Heather Lou’s instructions; very clear and well illustrated. I’ll admit I used the sew along on the website for the burrito method as this was new to me. It just had a few extra pictures than the pattern instructions and I’m a very visual learner so this just gave me a bit more help. My burrito worked out perfectly first time – YAY. If you’re nervous about the pattern, don’t be, all the resources are there to help you with this one.
I was really happy with it all, the shoulders fit well, my top stitching looked pretty good I was proud of how neat my collar had turned out. The construction of this collar was different to my Tilly and the Buttons Rosa Shirt and I really loved trying it a new way.
Unfortunately once the side seams were basted together I realised it was waaaay too big for me. Like, literally felt as if I was drowning in fabric!
I think if I’d used a drapey rayon fabric it may not have been such a problem but because the cotton had a fair amount of structure it just looked RIDICULOUS!
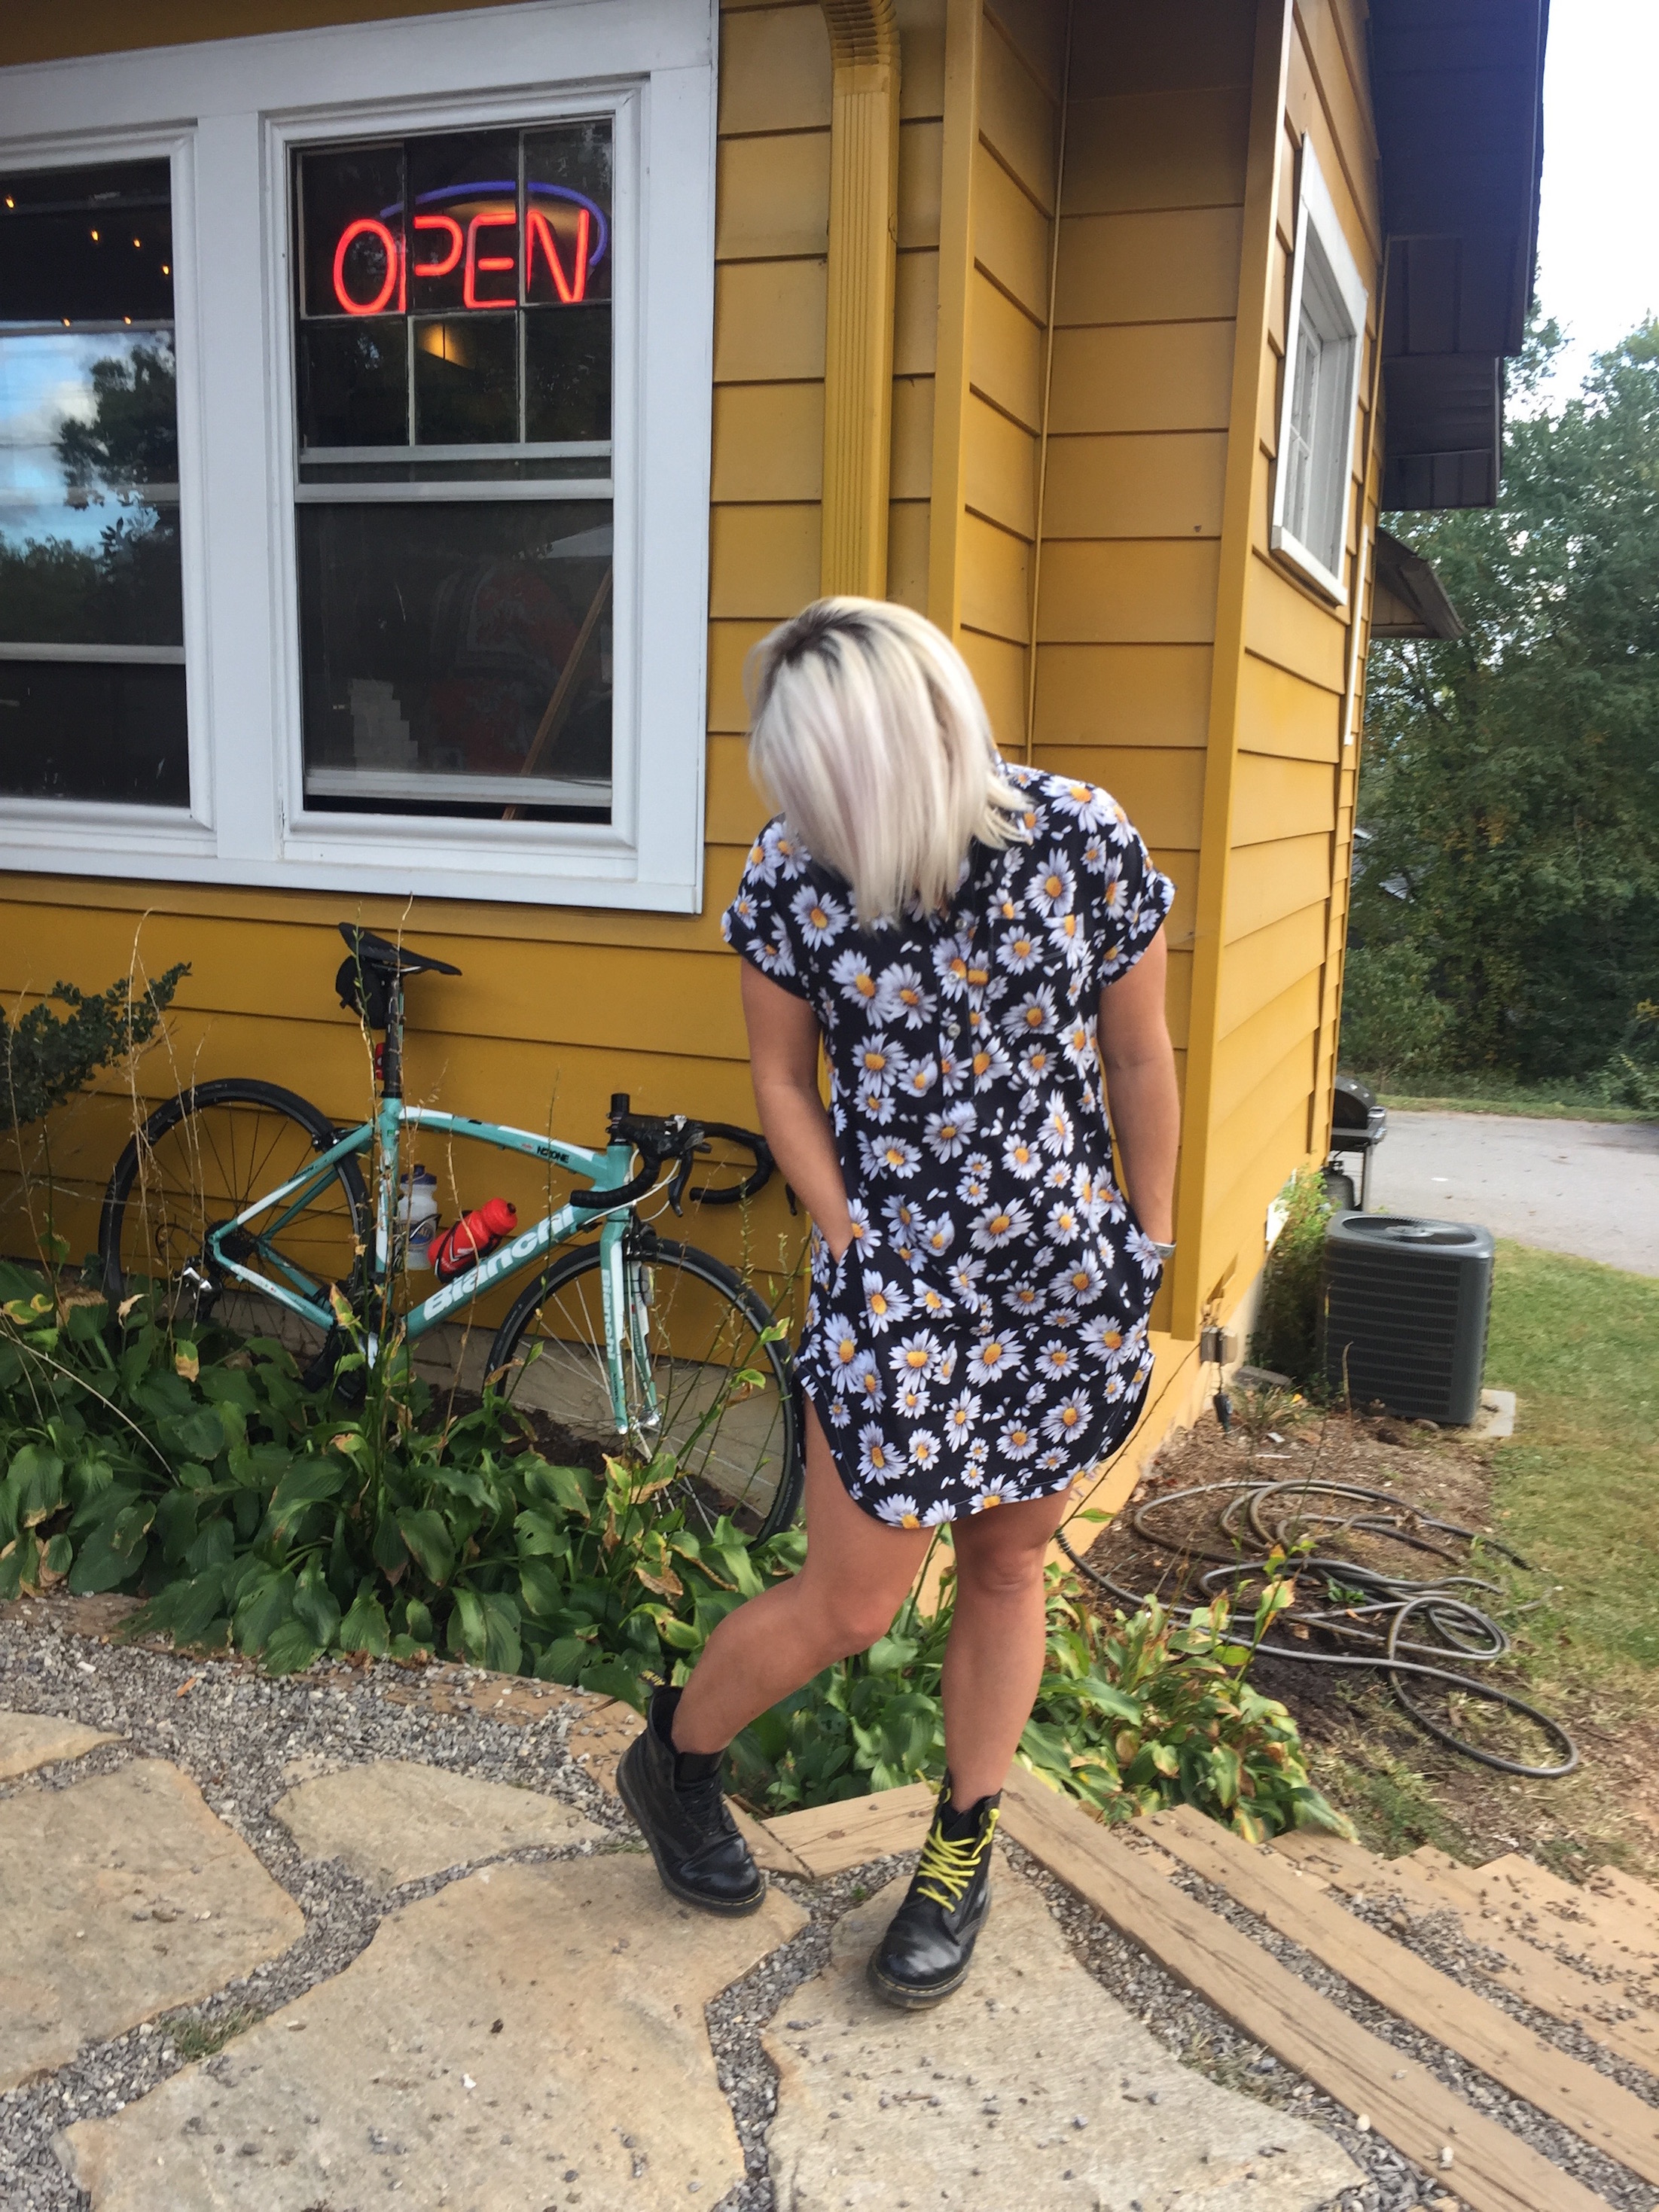
I ended up taking it in at least 2″ the entire length, from under the armpit all the way to the hem, plus 3″ at my waist – yikes. I curved my seams into the waist and then back out again, giving it a little more shape. Once I did this it fitted much much better for my taste.
Oh, and of course I added pockets!
Because of the amount I’d taken in a the sides my front and back curved hem didn’t line up as well as I’d liked but using bias binding just makes life so much easier! I’d used this technique for the first time on my recent Marilla Walker Maya top and to say I was converted is an understatement – I honestly don’t think I’ll ever hem anything any other way if I can avoid it! If you’ve not tried it yet there’s loads of YouTube tutorials or I used my Sewing bible – AKA The Readers Digest Complete Guide To Sewing . Thanks to Jen @the_stitcher_and_gatherer for the intro to this beast of a book!
One thing I’m not sure of is if I perhaps sewed my cuffs on the wrong way, as in, I had them attached and then folded them to the inside, before top stitching. I’m kind of thinking they should’ve been folded to the outside, but I don’t think it matters all that much.
As soon as the hem was done I chucked it on and was “in deep smit” (Mike Myers), I think I wore it pretty much every day for as long as I could get away it it!
I was also very lucky that my lovely friend Laura snapped some great pics of me wearing it rather than me having to prop my phone up somewhere!
This one is definitely on the list for a remake, perhaps I’ll even try my hand at altering the paper pattern first – who knows!
![]()
xxx
One thought on “The One With The Kalle Shirt Dress – #sewbackthen”