Wow, what a journey that was…
2018 was always planned to be the year I upped my sewing game to include trousers and jeans. I figured my best bet was to start with the looser, non-stretchy Lander Pants from True Bias before hitting the skinny high-waisted,’ definitely fit-right’ Ginger Jeans from Closet Case Patterns.
Here’s the pattern for those of you not familiar with it:
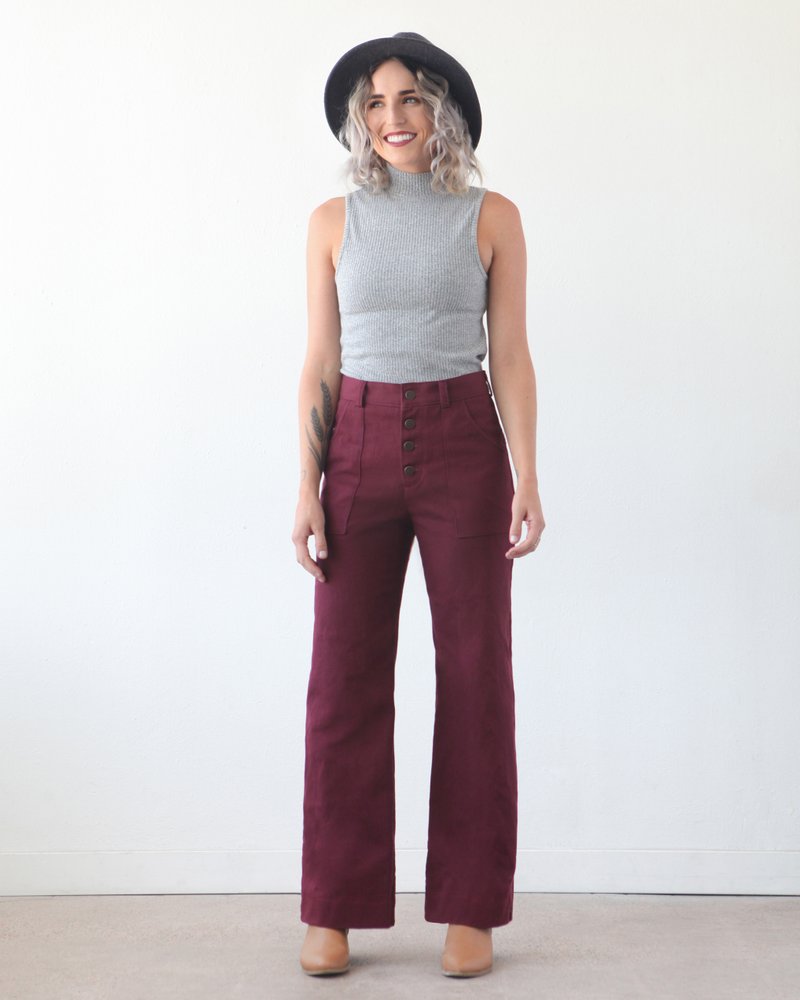
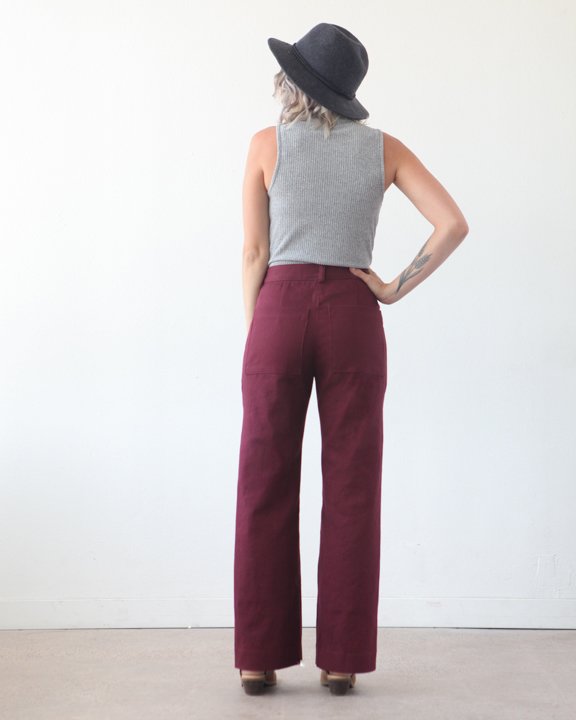
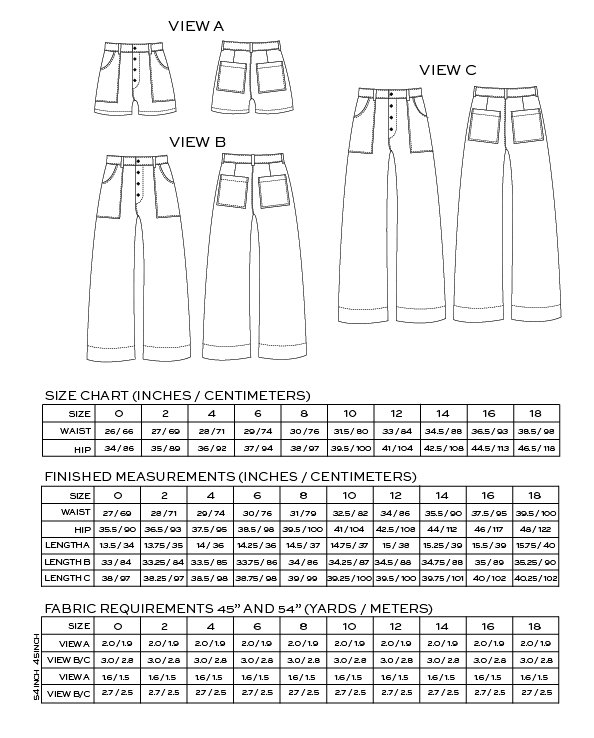
(images borrowed from True Bias
I’m really glad I did this as I feel like I’ve learned so much, so much in fact I wanted to share the whole experience with you – warts and all, as the saying goes.
Oh, and before all my English mates start getting all uppity that I’ve slipped into using the American word ‘pants’, that’s the name of the pattern, not what I call them.
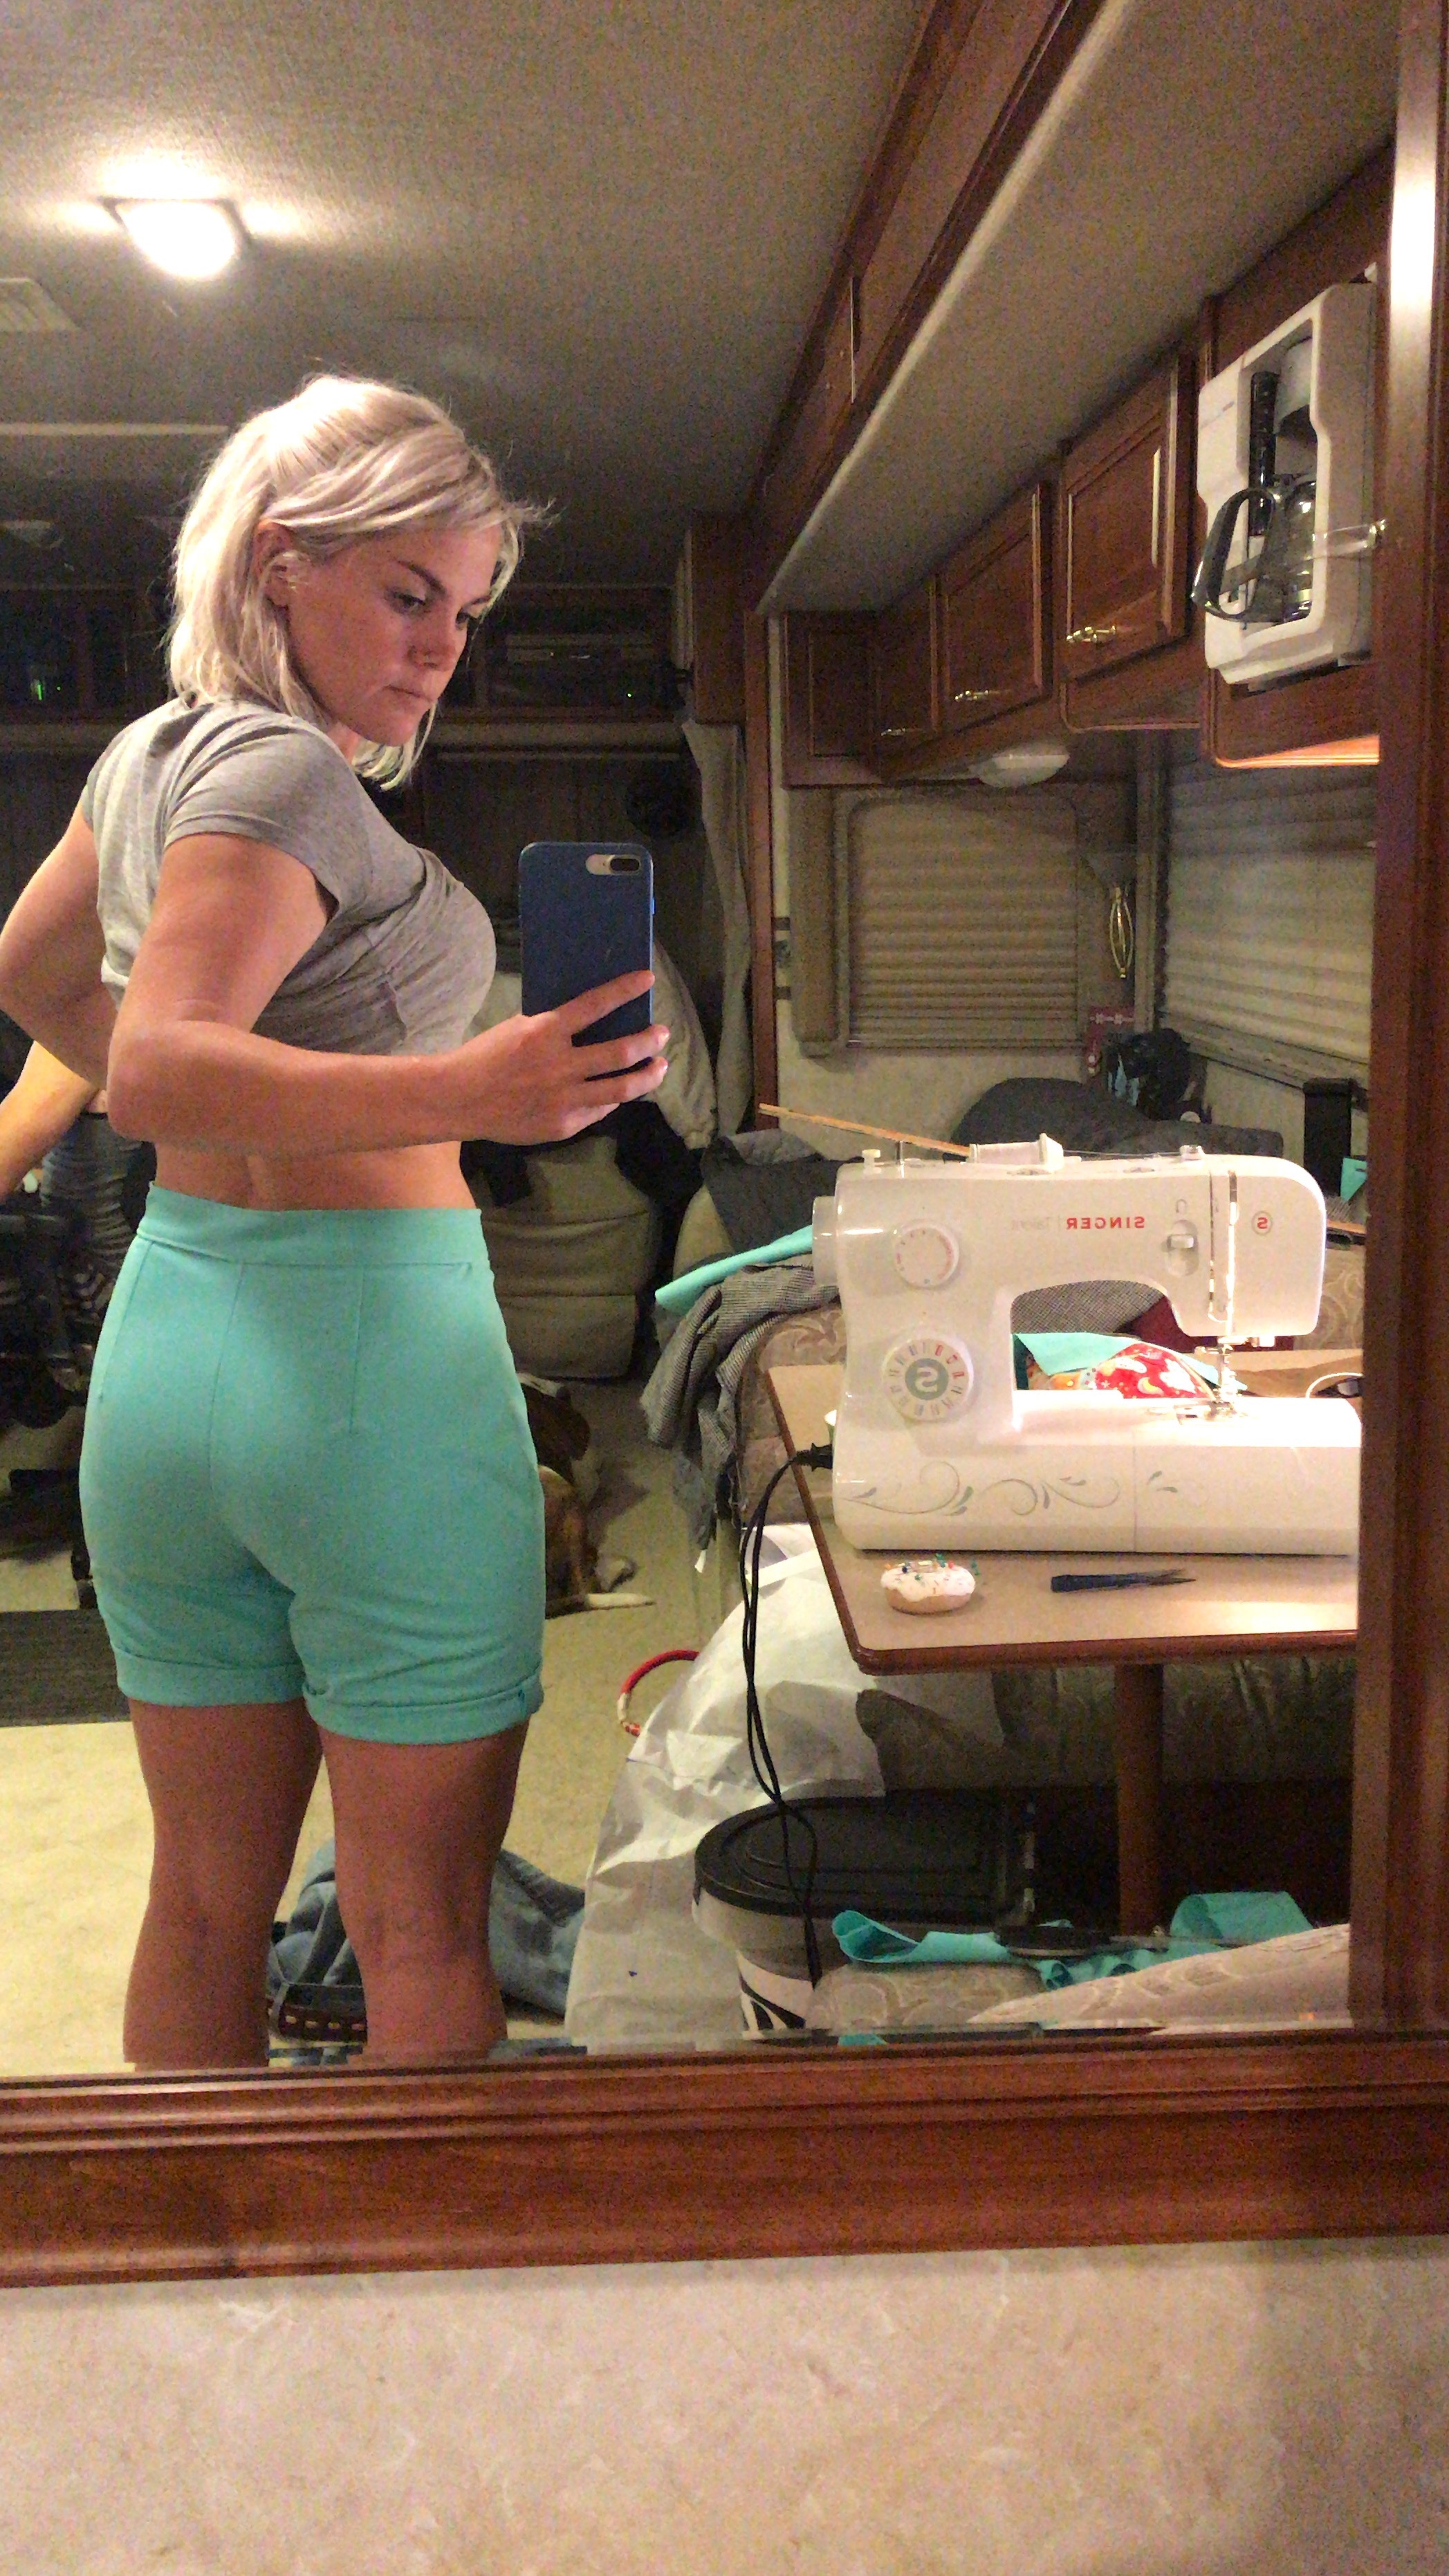
As this was my first pair of trousers (see, trousers, not pants, they’re underwear and cover your unmentionables, these are outerwear) and I wanted them to fit just right I decided I best toile for once. In my teeny stash I happened to have some pretty gross spongy polyester that I got from Habit For Humanity for $1, there was meters of the stuff. I’d intended to use it for a photo backdrop as I loved the turquoise but decided this would be a much better use (read: I was too lazy to try and find more cheap charity shop fabric).
I took my measurements and always my hip to waist ratio didn’t fit all too well into the pattern sizes. In the instructions it tells you you’re given a large seam allowance to play with on the side seam so try to base your size selection more on the waist, so that’s what I did.
I went with the American size 6, still a little larger than my waist but I knew I wouldn’t get my hips in a 4, no matter the play on the sides. Constructing the pattern was a lot easier than I expected – even the fly. I love that Kelli includes a stitch guide for the button holes – ingenious. I’d whipped my test pair up in no time (minus top stitching and finishing seams though – these were never intended to be a wearable toile, fabric is so itchy!)
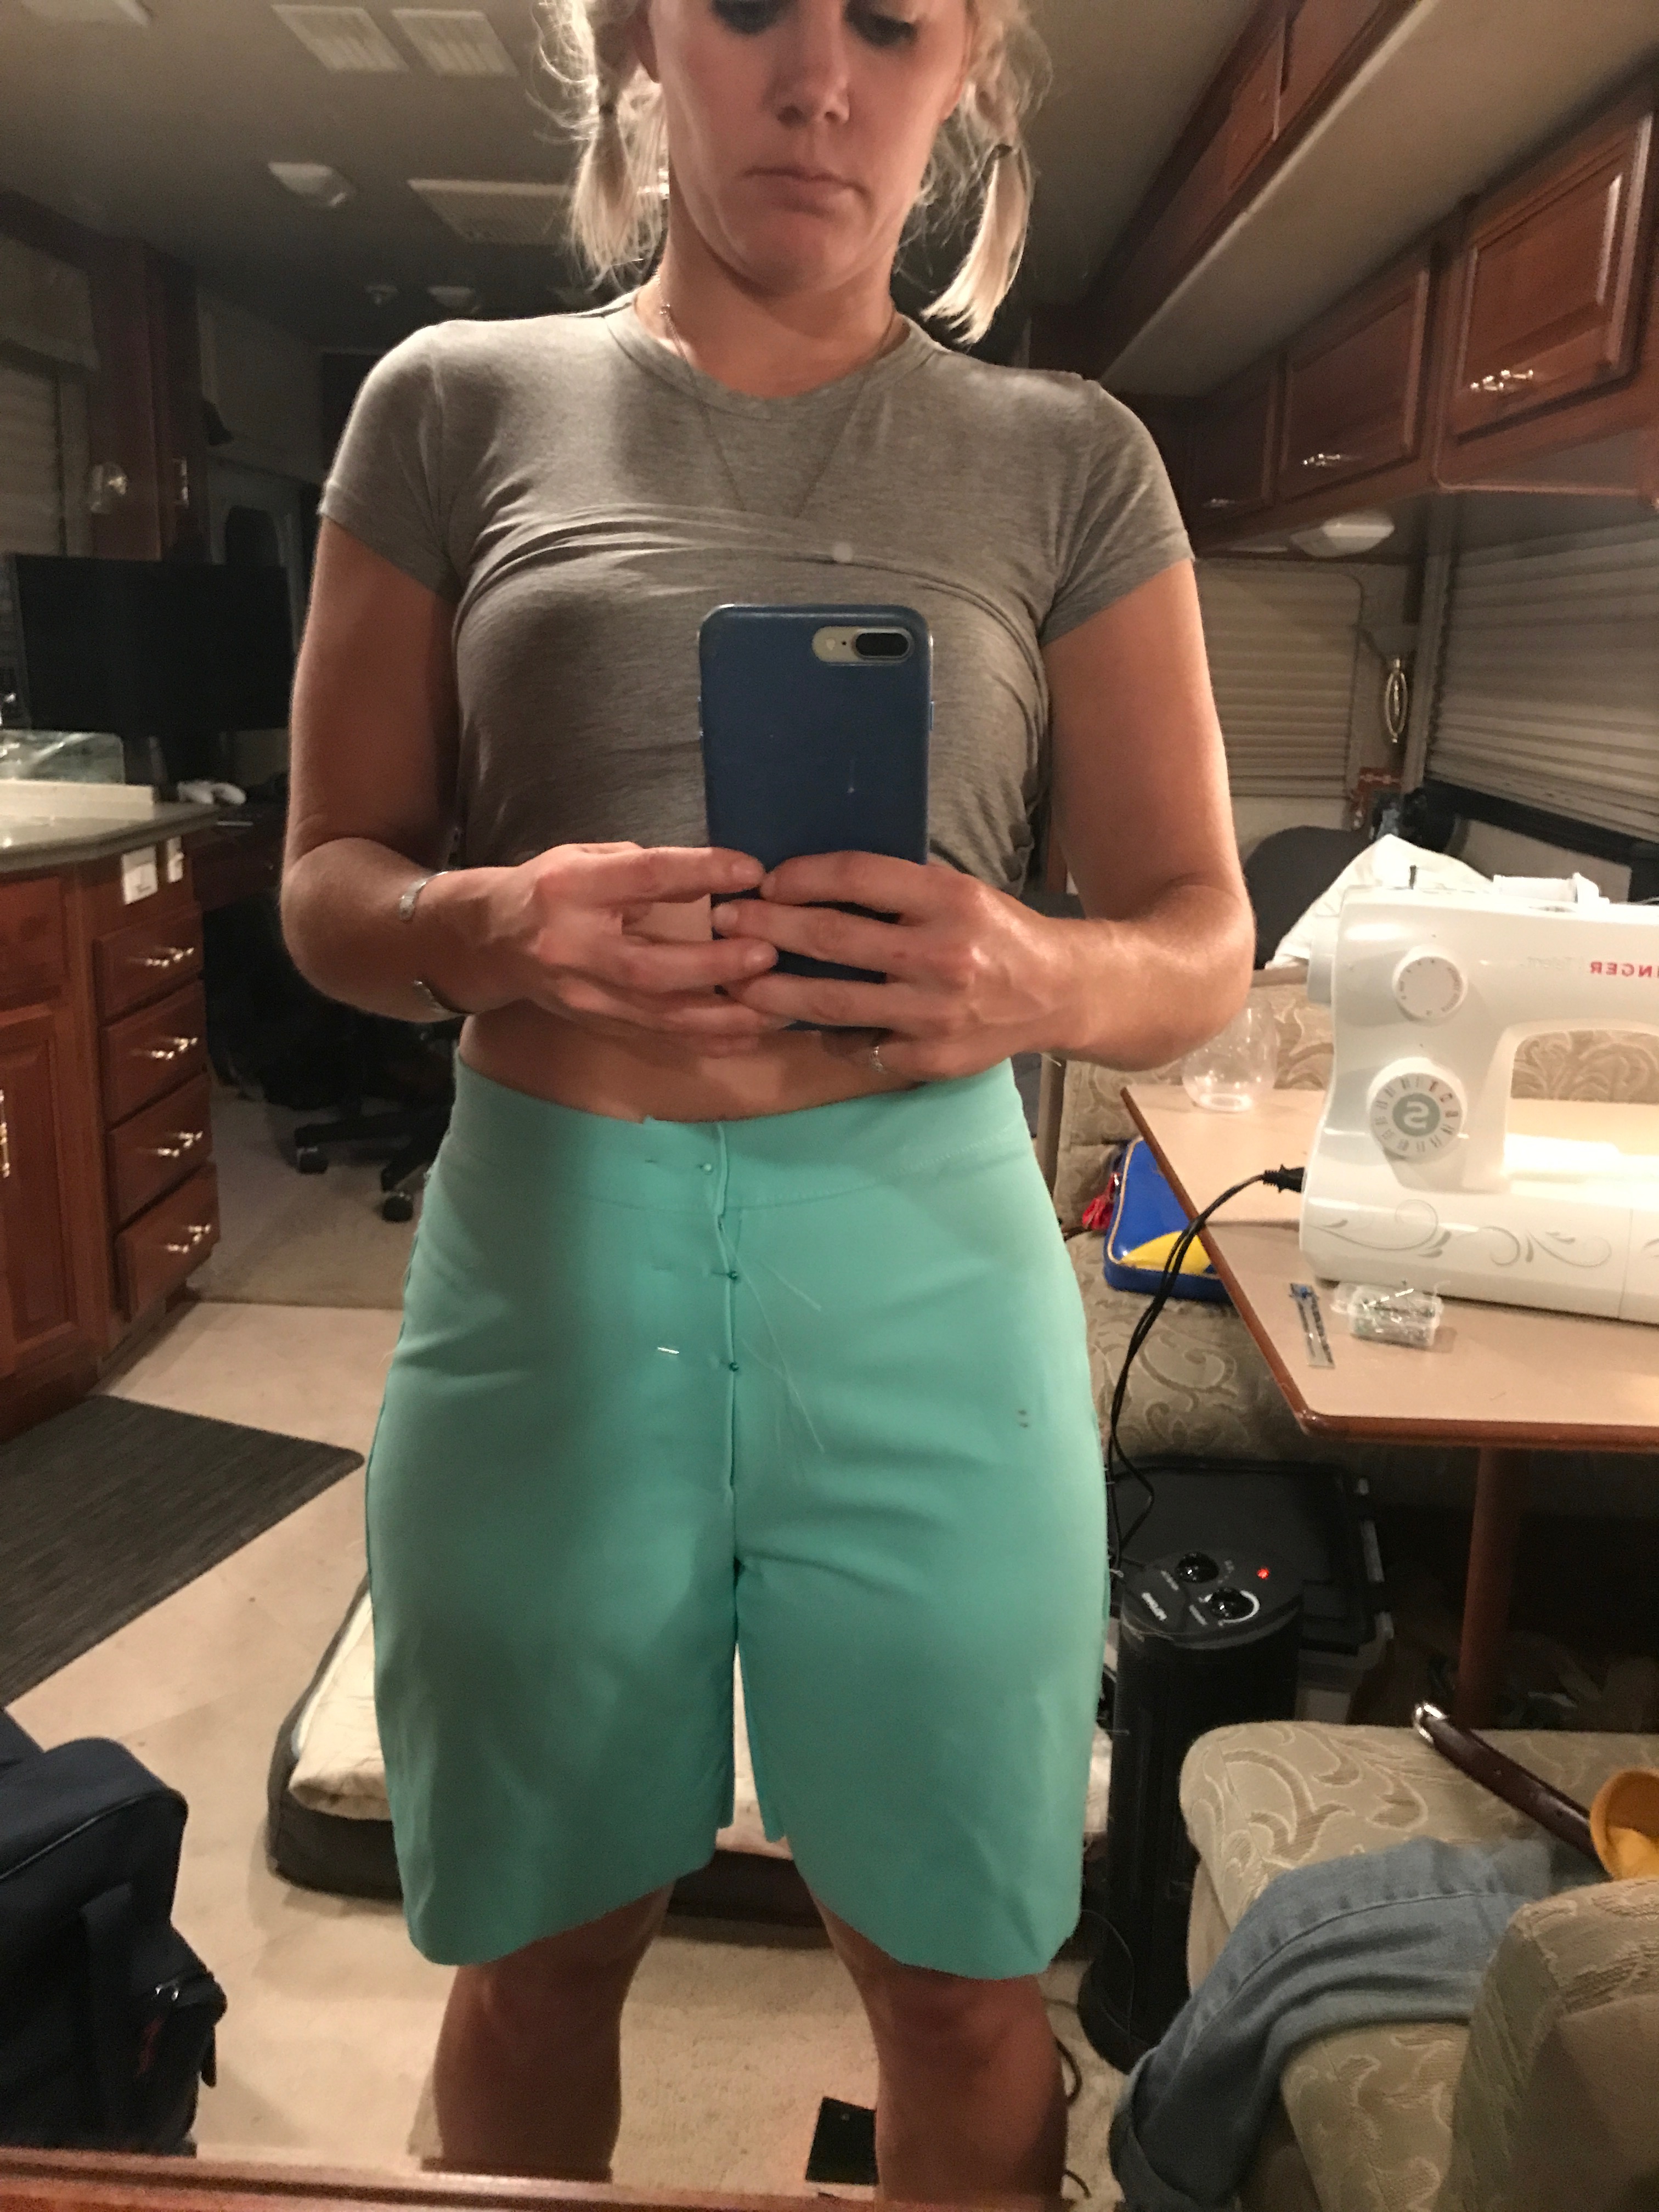
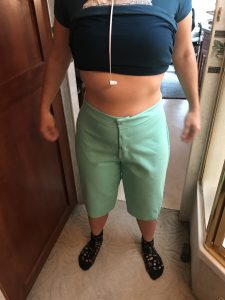
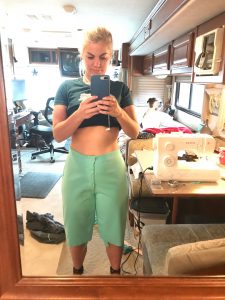
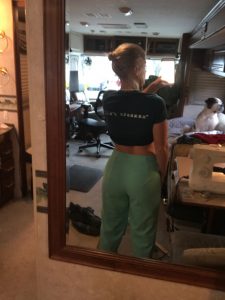
The following photos show what I came out with (I cut the legs short to save on fabric). Sorry the photos/light are so terrible it was SO rainy outside and I did say I wanted to share the whole thing with you. The nice pics come with the end product.
The back seemed to fit fine but the waist was too big and I felt like there was way too much pulling across the crotch. See those weird spidery drag lines?
I posted a story onto Instagram to get some fitting help and also checked out the great pants fitting ebook by Heather Lou of Closet Case Patterns.
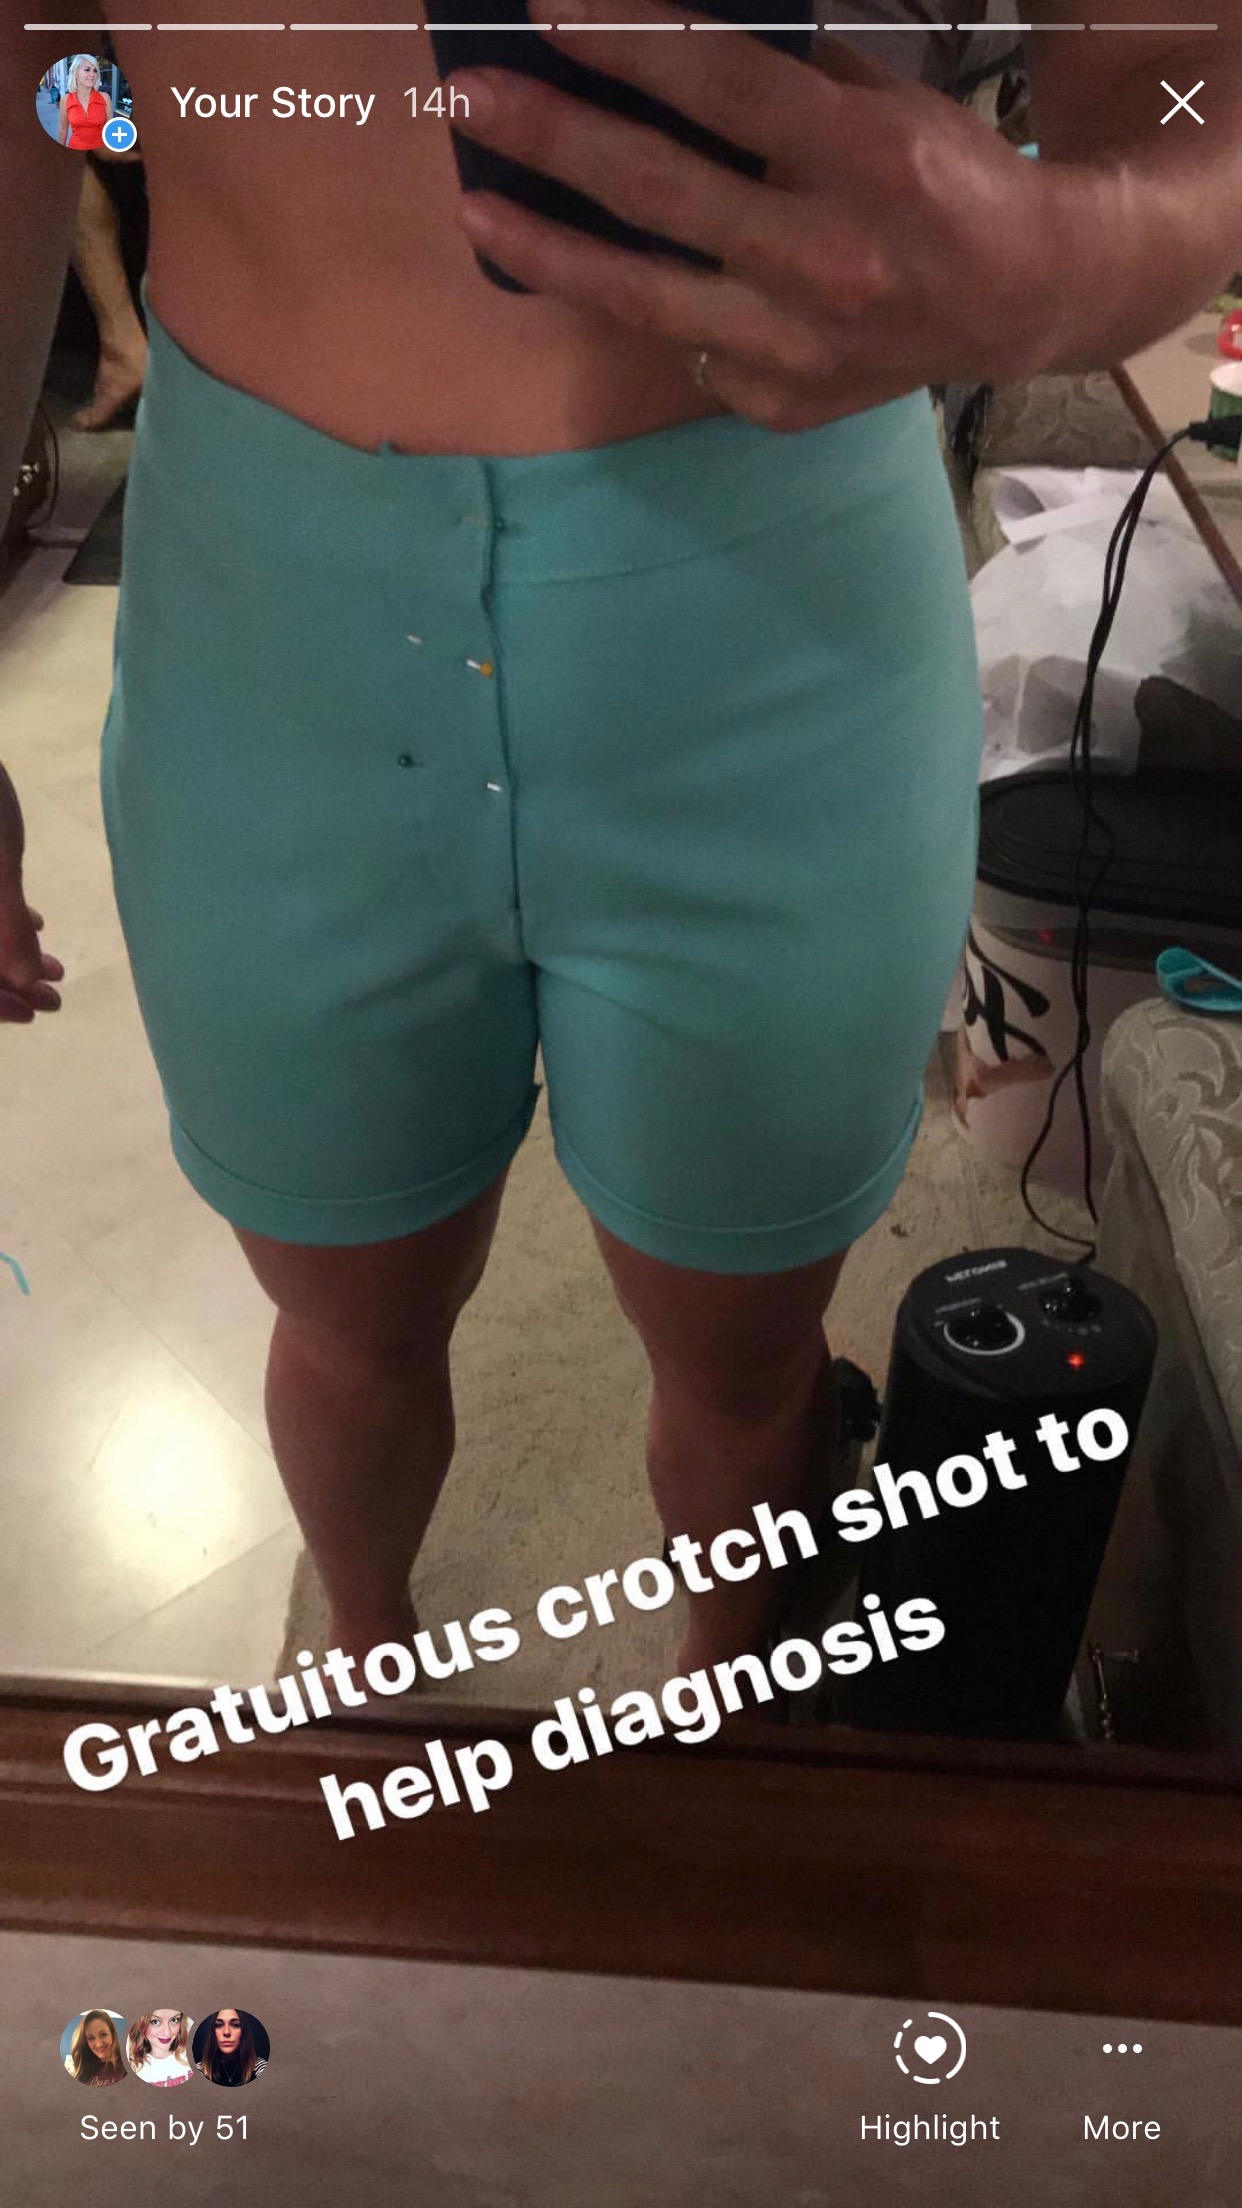
I sorted the waist pretty easily with a couple of quick darts but unfortunately that didn’t help with the pulling. I tried making the side seams smaller but that didn’t really help either.

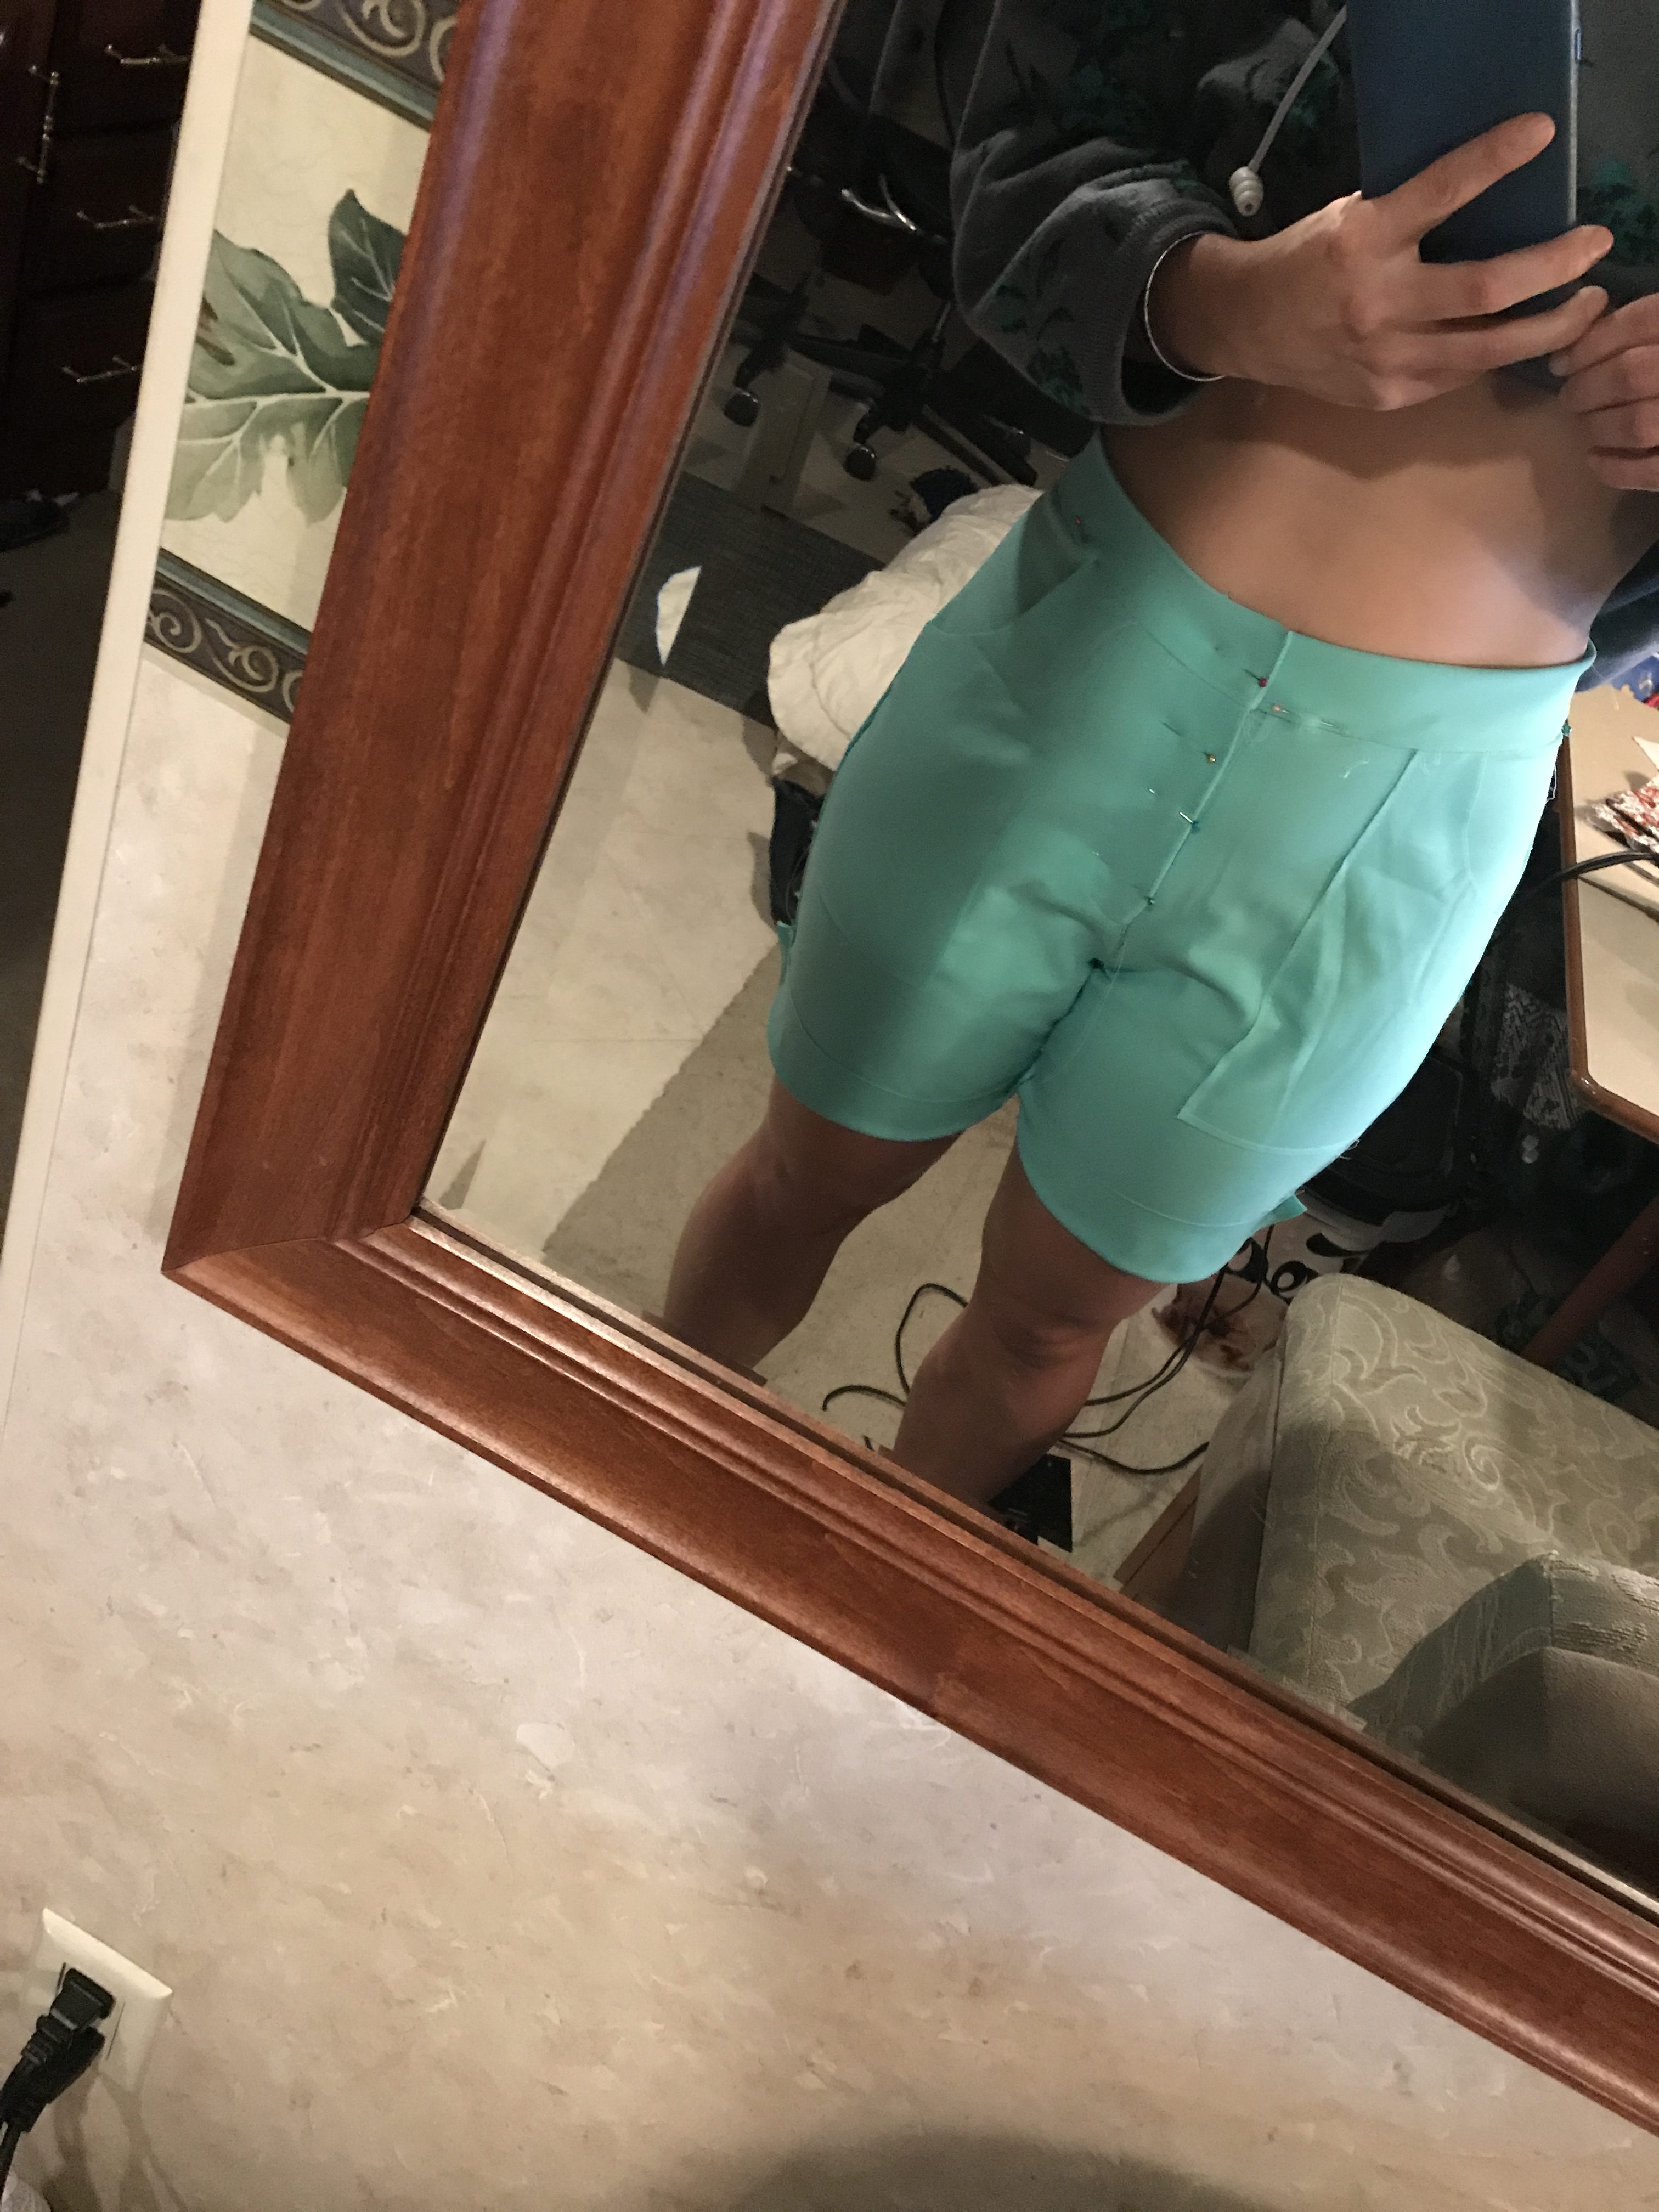
Luckily for me Instagram came to my rescue before there could be tears (although there was definitely some 2-year-old-esq foot stamping). Msjennmakes suggested I make a large quad adjustment, which is essentially sewing the seams with less allowance on the front piece than the pack, giving those big ole quads room to move. It certainly helped but didn’t cure all. I tried a bunch of crotch alterations suggested in the book, again nothing really helped.
Again, Msjennmakes saved the day. She sent my story to her friend Msrebeccamakes who happens to be an expert on jeans fitting (hooray). She advised I go up a size to allow for my hips and just bring the waistband in.
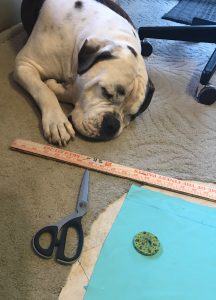
Although I wasn’t thrilled at re-cutting everything I really wanted to get the fit right before I cut into my real fabric. So I retraced the size 8, luckily Randle was there to help and guide as always.
Again, they were relatively simple to put together, I still pinched darts out of the waistband and immediately I was much happier with the fit around the crotch. Now, however, the legs were baggy at the back….will it ever end??
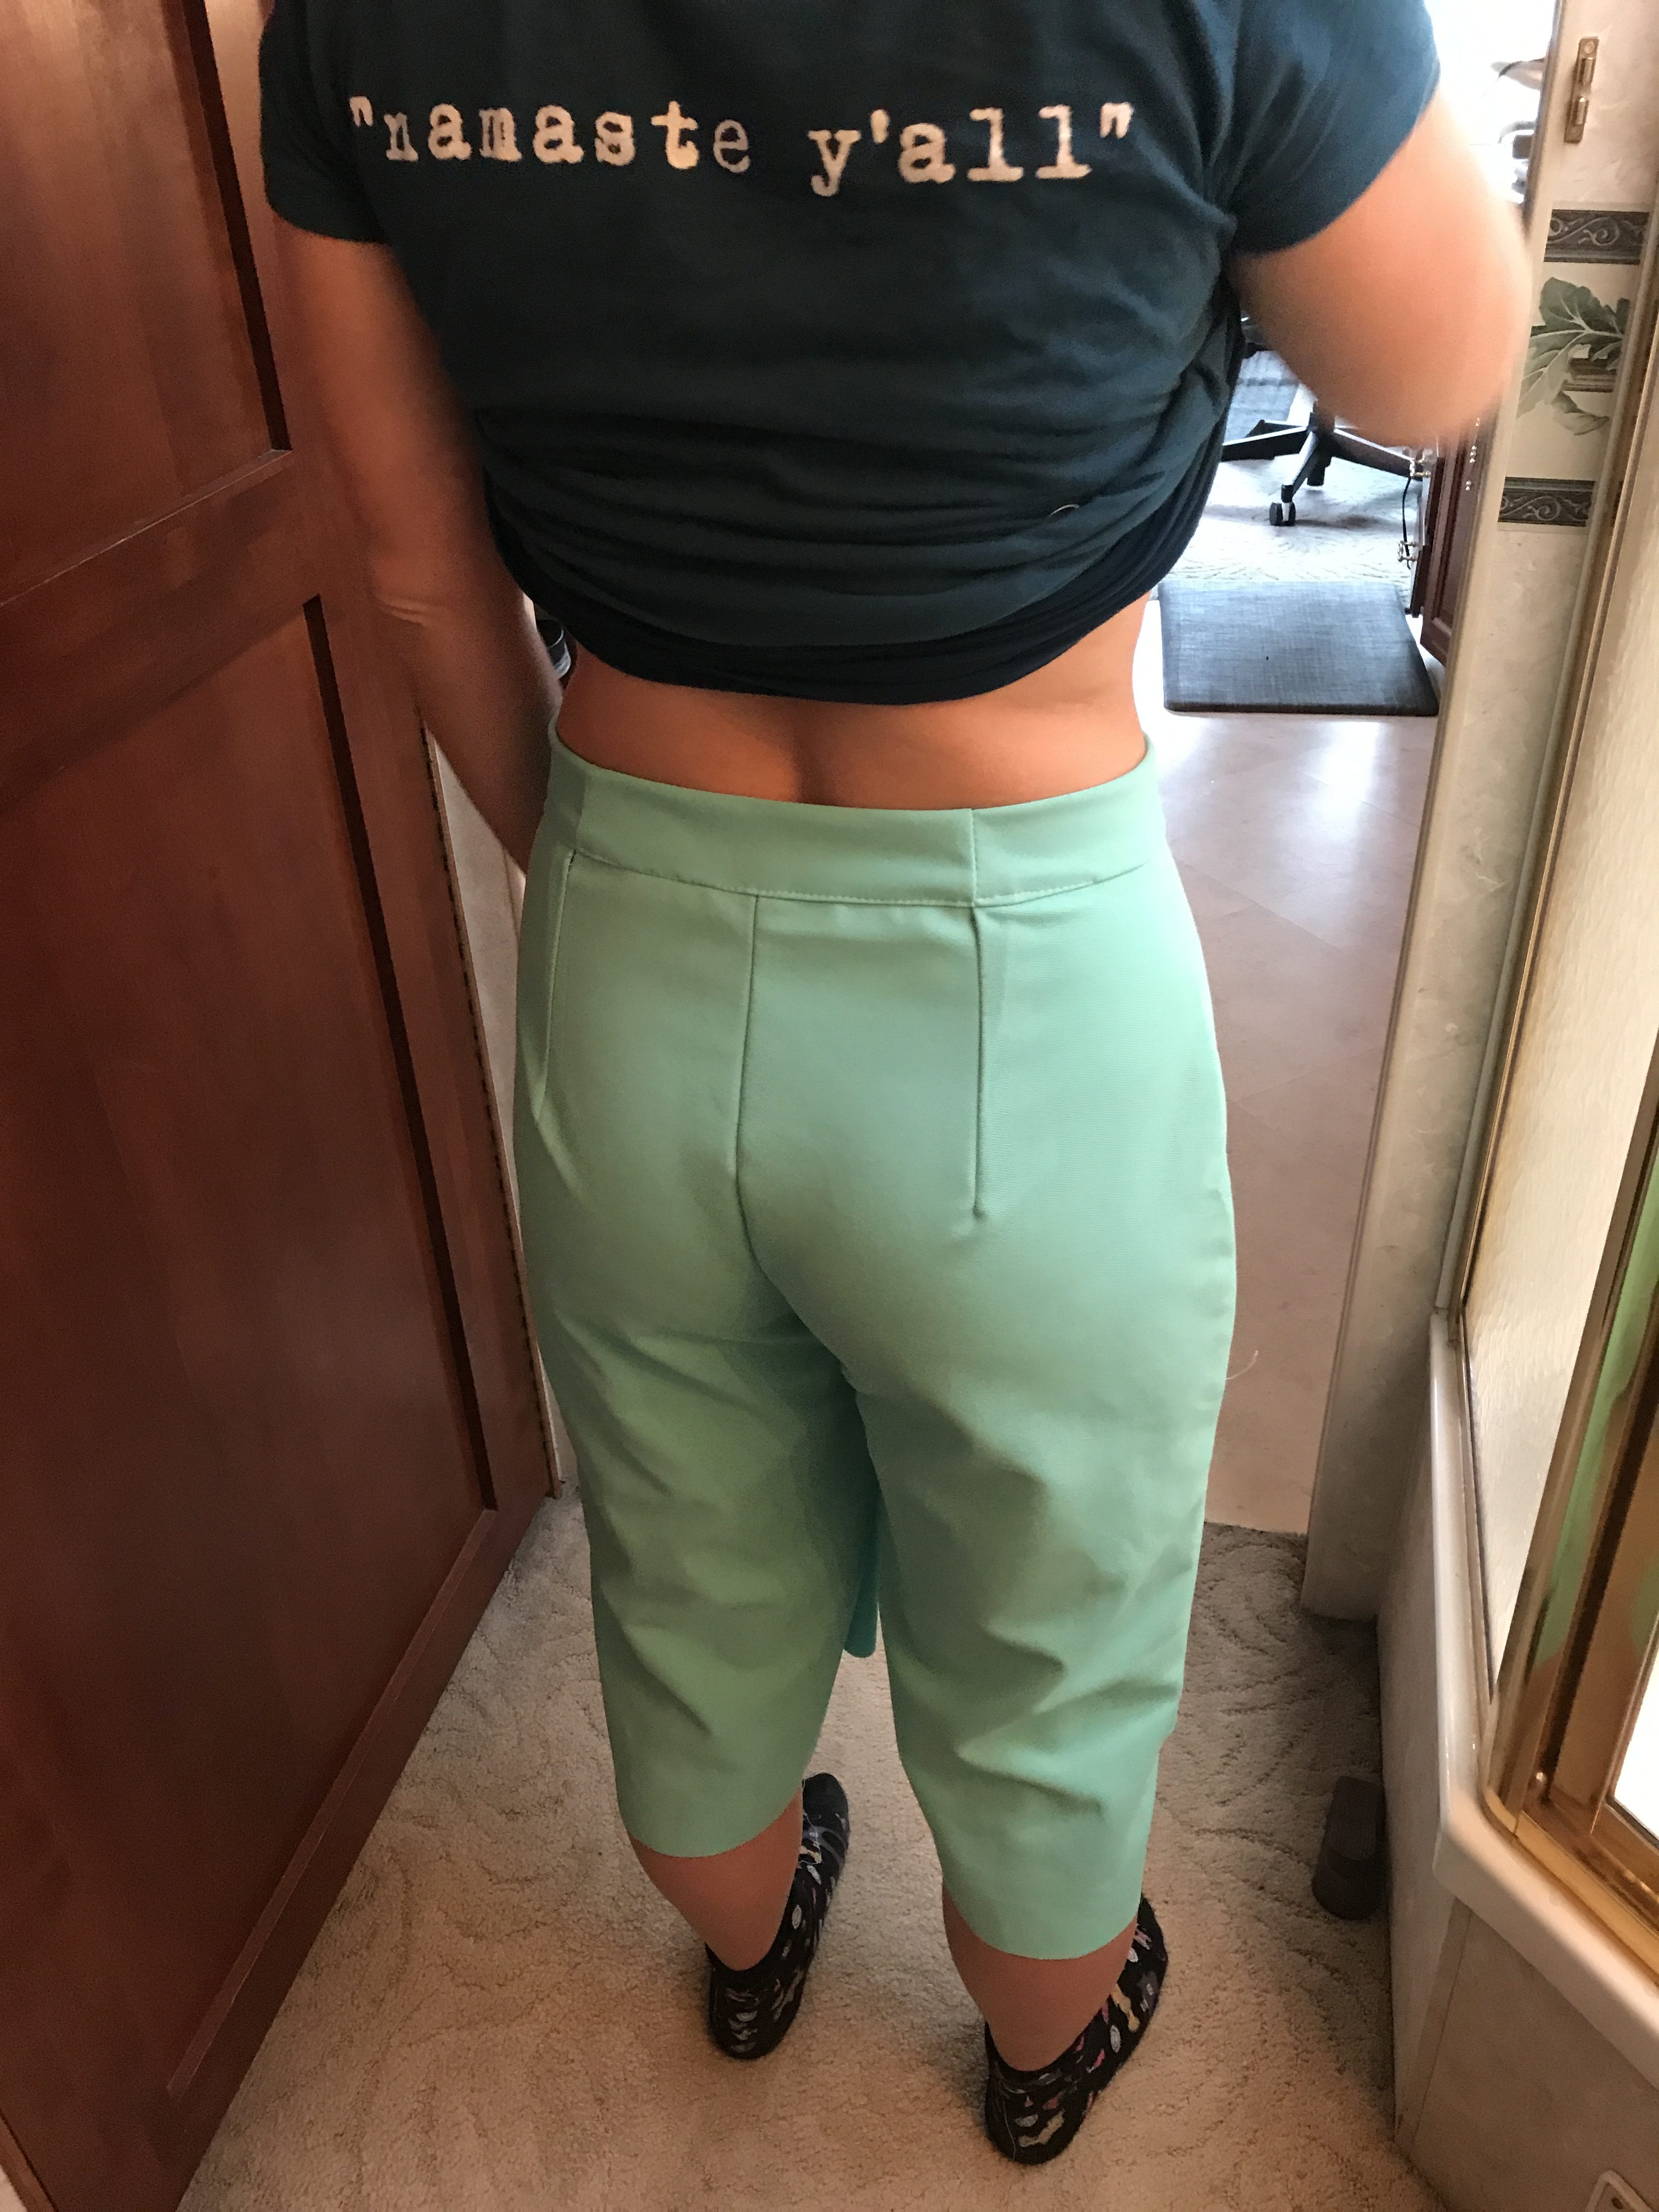
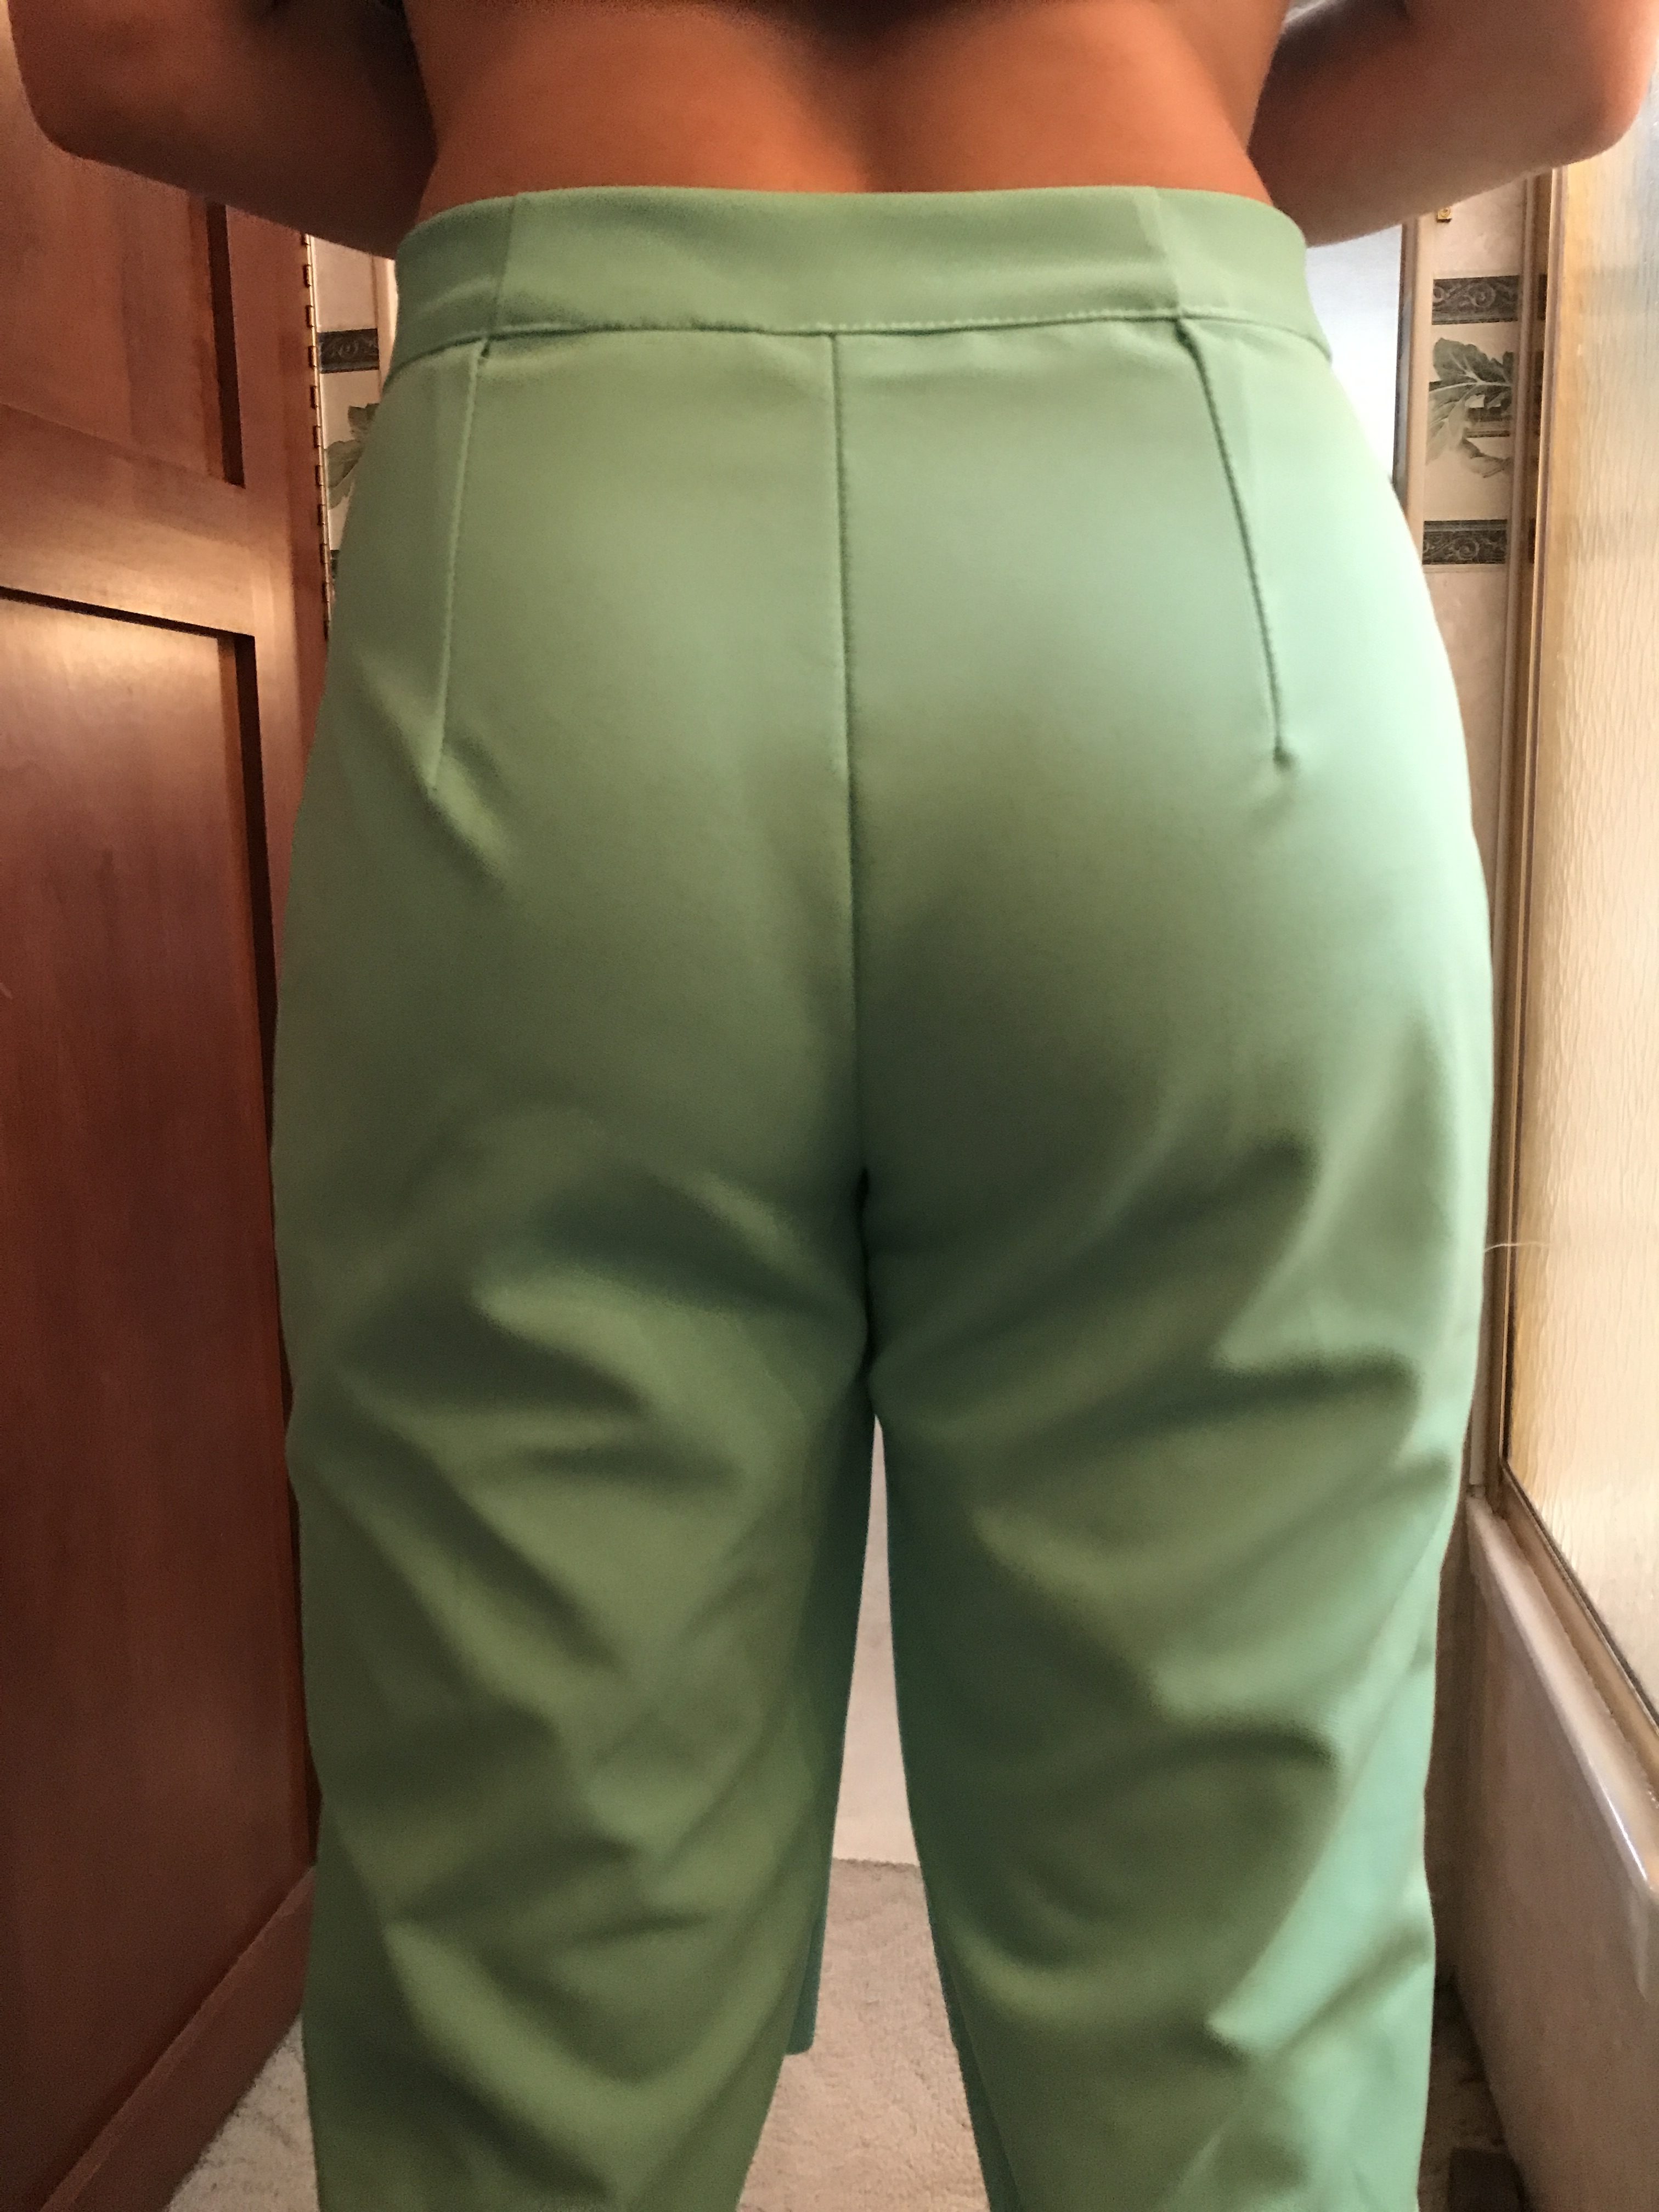
Err, yeah, it ended when I brought the side seams in around the legs (leaving my hips at the 1″ allowance) and this seemed to round things up nicely. I’d say it still wasn’t perfect but enough that I was ready to tackle the real thing – Hurrah!
I was going to continue this post to discuss the final thing and actually let you guys see them but unfortunately it didn’t end up being a simple case of putting them together really quickly—yup, much like a TV series left to go too long, the saga ended up continuing for a little longer but as this post is already kind going on a bit I thought I’ll save the final result for next time.
Everyone loves a cliff hanger right?
Till then
![]()
xxx