Hello hello!
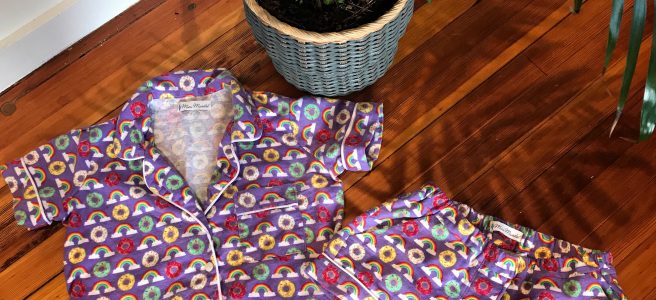
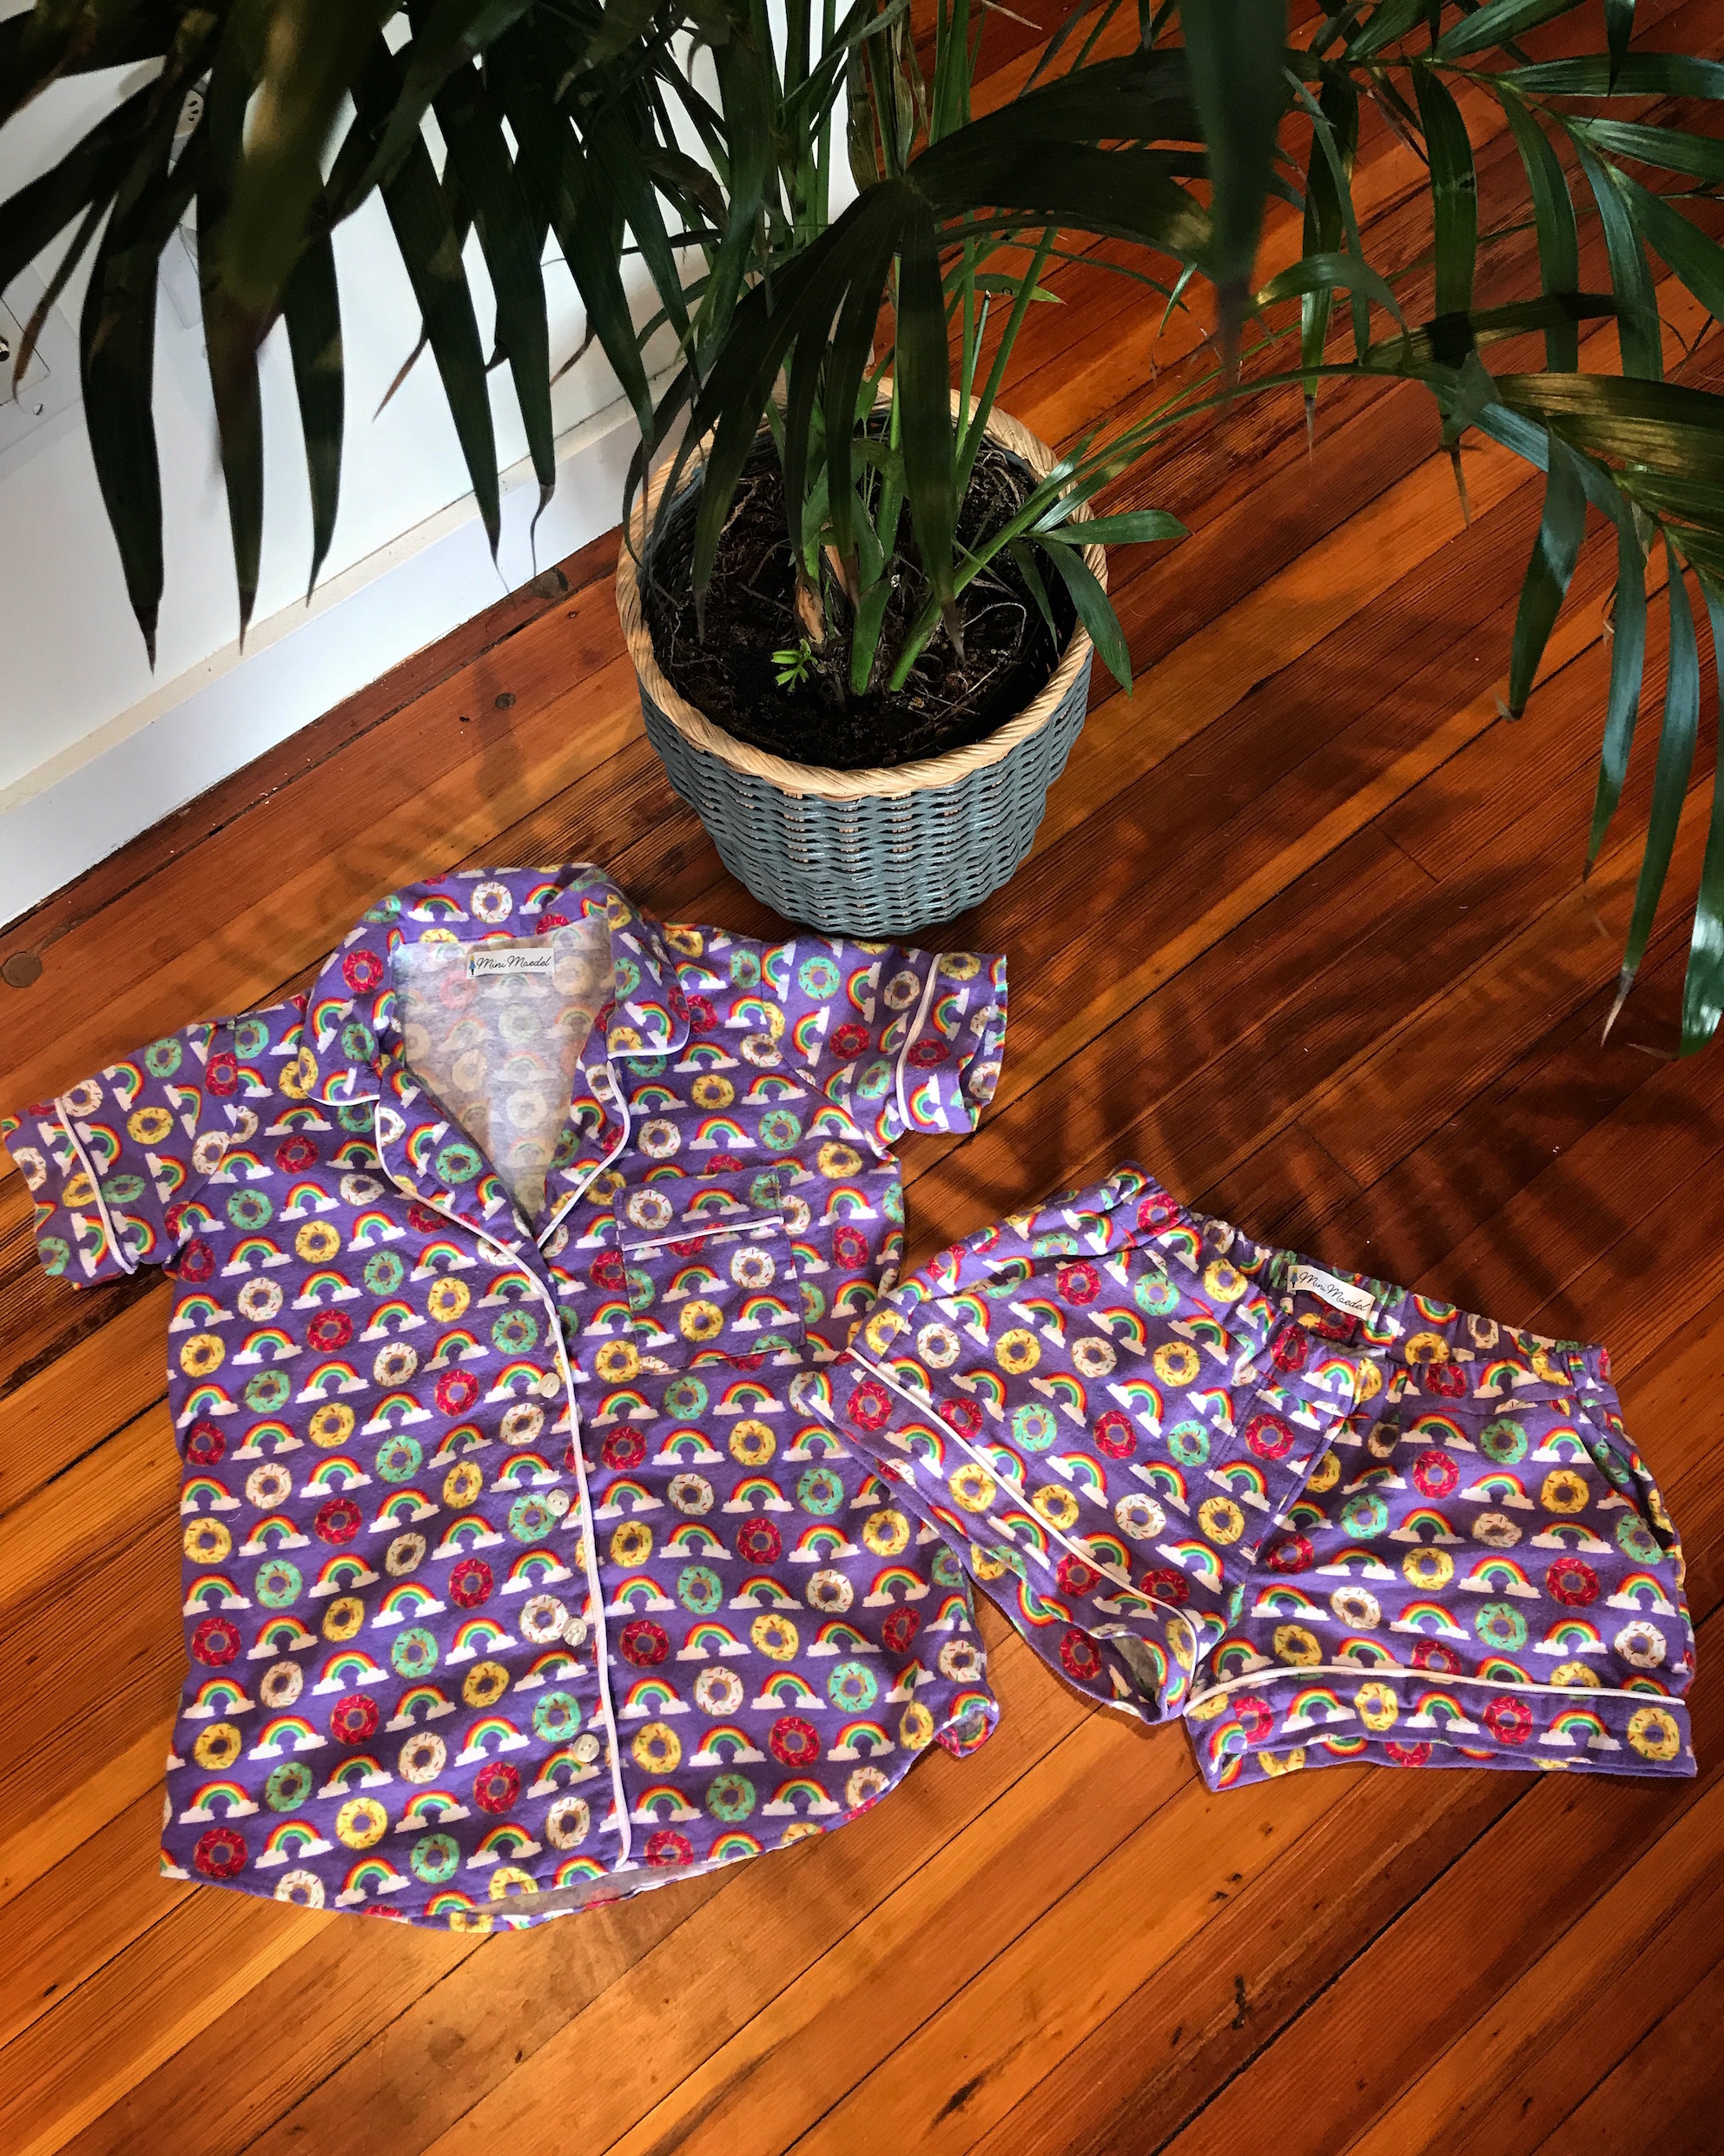
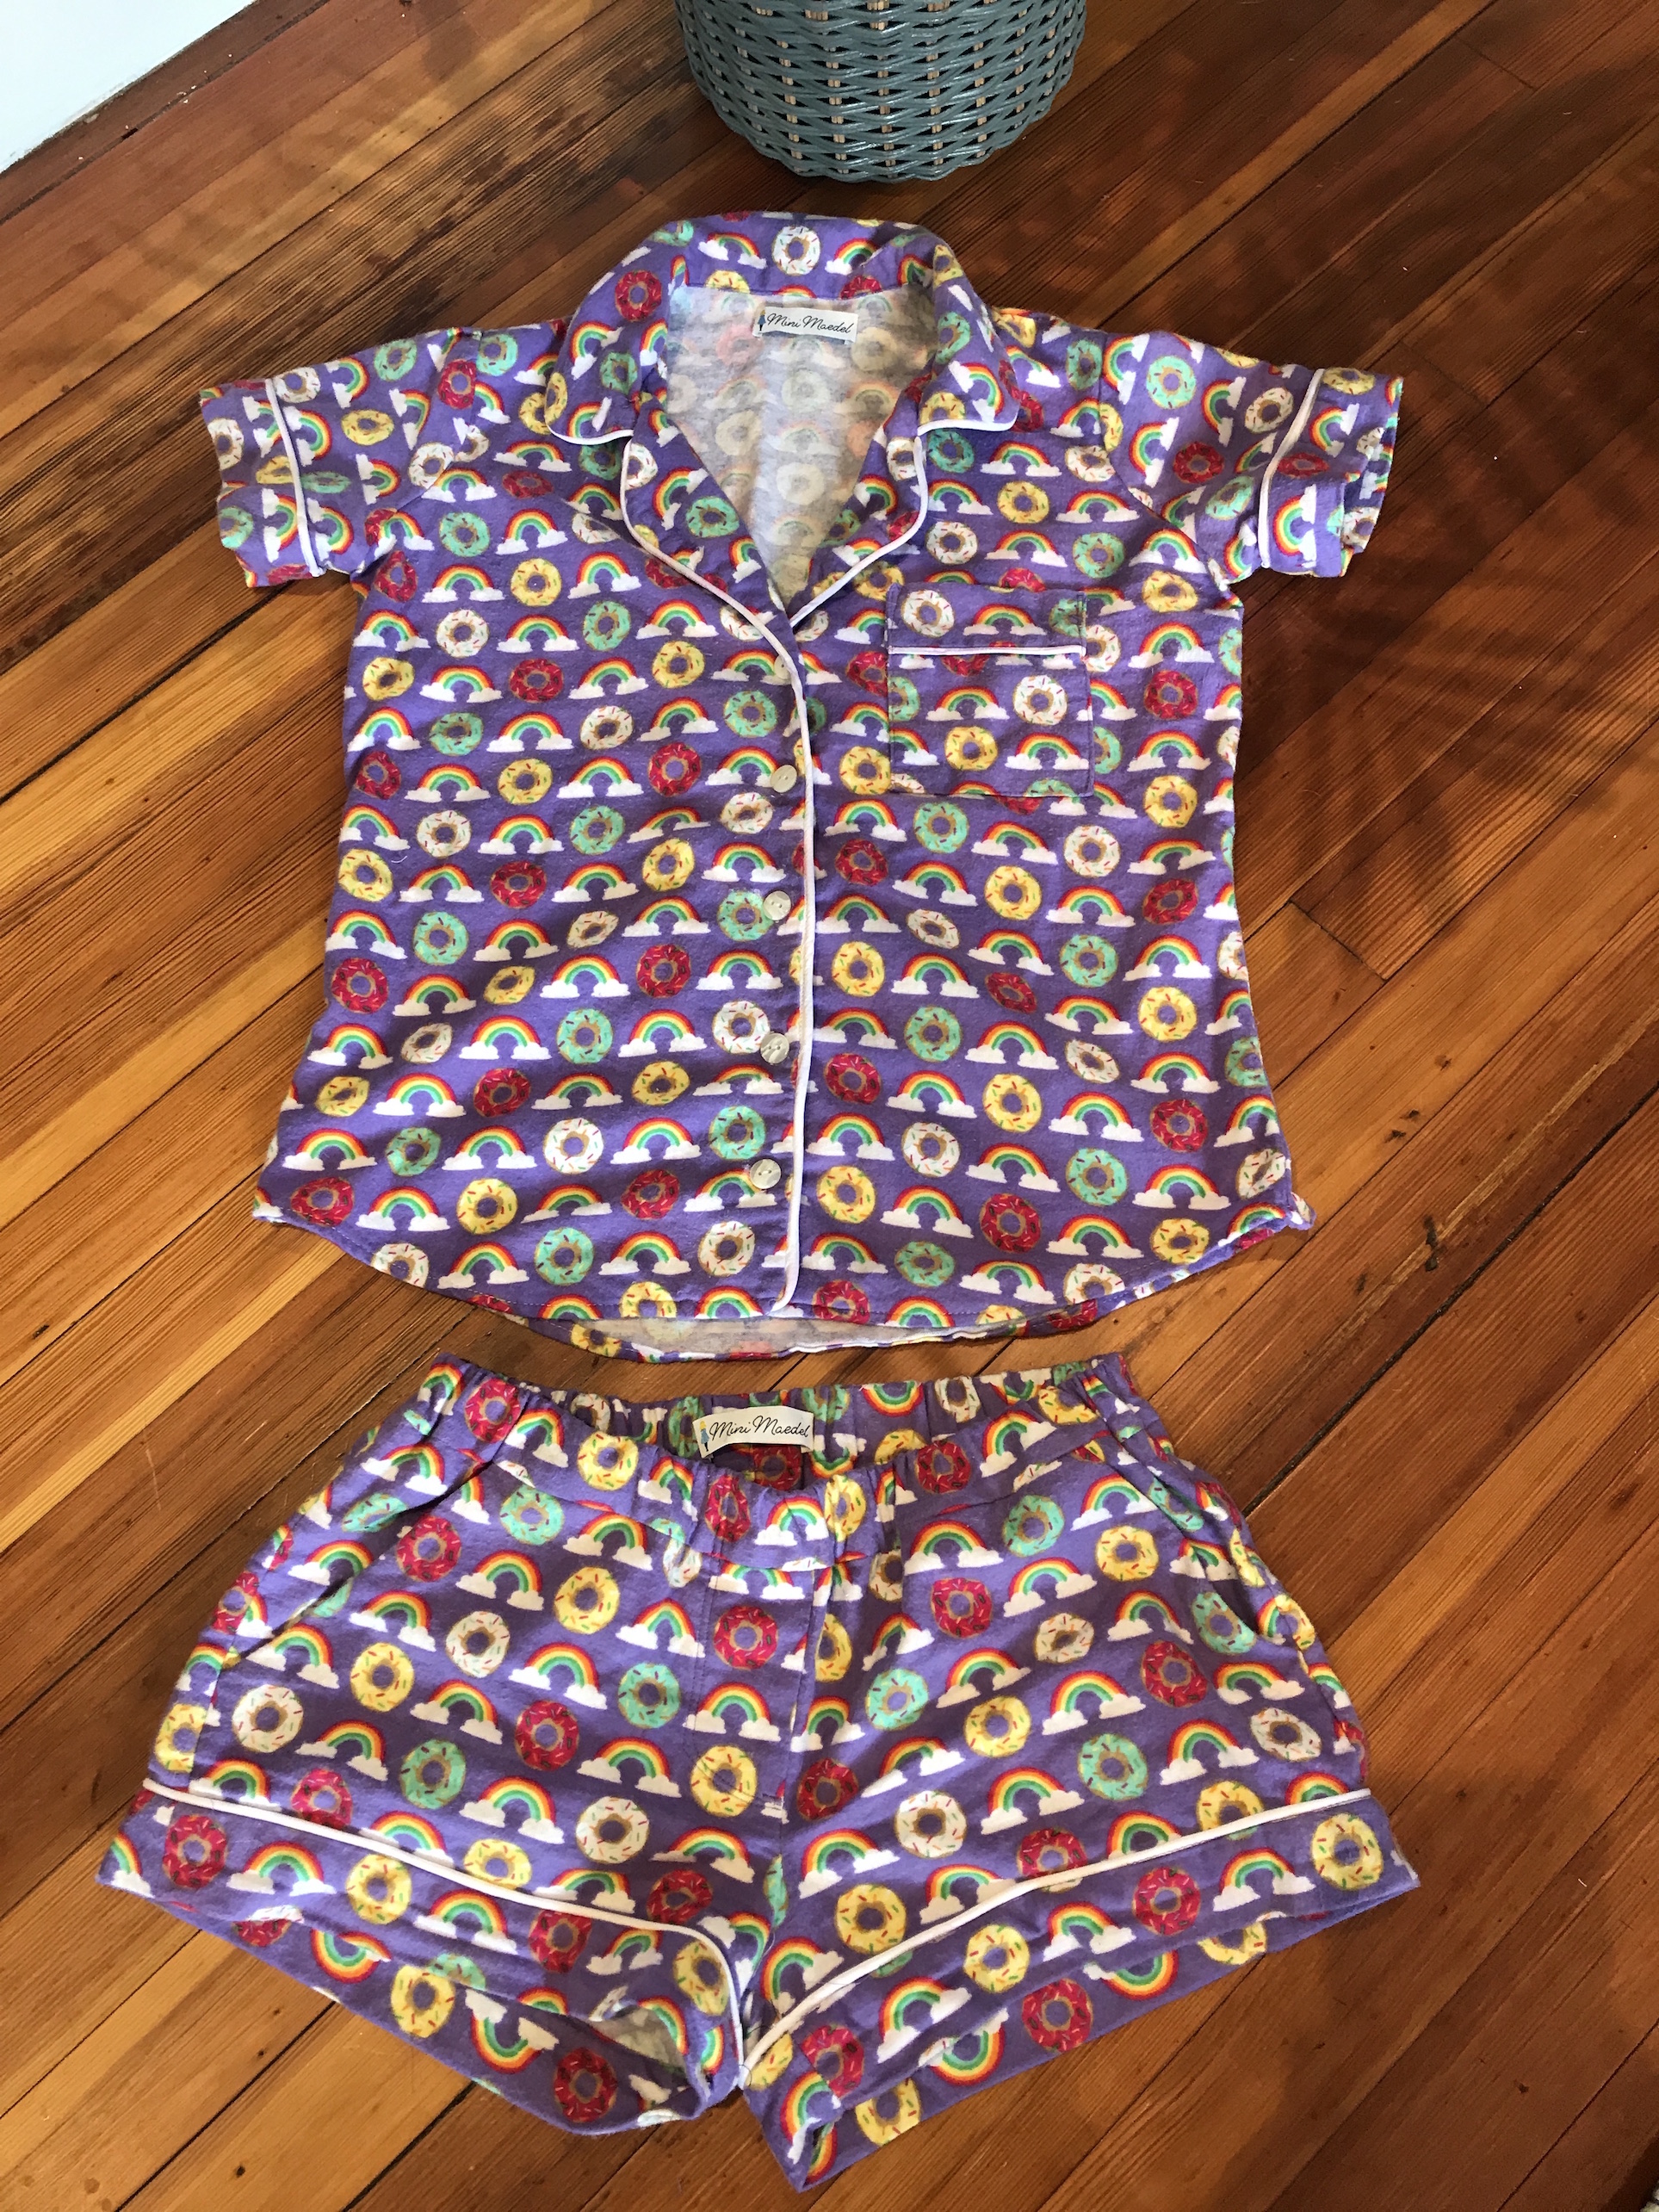
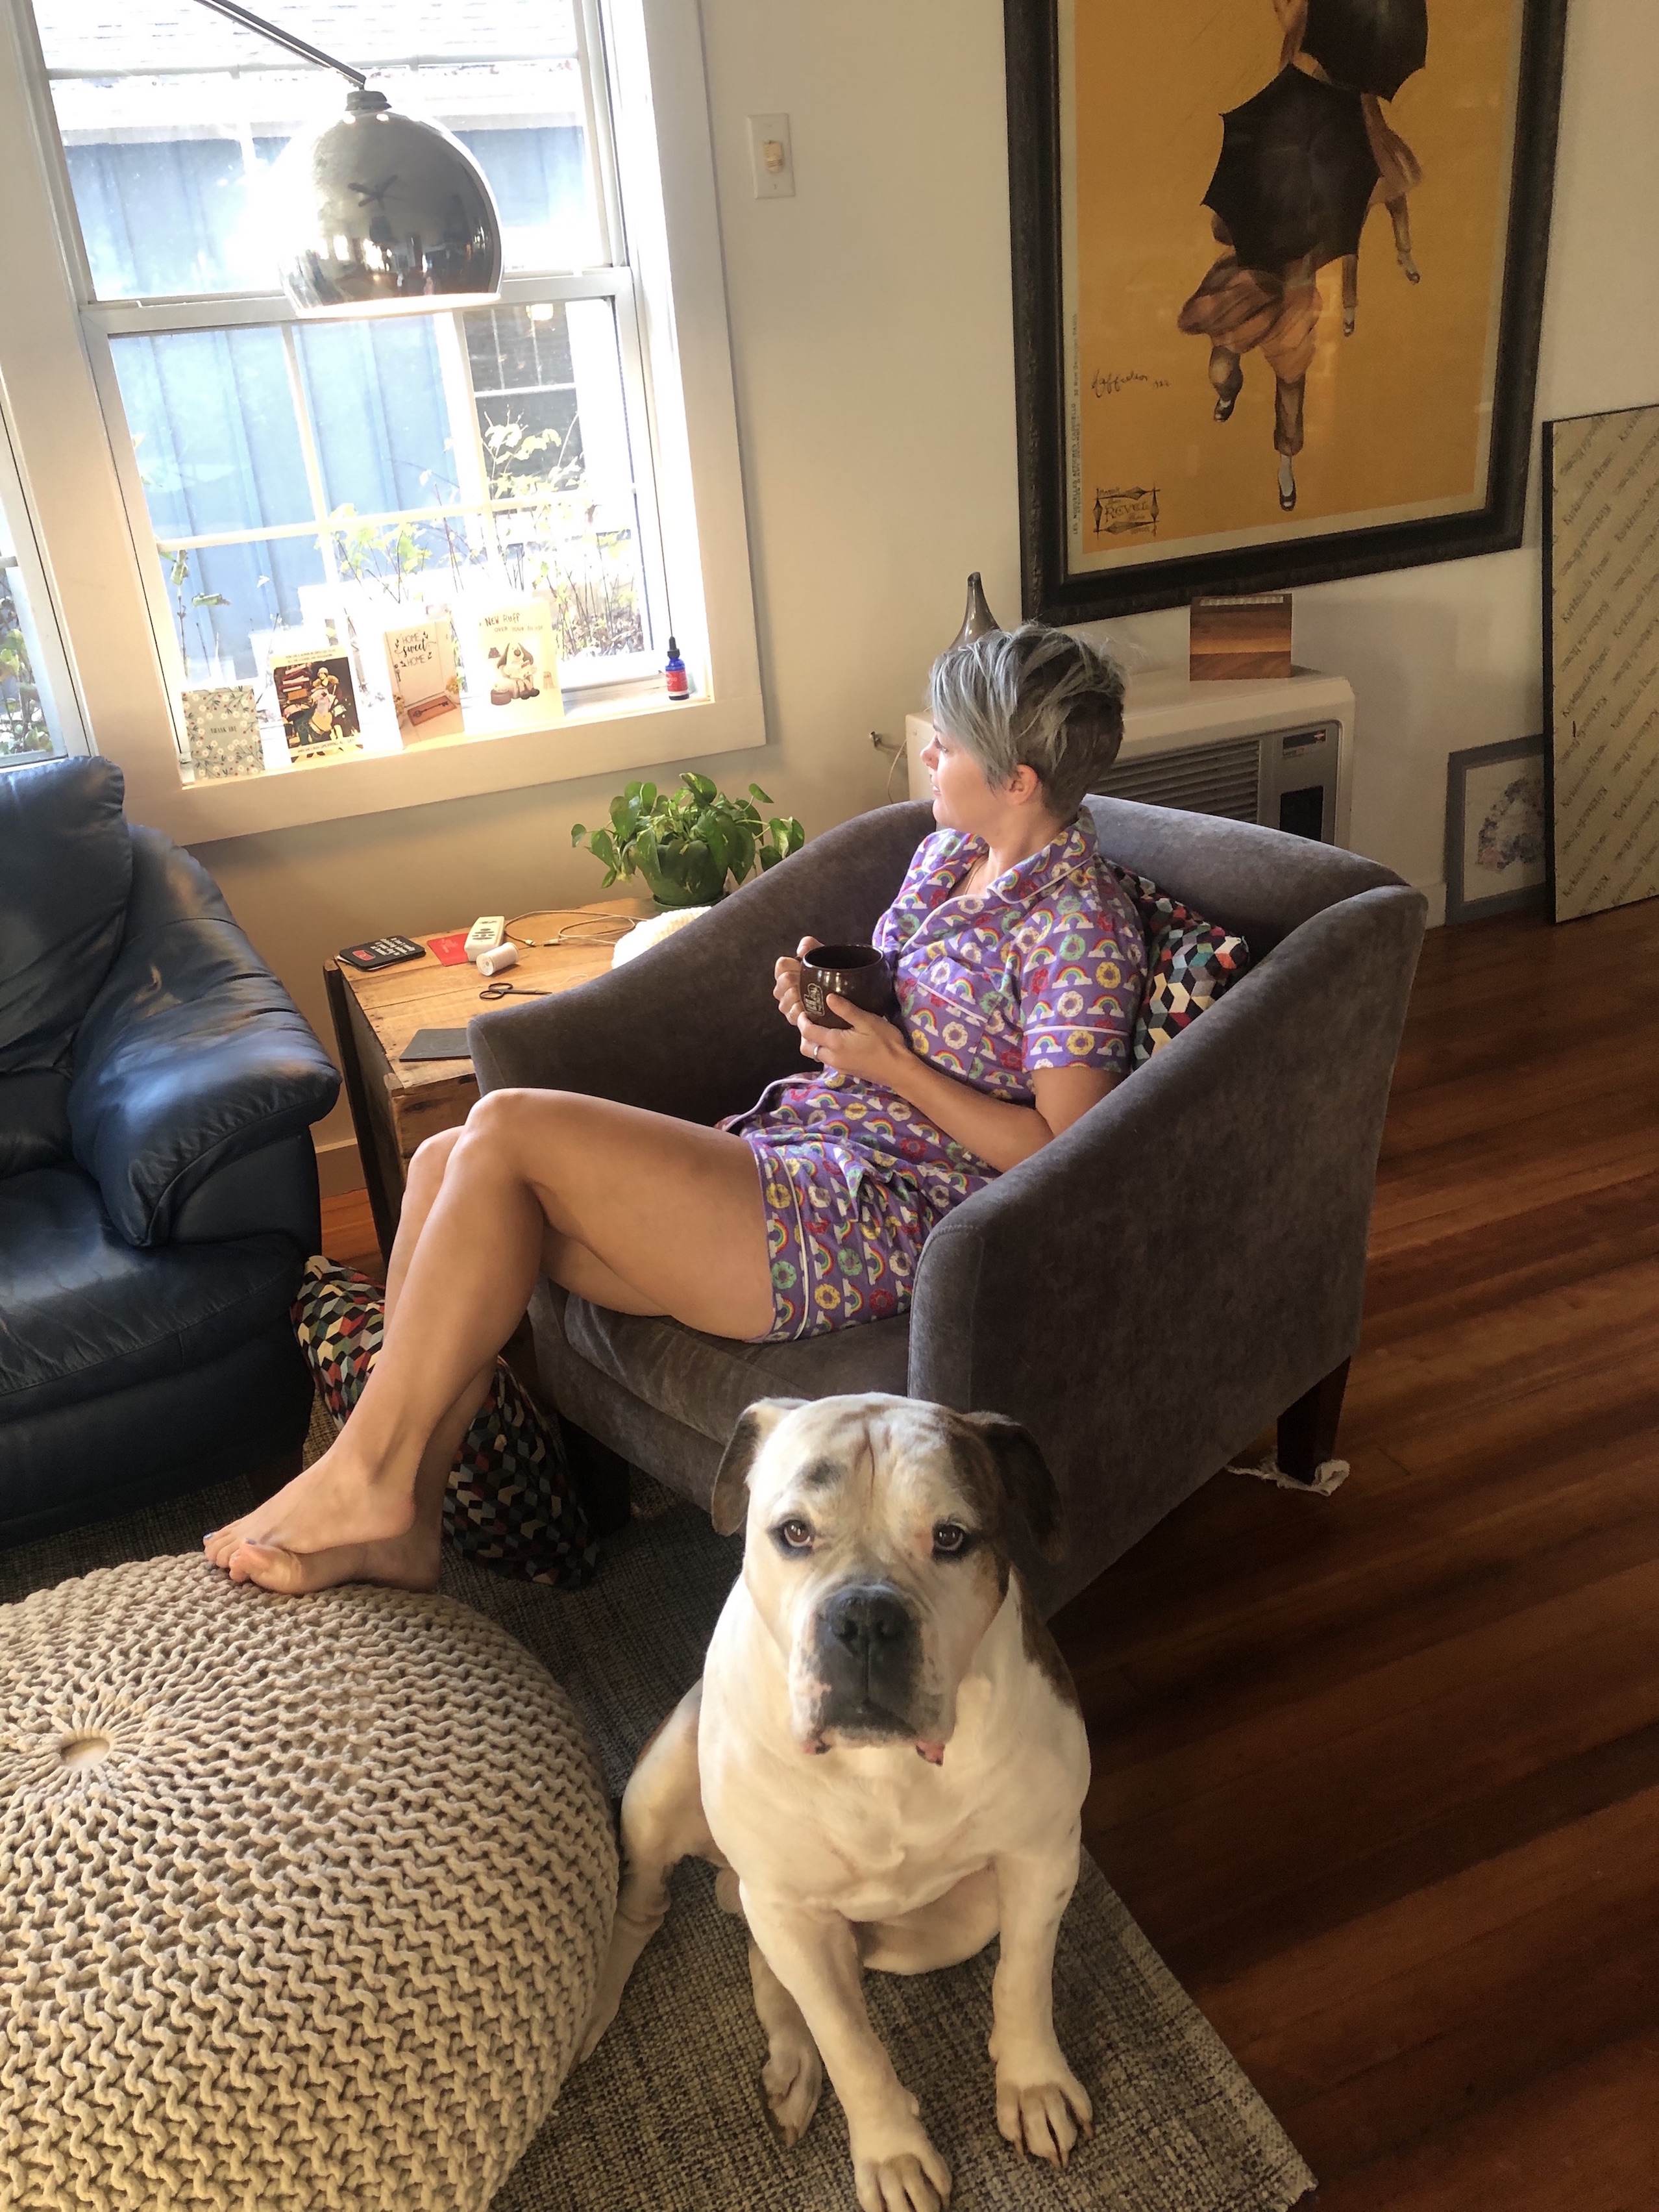
I am pleased to say, the second of my simultaneously sewn projects is done! I finished my Closet Case Carolyn Pyjamas from the most amazing donut and rainbow print flannel, a few weeks ago, just in time for the temperature to turn. Here’s to curling up on in my armchair with a good book, an even better coffee and these bad boys!
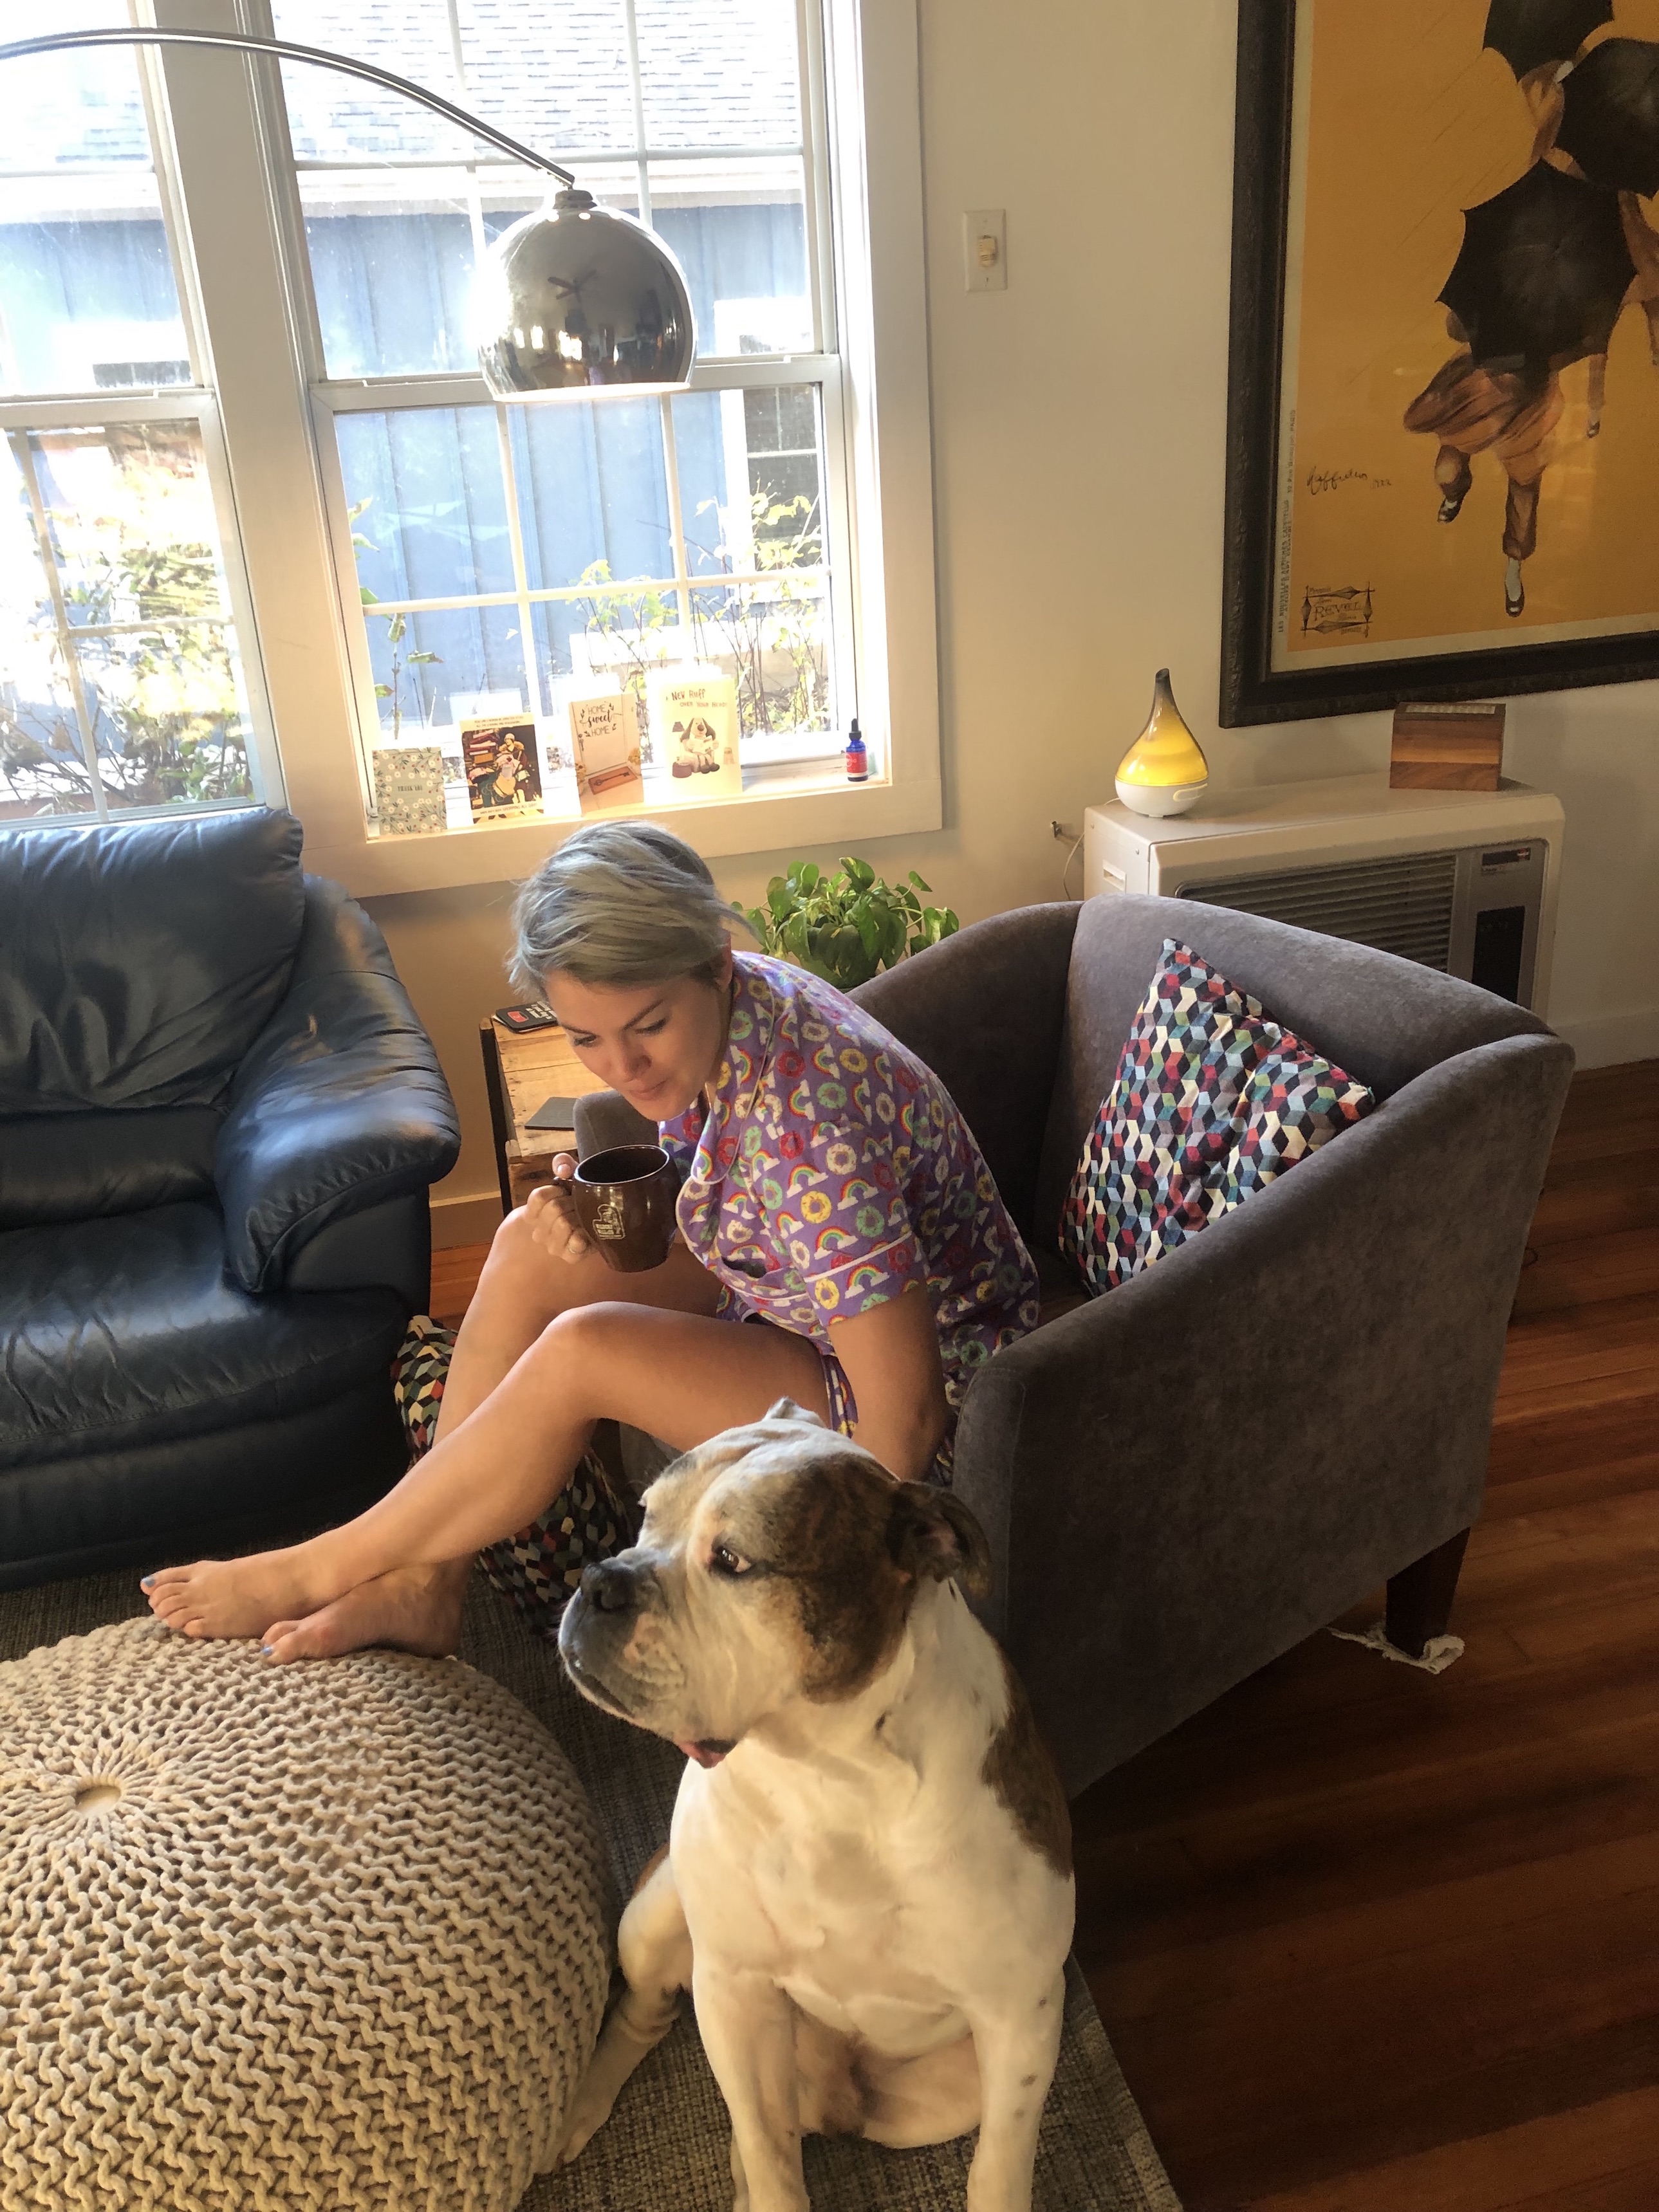
 So, I’ll be honest, I don’t actually wear Pyjamas to bed (I’m not going to give you any more info that) but I do love having something cosy to sit around the house in – usually a pair of shorts, wooly socks and Joe’s hoodie if I’m being honest.
I’m guessing you’re wondering then, why on earth I made these right?
Basically, I recently started teaching a few local beginners how to sew. Jenna, a German and now sewing student wanted to make pyjamas so I suggested the Carolyn pattern and she agreed.
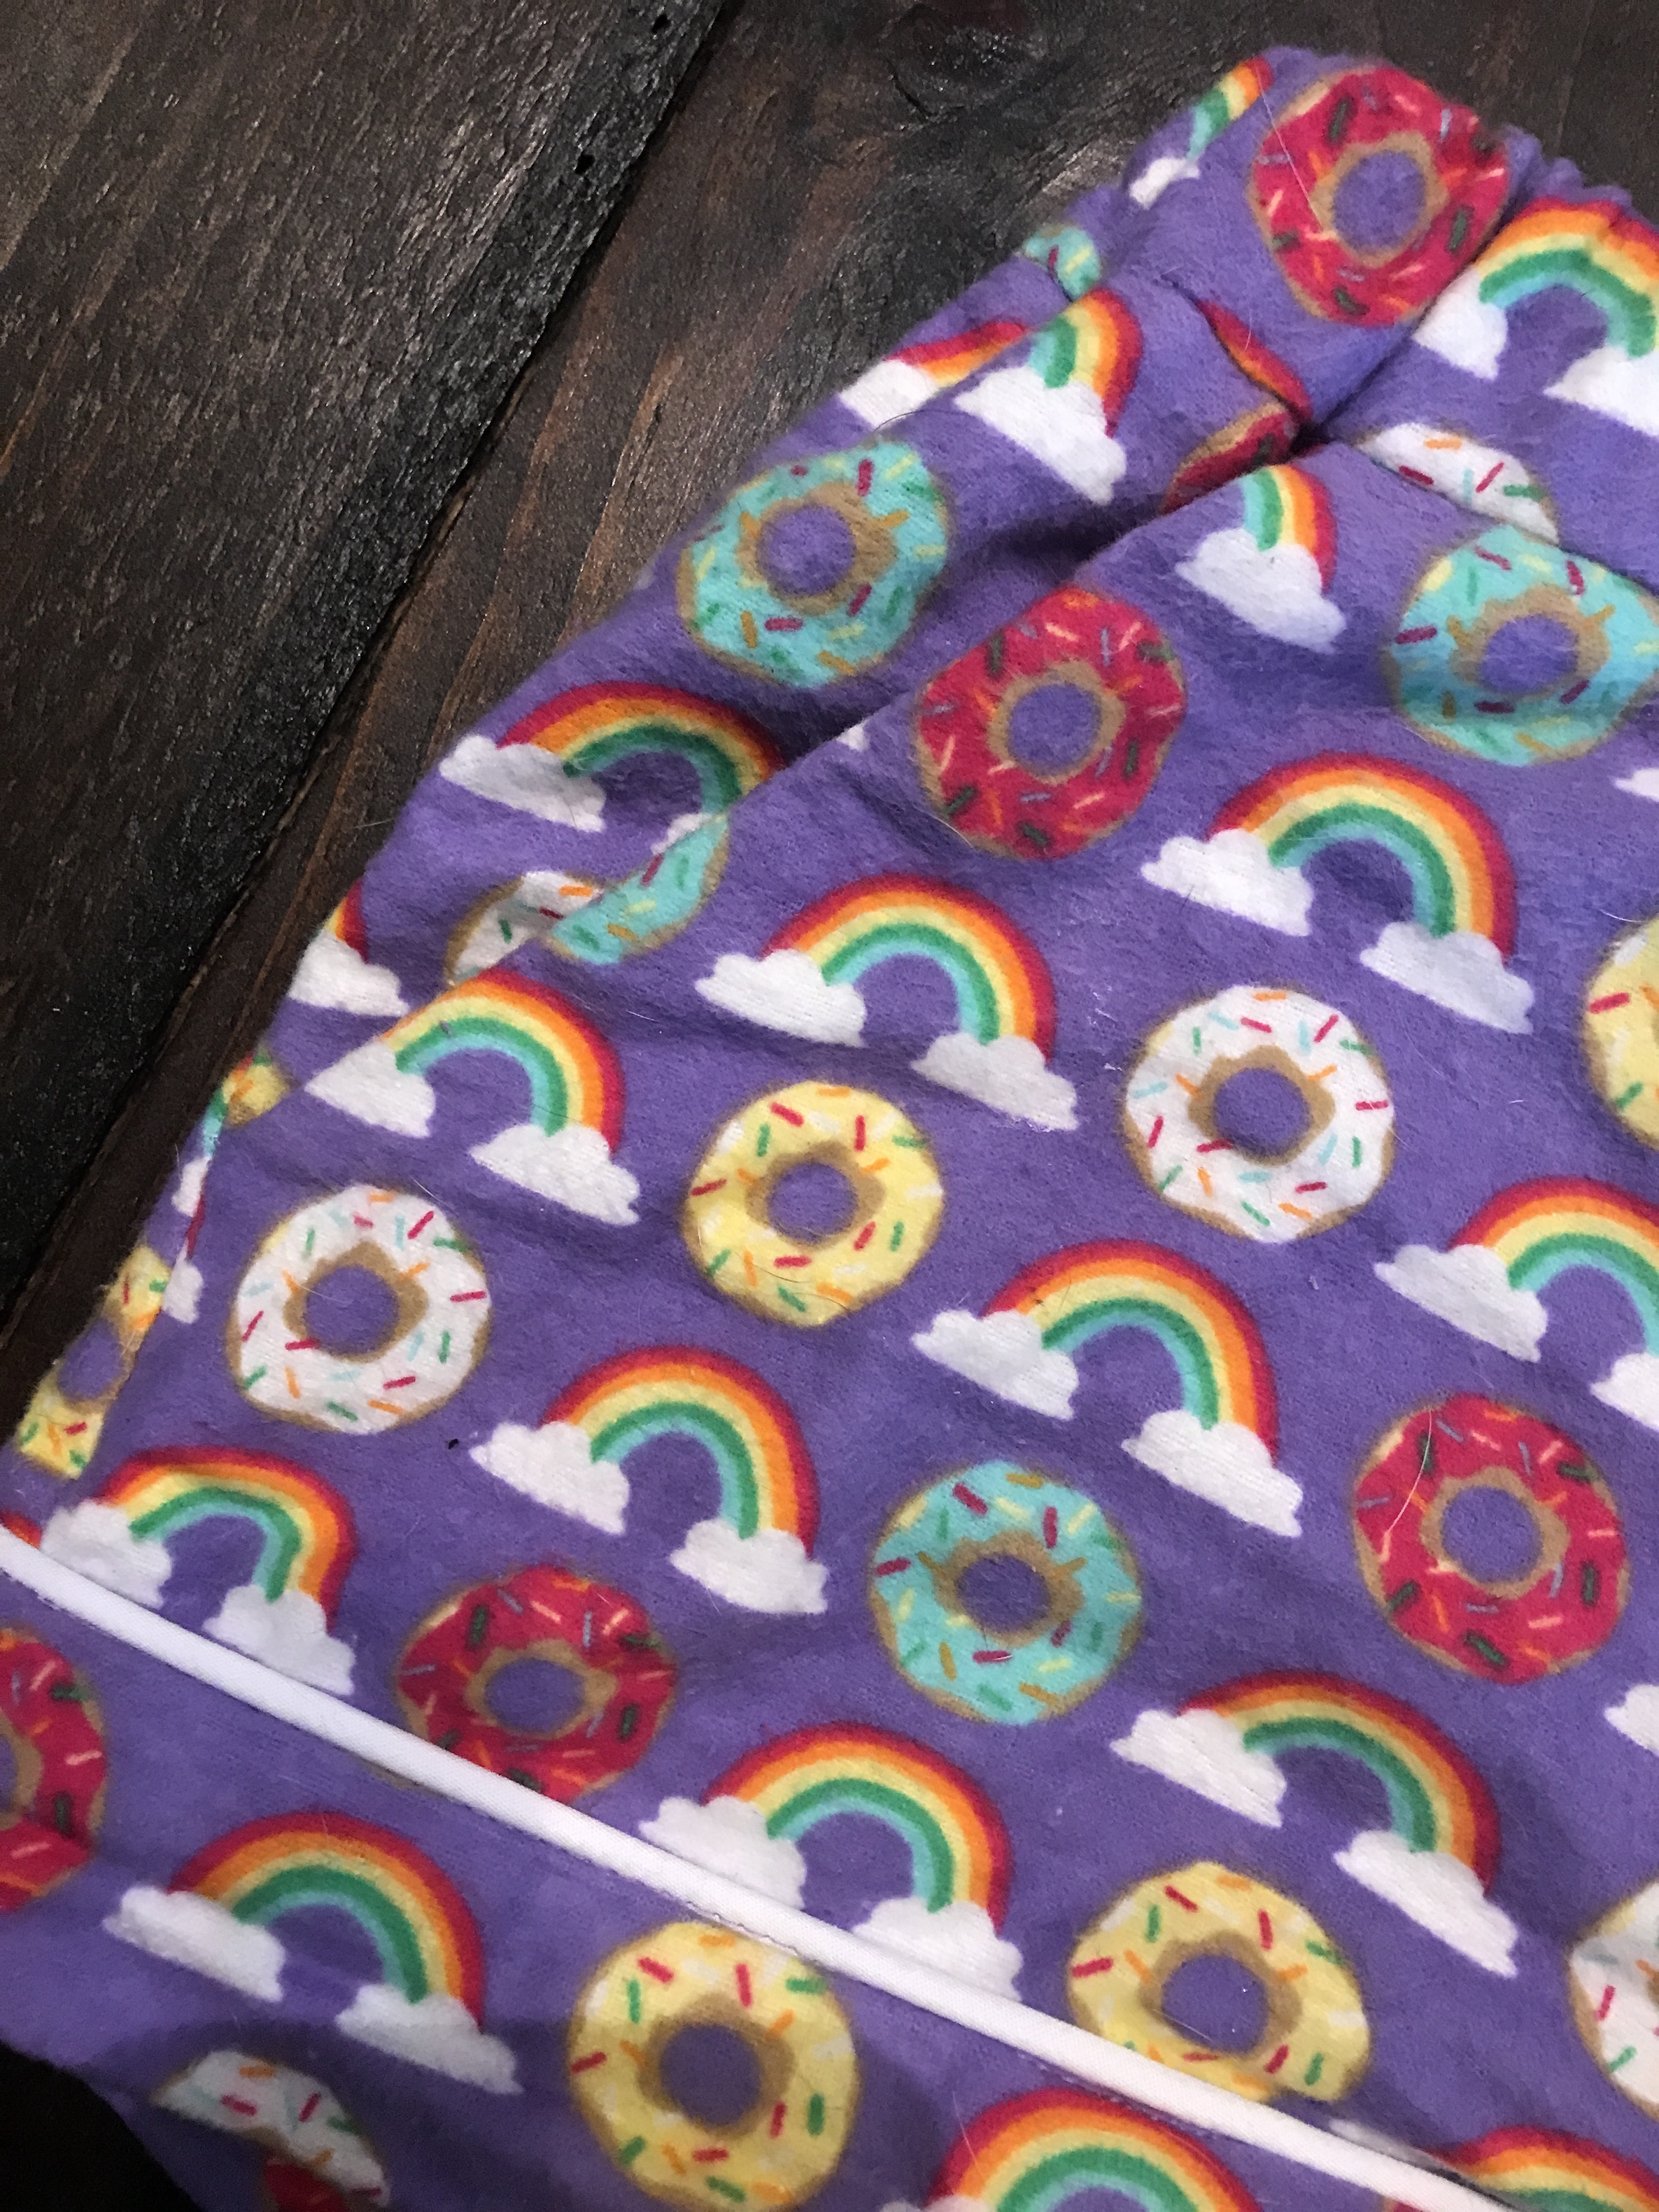
Before I teach anyone anything I like to have run through it myself so that the teaching process is nice and smooth. I was going to just use an old bed sheet to practice some of the techniques but then I was at Joann’s one day and saw this fabric and HAD to have it. Those who know me, know that I don’t have a sweet tooth really but my major vice is doughnuts. I just love them and bright colours, so this was a match made in heaven.
 I can say that although I don’t sleep in them, I have worn them to death since finishing them!
 Now, the alterations.
By now, as with every shirt/bodice I make, I start by narrowing the shoulders. This is a super simple adjustment, just measure where you actually want that shoulder seam to sit and compare to the pattern (remember to consider the seam allowance!), draw your new seam allowance, and sort out the arm hole curve. I used my ‘Fit for Real People’ book to learn how to do it but there are soooo many tutorials online so just google it if you’re unsure.
After this, I then take out at least an inch of length between the bust and the shoulder. Basically, I’ve learnt that my shortness comes in at the top of my body (chest up) and the bottom (knees down!) so I have to alter for that otherwise I end up with fabric pooling around my armpit/chest area.
I’m no expert and it could be that there are other alterations I could make but so far this seems to have been working out for me.
To make the alteration I take the pattern and take out the length between the chest and the armhole notch. I folded 1.5cm which takes a total of 3cm out.
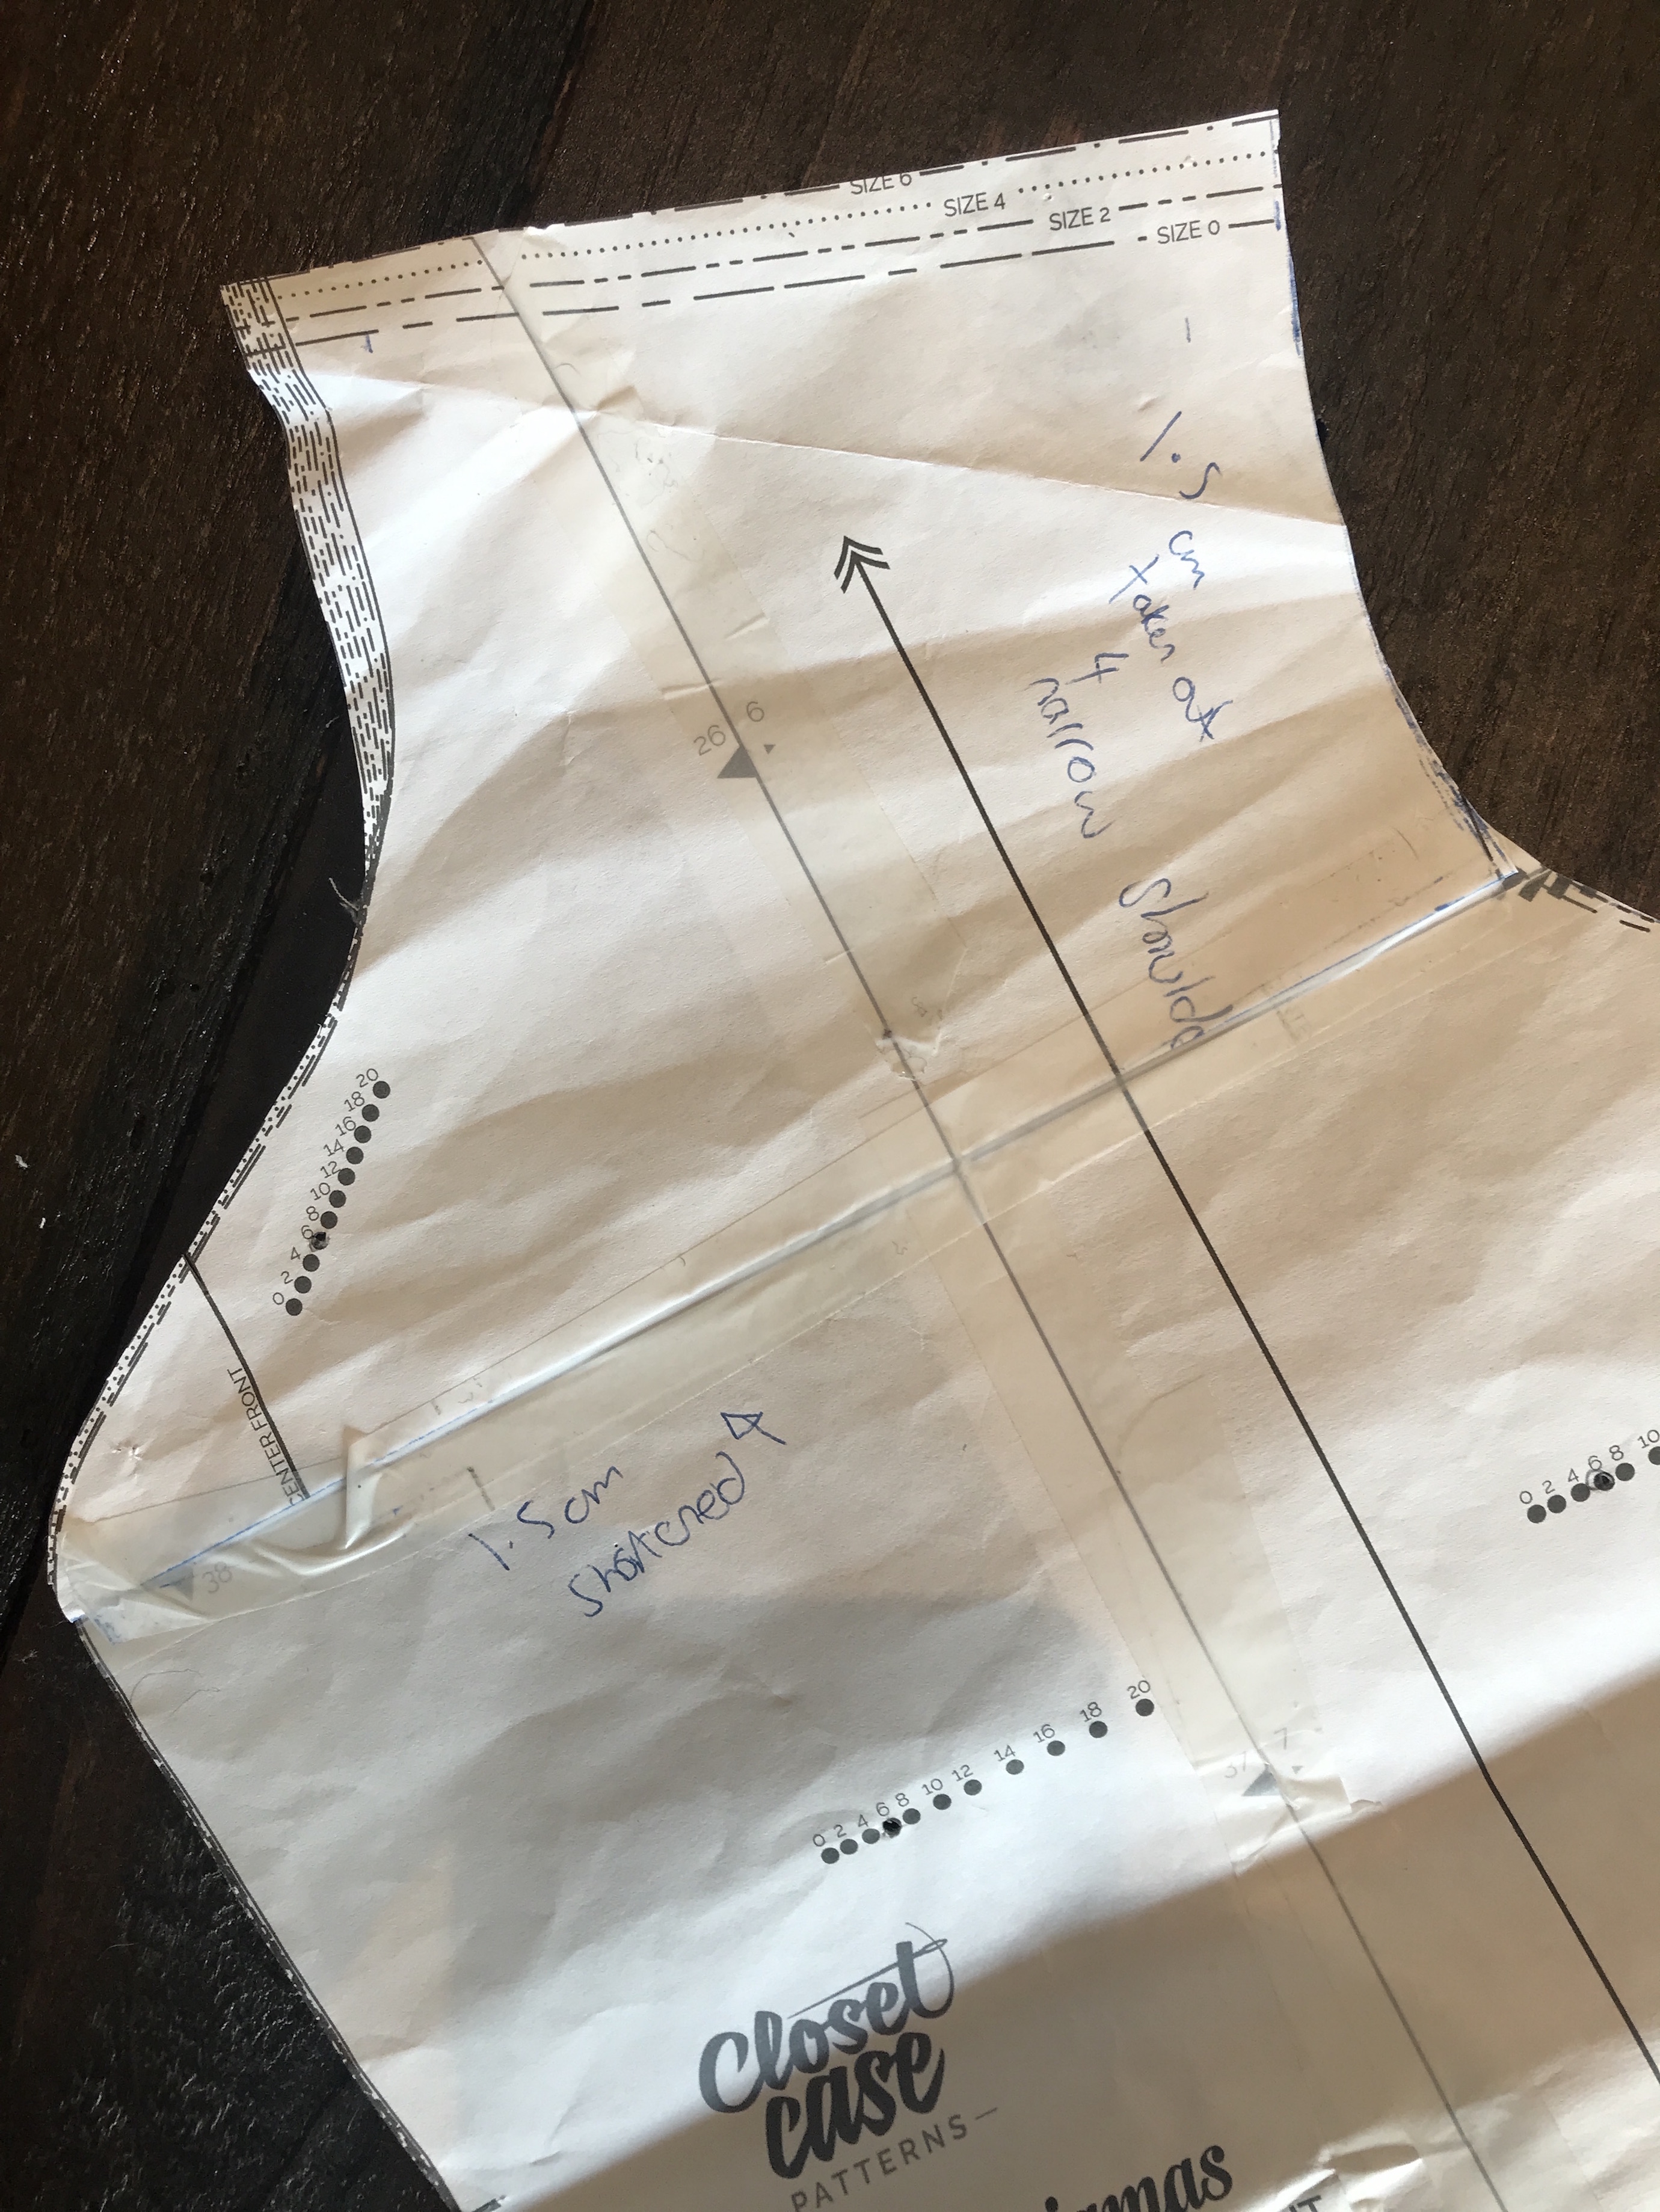
If you’re worried about the armhole then sitting too close to your body, you simply scoop out the bottom by as much as you took out of the length. I generally find I don’t need to scoop to be honest and this is something you can do on your cut fabric I just wait and see how it feels once it’s sewn up.
As I said, I have petit proportions above my chest, below that I’m more ‘average’ so I have to add length beneath the chest so that the waist sits in the right place (counteracting the stuff I took out above). This tends to be only half of what I took out.
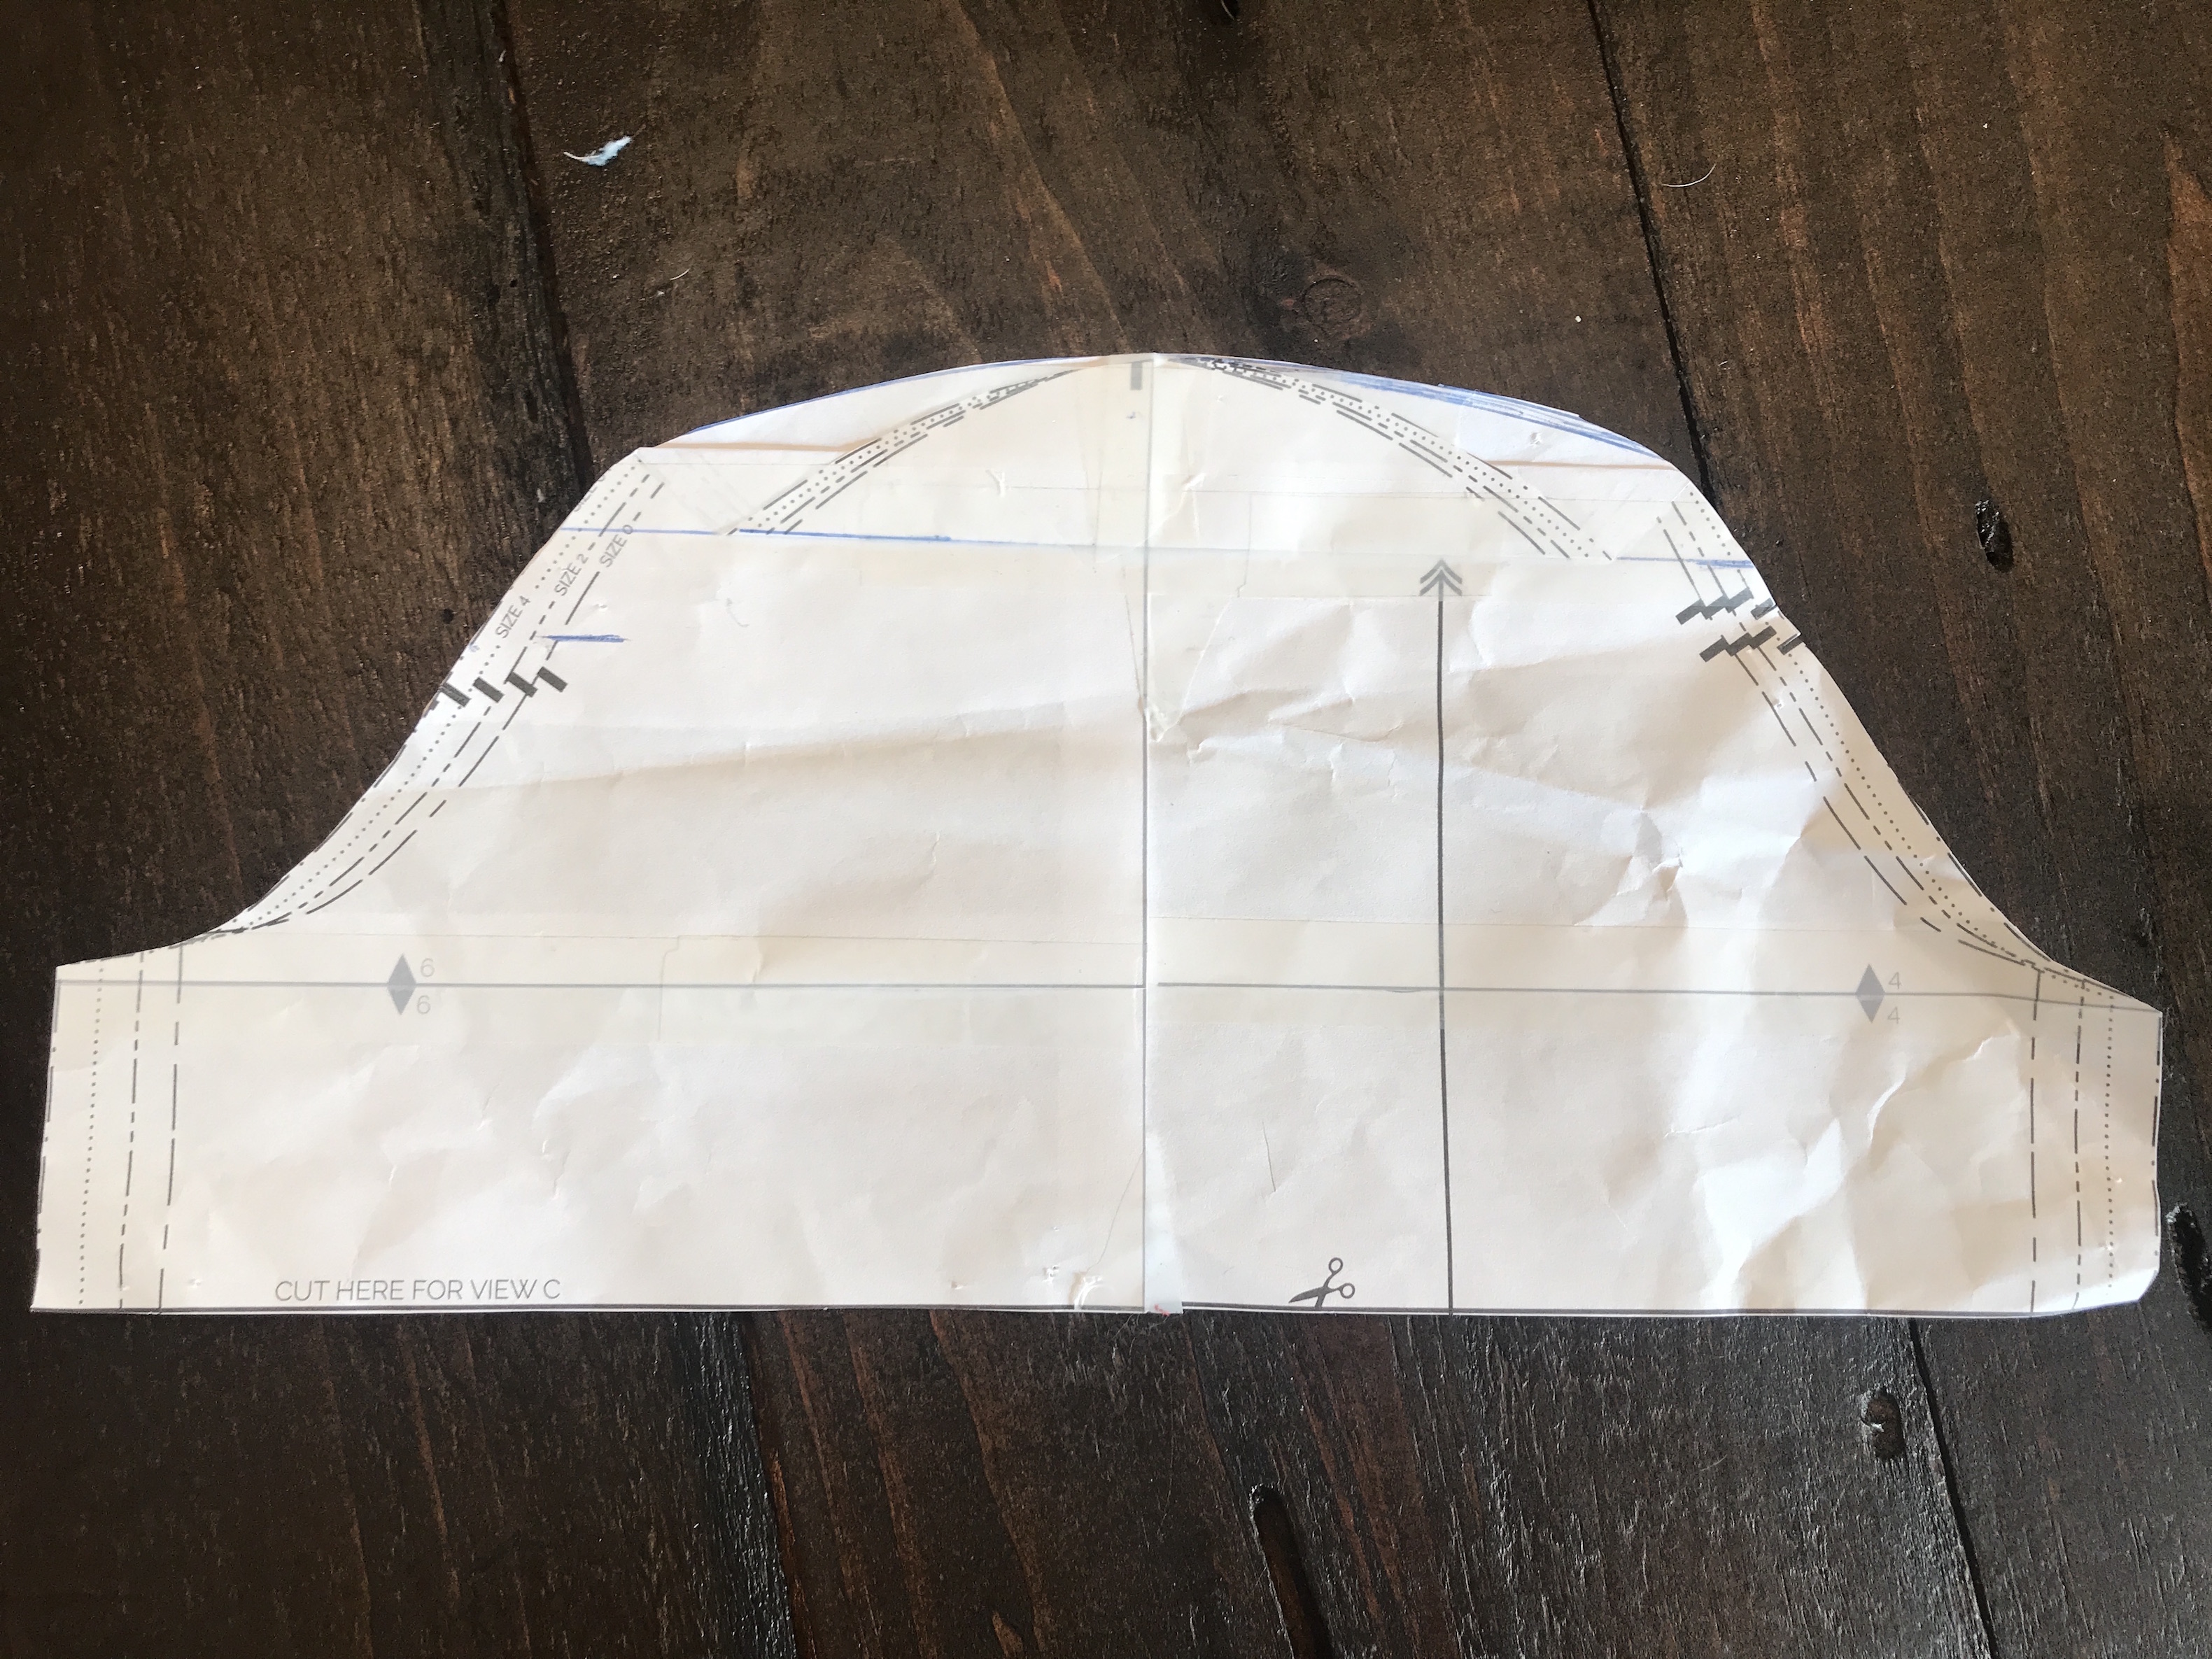
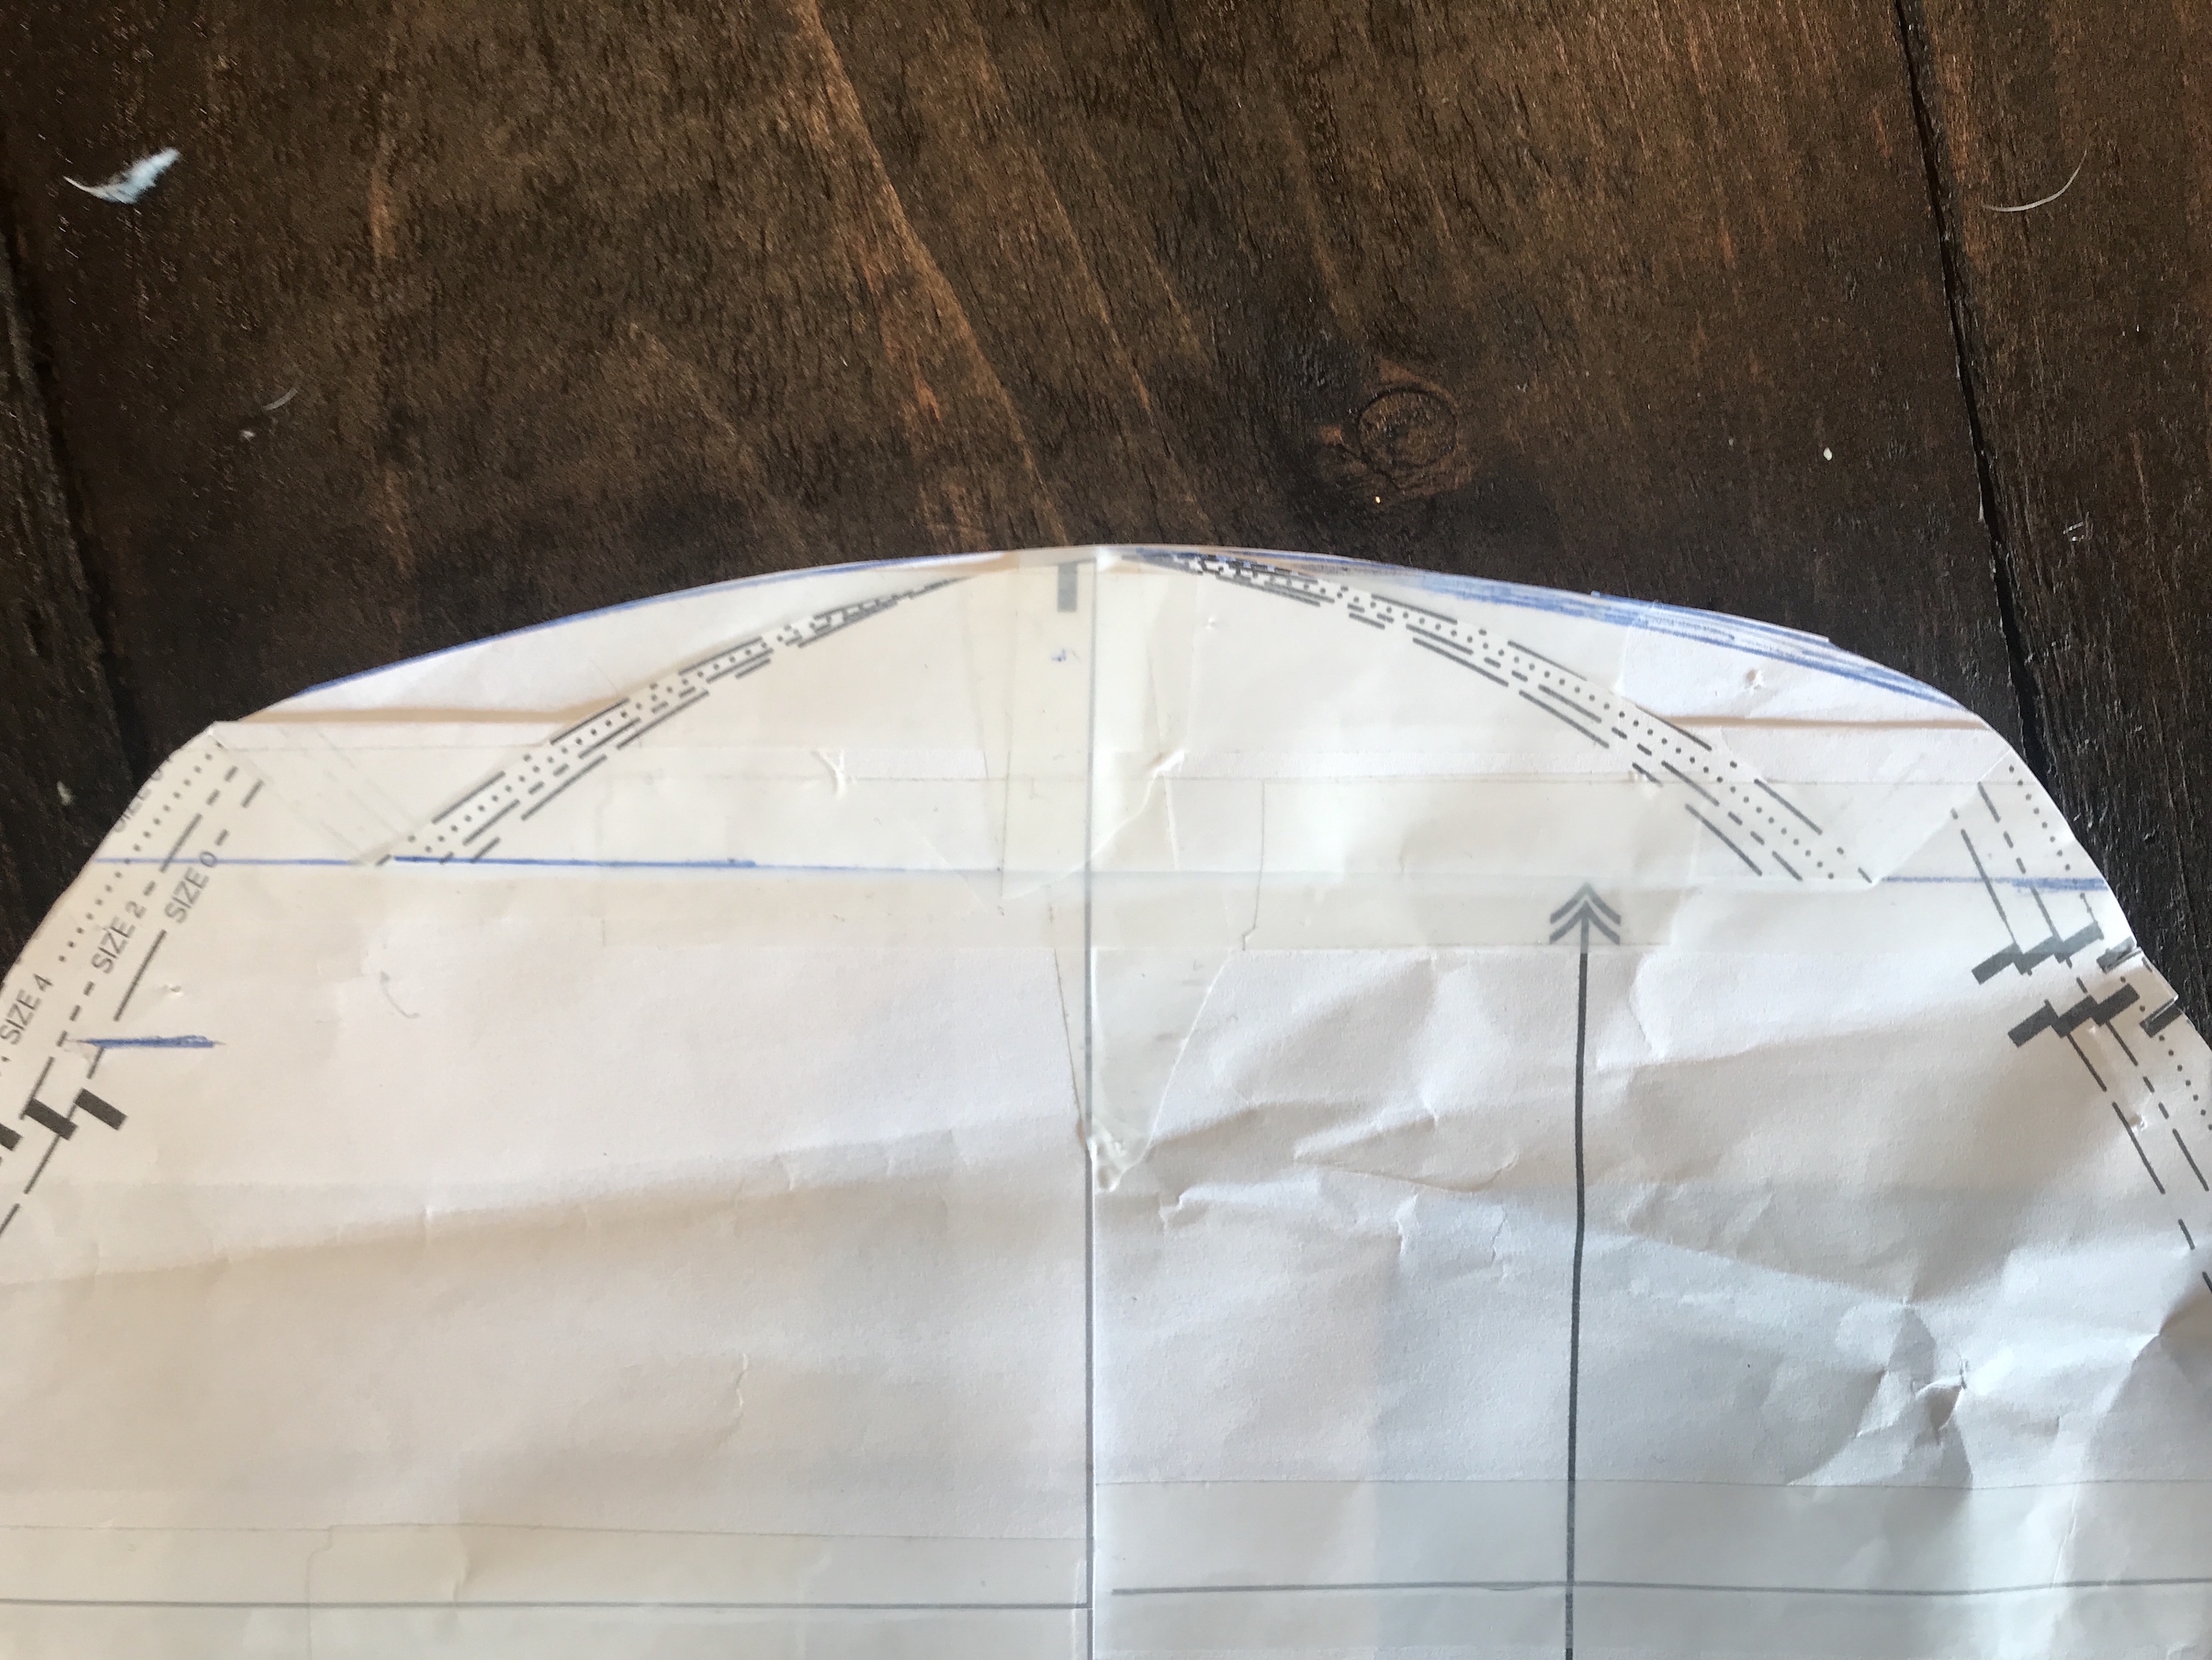
 It is important to remember to do the same adjustment to the back pieces but also shorten the sleeve cap the same amount too! This is the one that often gets forgotten and then your sleeve just won’t fit. Now, because I have to take so much from the length, my sleeve cap always ends up looking super flat, but it all works out in the end, so have faith.
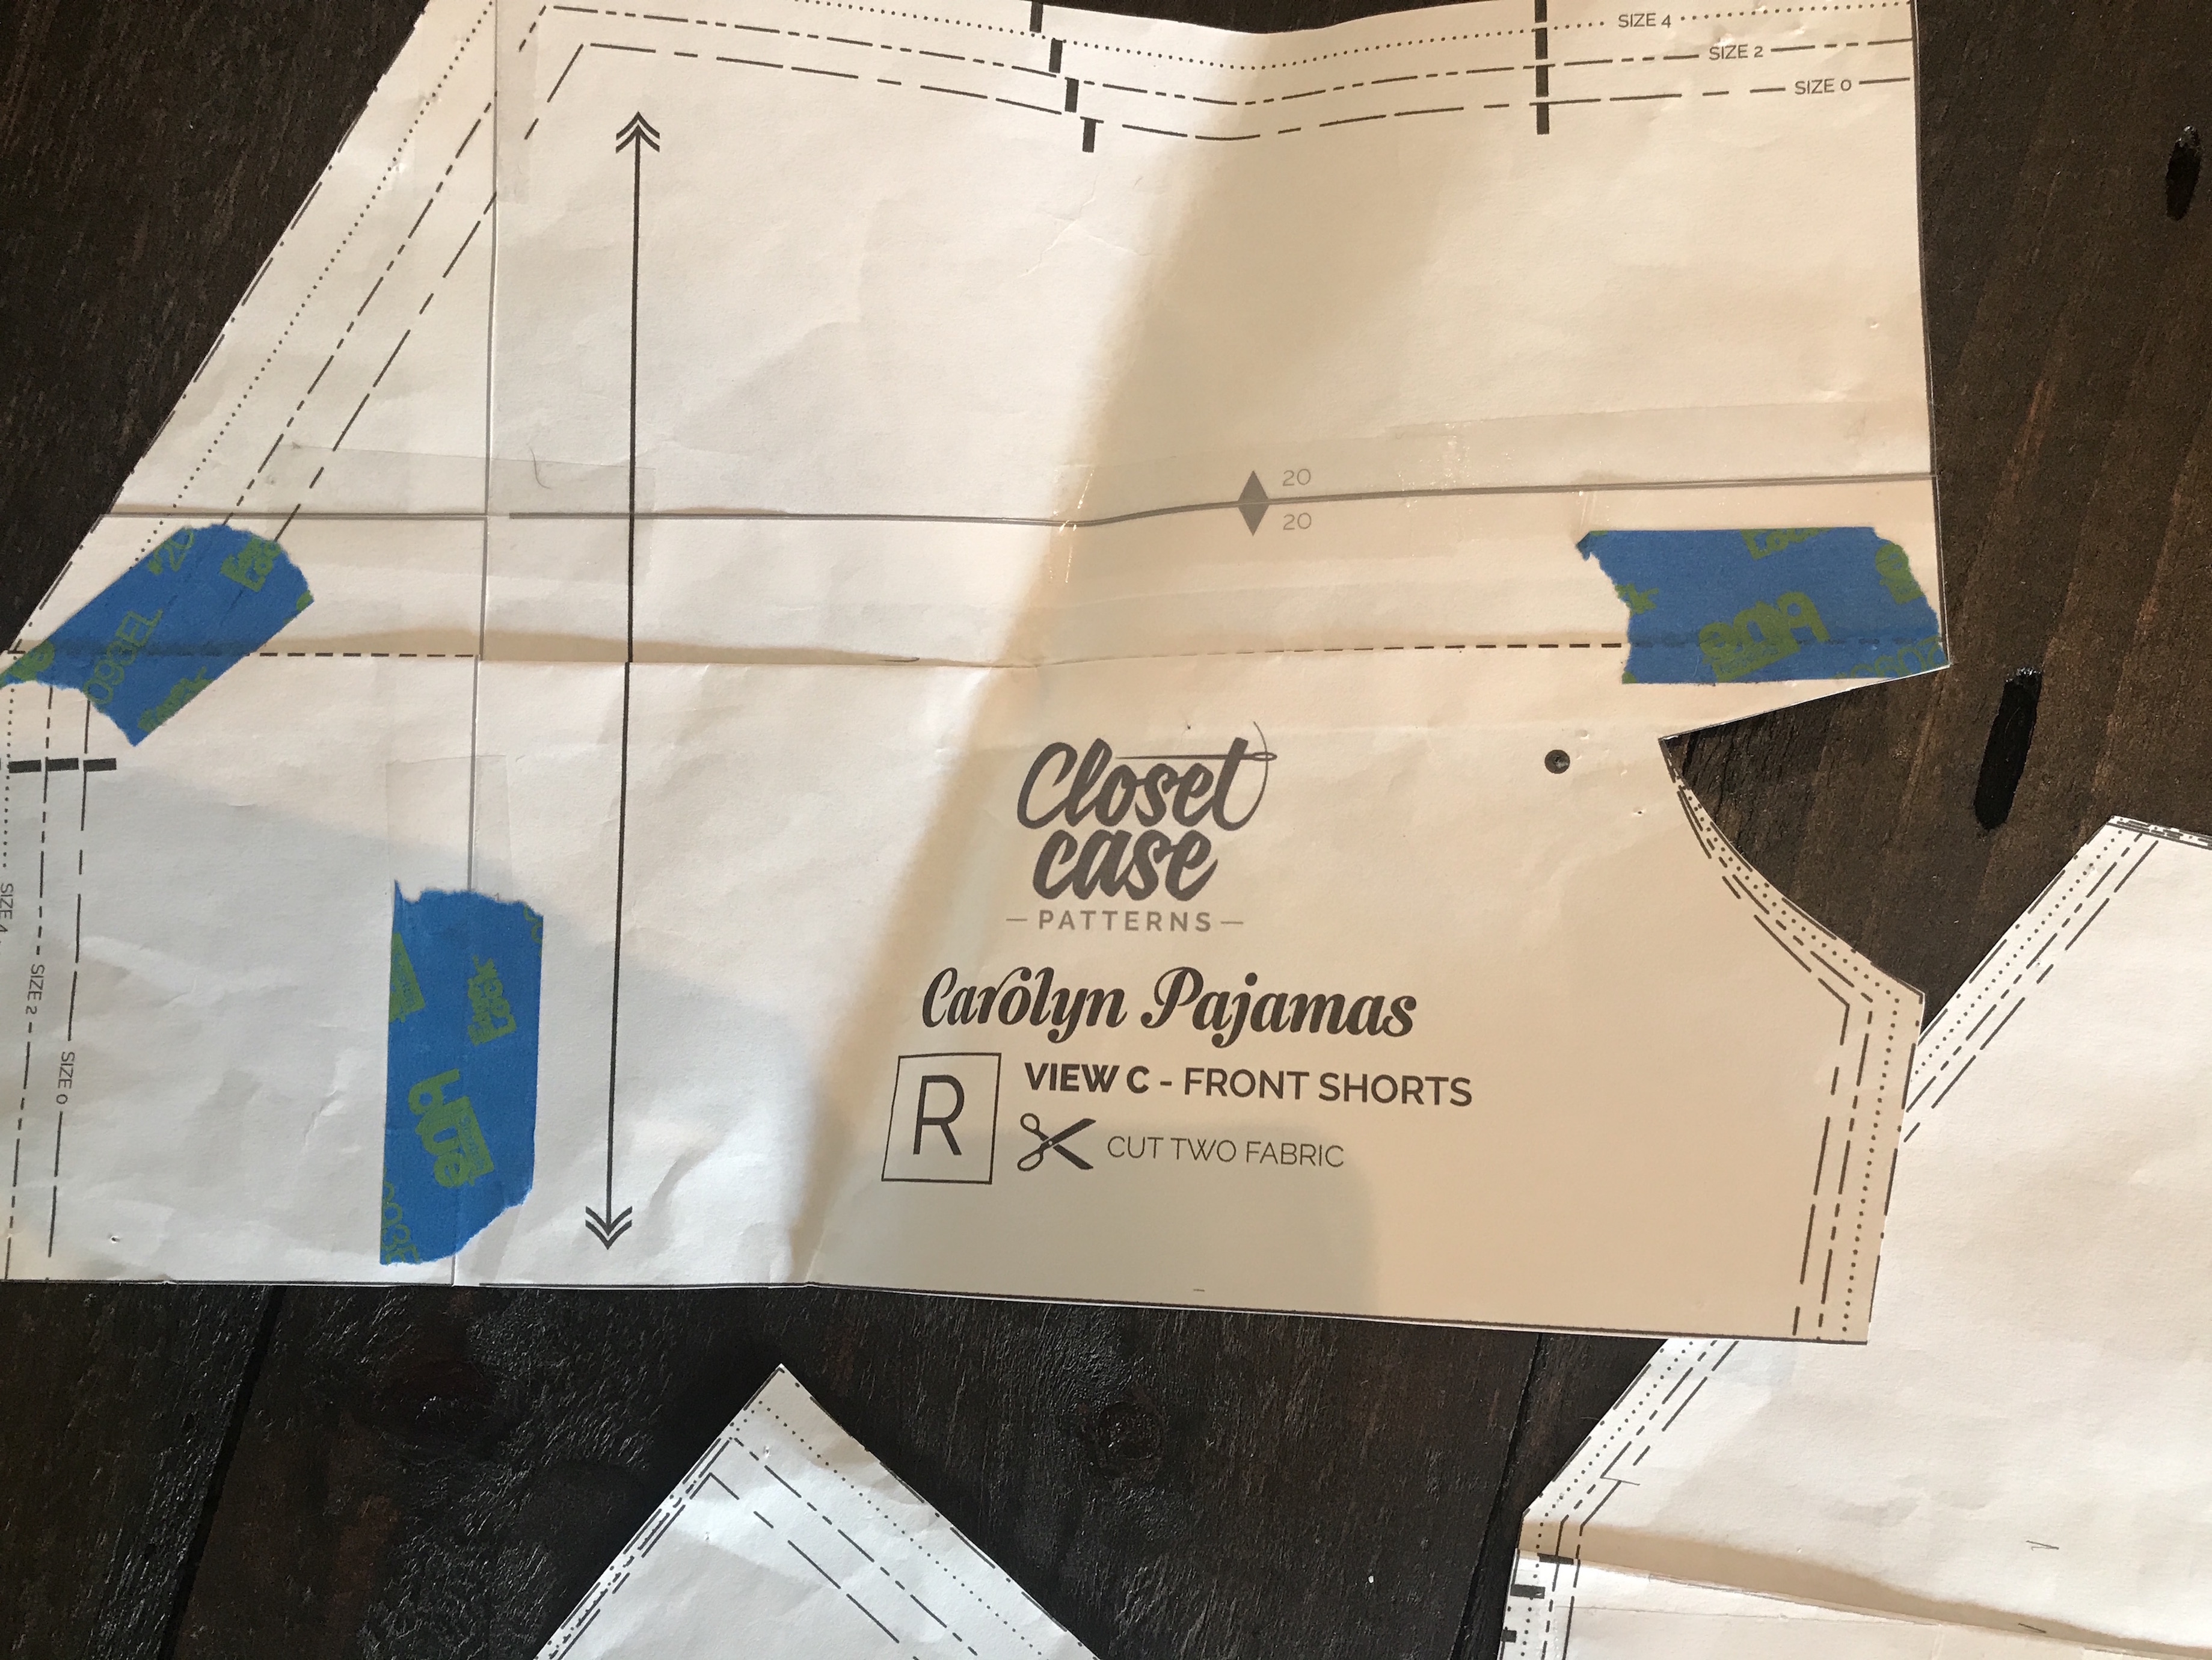
 So that was the shirt, now for the shorts. As these are elasticated I didn’t really need to worry about the hip to waist ration so all I did here was shorten them at the lengthen/shorten line. I will say, if I ever make these again I think I’d change where I shortened them as I’m not sure if following the line on the pattern lead the rise to be a little lower than I’d like – maybe they are just low rise on everyone?
I ran out of normal tape…oops!
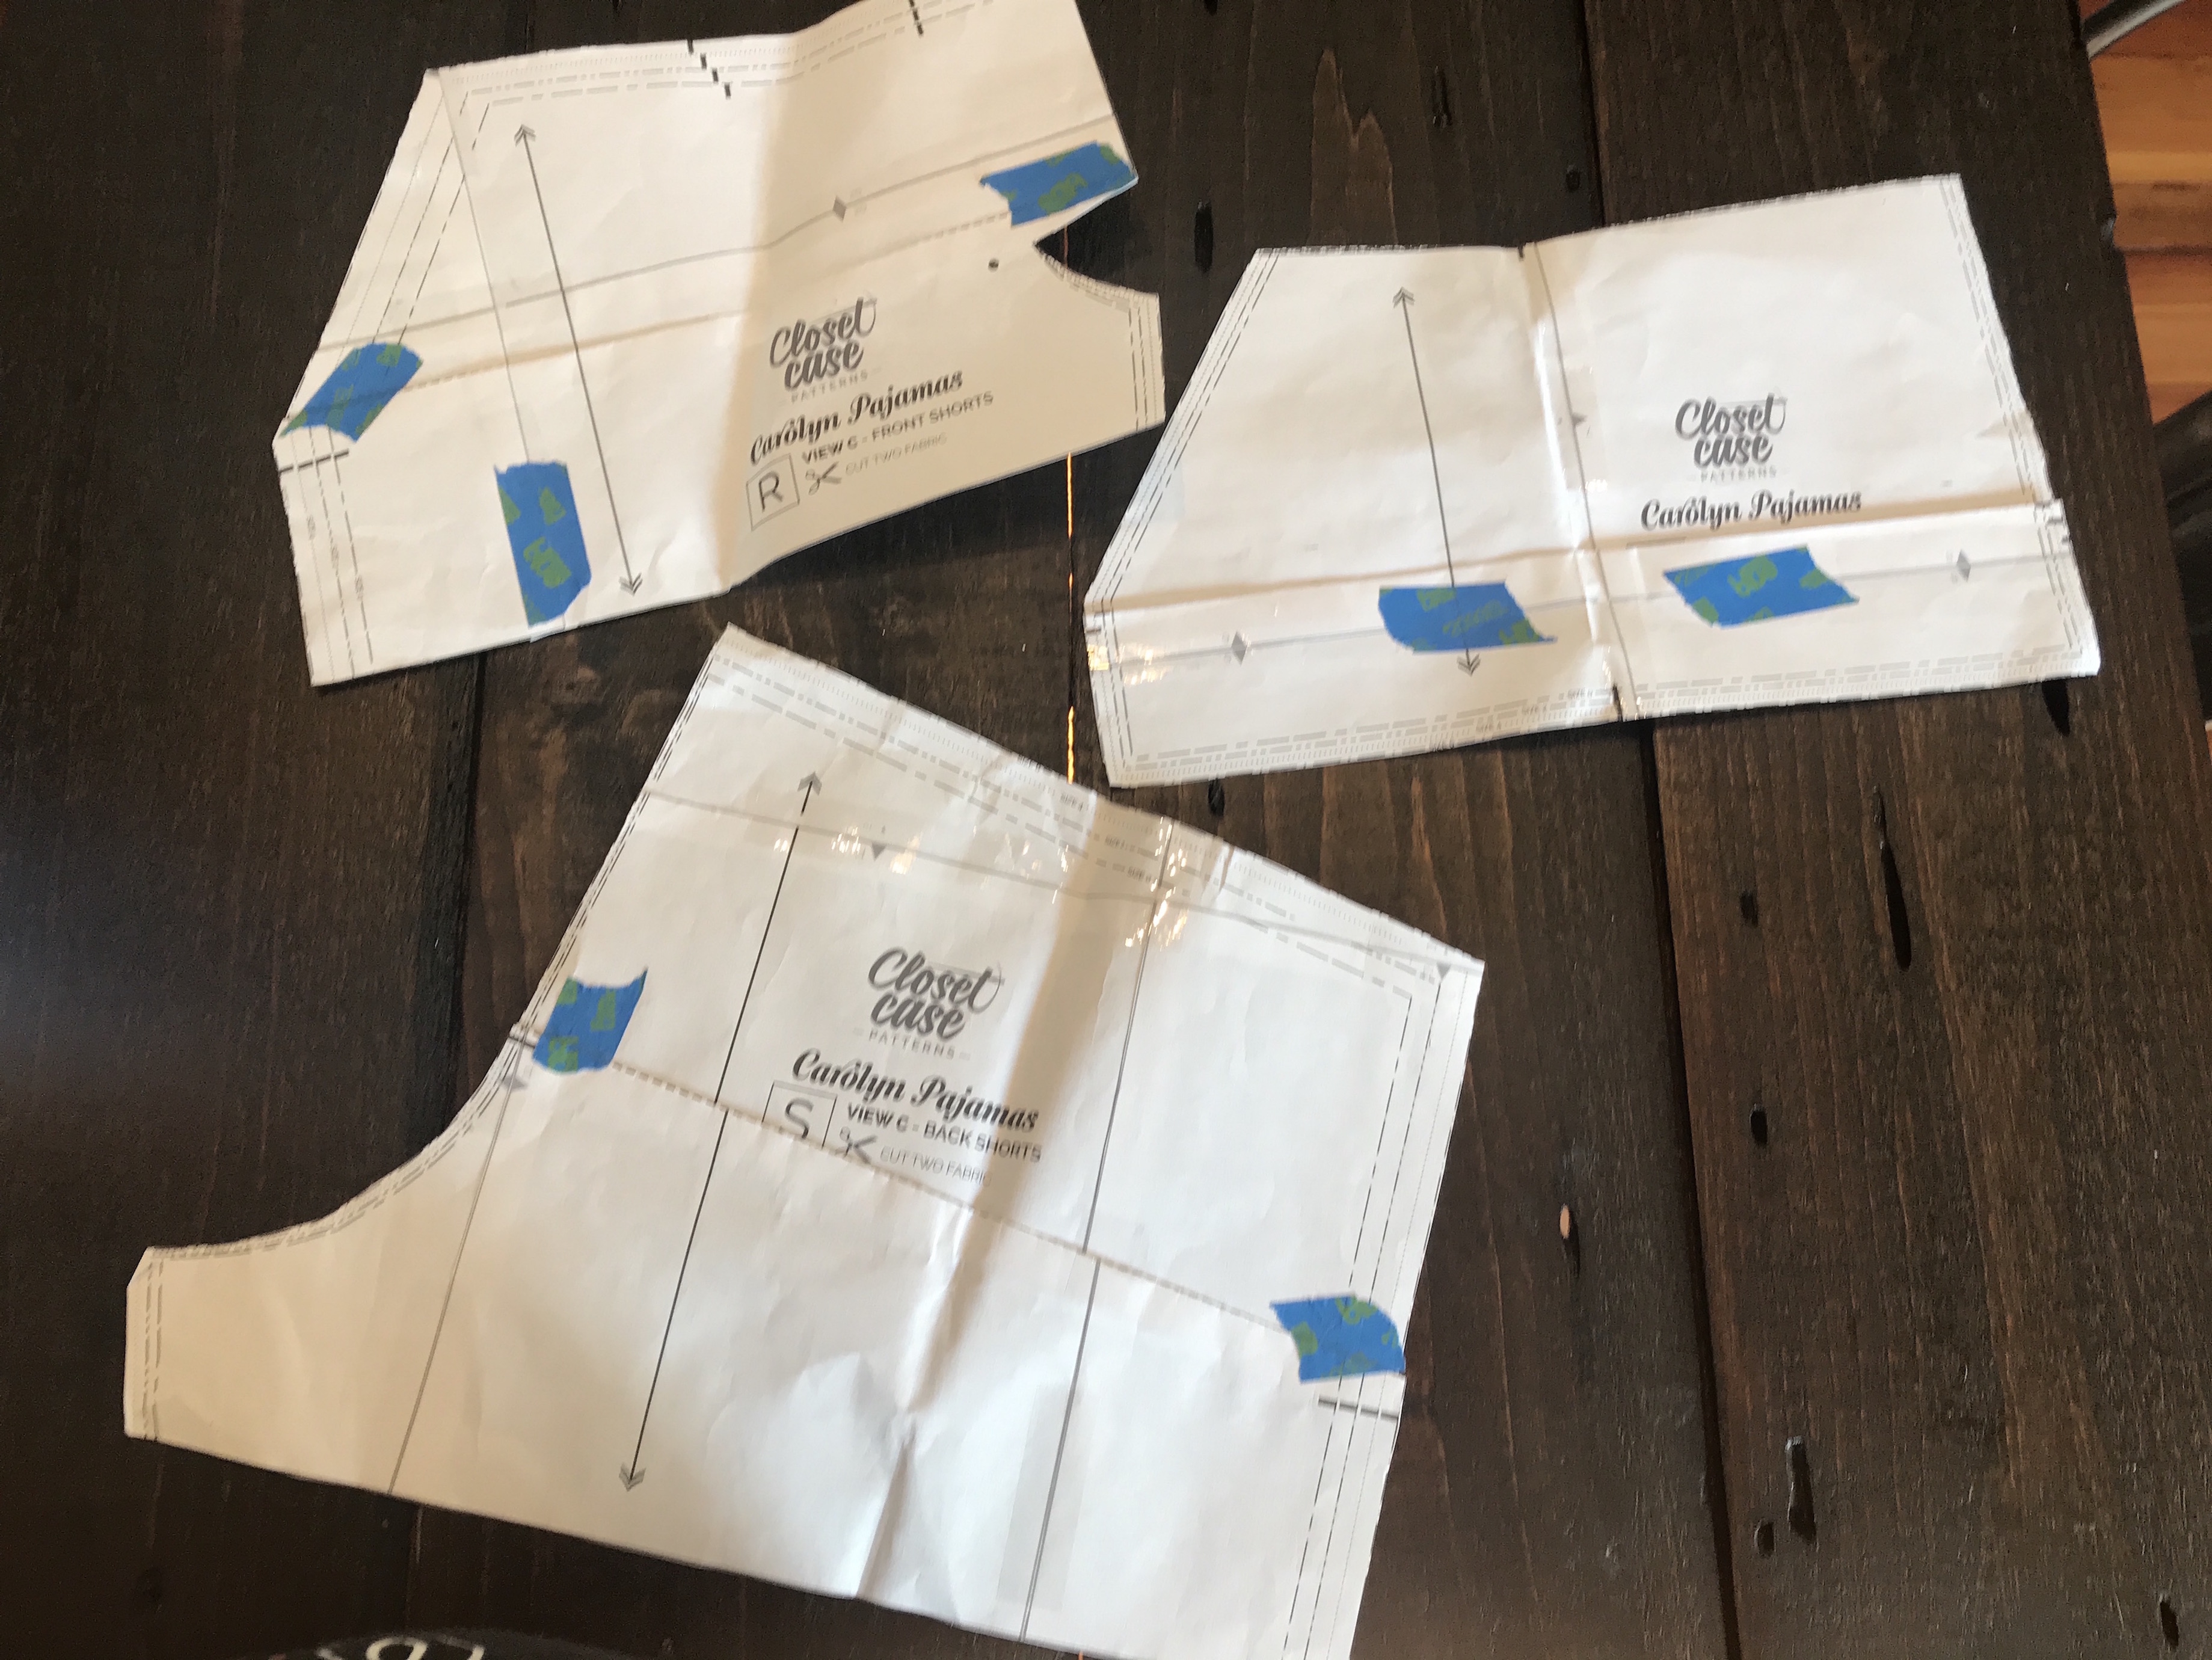
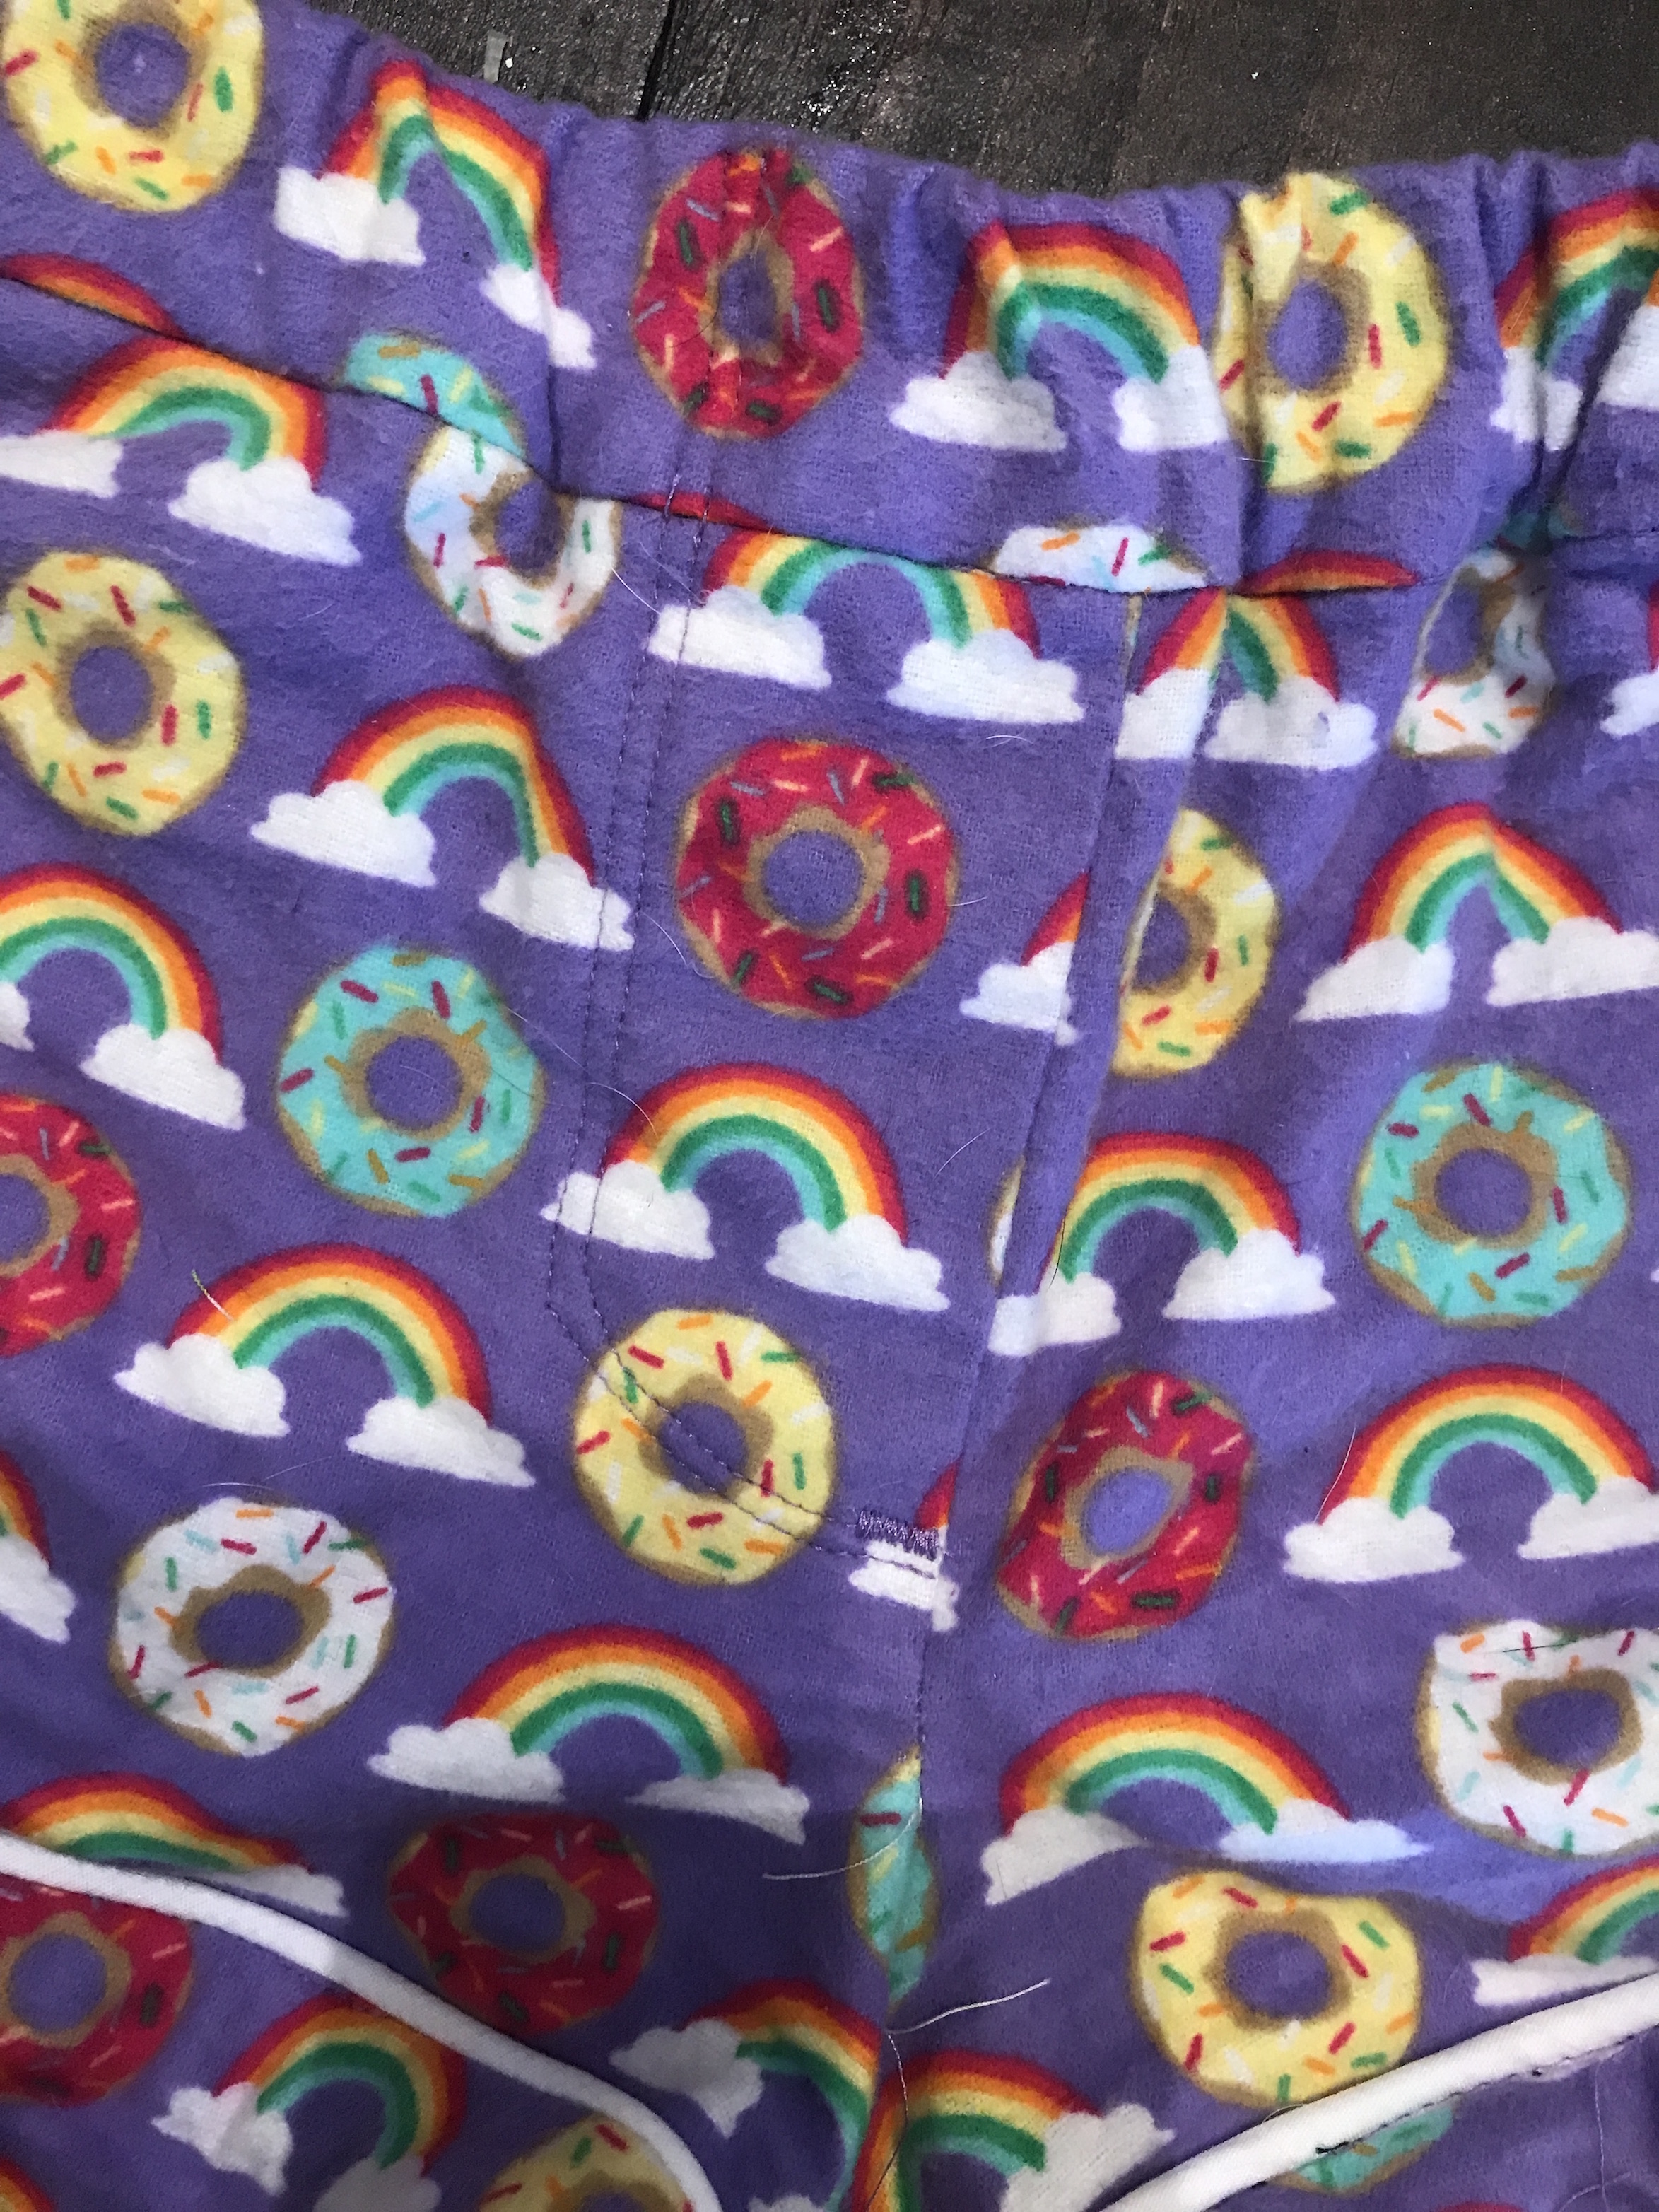
 I really liked the extra touches on the shorts – the faux fly and particularly the proper pockets!
 I really do love this pattern and I think if I were to make them again it would be nice to make some in a luxurious fabric rather than the cozy flannel.
I’d say the pattern is good for beginners – a great way to practice buttons etc. before embarking on a real, wear it in the day, kind of shirt.
As it took me so long to write this post – sorry about that – I’ve already finished another project – a Deer & Doe Arum dress – and am currently in the middle of a second Seamwork Audrey jacket and a Zina button down shirt (more flannel yay!) so hopefully you’ll be seeing those on here in the not so distant future!
Now can I just cancel all my lessons and pretend it is Sunday again?
![]()
xxx